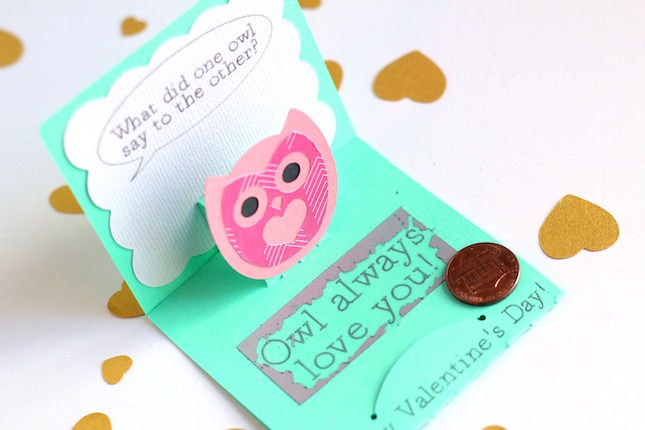
It’s important to get out of your creative comfort zone and try something different, especially when you have a machine that can do so much! I’m not much of a card maker, but I do enjoy trying out cool pop up cards I find in the Silhouette Design Store. We’re making this one even more exciting by adding a hidden message that has to be scratched off. Follow along and you’ll see how simple it is to put together.
What you’ll need:
- Silhouette Curio ™
- 8.5 in. x 12 in. Curio ™ base kit
- scratch-off sticker sheets
- sketch pens
- cardstock
- glue
Step One: Design
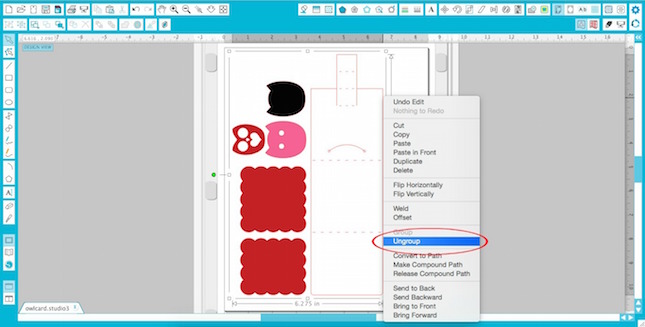
Since you’re going to use the larger Curio base you’ll want to make the proper adjustments in the “Design Page Settings” window. Change the paper size to “Letter” and the cutting mat to “Curio (Cut) 8.5 x 12 in.” Open the card design and rotate the design until the owls are in the top left corner. Right click on the design and select “Ungroup”.
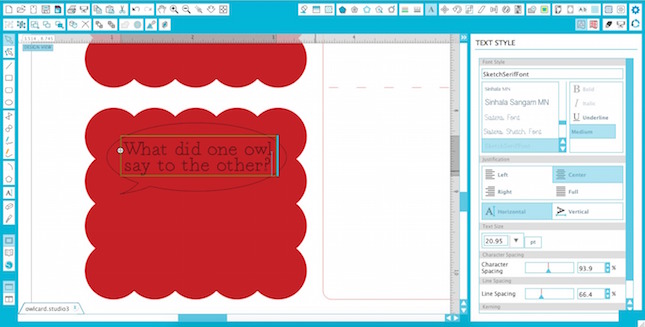
Step Two: Add Text
Click on the “A” on the left side of your screen. This will open up the text style window so you can add text to the card. Choose a font, click on your work area, and begin typing. The three pieces of text I used in my card are “What did one owl say to the other owl?”, “Owl always love you!”, and “Happy Valentine’s Day!”
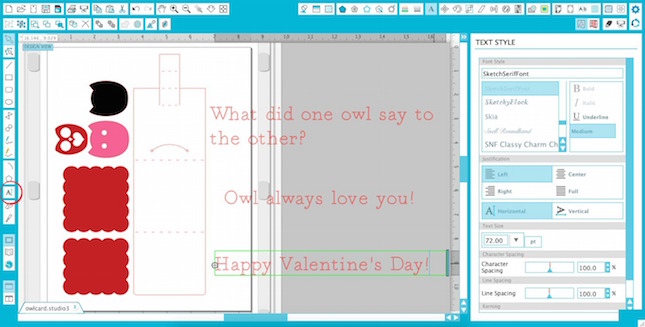
Now you’ll need to resize each piece of text and put it in the right spot on the card.
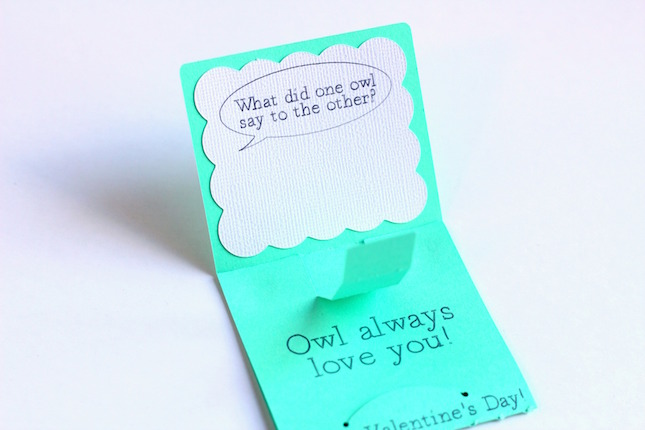
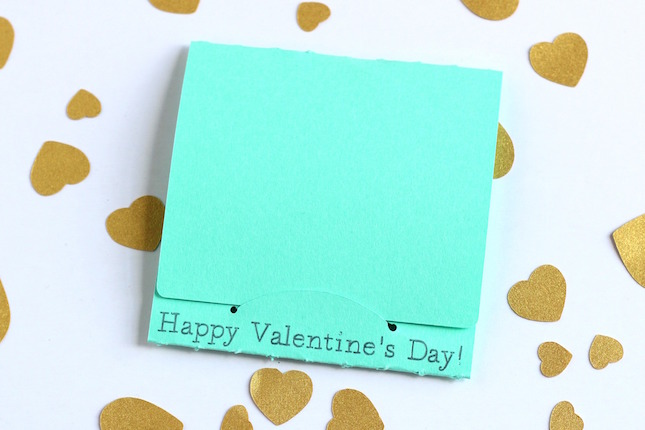
“Happy Valentine’s Day!” goes below the rounded cut to tuck the card in.
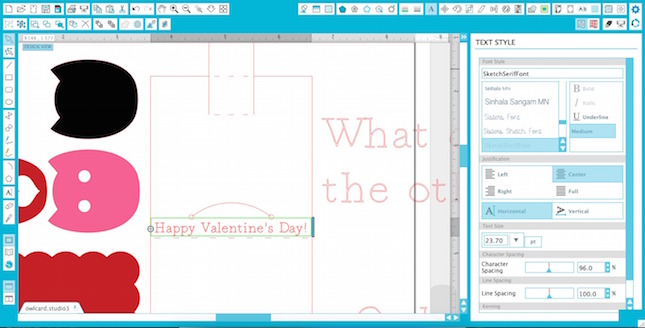
“Owl always love you!” goes above that same spot. You can center the text as well as adjust the character spacing and line spacing until it fits just right.

“What did one owl say to the other?” goes in the smaller scalloped box. Add the speech bubble and adjust the text until it fits inside.
Step Three: Cut
You’ll sketch and cut the base of the card first. Move the other parts of the design off to the side and open up the “Cut Settings.” “Tool 1” will be the sketch pen so click on “Tool 1” and select the two pieces of text so they’re highlighted in red. Select the material type and change the blade to “Sketch Pen.”
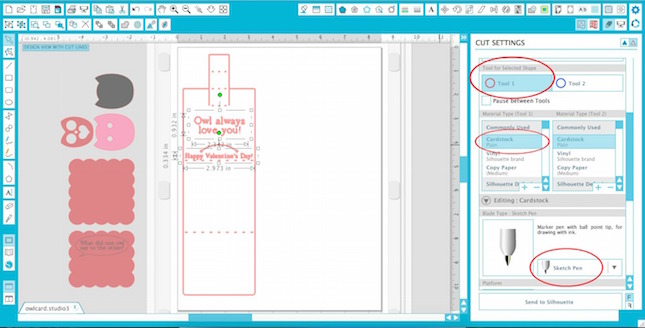
“Tool 2” will be the blade so click on “Tool 2” and select the card design so it’s highlighted in blue. Select the material type and change the blade to “Ratchet Blade.”

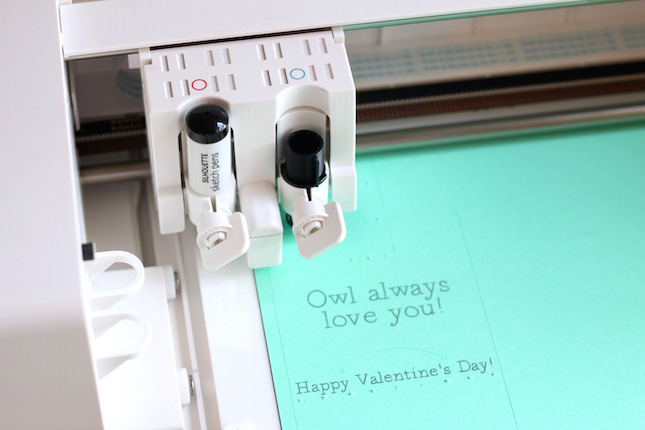
Load the sketch pen onto the left side of the tool holder and the blade onto the right. It’s even color coded so you won’t get lost. Make adjustments to the platforms (if necessary), load the base, and press “Send to Silhouette.”
Go ahead and cut out the other pieces of the design. The scalloped box with speech bubble and text can be sketched and cut just like the base of the card.
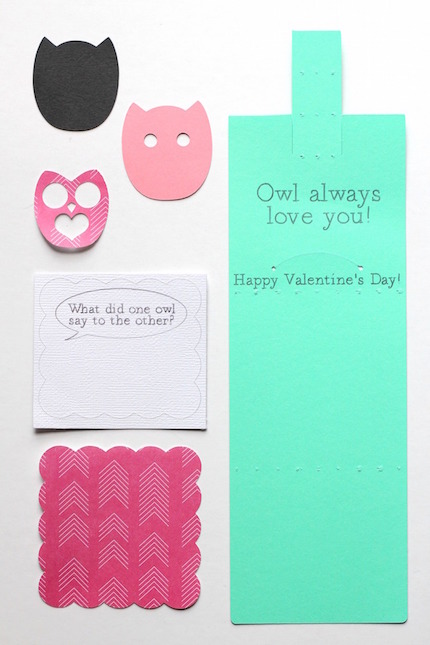
Step Four: Assemble
Fold the card in so the text sits inside of the card. Glue the two parts together, but be careful not to glue the curved flap in because you’ll need it to close the card.

Adhere the scalloped box with the speech bubble to the back of the inside of the card. The other scalloped box will go on the outside of the card.
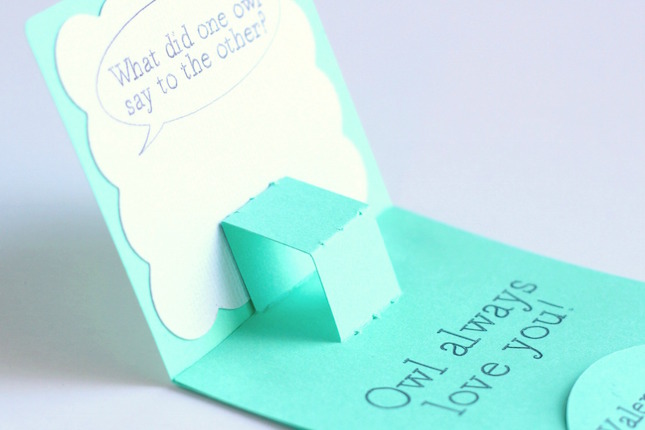
Fold the piece that forms the pop up and glue it to the back of the inside of the card.
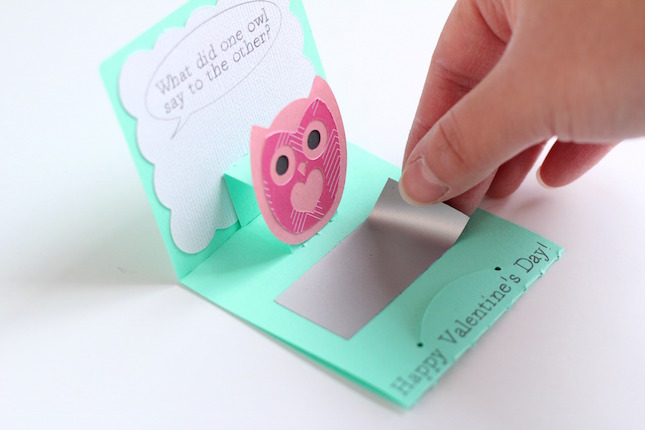
Layer the pieces of the owl and glue it to the pop up piece.

Step Five: Add The Scratch-Off
We’re going to cover up the answer to the joke by adding a scratch-off sticker. Draw a rectangle large enough to cover up the “Owl always love you!” text. Place a sheet of scratch-off sticker paper onto the mat and make adjustments in “Cut Settings” to cut the rectangle. Make sure you’ve selected “Scratch-off Sticker Sheets” as the material type and begin cutting. When it’s done, remove the paper from the cutting mat and peel off the silver rectangle from the yellow backing. Stick it on top of the text that needs to be covered.
To close the card just tuck it into the curved slot.
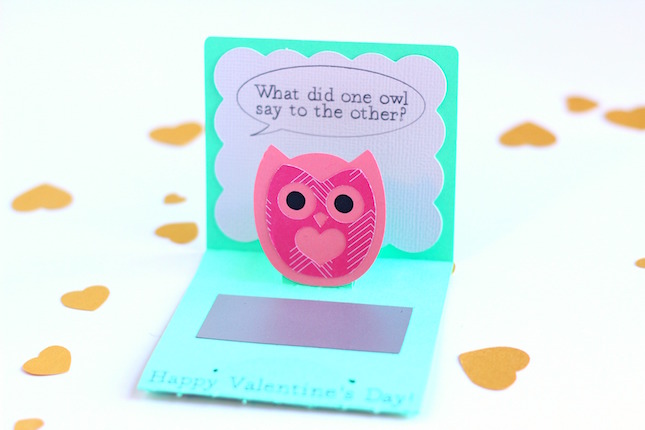
With a pop up owl and a hidden message this Valentine’s Day card is sure to impress!

Nasze Naturalne
September 3, 2025
Your authentic voice really shines through in everything you create and share
Naszenaturalne
September 2, 2025
Really love your style
Kelly Wayment
June 28, 2024
You can use it with vinyl as long as it is smooth and flat to allow the static charge to hold on to it. Rolled vinyl that wants to go back to its rolled shape will not necessarily work well, and it would need to be trimmed to fit the ES mat cutting area.
Kelly Wayment
June 28, 2024
Yes, you can use the heat pen while using the ES mat. 🙂
Yurii
March 2, 2024
Hello. May it be used with heat pen?
Thanks
Jerome
February 24, 2024
Hi, works this with the normal vinyl foils or only with printer papter etc?