Let’s talk about two of my favorite things today—heat transfer vinyl and fonts. I find Silhouette Reflective Heat Transfer Material to be highly versatile. It’s thin and does well pressed on both light and medium-weight materials.
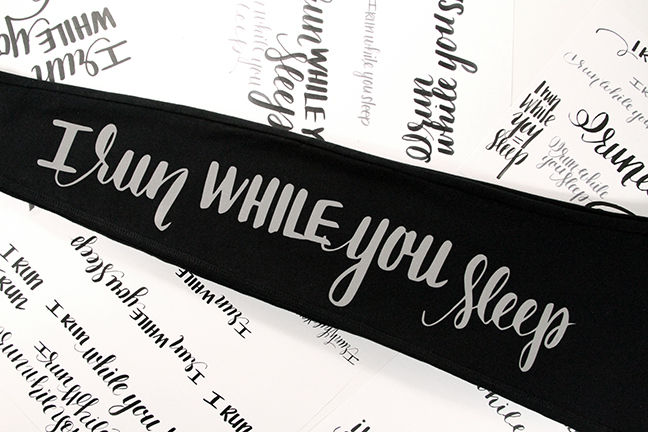
In this project, we’re going for the reflective heat transfer’s intended use, which is to aid in nighttime visibility. Major clothing brands use a bit of similar material on your workout gear as a small logo or pinstripe.
NOTE: I’ve also used the reflective heat transfer on t-shirts worn during the day and the subtle color change effect in daylight is mesmerizing. It looks gray, then white, then iridescent depending on the lighting.
On to the project!
Reflective Heat Transfer Gear | Creative Material Tutorial
I’m making leggings as a gift for an avid-runner friend (I am the sleep-while-you-run type of girl, so I will not be wearing them). For her design, I’ll go with one long line of text. From a distance, this will read as a stripe—good for added visibility on a dark, early-morning run.
If a little reflective material (like those you find on exercise clothes sold at stores) means that my friend will be more visible on her early-morning runs, then large stripes of reflective material makes for the . . . BEST. GIFT. EVER!
I’m a lettering artist, so I’ve used my own handwriting design as the sample for this project. In addition to dozens of Silhouette fonts, I keep samples of my own writing in SVG files, ready to cut! You should try it. Your handwriting can look amazing layered onto Silhouette patterns and designs.

For this project, let’s stick to fonts I’ve chosen from the Silhouette Design Store.
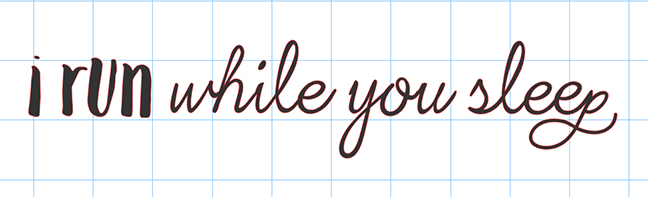
1. Block-printed handwriting (Petunia) and script (SW Par-Tay Thyme)
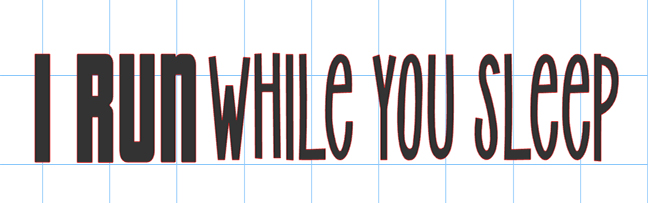
2. Bold font (LW Thick) and diet font (LW Simple)
These combinations are great because they compliment and contrast each other. I find it helpful to print something out before deciding on a final design. When that doesn’t work, my kids are always ready to offer a sharp critique!
Now for the process!
Step One: Set Up
Start by opening a new file in Silhouette Studio®.
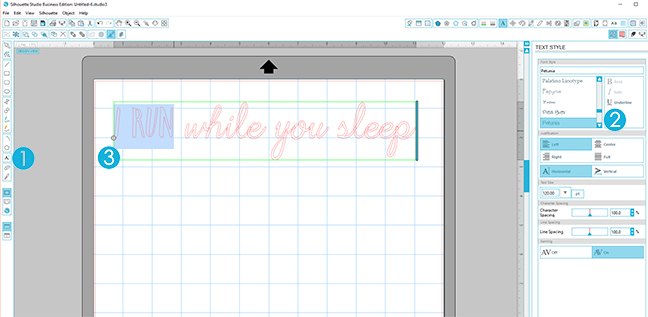
Select the Text Tool (1) from the left menu and your font from the Text Style panel (2).
Highlight (3) the portion of text you’d like to change to the contrasting font. Choose your second font from the drop down menu.
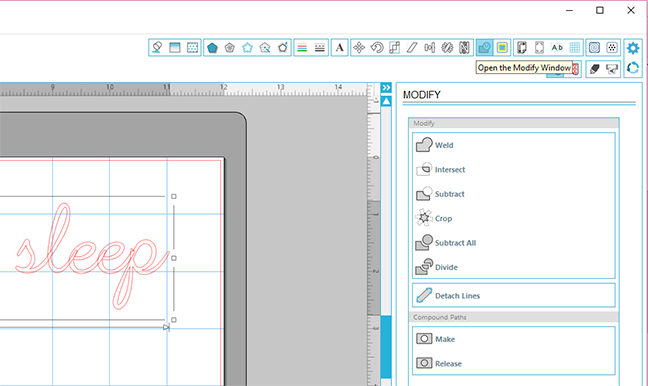
If you are using a script font like SW Par-Tay Sans, you will need to weld the shapes in order for them to appear as though the letters are joined.
TO WELD: Simply select the entire word that needs to be joined, open the Modify Window and click Weld. It’s easy! Now everything is joined and ready to cut.
Step Two: Adjust and Flip
Select the text and adjust the size and spacing of your design. I get the most out of my heat transfer material by using every inch I can save, which sometimes makes for odd-shaped vinyl pieces. This means that more often than not, I’m cutting on the mat.
TIP: It’s easier to press the heat transfer material in sections roughly the size of your iron, so with a little planning (and smaller sections), the ironing will be a breeze!
This next direction is crucial. I had a post-it on my machine over Christmas when my Silhouette CAMEO® was doing overtime heat-press duty.
You must mirror the image or it will come out backwards.
To do this: select your entire design. Then, in the Object menu, select “Mirror > Flip Horizontally.”

Step Four: Cut and Weed
It’s time to cut!
Select “Reflective Heat Transfer” from the Materials list in the Cut Settings menu. Insert your vinyl shiny side down into your Silhouette CAMEO® and, click Send to Silhouette!
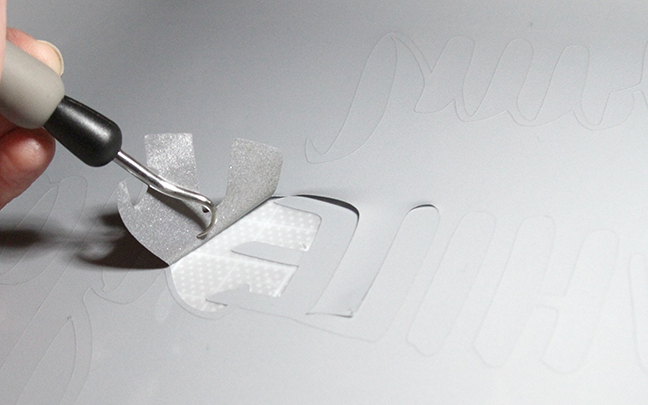
Weeding is like free therapy. It can be tedious but extremely satisfying. Use the hook tool to gently pull away the part of the design that you do not want to press. That should leave your text intact and ready to press onto your pants.
Step Five: Press
Set your iron to the highest cotton setting.
I use a commercial heat press because it’s faster to press multiple items, but this material is made for success using a household iron.
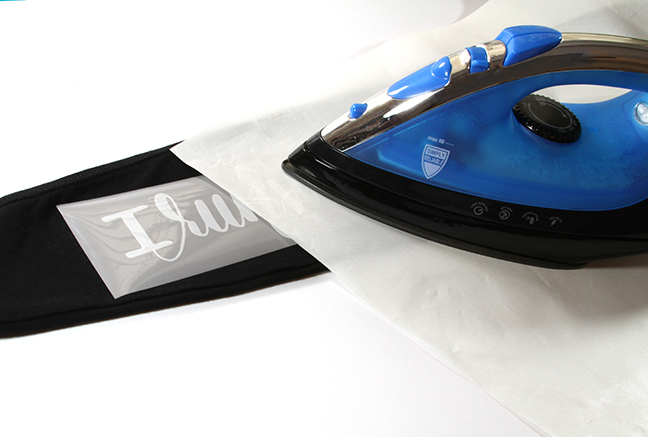
Lay your design right side up (notice that the text is no longer reversed!).
Cover it with a scrap of fabric and press for forty-five seconds with medium pressure. If your design is longer and needs to be pressed in multiple sections, repeat this action for each section.
As soon as your entire design has been pressed, peel away a corner of the clear plastic covering. (Careful not to burn yourself!) If the heat transfer sticks to the plastic and not the fabric, iron for a few more seconds.
And just like that, you’re finished. Can’t wait to see what you will make!
Kelly Wayment
April 5, 2016
Love it! Of course, I’m also in the “sleep while you run” category, but I’m sure your friend will love this!
Annie W
April 6, 2016
Love the lettering! And yes, I’ll be sleeping too…
christi
April 7, 2016
super cute – this saying would look cute on a headband or buff too.
I was hoping this design was in the Silhouette store. Your lettering is much more appealing.
Missy Briggs
April 10, 2016
Thanks, Christi! I appreciate the sincere compliment on my lettering.