Silhouette ModelMaker™ is a software program that allows you to design 3D shapes on your computer to be cut or Print & Cut with a Silhouette cutting machine. This software is for those who like creating 3D objects and models, especially students involved in science, technology, engineering, and math—also known as STEM education. You have multiple 3D shape options that can be drawn and manipulated in the software. ModelMaker™ can send a job directly to your printer or Silhouette machine and has no association with your Silhouette Studio® library.
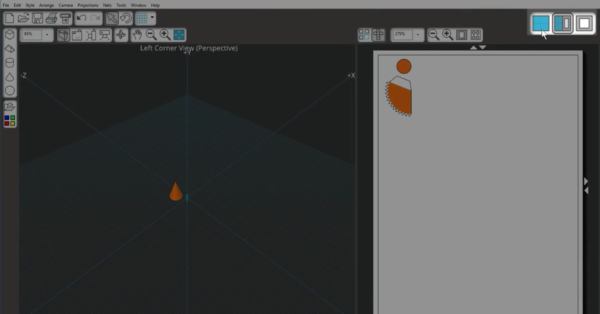
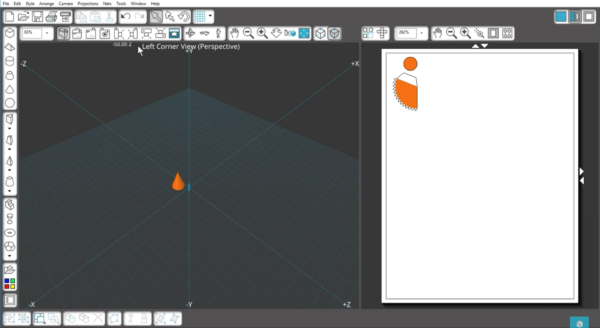
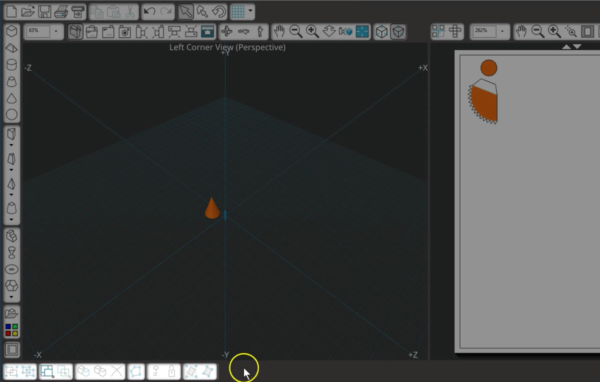
When you first open ModelMaker™, you’ll see the main screen, which is divided into two parts: the Edit Window and the Output Window. You can drag the separation bar to adjust their relative sizes.
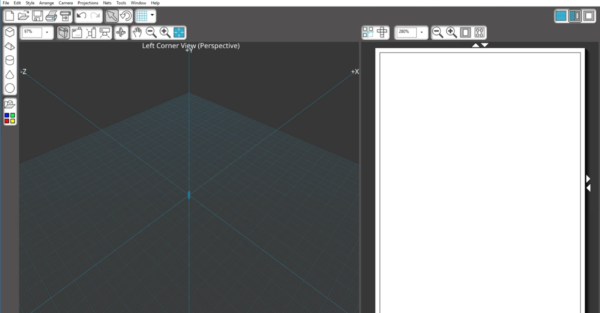
The Edit Window is where 3D shapes are drawn and edited. The Output Window is like a print preview.
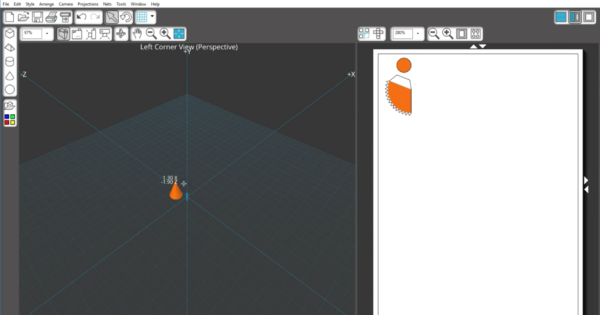
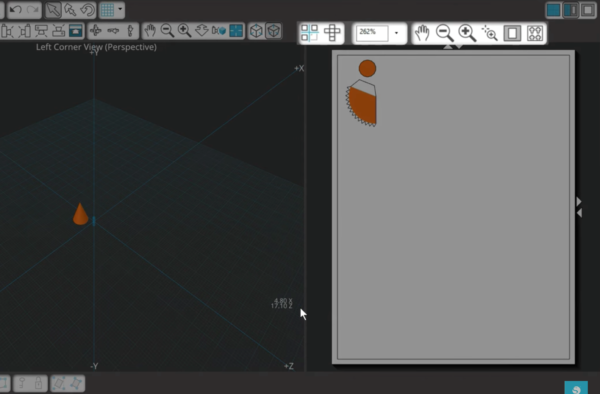
However you choose to display your shapes, here is how they will appear on the printout, whether the shape will show up as a net view (or a flat view that shows all of the shape’s sides at once) or as an orthographic projection (or a view of the shape how you would see it assembled).

You can switch between these windows with the toolbar up here in the upper right corner. We’re looking at the Edit and Output Windows split view, but you can also choose Edit Window only or Output Window only.
Let’s look at the other toolbars. You have typical document tools such as open, print, cut, undo, and redo as well as select, rotate, and other grid options.
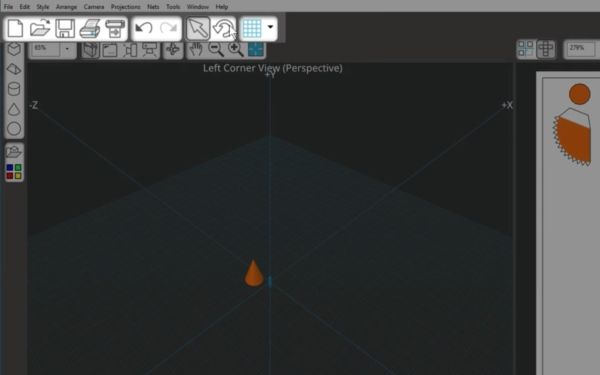
The toolbar below that is for the Edit Window control buttons. These give you options on how you view your shapes in their 3D form.
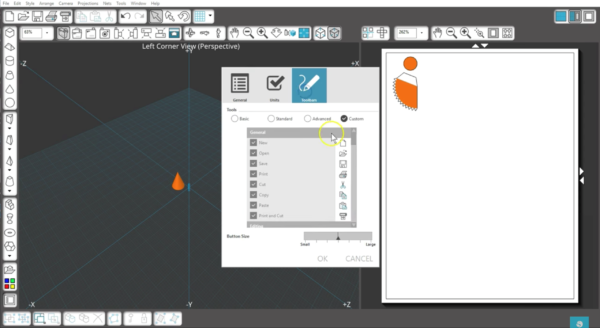
By default, the toolbars show the basic tools, but you can see more controls by going to the Tools menu and choosing between Basic, Standard, Advanced, and Custom.
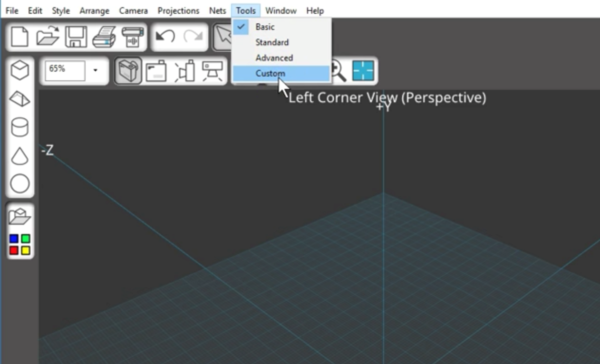
Basic shows the fewest tools and Custom shows the most most tools.
You can customize what you see on the toolbars in Preferences, located in the Toolbars tab.
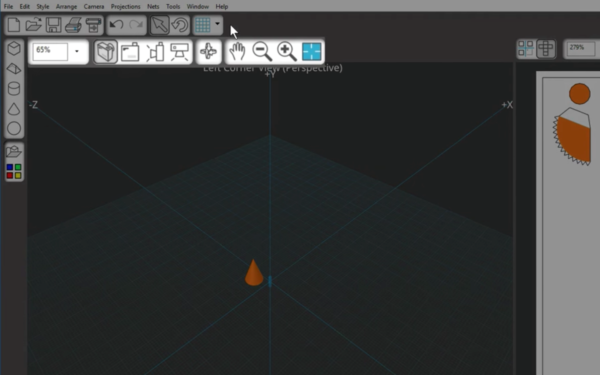
Above the Output Window is where you’ll find the Output Window control buttons. These include projections versus nets, along with zoom tools and auto-arrange nets.
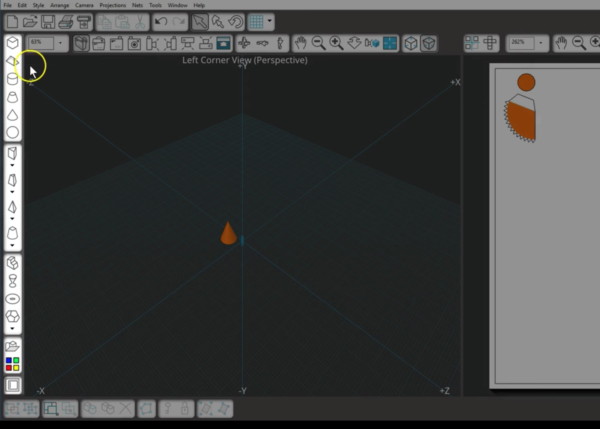
Along the left of the Edit Window, you’ll find the shape drawing tools.
Along the bottom are choices for grouping, selection, duplication, deleting, editing paths, locking, and world or shape axes.
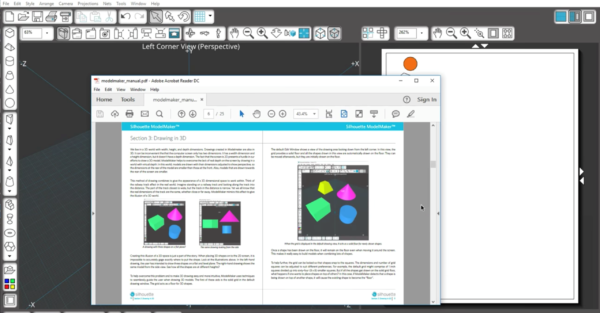
We’ll cover more on how to use ModelMaker™ in other tutorials. For further help on using the software, you can access the manual in the Help menu.