Silhouette Studio® v 4.2 Business Edition adds the exciting new features of Font Creation and Digital Font Creation. With Font Creation you can use your own handwriting to create a font that can be used in Silhouette Studio® and other applications. With Digital Font creation, you can use other shapes and designs assigned to letters for personalized dingbat font. Let me show you how font creation works.
Make sure your ruler is turned on for later editing. The shortcut for toggling your ruler on or off is Ctrl or Cmd R.

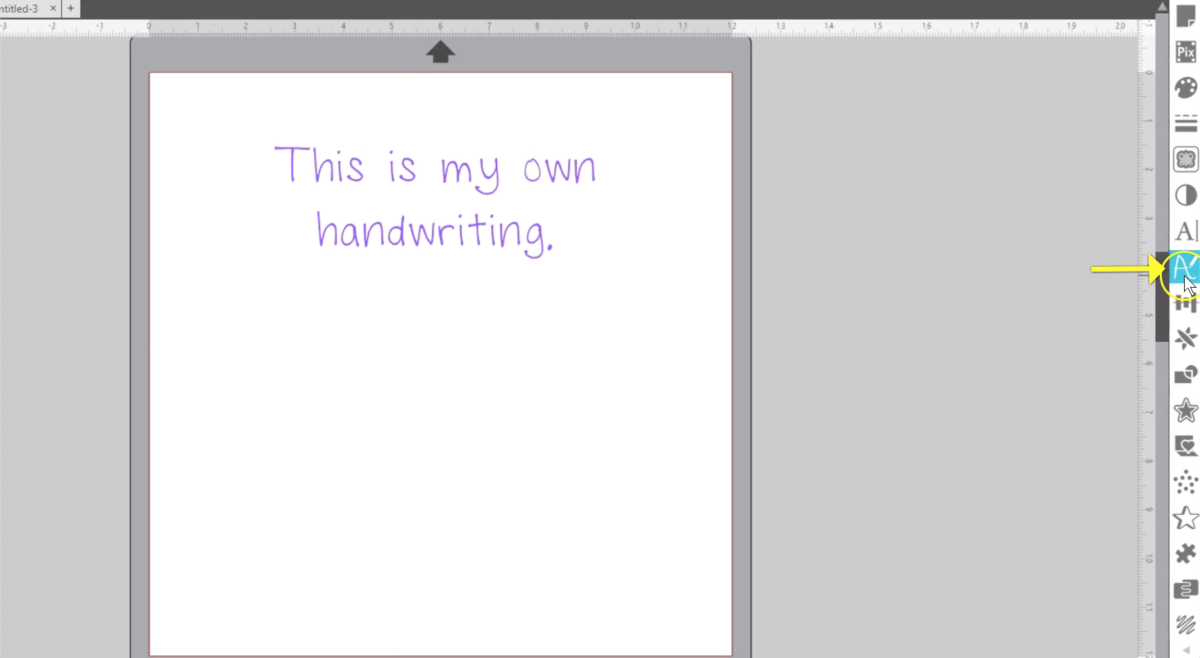
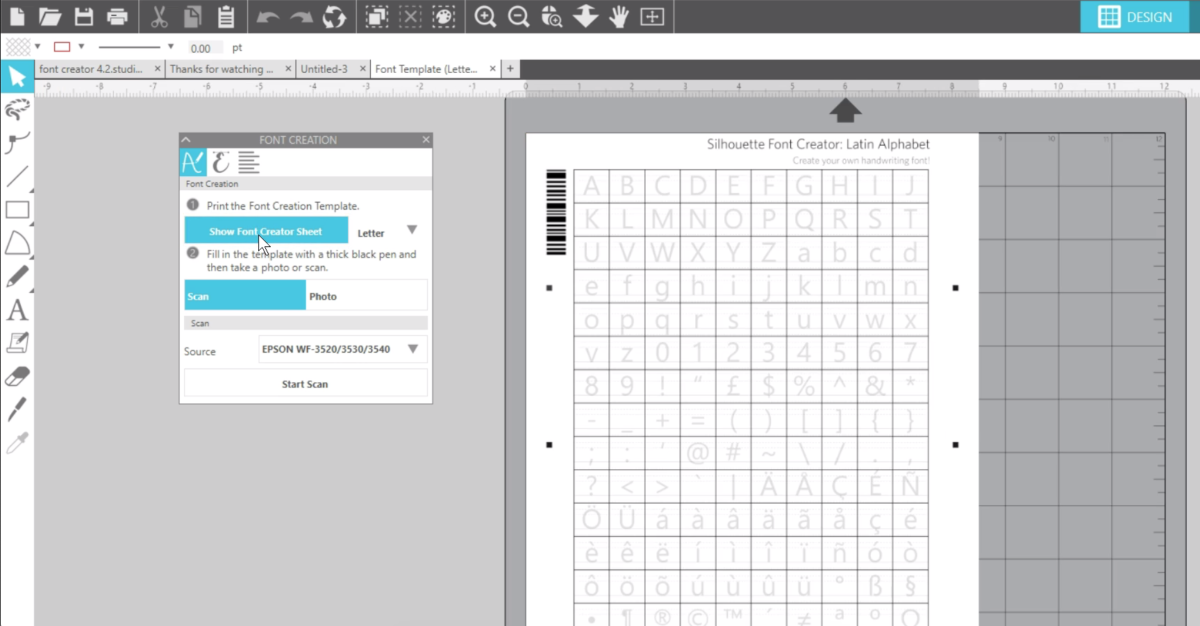
Open the Font Creation Panel on the right side that looks like a hand-drawn letter A.
I suggest dragging the pane out of its default position so it doesn’t close accidentally as you are working later on.
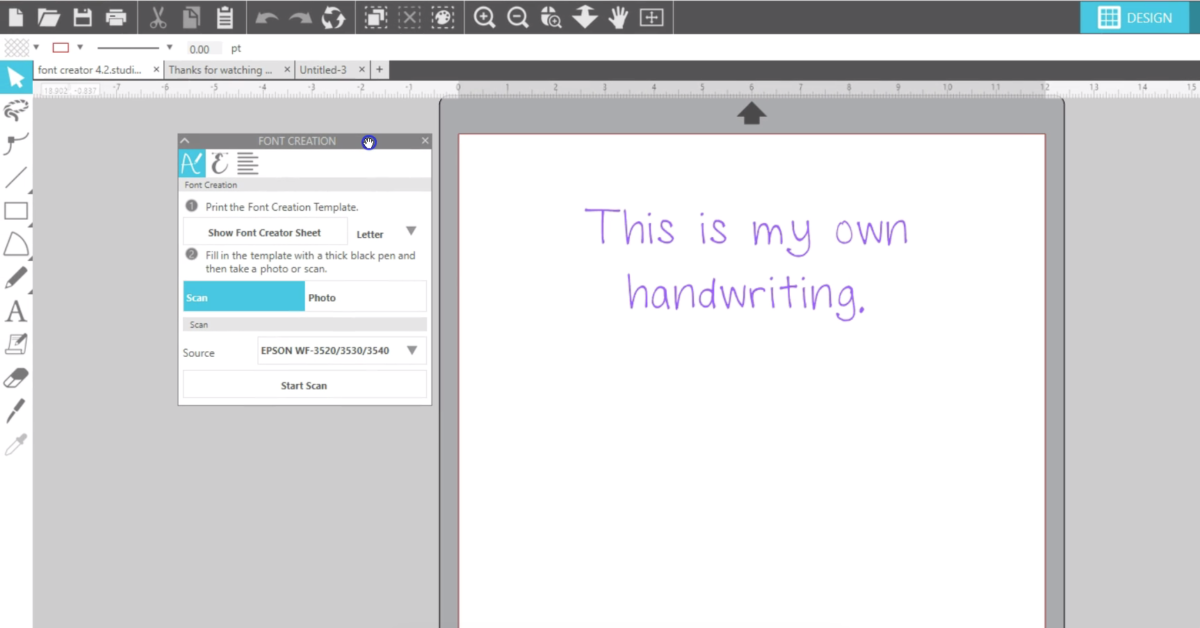
First, print the font creation template by clicking Show Font Creator Sheet and then sending it to your printer. It will print exactly as you see it here with faint gray letters and guide lines in these boxes.
Now use a thick black pen to fill in the printed template. You can write the letters and symbols exactly or you can fill in the spaces with doodles or whatever you want. Try and keep it within these guidelines.
Once your template is filled in import the sheet with a scan or photo. If you’re using a photo find where you’ve save the camera image. You can go through the steps of calibration if your camera isn’t recognized.
I’m going to ignore the calibration warning this time because I know I can edit my letters later if necessary.
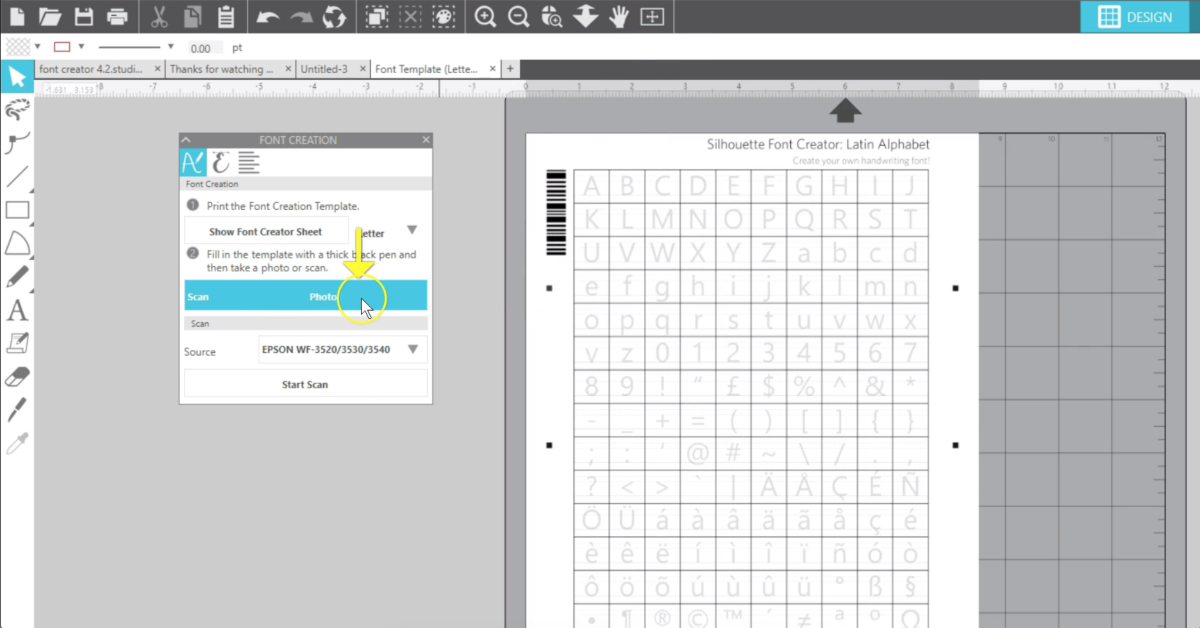

The photo or scan will open the next tab on the panel so you can review, edit, and save your font.
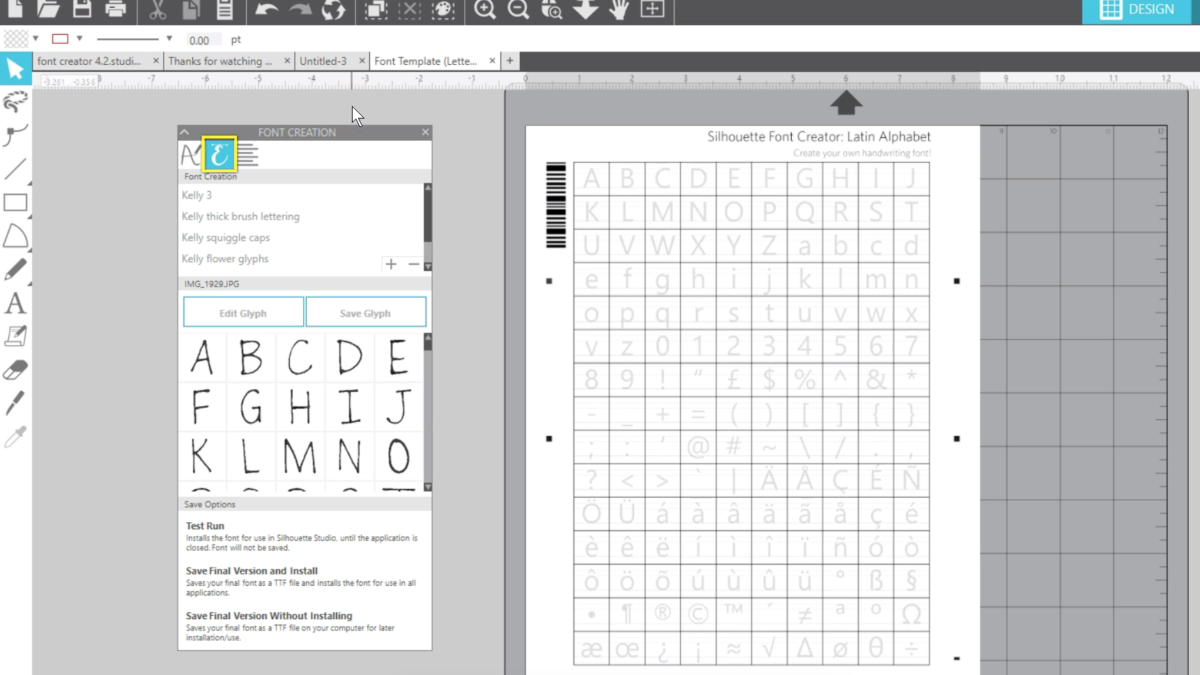
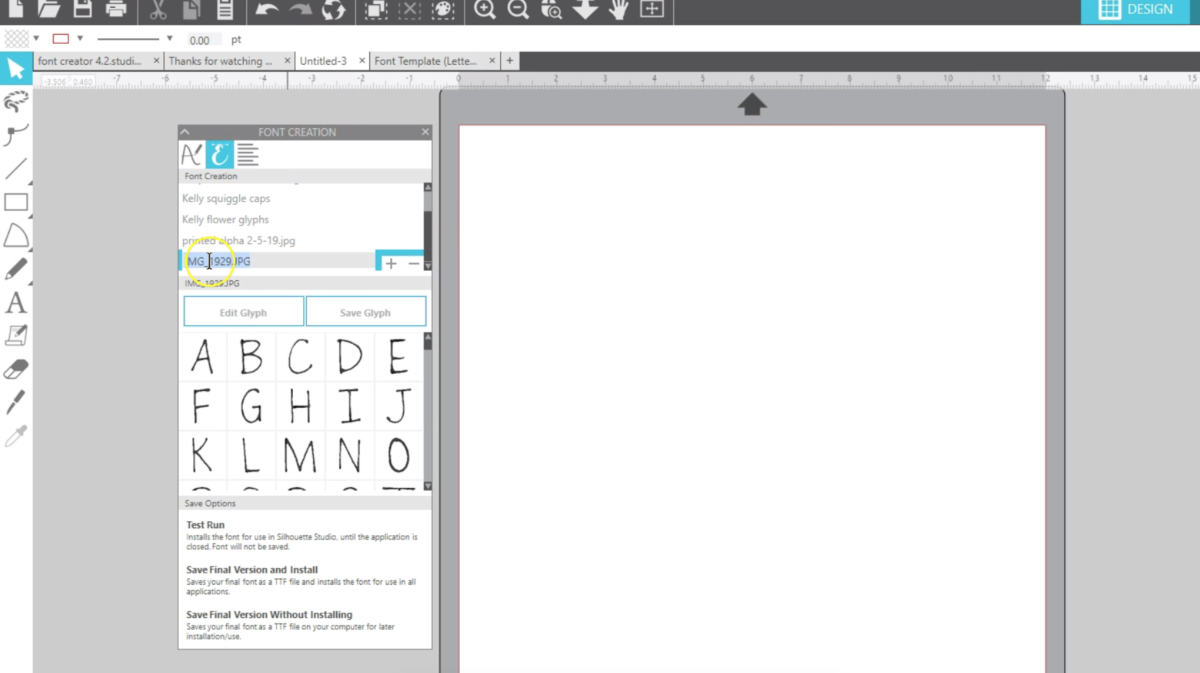
Change the name of the font by double-clicking on it and typing a new name.
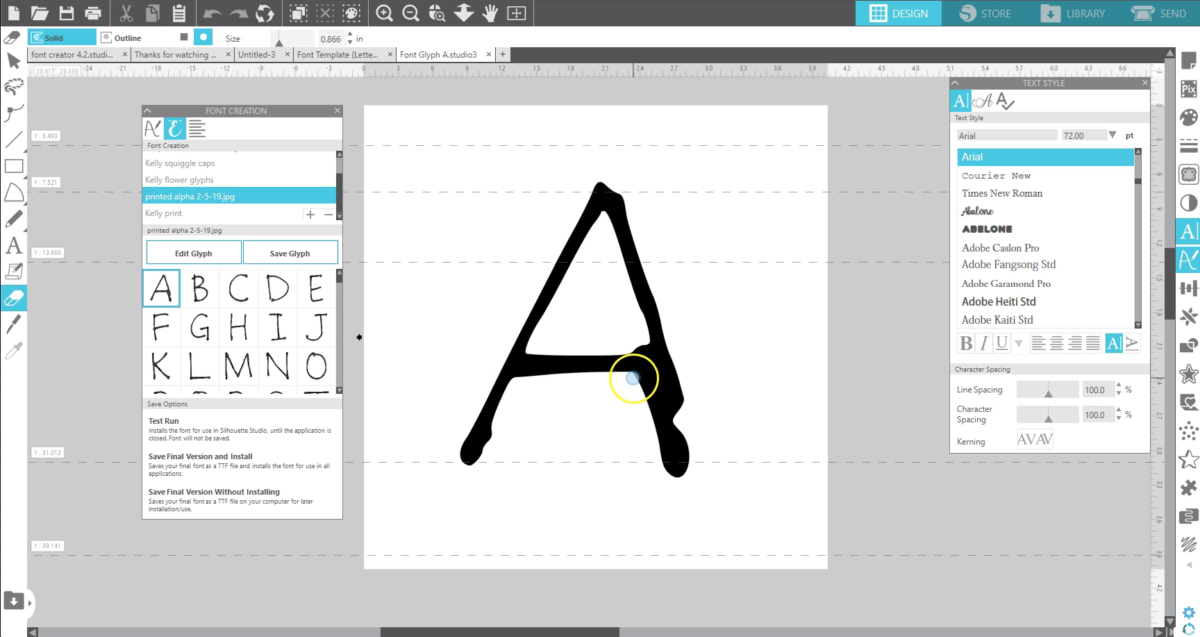
You can view each glyph or letter by hovering over it to see it a little larger.

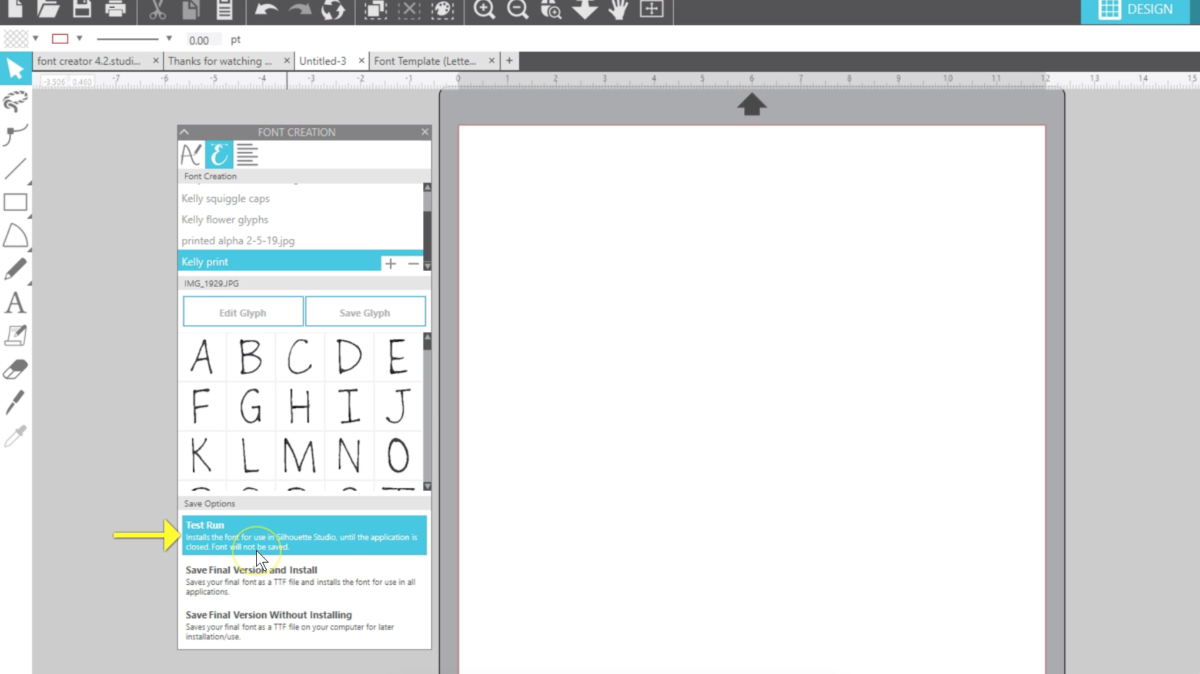
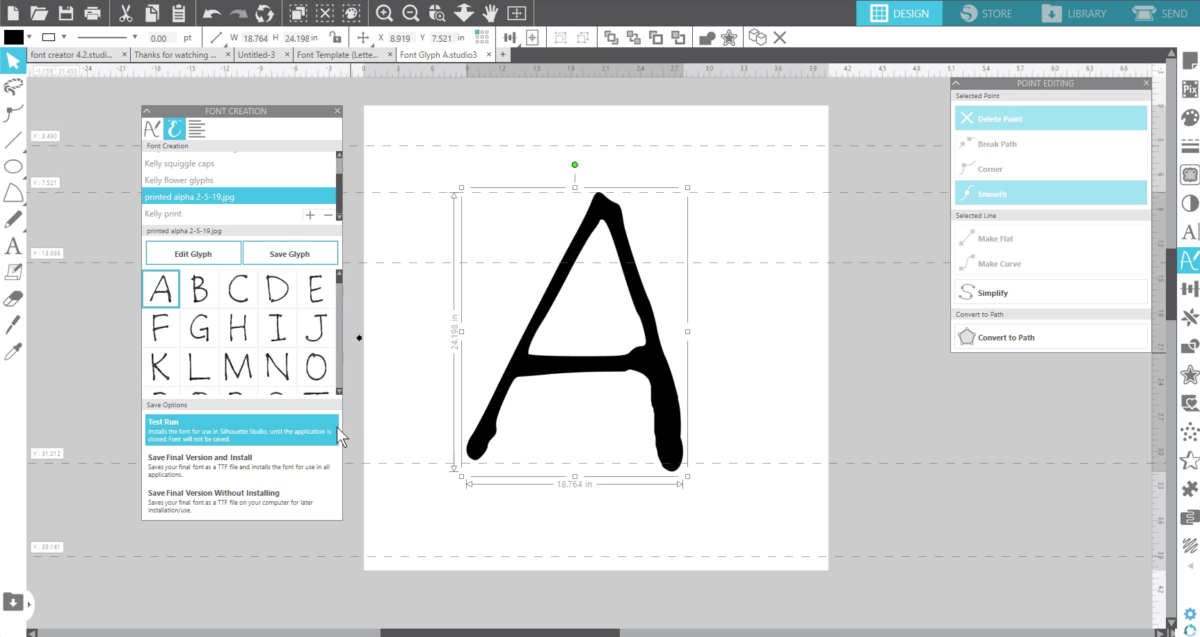
If you want to try it out as a font choose “Test Run” in the Save Options. This will only add it to your font choices until you close Silhouette Studio®.
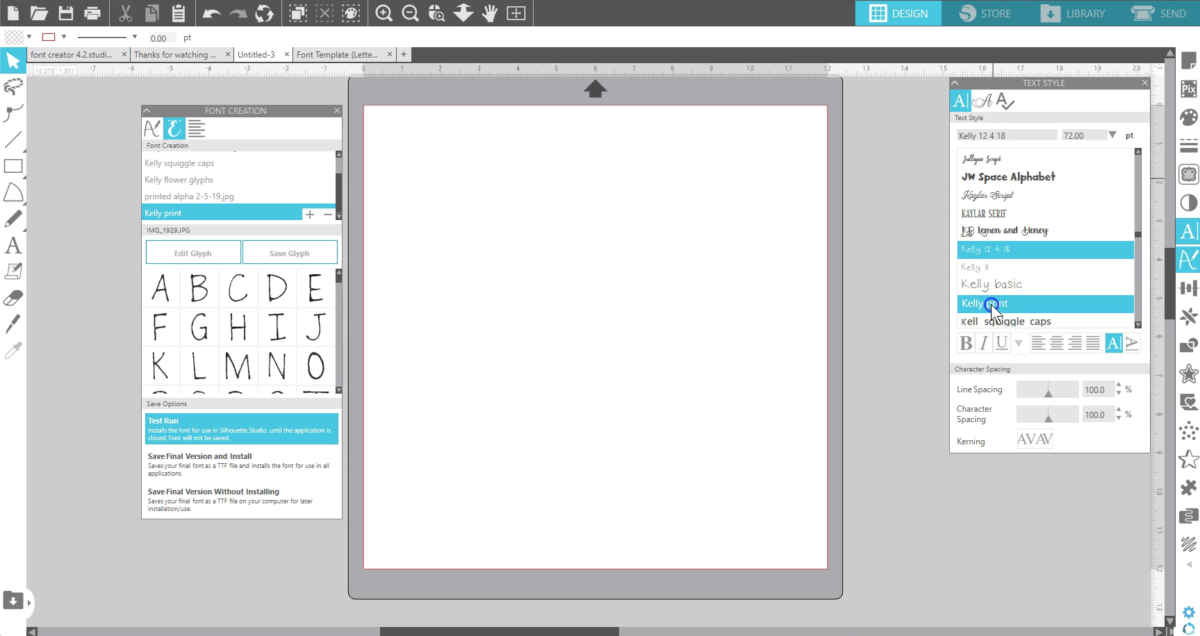
Once you receive the notification that your font has been saved, open the Text Style Panel and find your font.
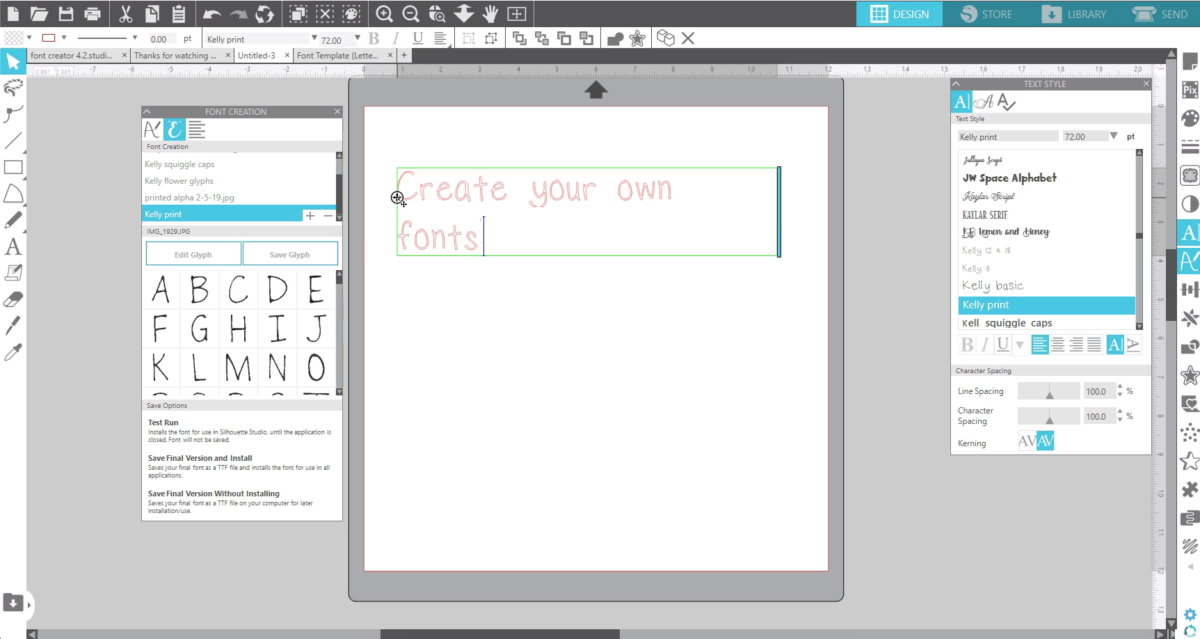
Grab the text tool and type what you want and it appears with the characters you created.
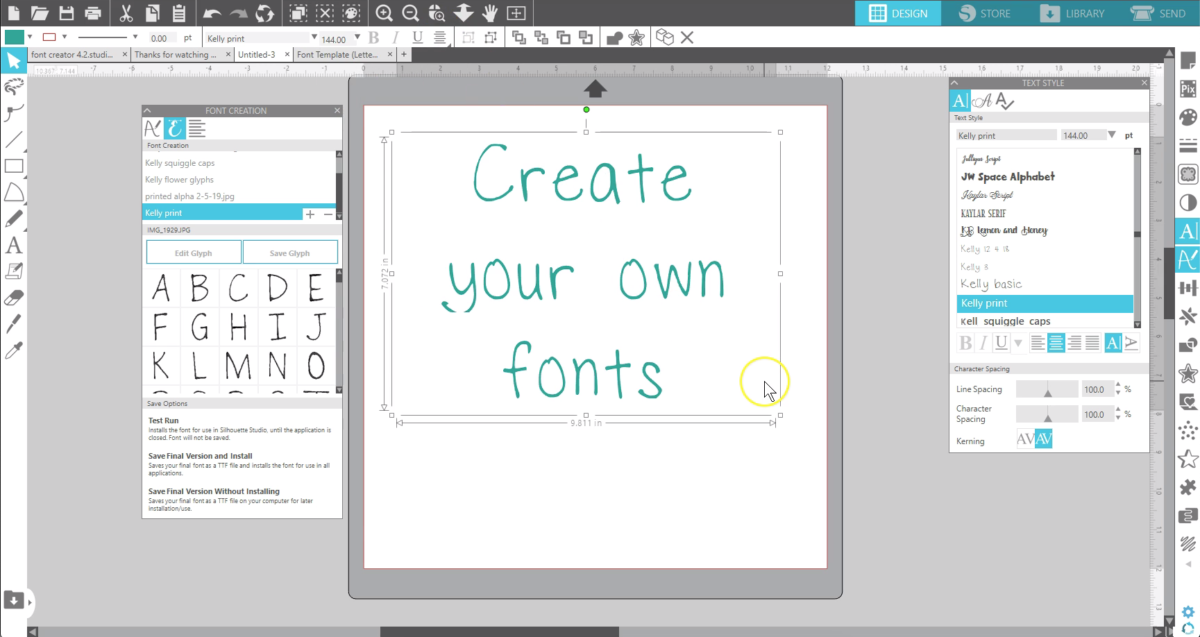
This font can be adjusted with color, size, spacing and any other options available with fonts in Silhouette Studio®.
If you’re happy with it click Save Final Version and Install. Now it won’t disappear when you close Silhouette Studio® and you can use it in other programs that use fonts. The .ttf file is saved on your computer. You can also just save the .ttf file without installing it immediately.

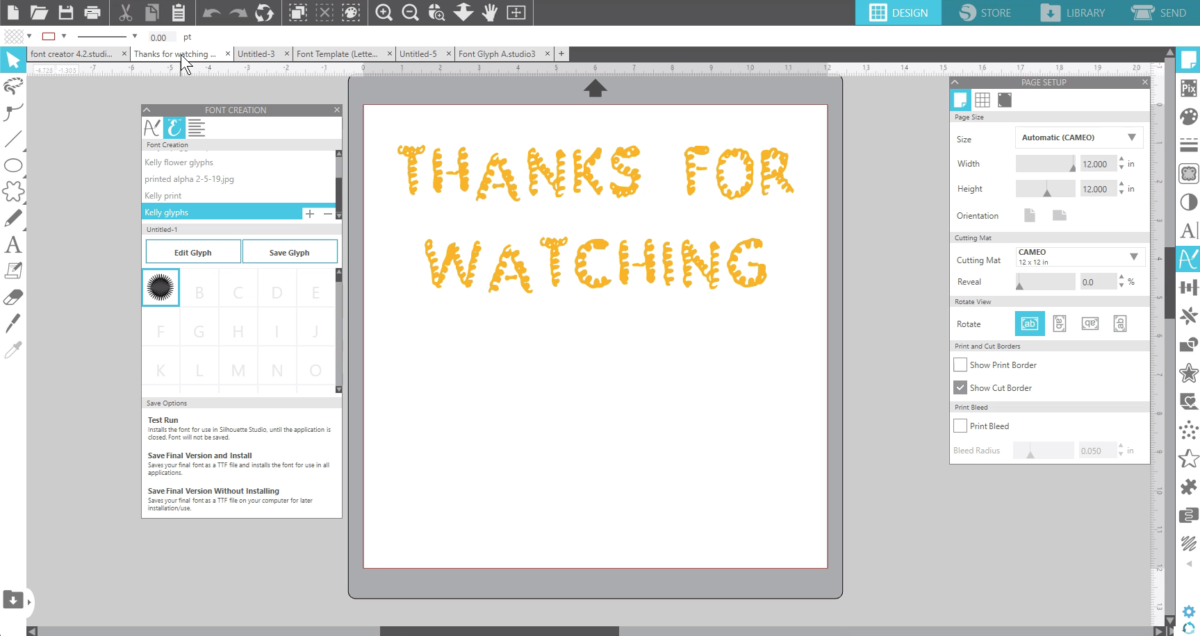
Now about Digital Font Creation, which includes editing glyphs from the fonts you’ve imported. If you want to edit a glyph in a font you’ve created click on the glyph and choose Edit Glyph.

This opens a large editable design where you can use all the design tools you have available in Silhouette Studio®. Use tools like your eraser, shapes and welding and point editing to clean up or alter your letters. Remember to keep your ruler on so you can see the guidelines.
Your letter will snap to guides as well in case you need help aligning to the baseline or resizing to the same cap height for example.

When you’re happy with the changes, choose Save Glyph.
The thumbnails will change upon saving. Not that if you’ve already saved a Test Run of your font you’ll need to save a Test Run again in order for those changes to take effect on the font as you type it.
If you don’t have time to make all the changes at onc,e don’t worry. Even if your test run disappears from your font list in the Text Style Panel upon closing Silhouette Studio®, the fonts you’ve created will all stay here and can be further edited unless you delete them from this Font Creation list. Remember to Save Final Version and Install if you’re ready to keep your font and use it in all your programs.
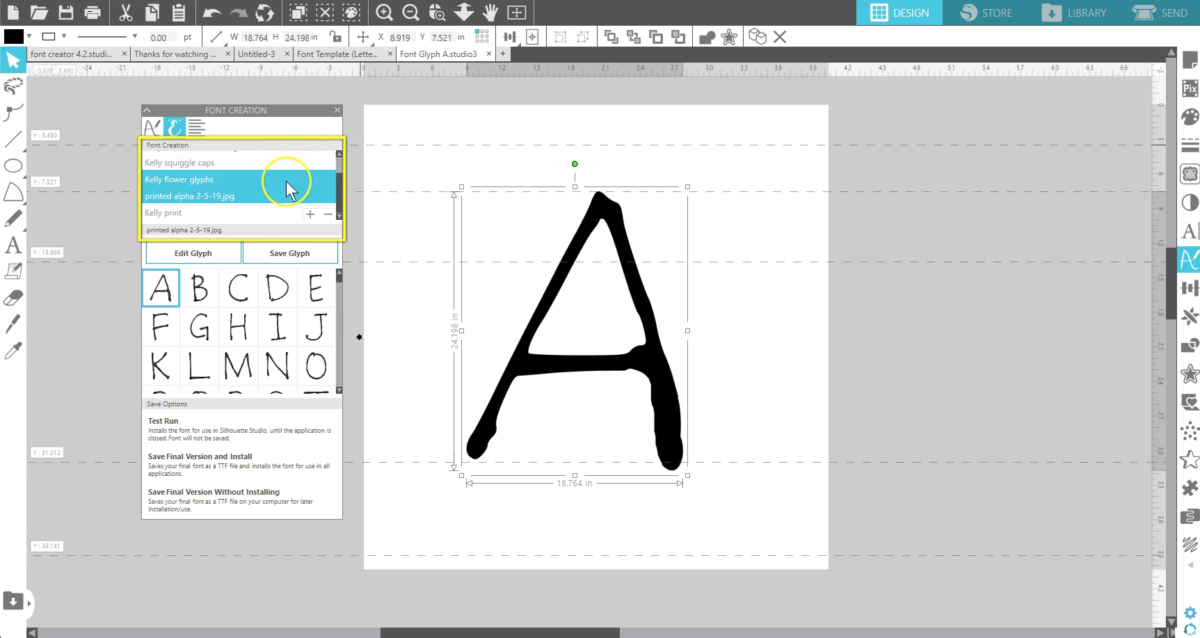
Finally Digital Font Creation lets you create a font completely from scratch. Click the + symbol to create a new font. Type the name and hit Enter.

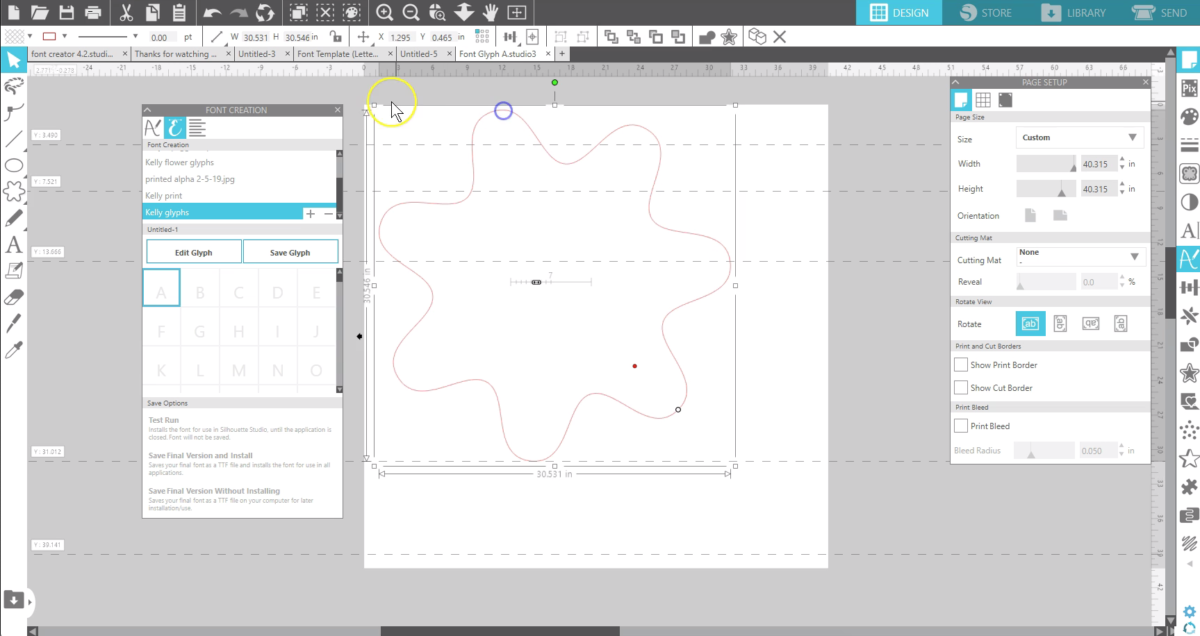
Click an empty box and then choose Edit Glyph. Your character will be assigned to that letter.
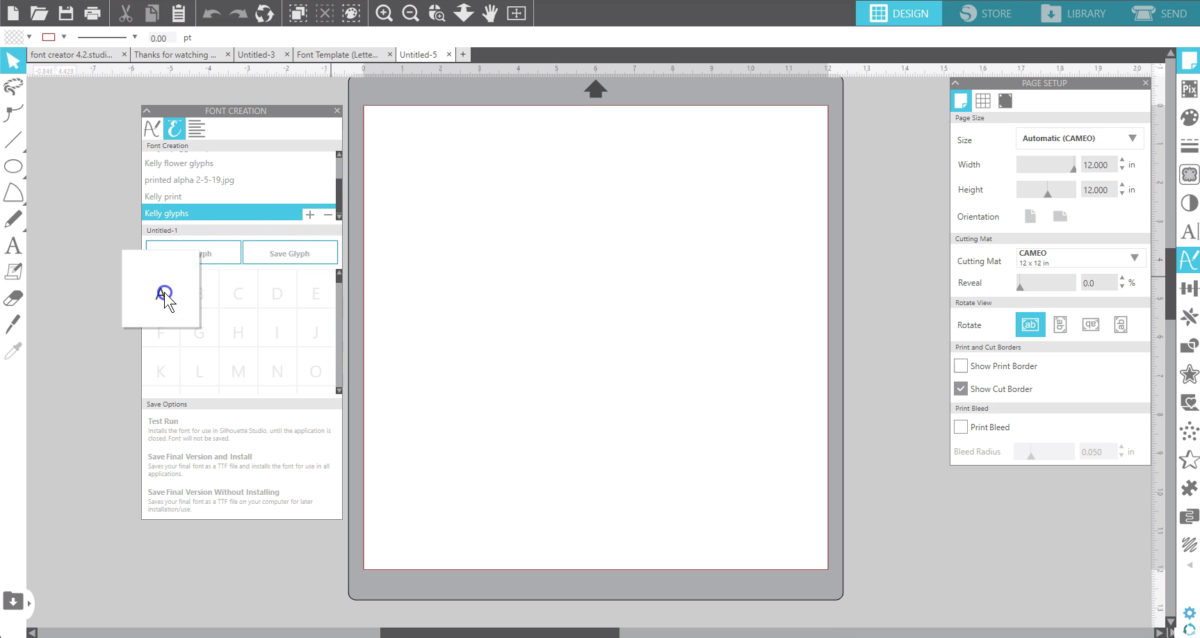
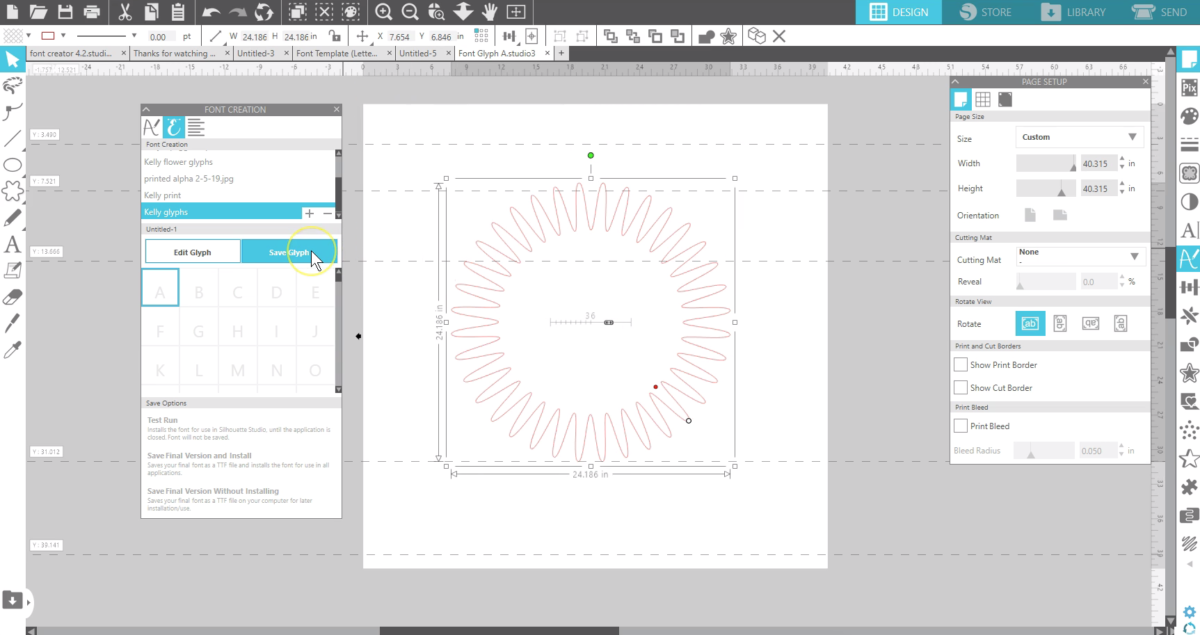
Now you can use your shape tools or any other design tools to create a character.
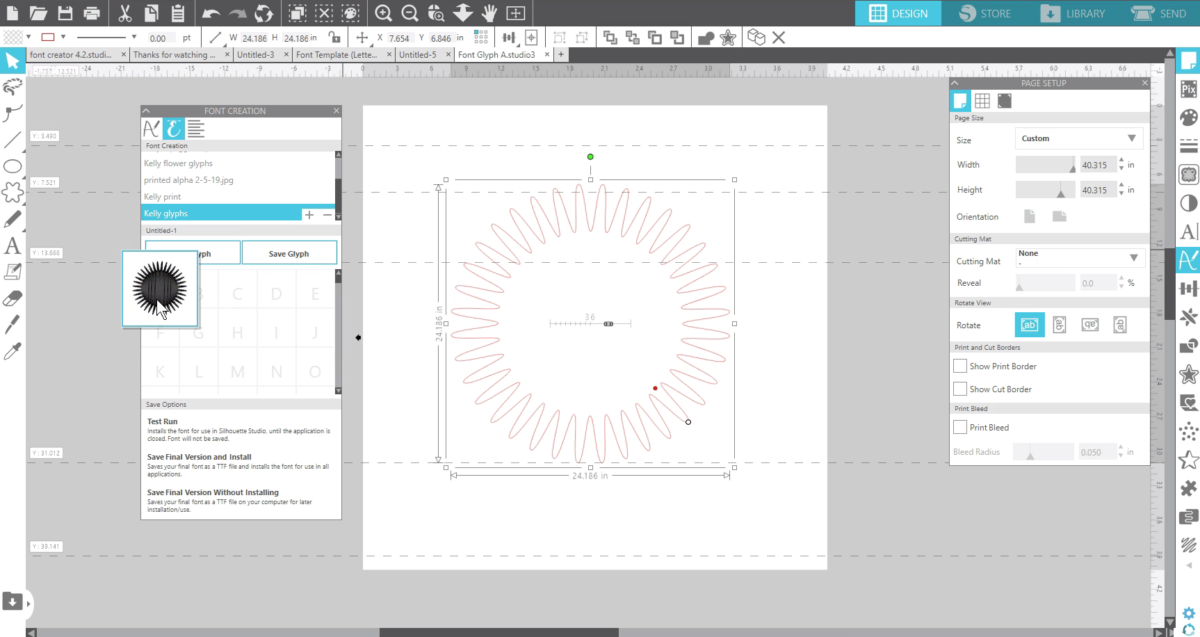
Save each glyph as you create it. The thumbnail fills with black for visibility, but all fonts are empty when you first type them so it doesn’t matter if you create your glyphs with fill colors or not.
You can get really creative in your handwritten fonts and in digital fonts from scratch with these font creation tools. That’s how to use the new Font Creation and Digital Font Creation features in Silhouette Studio® v 4.2 Business Edition.