
It’s no secret that I love my Silhouette CAMEO and all the tools that come with it. I have struggled trying to keep track of all the little parts and pieces that came with it, and I still have the plastic bags to help keep everything organized in my desk drawer. I always seem to misplace tools or search through a drawer when I need something. Well I won’t need to spend so much time searching anymore because I made myself a Silhouette toolbox to house all of my favorite tools in one place. Keep reading to see how easy it was to make using a plastic pencil box and a pretty vinyl design from the Silhouette Design Store.
Supplies Needed:
- Silhouette CAMEO®, Silhouette Portrait®, or Silhouette Curio™
- Silhouette Cutting Blade
- Silhouette Studio®
- Adhesive Vinyl
- Transfer Tape
- Silhouette Scraper Tool
- Plastic Pencil Box
- Design ID#93681

Step One: Creating Your Design
- Open up your Silhouette Studio®.
- Select the Page Setup panel and adjust your cutting mat size to the size of mat you are using.
- Download and open your word art (Design ID #93681).
- Resize the design to fit your pencil box.
- Attach your vinyl to the cutting mat with the color side up and load it into your machine.
- Follow the prompts in the Silhouette Studio® to adjust your blade (if you are using a ratchet blade) for vinyl and double-check to make sure your design has been selected to cut.
- Select “Send” to start cutting.
- Select “Unload” when your machine has finished cutting your design to remove the cutting mat from the machine.
Step Two: Preparing Your Design


- Remove your sheet of vinyl from the cutting mat.
- Use your fingers or a weeding tool to remove the excess vinyl. Be sure to leave your design on the white backing sheet.
- Carefully remove the centers of the letters and graphics. The letters and loops on this design can be delicate, so take your time.
Step Three: Creating Your Toolbox
- Place a piece of transfer tape over your design.
- Use the scraper tool to make sure the vinyl adheres to the transfer tape.
- Gently pull transfer tape away from the backing and make sure the entire design lifts with it.
- Place your design on top of the pencil box.
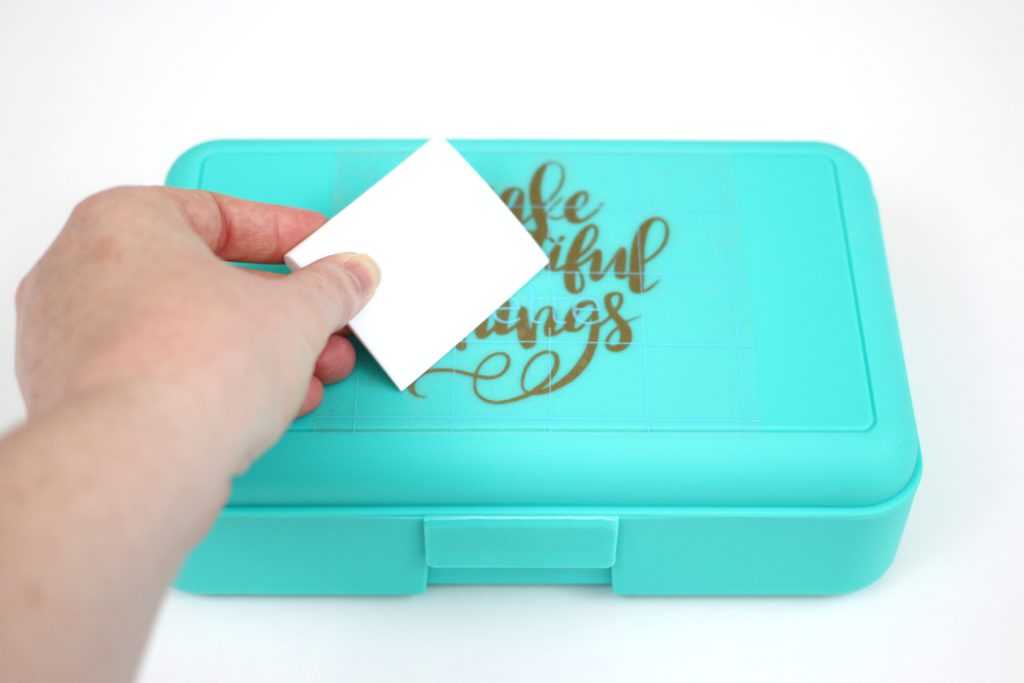
- Use the scraper tool to smooth the design onto the pencil box.
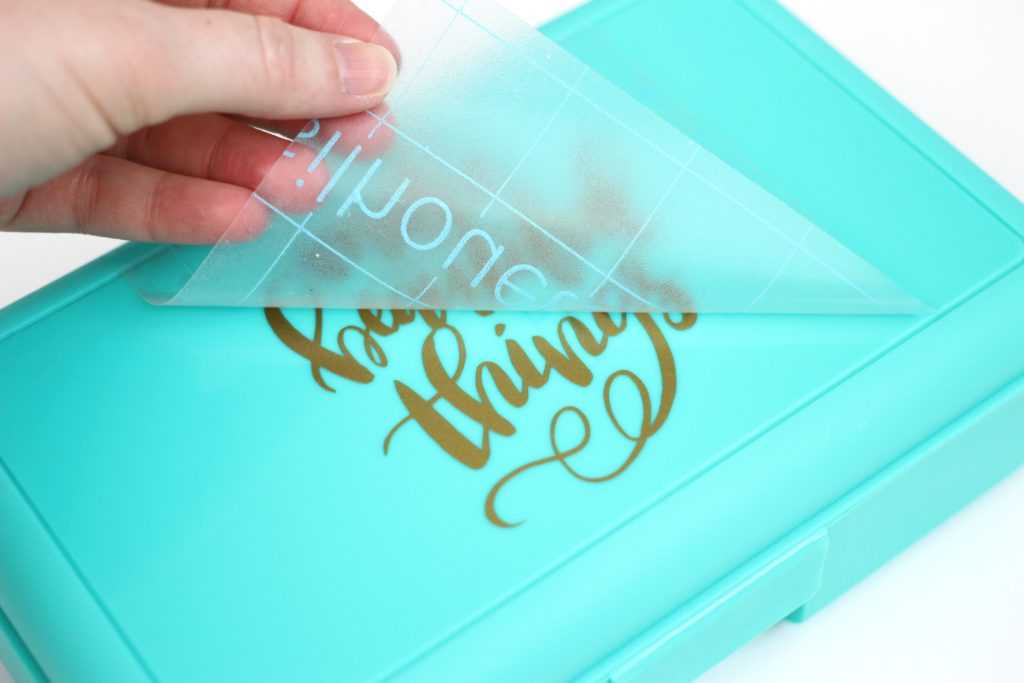
- Slowly and carefully remove the transfer tape, leaving your design on your pencil box.

I am in love with the functionality of this toolbox (it fits in my desk drawer!) and think it looks pretty out on my desk while I am working on projects. The snap closure keeps everything safe in my toolbox, even when it is in my bag, so I can pick it up and take it with me when I am crafting in a different space or at a friend’s house. Tell me what color you would make your Silhouette toolbox in the comments.
This blog post was originally posted on the Polka Dotted Blue Jay blog. It has been edited and republished with permission from the author.