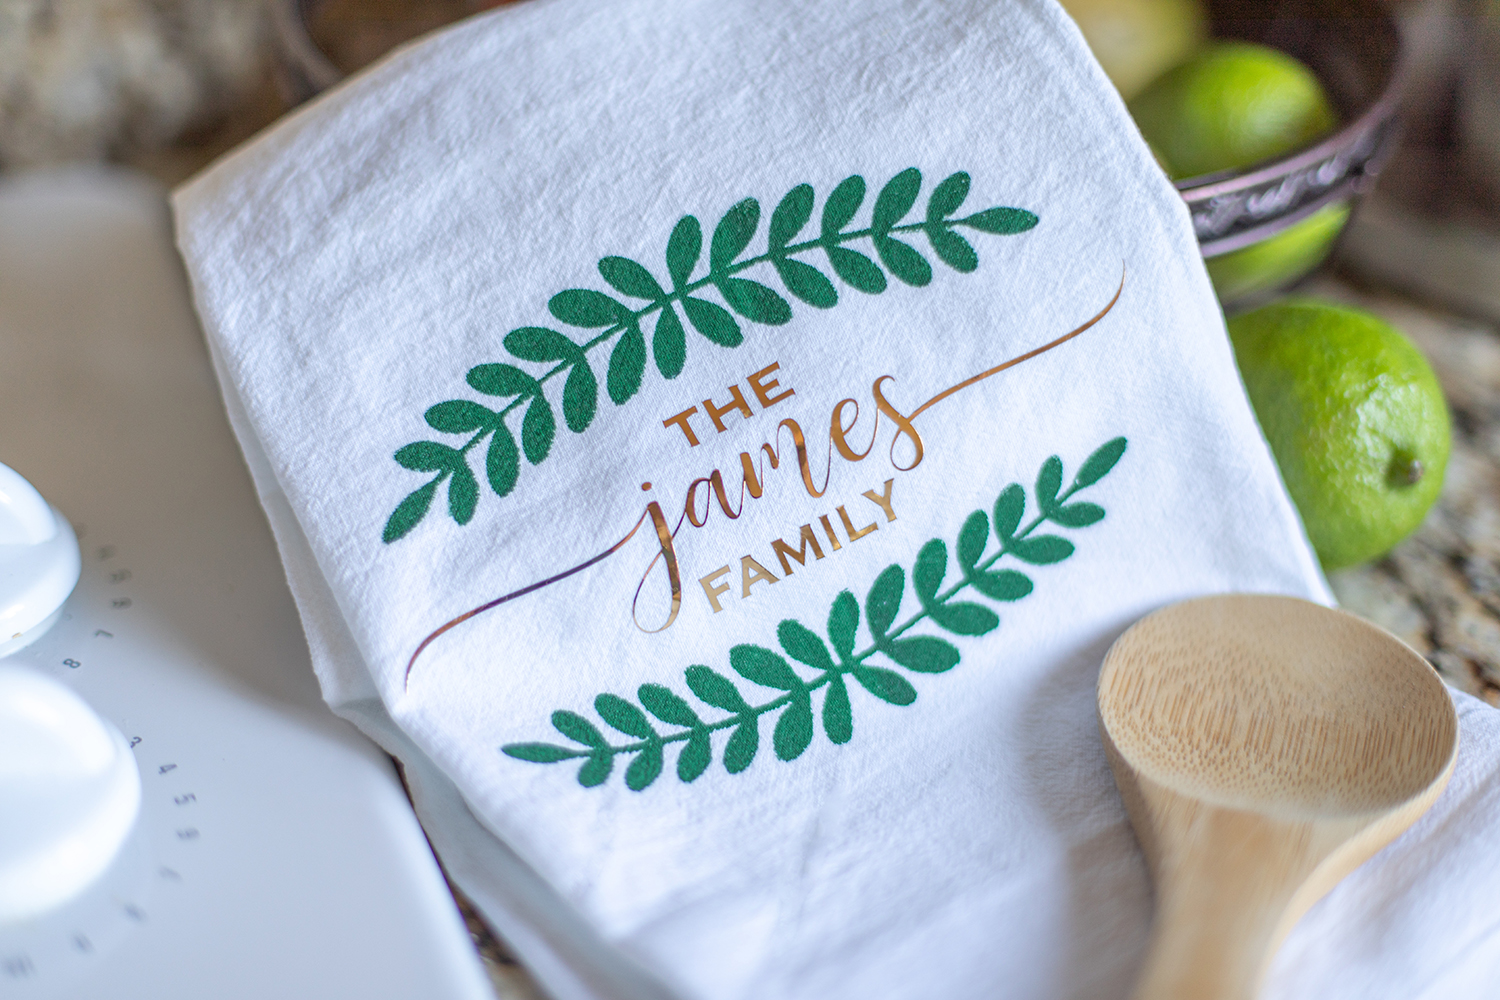
Have you tried silkscreen printing yet? We can’t wait to show you how to use our kit. We are going to make a tea towel using the silkscreen printing method and some metallic heat transfer!
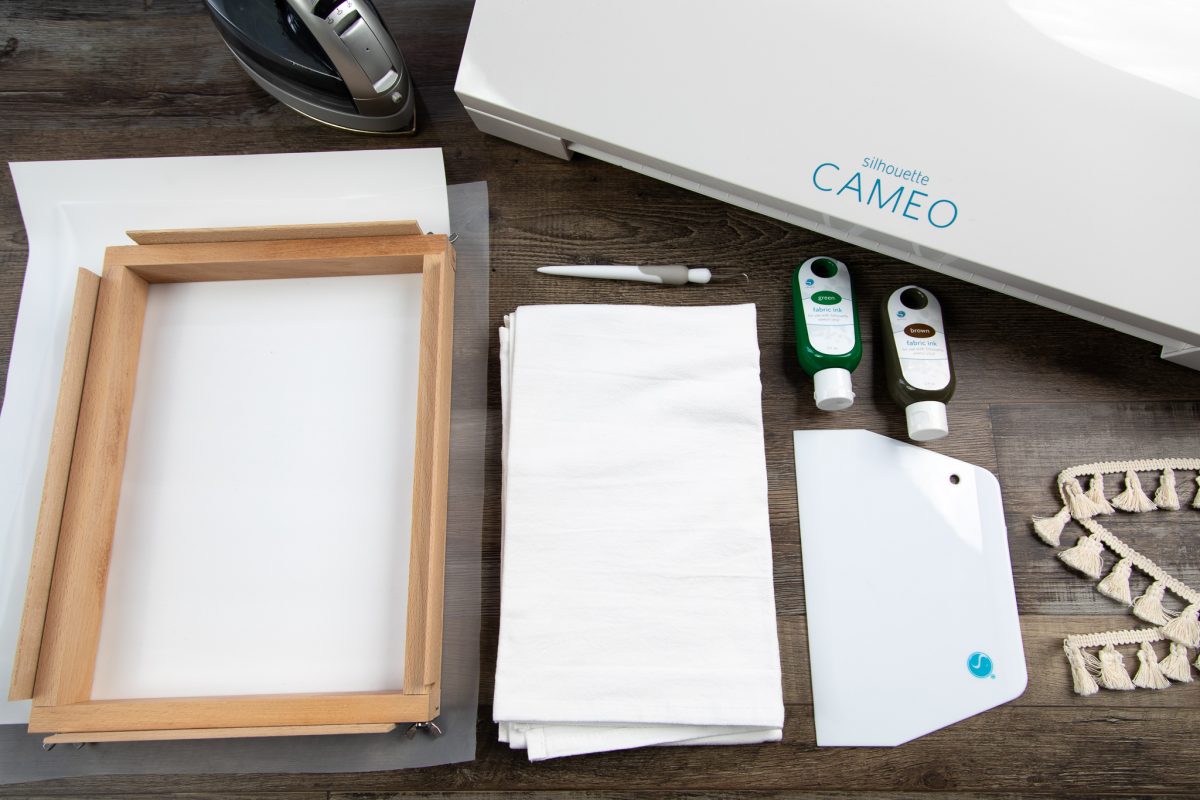
Supplies Needed:
- Silhouette CAMEO® or Silhouette Portrait®
- Silhouette Studio®
- Silhouette Cutting Mat
- Silhouette Cutting Blade
- Silhouette Hook Tool
- Silhouette Silkscreen Starter Kit
- Silhouette Fabric Ink – Green
- Silhouette Vinyl – Heat Transfer in Gold
- Tea Towel
- Iron
- Design ID #298959
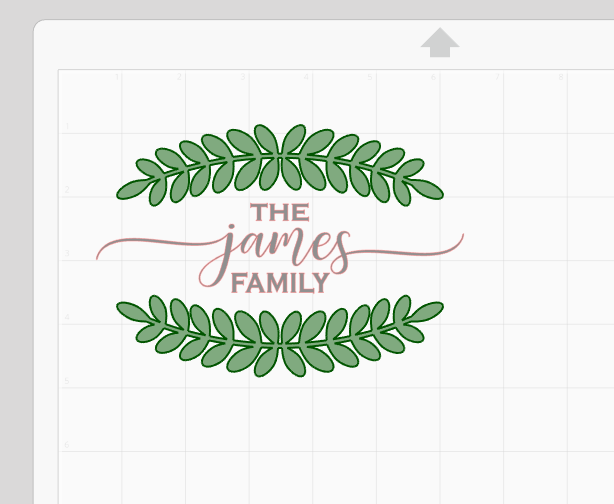
Step One: Finalize Design in Silhouette Studio®
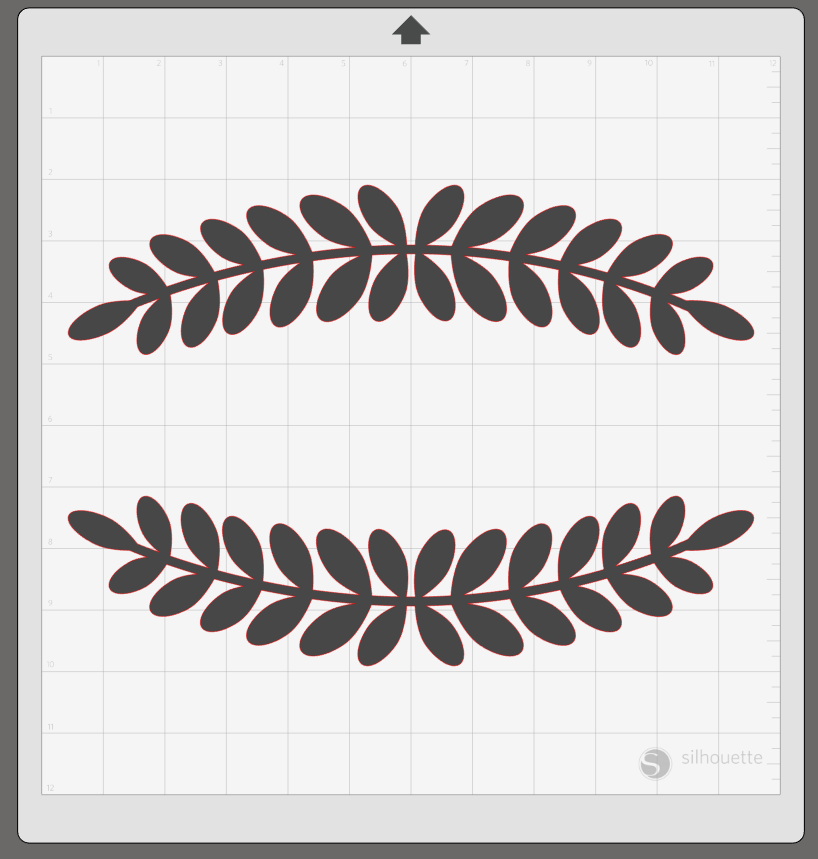
1. Open the design (ID #298959) in Silhouette Studio®.
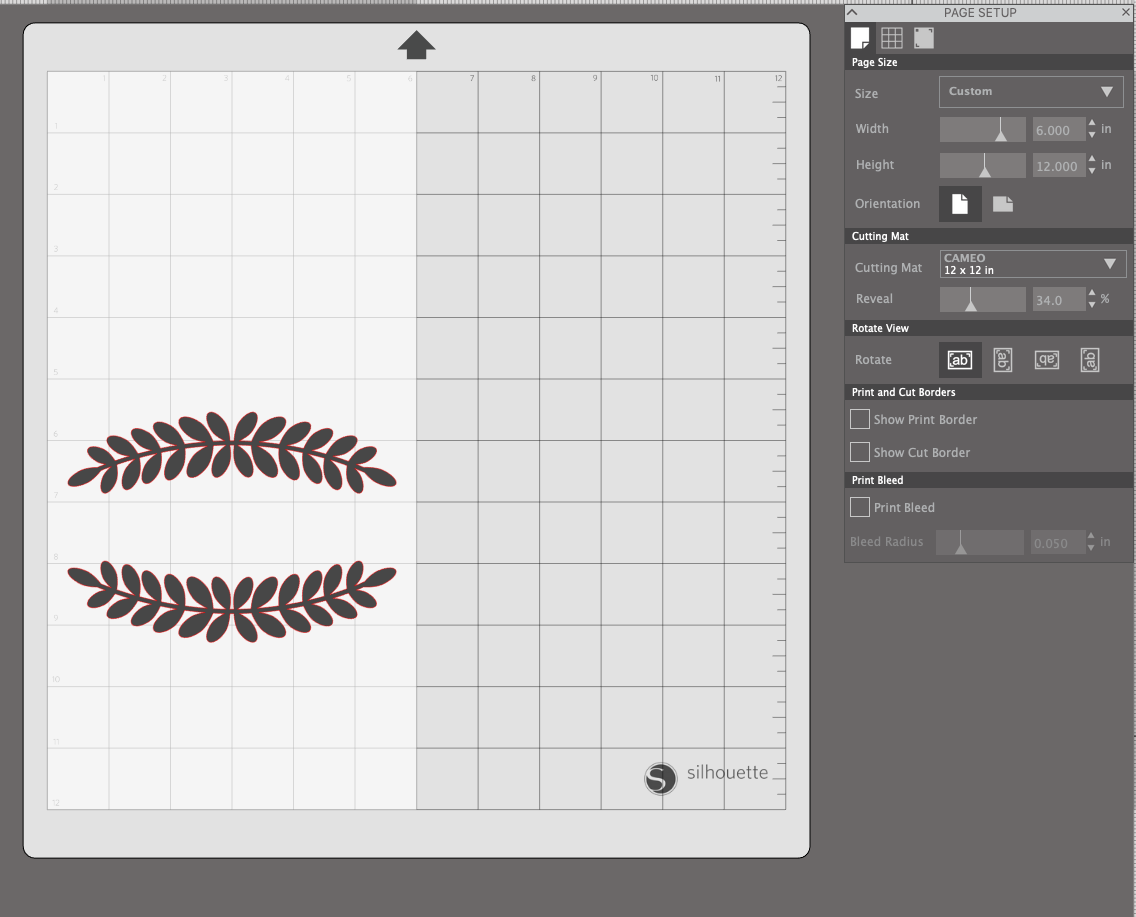
2. Under the Page Setup panel adjust your page size to 6 inches by 12 inches. This gives us a better idea of how the final product will look. Scale the design down to fit within the 6 inches or whatever the width of your tea towel is.
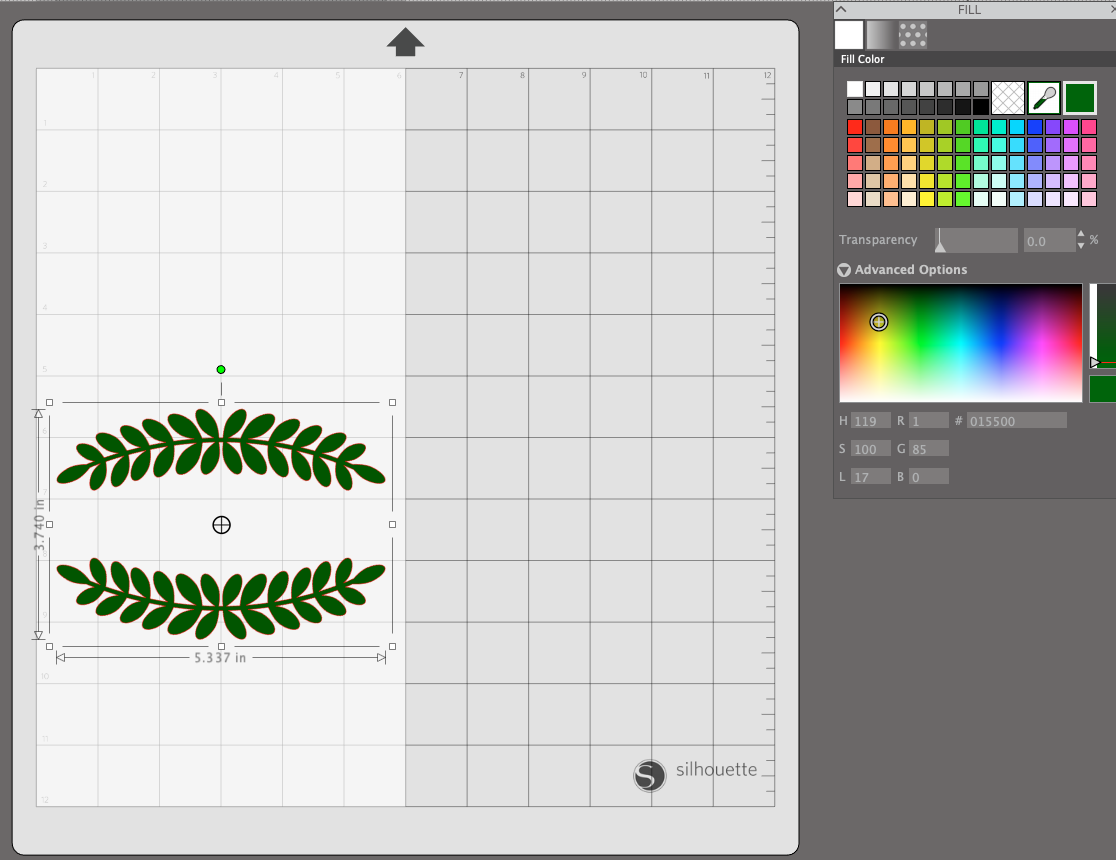
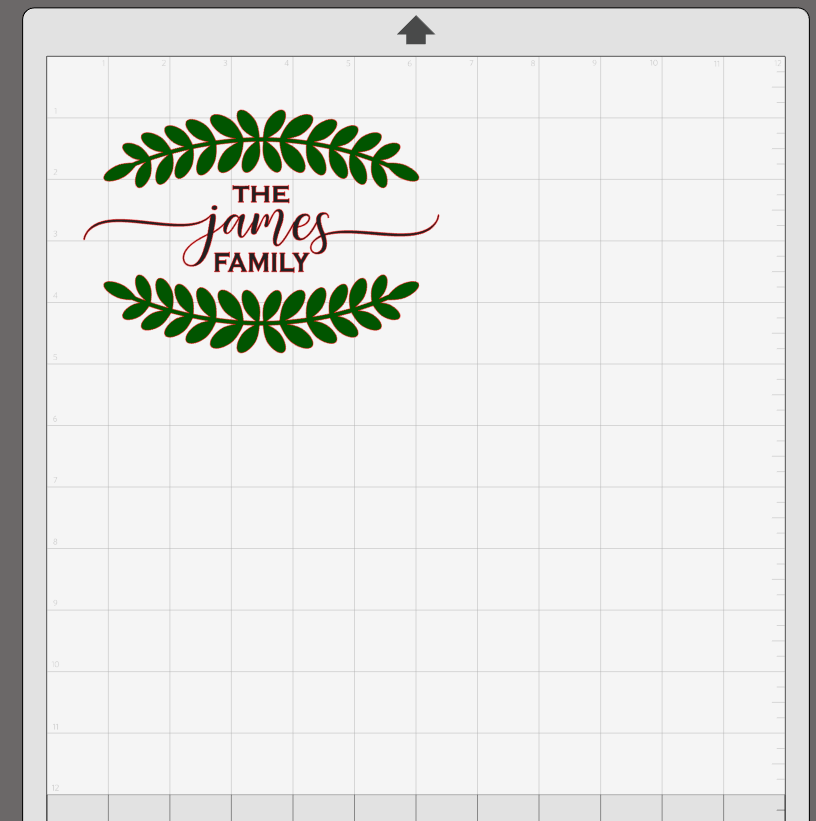
3. Select the laurel leaf design and open up the Fill menu.
4. Select the Advanced Options menu and select a forest green from the spectrum window.
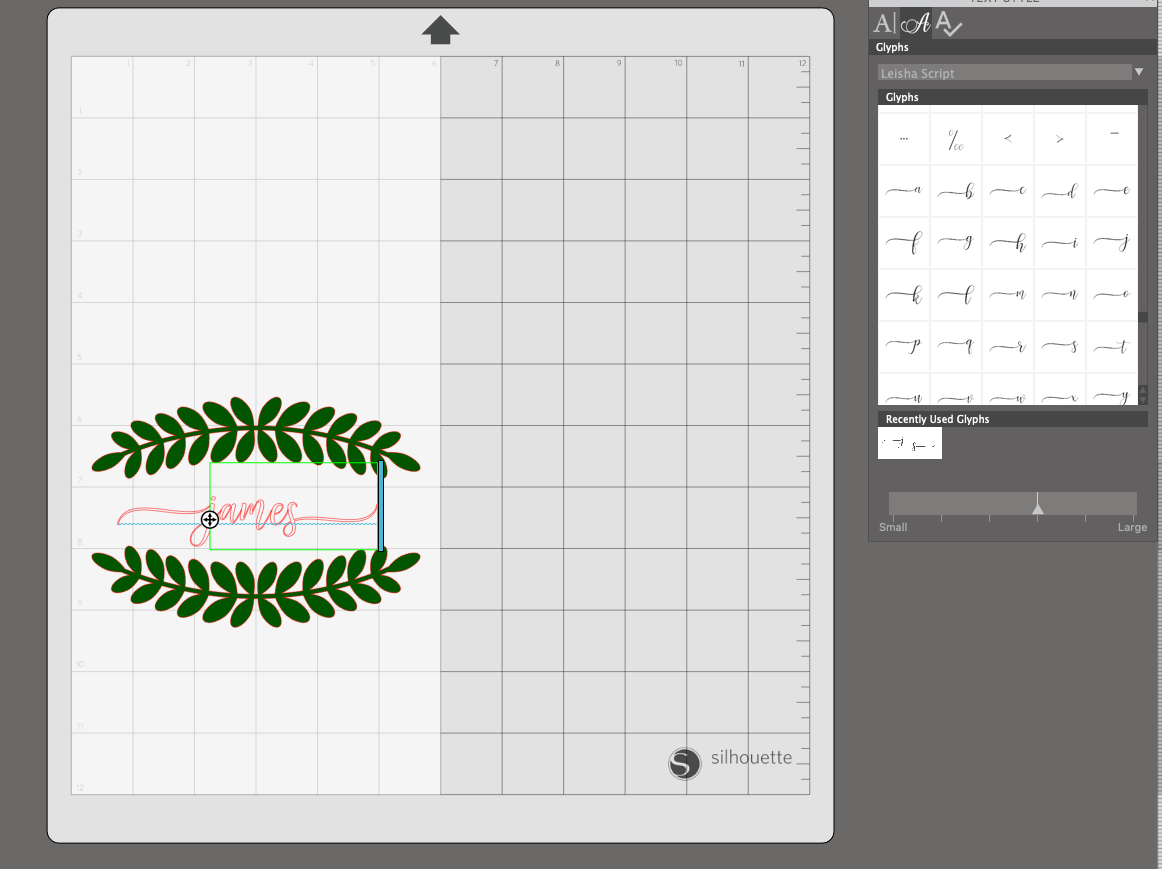
5. Open the Text Style menu and select your font. We used the Leisha Script font. We are going to make it more custom by using glyphs for the beginning letter J and the last letter S, and you can do the same if you have Silhouette Studio® Designer Edition or above.
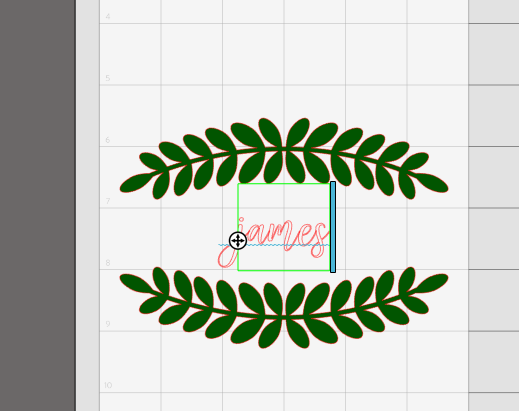
6. Type in the name or phrase, then highlight the first letter in word and open up the Glyph option in the Text Style menu. Scroll down until you find the corresponding glyph with the accent on the end.
7. Repeat the same steps for the last letter.
8. Select the text and weld it together using Shift+Command+W, Shift+Control+W, or right-clicking the text and selecting Weld. This makes the word a single object instead of individual, overlapping letters.
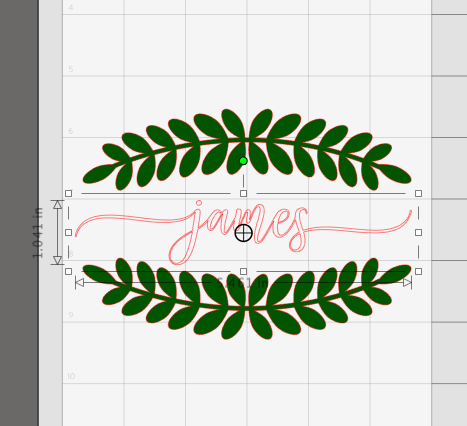
Using the Transform tool, select all your text and the design and select Align Center.
Step Two: Send Design to Machine
1. Once you are in the Send panel, select the Fill option. This will allow us to cut by each fill color.
2. After you select Fill, uncheck the green and click Send to cut the text our of your chosen color of heat transfer material.
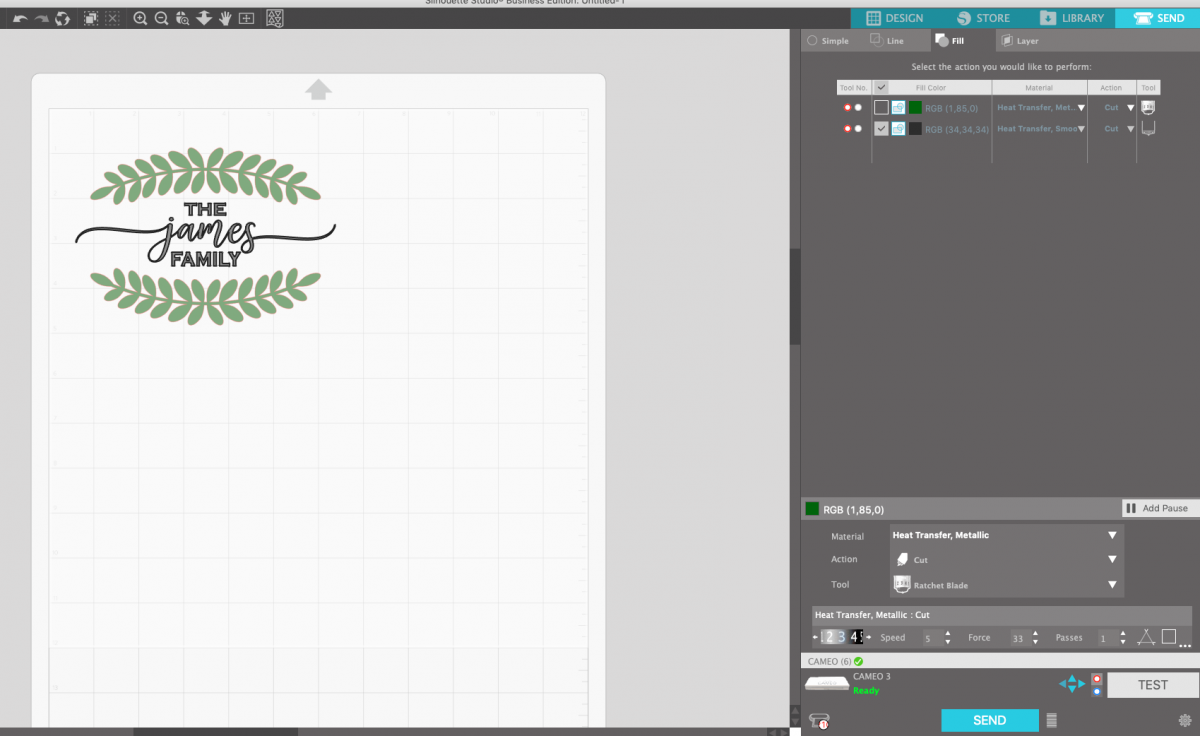
3. Repeat the same steps for the green fill. You can see the below that the green leaves are bold and the black words are not highlighted. This means your machine is only going to cut the green. Make sure your material is the white heat transfer from your starter kit (or whatever heat transfer you choose to use as your silkscreen stencil).
Step Three: Assemble Your Silkscreen
For a detailed tutorial on how to get started assembling and using your silkscreen starter kit watch here and read here.
1. Start by assembling the frame.
2. After you have cut your heat transfer material, weed the design (not the negative space; remember, we are creating a stencil of the design).
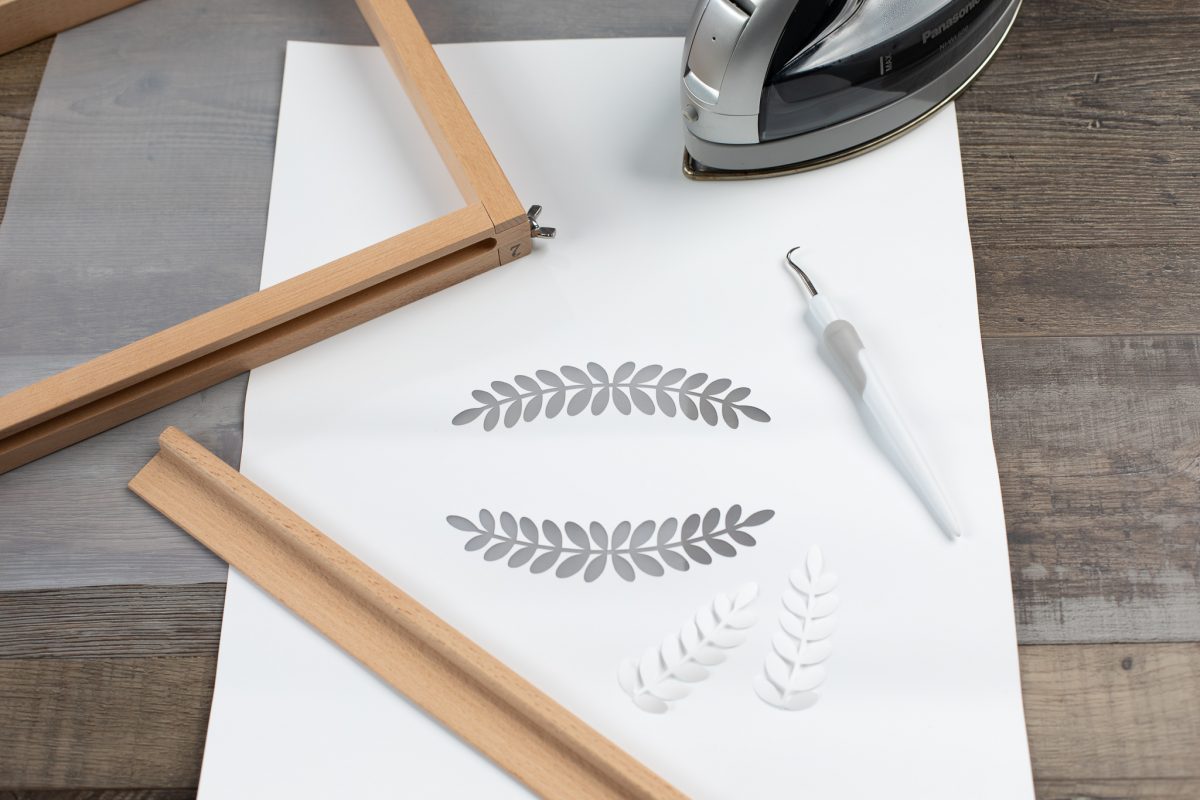
3. Place the heat transfer on top of the screen, cover it with a cloth, and press them all using heat from an iron or heat press.
4. Insert the screen into the frame with the screen side down.
5. Put some fabric paint above the design on the heat transfer side of the design.
6. Use your spatula tool or squeegee and, with a smooth, firm motion, wipe the paint over the design.
7. Carefully lift the frame from your material.
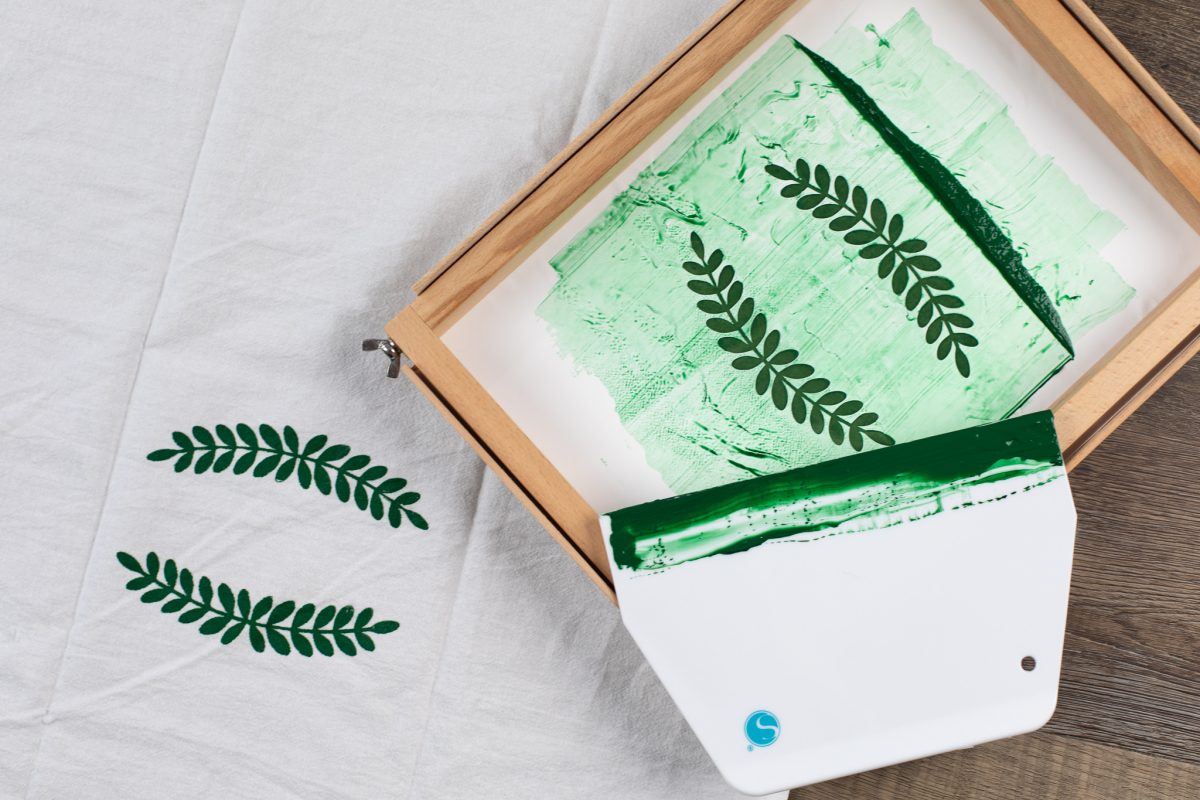
And repeat! That’s the fun part about the silkscreen, you can use the silkscreen design over and over and over. And when you’re done, simply wash off the screen and store it for use again. What will you make with the silkscreen kit?