
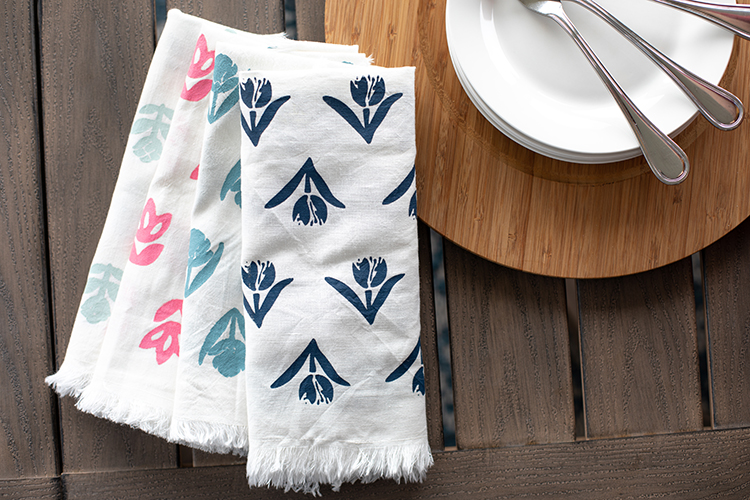
The nights are getting warmer, and we are taking every opportunity to enjoy the weather and eat outside! If you’re itching to entertain, step up your game by creating some custom napkins with silkscreen botanical prints! They make dinner a little more special, and you can easily just toss them in the wash at the end of the night.
Supplies Needed:
- Silhouette CAMEO® or Silhouette Portrait®
- Silhouette Cutting Mat
- Silhouette Cutting Blade
- Silhouette Silkscreen Starter Kit
- Fabric Ink in your choice of color(s)
- Cloth Napkins
- Ruler
- Pencil
- Design ID #6297 or any botanical design
Step One: Prepare the Design
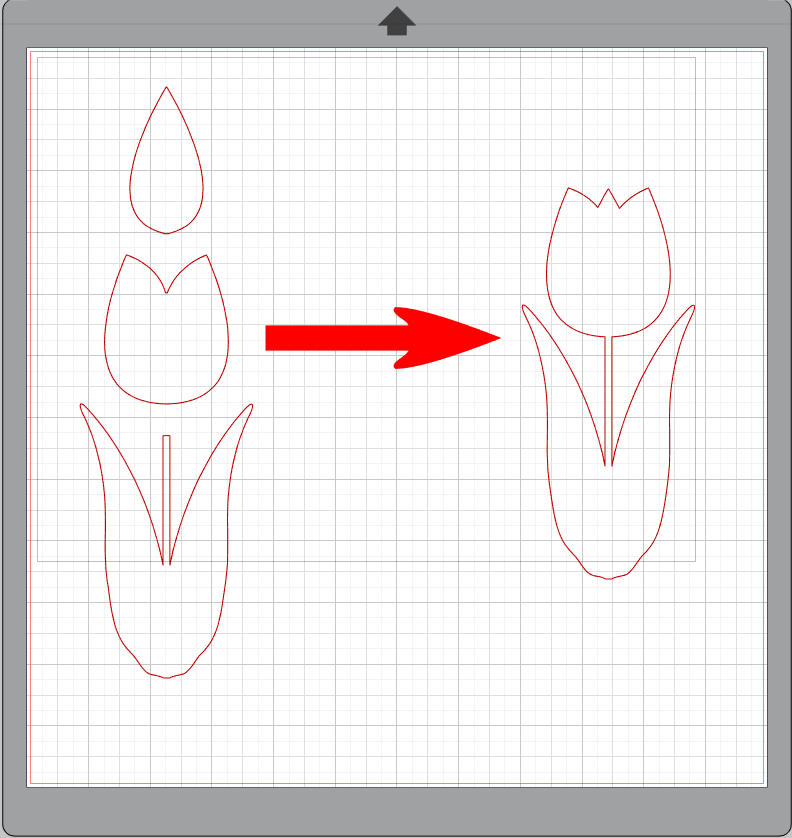
1. Select any flower or botanical design from the Design Store and insert into Silhouette Studio®. For this tutorial, we’ll be using Design ID #6297. Overlap the pieces of the design and Weld them together using the Modify panel to make one image.
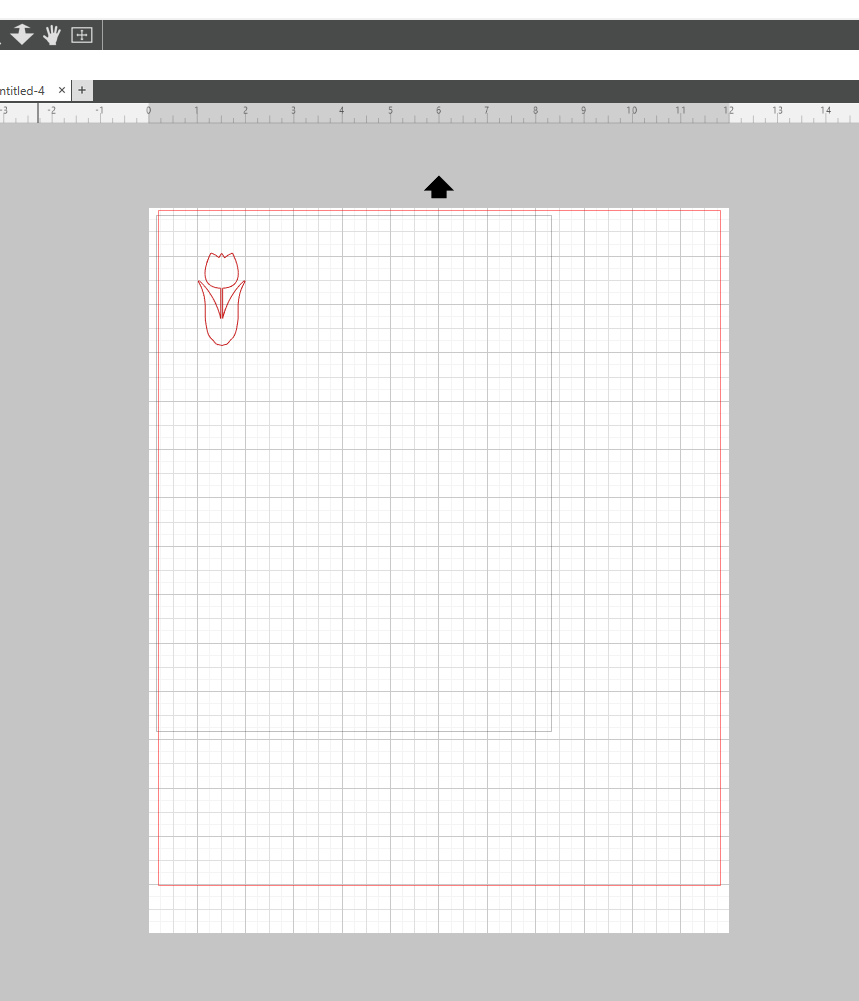
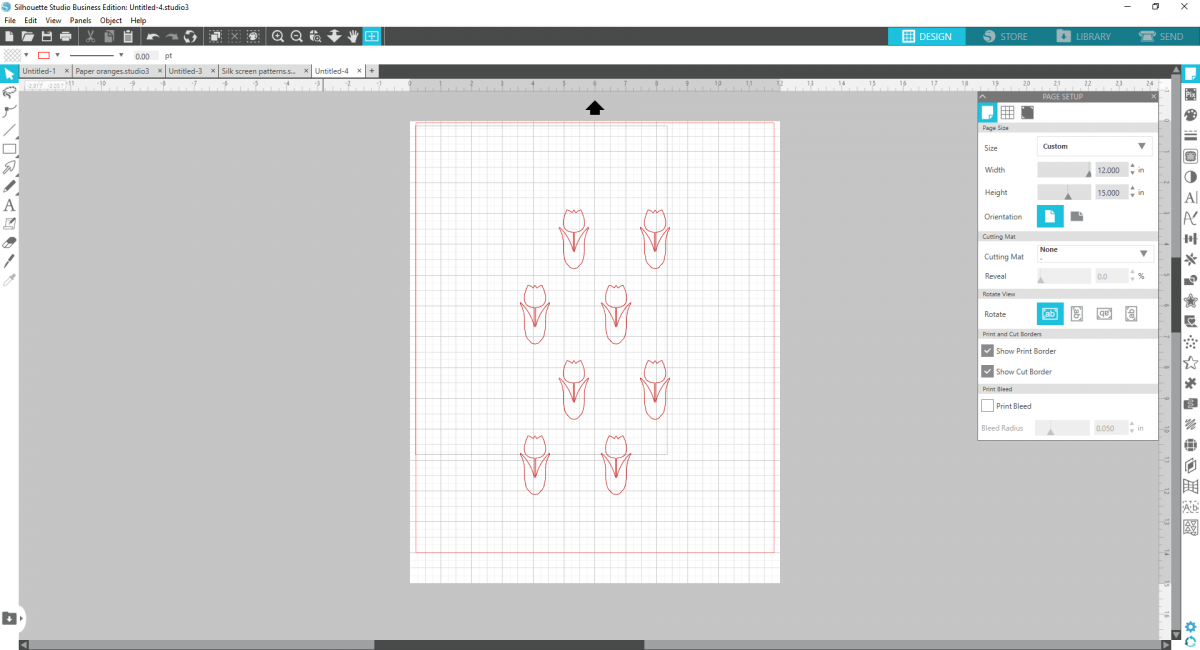
2. Change your page setup settings to 12 by 15 inches to ensure that your design will fit into the perimeters of the silkscreen frame. Select “None” for the cutting mat. Then change the size of the tulip to be between 1.5 and 2 inches tall. I also increased the width of the tulip just for preference.
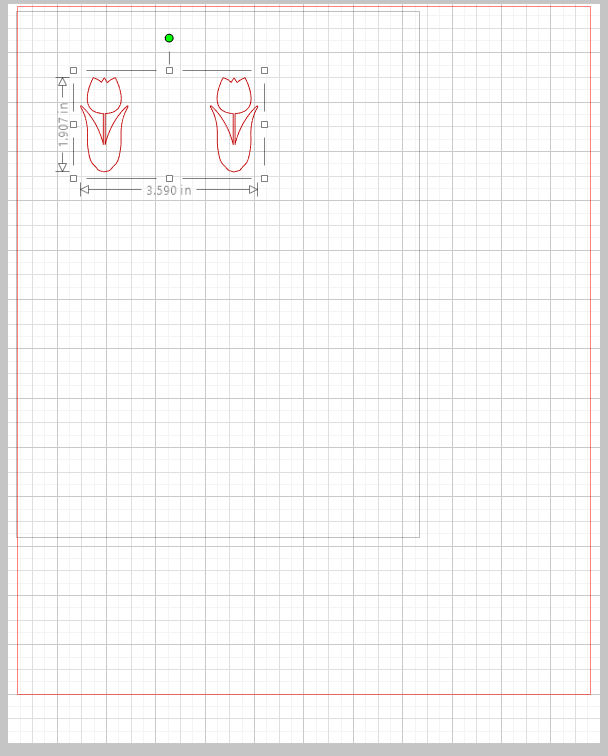
3. Duplicate the tulip, and space the two flowers about 3.5 inches apart from one another, making sure they’re aligned vertically with the help of the Transform panel. Group the tulips together.
4. Duplicate the design so you have 4 rows of two tulips. Stagger them slightly. This will allow you to create a repeating pattern on your napkin. I like to use the align tool and the spacing tool in the Transform panel to make sure everything is evening spaced.
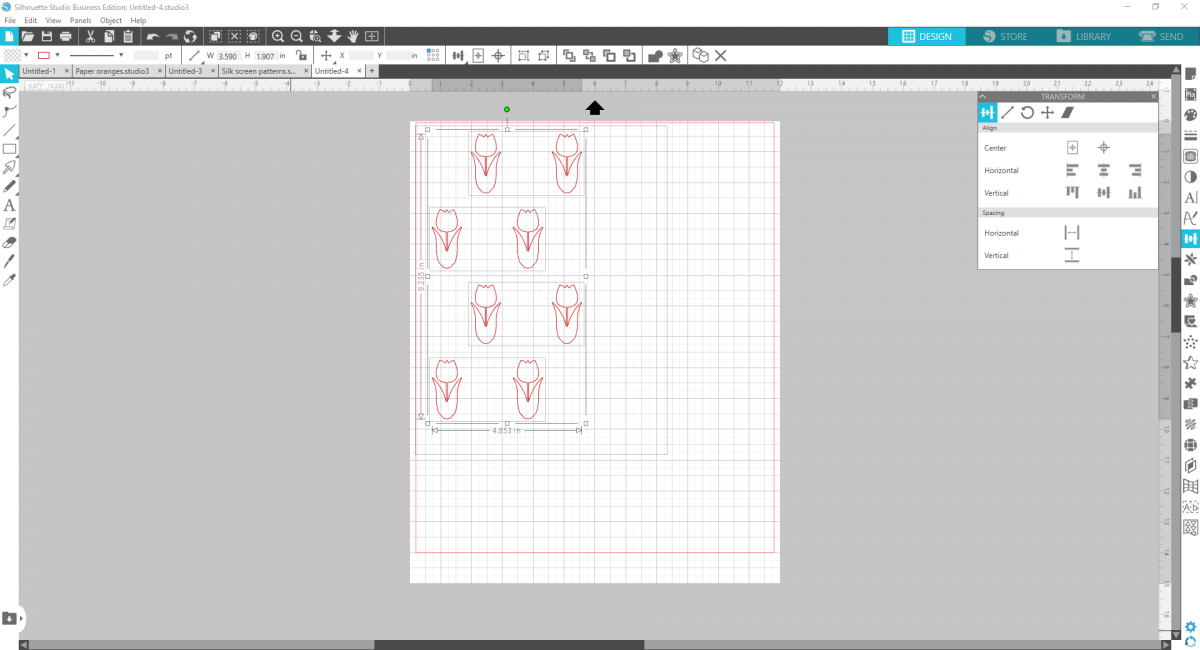
5. Center your design on your page to allow for space along the outsides of your design. You’ll need this excess in order to secure your heat transfer into the wood frame.
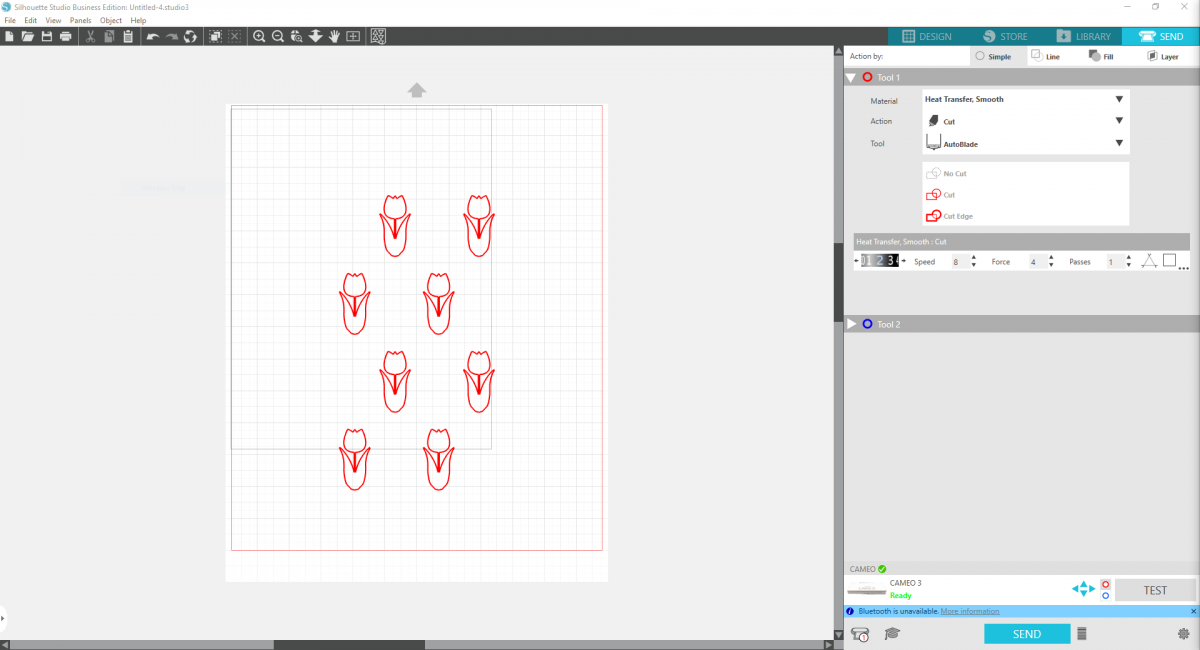
6. Load the heat transfer sheet that comes with your Silkscreen Starter Kit into the machine, glossy side down. Again, you don’t need a cutting mat. Set your cut settings to “Heat Transfer, Smooth” and cut! Note: This image is identical mirrored, but if you’re using a design that isn’t, make sure you mirror the design prior to cutting.
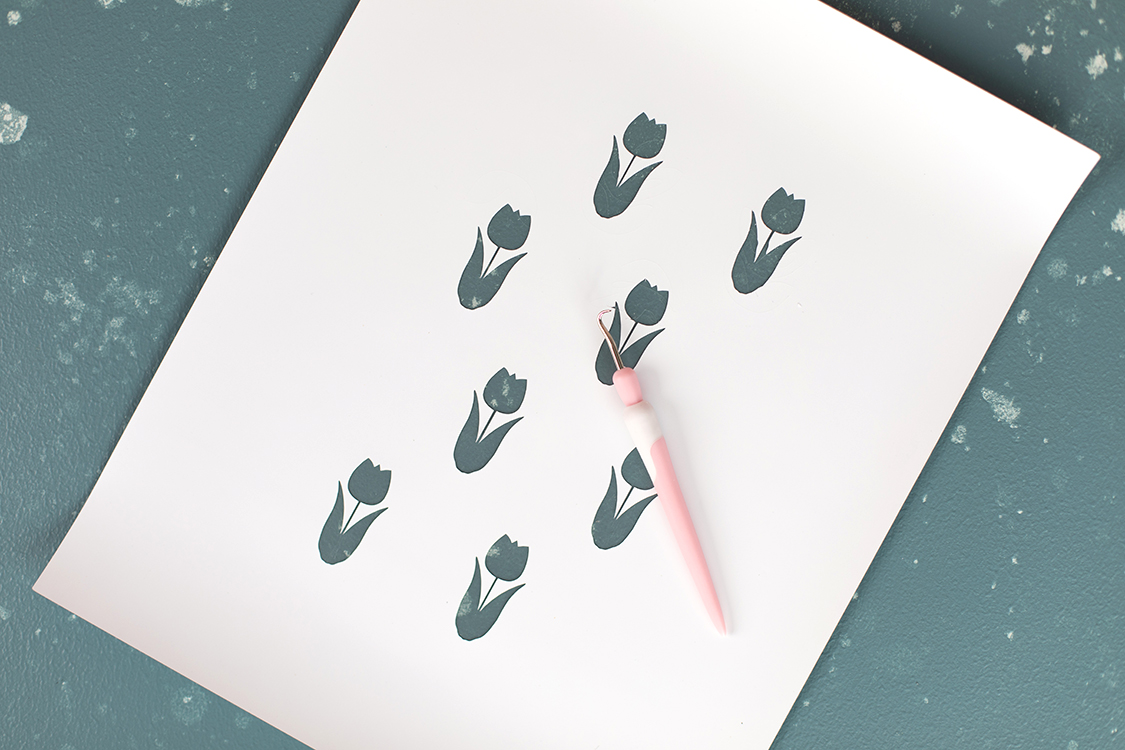
7. After cutting the heat transfer, unload it and weed the actual design, not the negative space. This will create a stencil for the fabric ink.
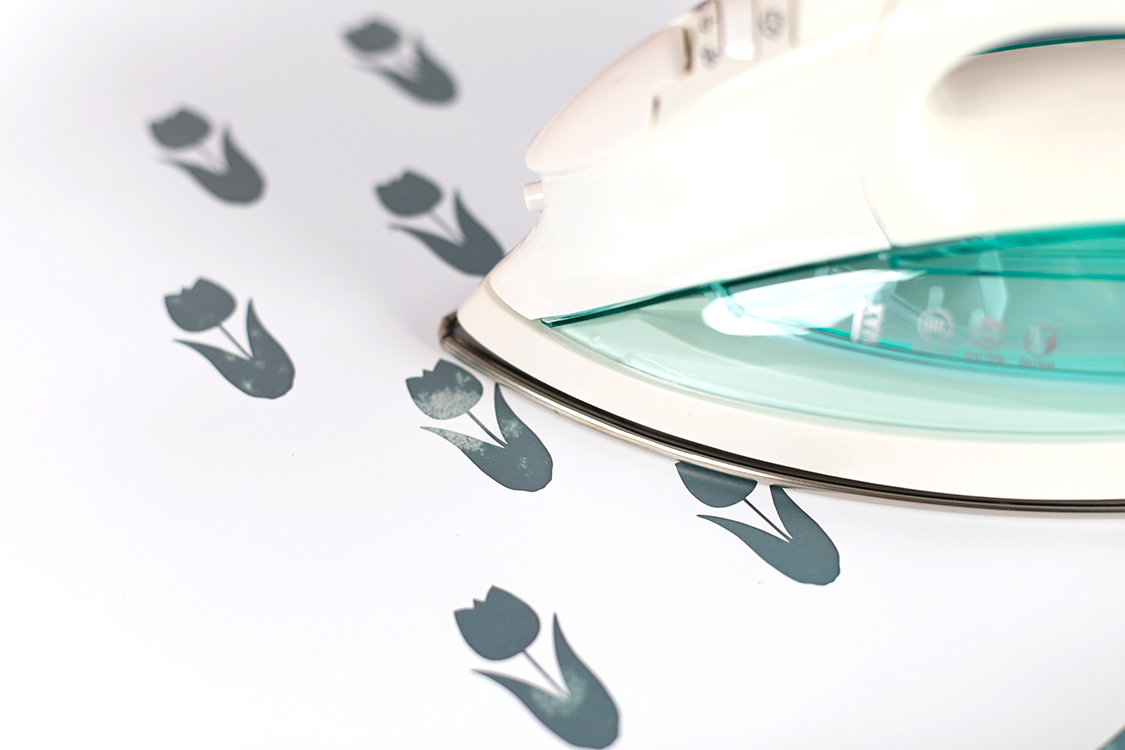
8. With the heat transfer glossy side down, lay the piece of silkscreen over the top and iron for 30 seconds or more using the cotton setting on your iron to meld the heat transfer and the silkscreen sheet together.
9. Remove the glossy sheet liner from the heat transfer.
Step Two: Apply the Design with the Silkscreen Kit
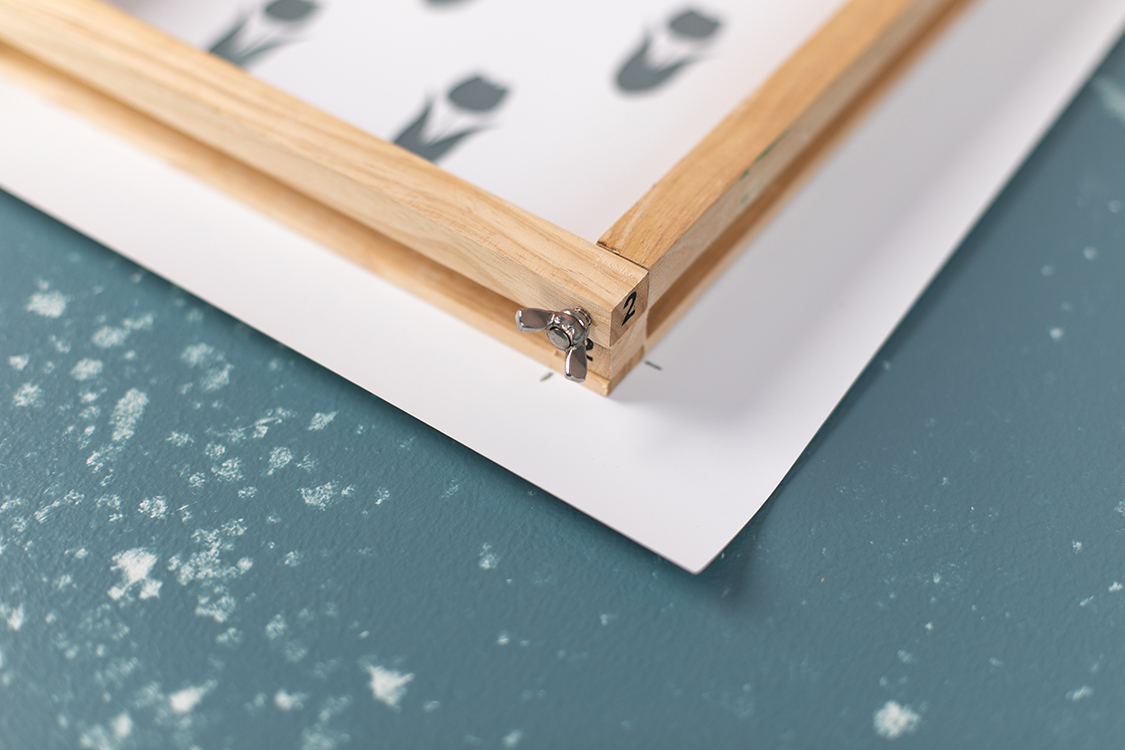
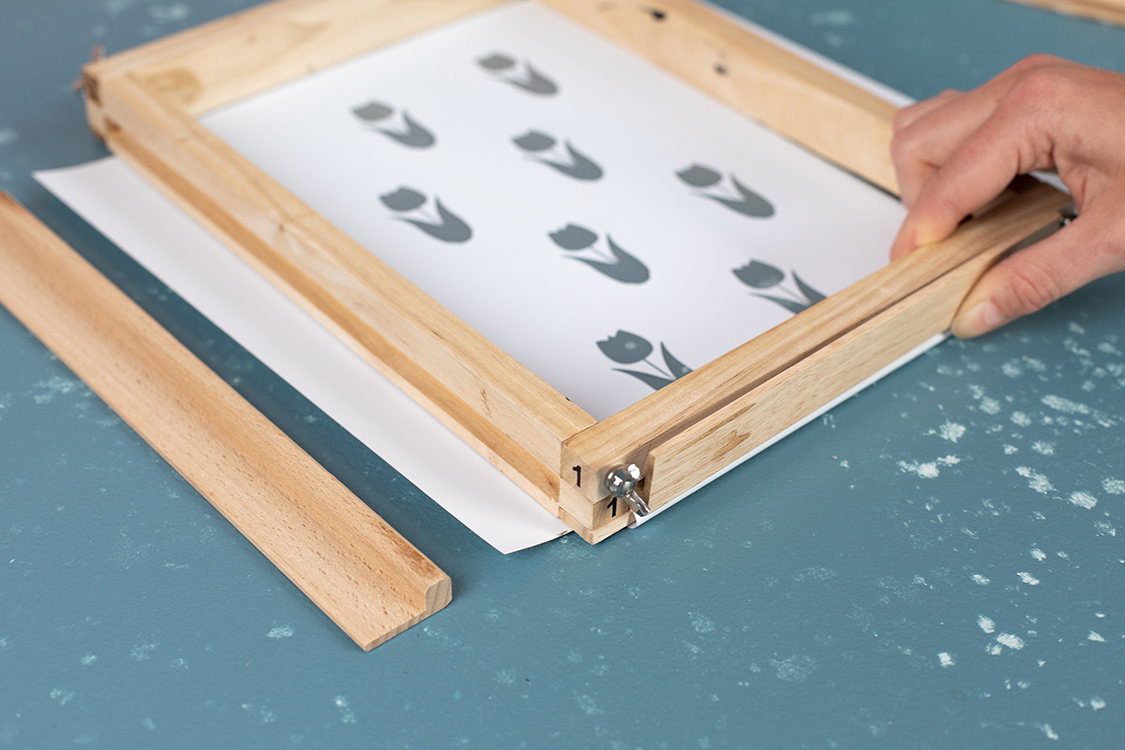
1. Assemble the frame by aligning the numbers in each corner and securing the pieces with the provided fasteners. Be sure that the grooves for the frame insert face out.
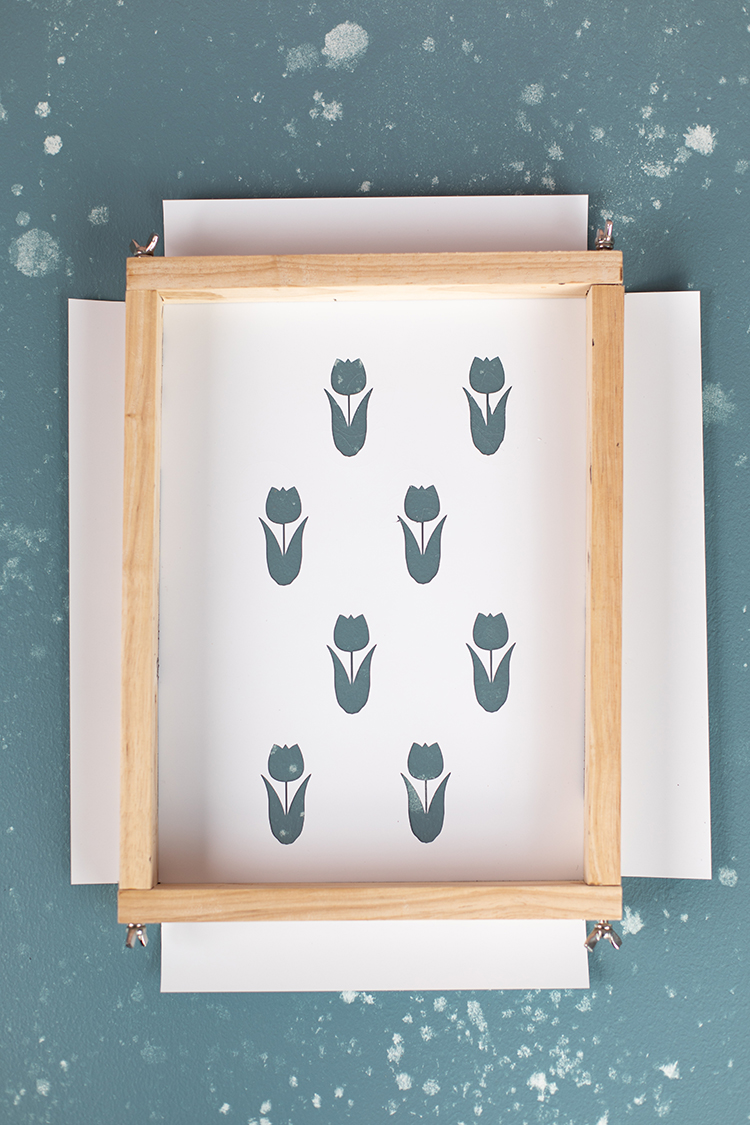
2. Center the frame over your design. With a pencil, mark the inner corner of the heat transfer for each corner of the frame. These marks signify where you need to cut in order for the design to fit into the frame. Cut a square out from each corner, using your marks as guidelines.
3. With the silkscreen side facing down, place the frame on top of the completed stencil and secure it into place by folding the edges upward around the frame and securing the stencil with the frame inserts.
4. In order to make a repeating pattern, you want to measure where you’re doing to place your silkscreen pattern before hand. Use the ruler and pencil to make small marks on your napkin or surface to identify where to place the frame so everything is spaced evenly.
5. Place the frame with the silkscreen side facing down onto your fabric. Apply a line of fabric ink horizontally above the stencil spanning the width of the design. For best results, be sure to use enough ink to avoid having to make multiple passes. Some practice may be required.
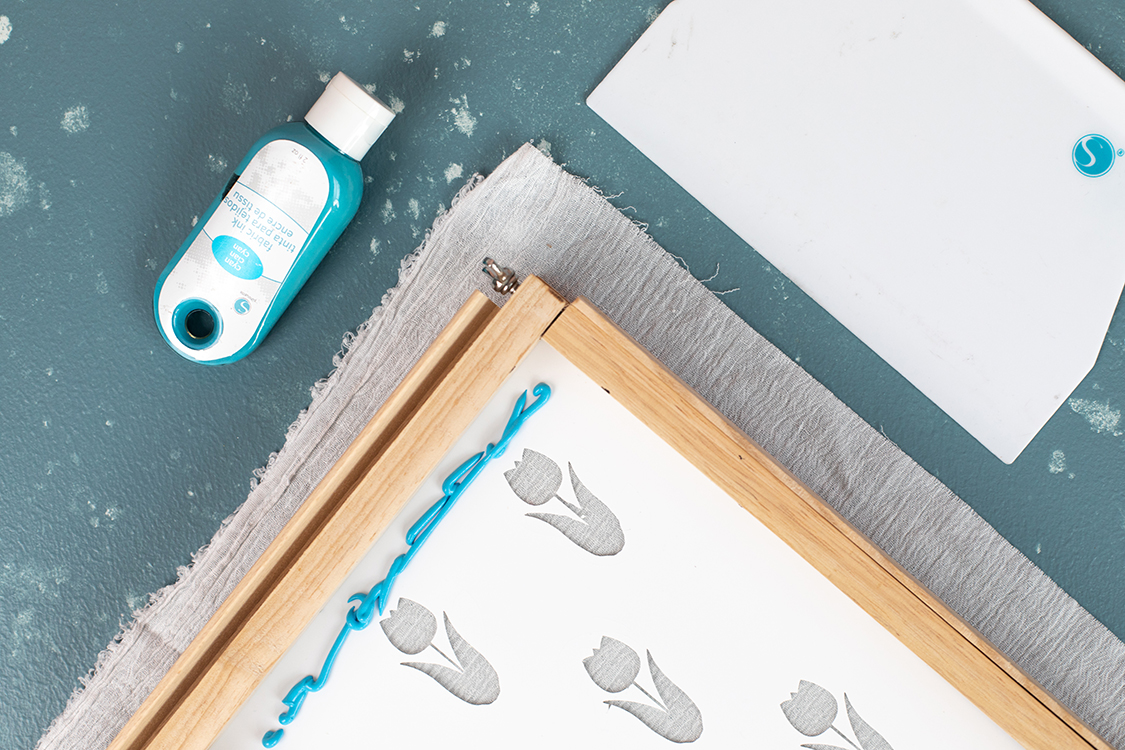
6. Using the squeegee tool, spread the ink down the stencil in a top-to-bottom direction using a smooth, uninterrupted motion. For best results, spread the ink in a single pass. If repeat passes are required, spread the ink in the same direction. I find keeping the squeegee tool upright as opposed to slanted gives the best results.
7. Lift the frame and the stencil off your fabric. Allow the fabric ink to dry and move onto the next area of your napkin. Note: I like to do opposite corners first and then fill in the centers. I also like to rinse the silkscreen design out after each use to ensure a clean finish every time, but you might be able to do multiple uses between washes.
8. Once the entire design is complete and dry, heat set the ink with an iron. Try a variety of designs and colors to make a fun set!
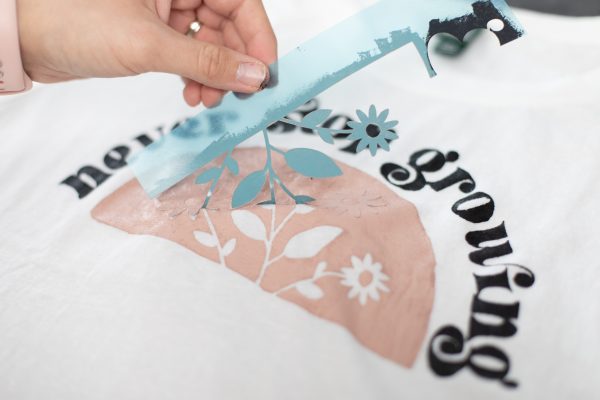 How to Create a T-Shirt Stencil
  August 2021 Zoom Classes