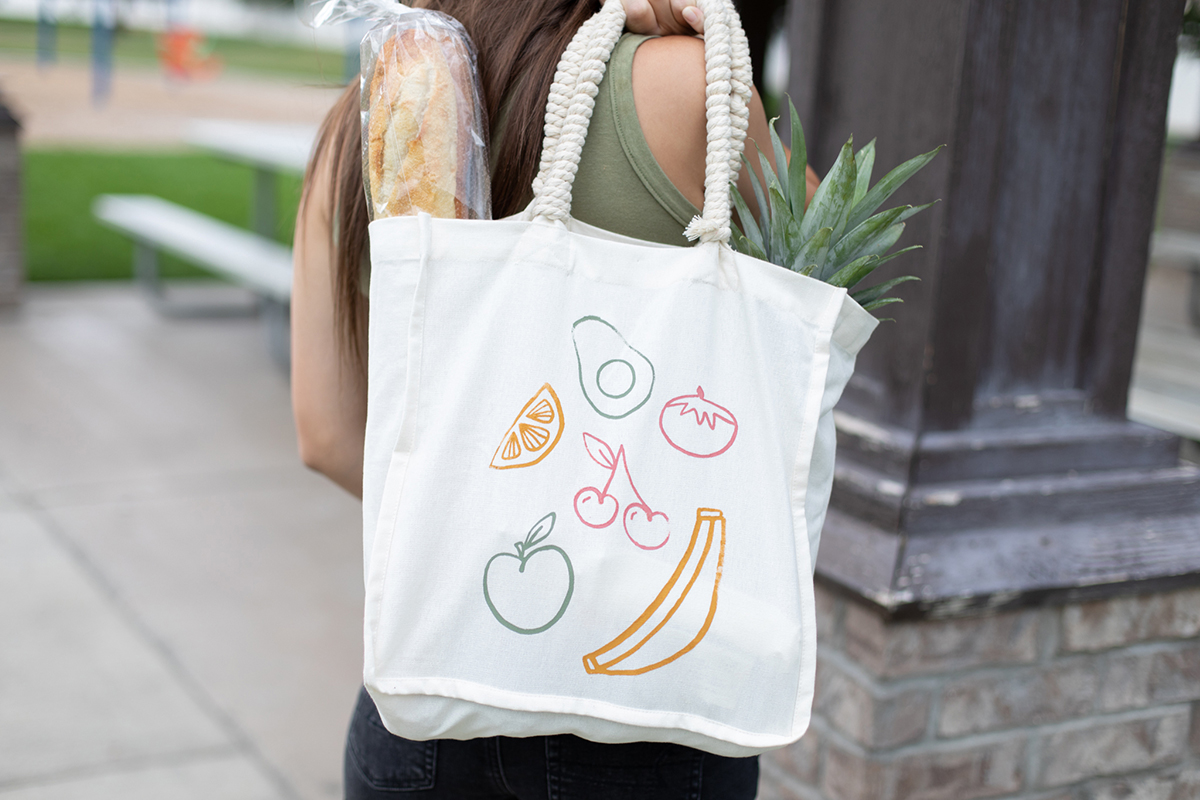
This week, we wanted to bring you some fresh summer content. And this project is definitely fresh! This farmer’s market tote is waiting to be filled with warm bread, fresh flowers, and crisp fruits and veggies! If you don’t attend the farmer’s market regularly or don’t have one near you, this bag would also be a perfect reusable grocery sack. Reusable bags are a great alternative to plastic, and they hold many more items than the bags you get in the grocery store checkout line.
We used the Silhouette Silkscreen Starter Kit for this project. If you’re unfamiliar with it, silk screening is a process that is very popular in commercial printing. We will explain the process throughout this tutorial. Silhouette cutting machines make it easy to create your own patterns that you can screen print on shirts, bags, tea towels and many other fabric items. Let’s get started!
Supply List:
- Silhouette Cameo 4
- Silhouette Silkscreen Starter Kit
- Paint/ink of choice
- Blank canvas tote
- Macramé rope
- Painter’s tape
- Design ID #298212 by Carina Gardner
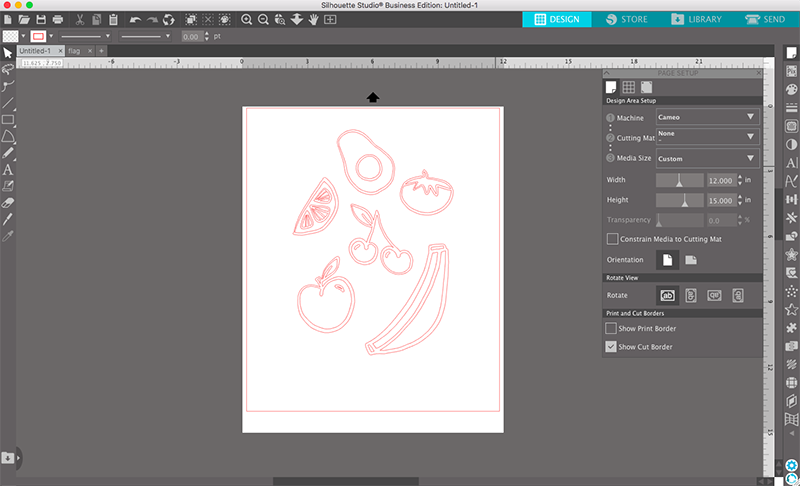
Step One: Create Your Design in Silhouette Studio
After choosing your design and syncing your library, open the file you want to use in Silhouette Studio. The Silhouette Design Store has so many awesome designs that you could screen print, and we chose this dingbat font by Carina Gardner. We love dingbats because they work like a font, so you receive at least 26 designs that you can use to customize your projects. Many people are unfamiliar with how to use them, so let’s walk through it!
Select the text tool and the dingbat font. To access of the files in the dingbat, go ahead and type out the entire alphabet on the same line. Some dingbats have even more designs on the number keys, but we just chose from the alphabet letters. Once you’ve typed out all of the designs, ungroup the text box. This makes each character its own design.
Delete the designs you don’t want to use. We decided to use the banana, avocado, apple, cherry, lemon wedge, and tomato. You can scale and arrange the designs however you’d like. Make sure that your overall design does not exceed the dimensions of the silkscreen frame, which is 7.5 x 10.5 in.
Make sure that you have set up your Silhouette Studio file correctly. The piece of heat transfer that comes in the kit is 12 x 15 in. The Cameo 4 offers the ability to cut these materials matless, so that is how our file is set up. If you decide to use your mat, set your media size to 12 x 12 in. The excess part of the material will hang off the end of the mat, but this will not be an issue for our smaller project. If you decide to use a mat, make sure your entire design fits inside of the cut lines that Silhouette Studio sets.
Step Two: Cut Your Heat Transfer Material
After you have arranged the design to your liking, it is time to cut it out. As with any heat transfer design, make sure to horizontally mirror the image. This is necessary because the image since we cut on the backside of the design. This is most important when your design includes text, but we still mirrored ours so the final product will look exactly how we designed it in Silhouette Studio.

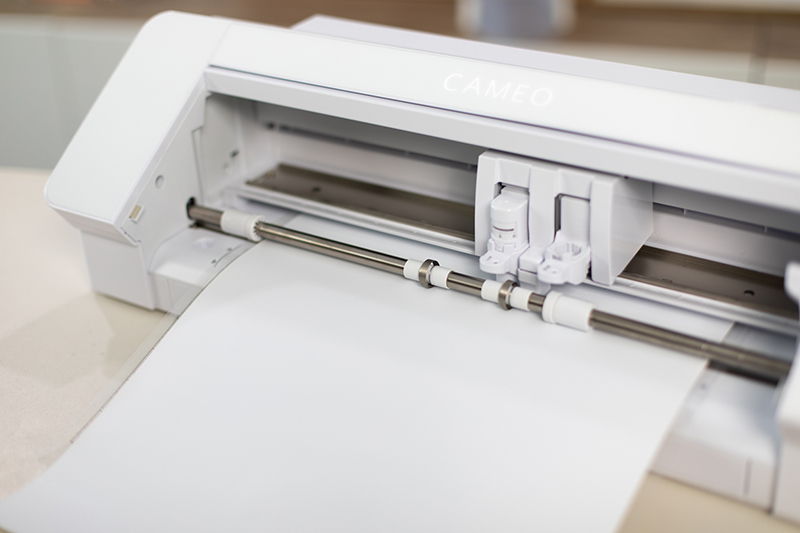
Load your material into the machine and ensure that the rollers are holding the piece of material firmly. We like to cut our heat transfer material with a depth of 3. If you’re unfamiliar with what setting to use, always start with the suggested settings for heat transfer and perform a test cut. This lets you check whether your material is cutting the material properly and gives you a chance to tweak the settings as necessary.
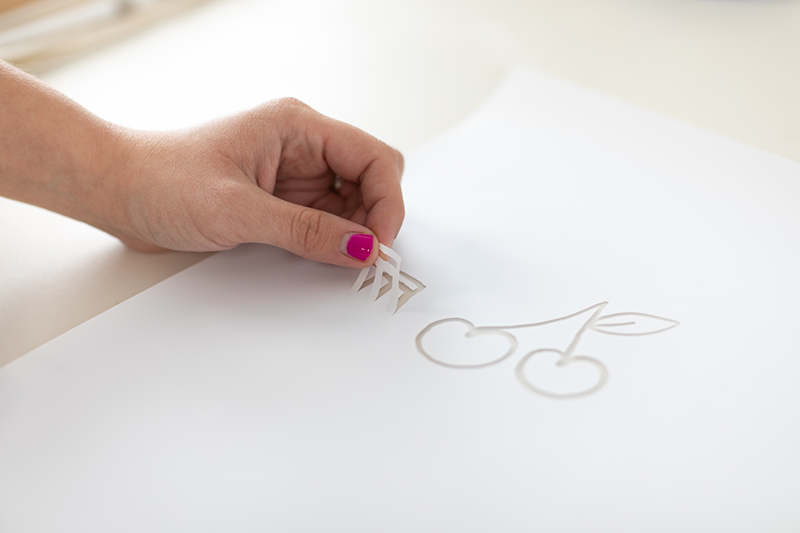
Once you’ve finalized your cut settings, send the design to your Silhouette machine. Our design was fairly simple and only took a few minutes. When the machine has finished cutting, use your hook tool to make sure it has cut through by lifting up a small piece of the design. If it peels away correctly, unload the material and weed out the undesired pieces. If it doesn’t pull up cleanly, send it for another pass and then check it again.
When you are weeding, keep in mind that the pieces you take out are the pieces that will be filled with the paint. It is the opposite of how we usually use heat transfer. We’re basically creating a stencil, so we will be left with a big white box with a few cut-out shapes on the inside.
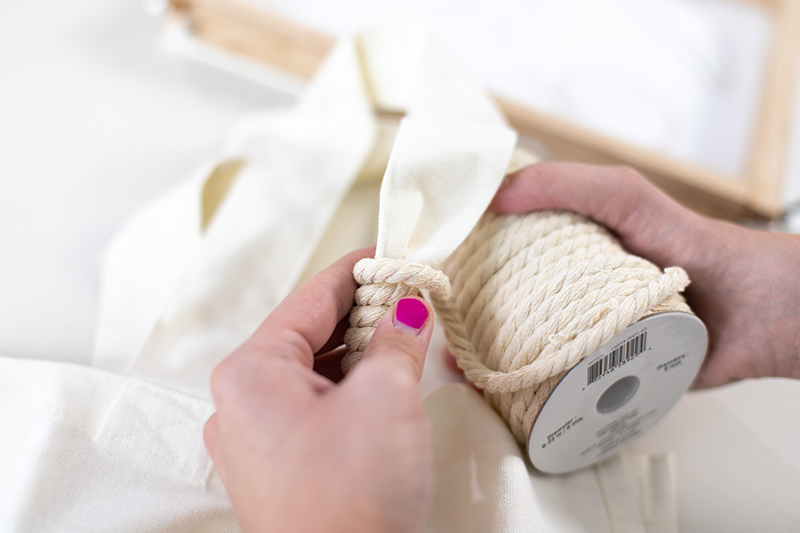
Step Three: Wrap the Handles of Your Bag
This step is optional. Our canvas bag handles didn’t feel like they would withstand the weight of a full bag of fresh goodies. For that reason, we decided to wrap the handles with macramé rope. This made the entire bag much stronger. We began by tying a knot at the base of one of the handles. Then, we simply wrapped the rope continuously around the handle until we got to the end of the handle and finished it off with another knot. We love that this step added extra functionality and it gave it more of a farmhouse aesthetic. You could use a fun color of rope as well!
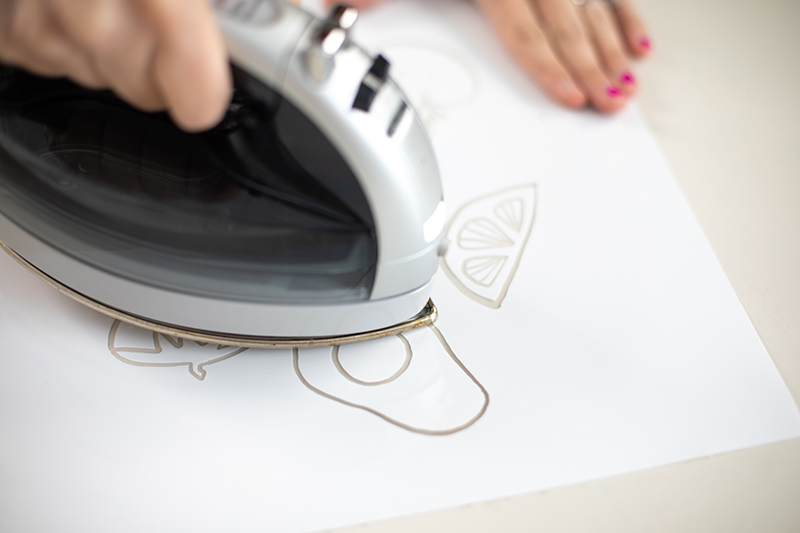
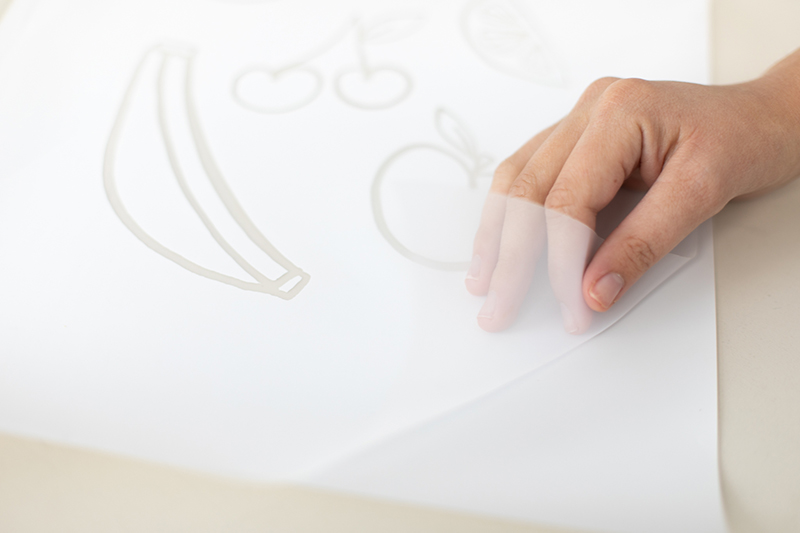
Step Four: Prepare Your Silkscreen
The silkscreen kit comes with a sheet of material that resembles mesh. This is the silkscreen. The silkscreen sheet is slightly narrower than the heat transfer sheet. Center the silkscreen in the middle of your heat transfer. After weeding out your unwanted pieces, use an iron to adhere the silkscreen to the opposite side of the heat transfer material. Be patient with this step! Once it is stuck on the sheet, gently peel off the heat transfer’s front carrier sheet. This will leave you with your white heat transfer material and the silkscreen attached to the back.
Step Five: Assemble the Silkscreen Frame
The inside of the silkscreen kit includes directions on how to assemble the frame. The metal bolts screw into the wooden planks to create a tight fit. Try to make the frame a perfect rectangle by evenly tightening the different sides. If you tighten one side too much, it could result in a lopsided rectangle that would make it difficult to print your design straight!
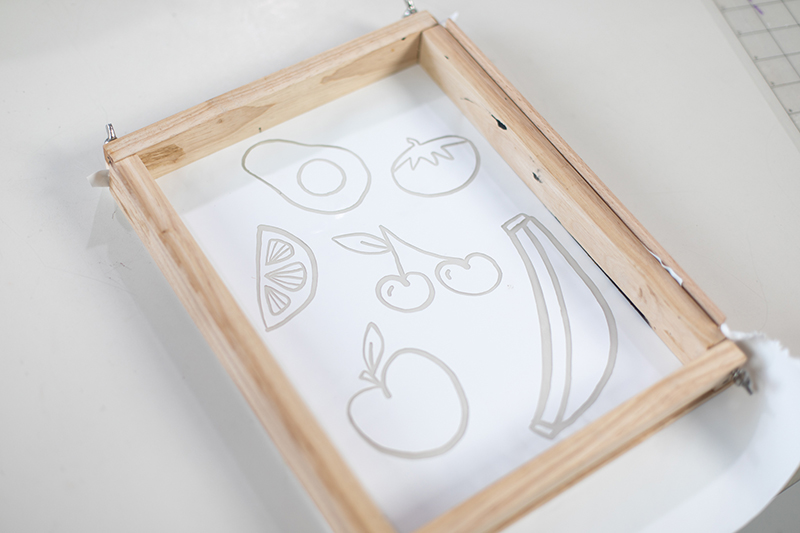
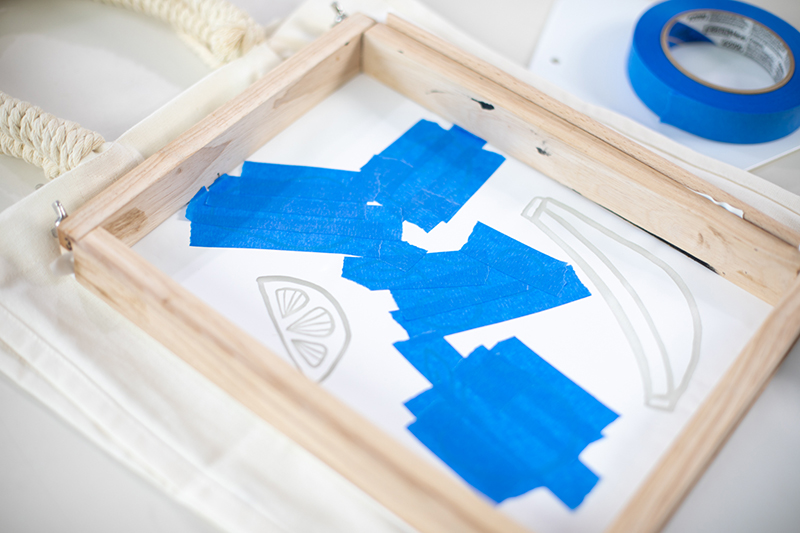
After assembling the frame, place it on top of your silkscreen sheet. Center the design in the middle of the frame. Fold up the excess material on the sides and clamp it into place with the provided wooden clamps. This can take a few tries, so don’t be discouraged if it feels loose the first time or two. You want your screen to be tight, and you don’t want any loose areas that the paint could bleed through. When you’re finished, your screen and frame should look like the image below.
Step Six: Cover and Print
It’s time for the messy part of this project! We grabbed three earthy colors of acrylic paint from our local craft store, but you could use fabric ink as well. We aren’t going to be washing this bag often and liked the variety of colors in acrylic paint, so it’s a good choice for our project. Choose whatever works best for you. If you’re new to silkscreen printing, you will probably want to try a single color to get the hang of it.
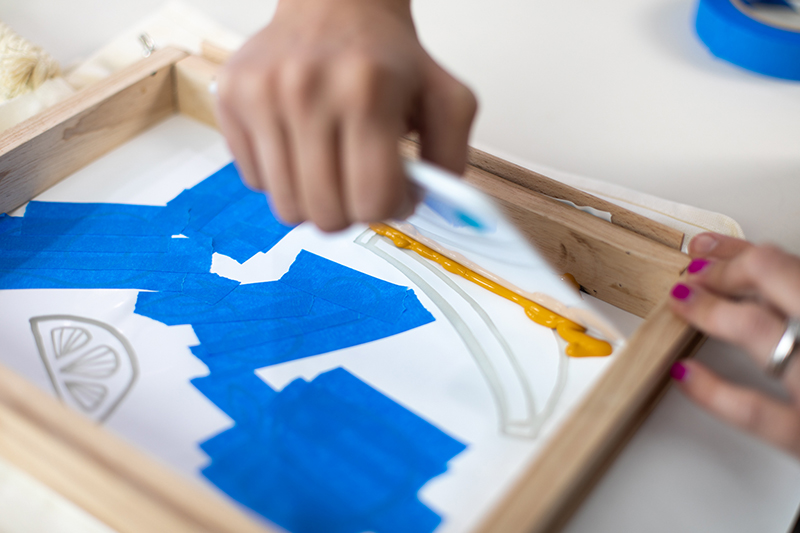
Prep your bag for the first color by covering any unwanted shapes in painter’s tape. Take care to not press the tape down too hard. We started with our yellow fruits. After covering the pieces, we squirted a line of paint along the edge of the banana. You don’t need to use a lot of paint, but you do need to use enough to cover all of the parts of the design and have it reach the other side in a swift movement. Take the squeegee that is included in the box and carefully smear the paint across the top of the fruit. We needed to go over the design a few times.
Rather than squirting new paint out of the tube for the lemon wedge, we used our Silhouette spatula tool to gather the extra yellow paint and transfer it to the lemon. We know that all of our crafters are always looking for ways to reduce wasting their craft supplies! If there isn’t enough extra paint, go ahead and squeeze some more paint onto the area.
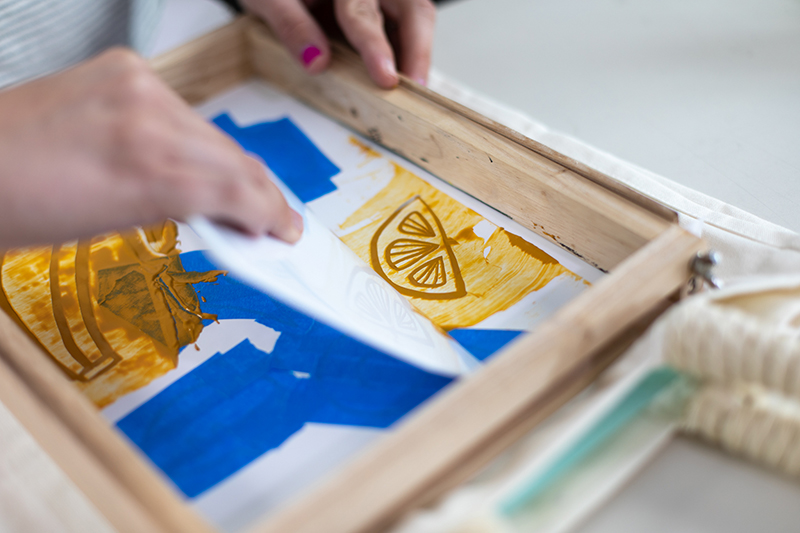
Allow the yellow paint to dry. Our paint took about 15 minutes to dry. Carefully cover the yellow fruits with painter’s tape and remove the tape from one of the other color sets. Repeat the same process until you’ve finished all of the areas of your design.
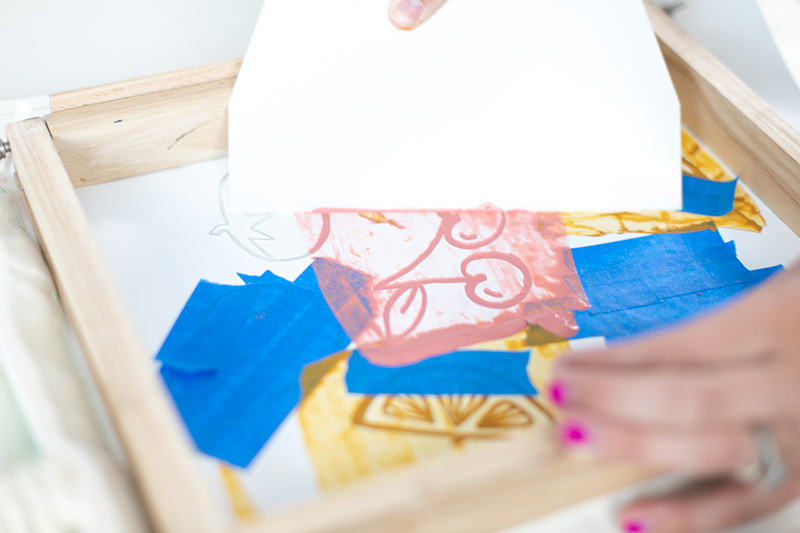
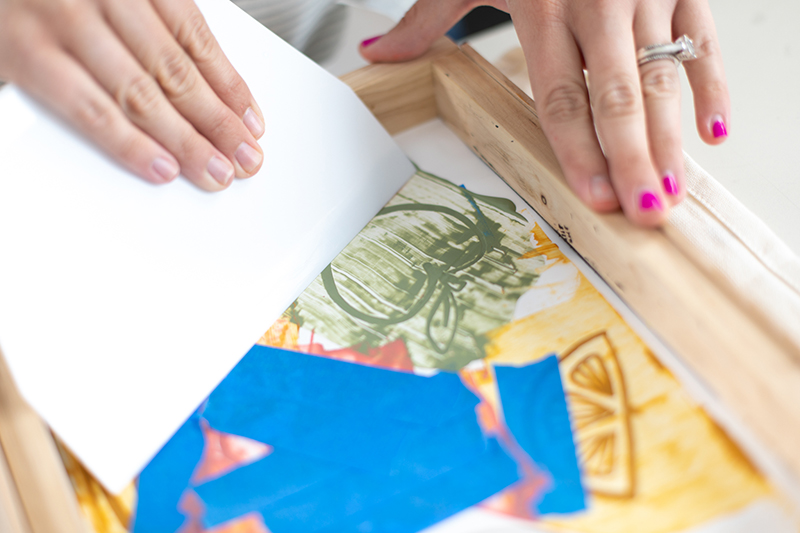
Step Seven: Remove the Silk Screen
After completing all of the silkscreen printing you need to do, it is time to remove the screen. Carefully lift the screen off of the bag. If you feel like any of the paint is sticking, place your hand on the bag and work it around to make sure that everything peels off evenly. After removing the screen, allow the bag to dry completely. Leave it laying flat and allow it to set for a few hours. If you used fabric ink, you can set the ink with an iron, but this isn’t necessary if you used acrylic paint like we did.
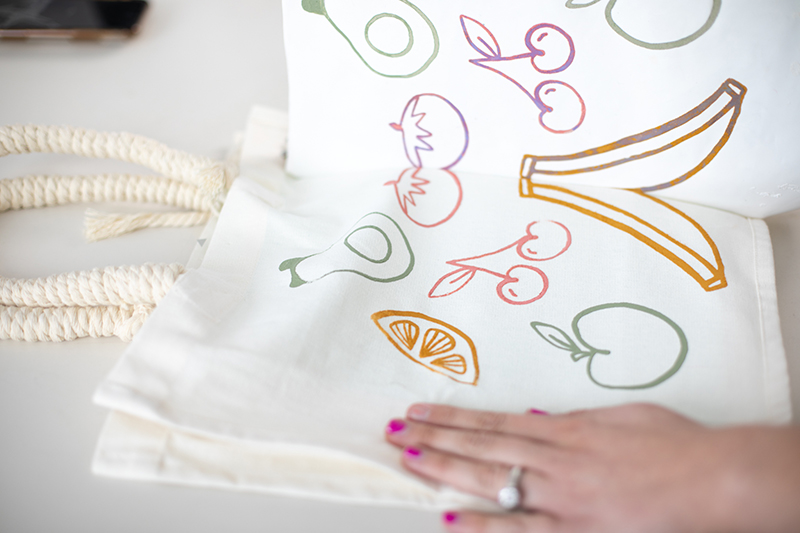
We hope you enjoyed this tutorial on the basics of using the Silhouette Silkscreen Starter Kit. Now it’s time to head to the market and fill this bag with all of the delicious fresh goodies this summer has to offer! If you make this project, tag us @silhouette.inc on Instagram—we’d love to see it! Be sure to check the blog next week for another awesome tutorial using your Silhouette cutting machine.
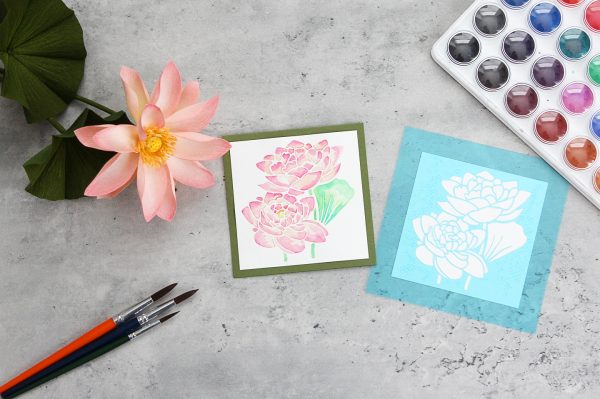 Free Class - Stenciled Lotus Card
 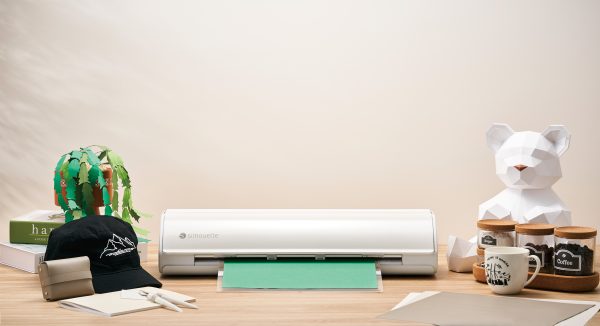 Everything to Know about the Cameo 5