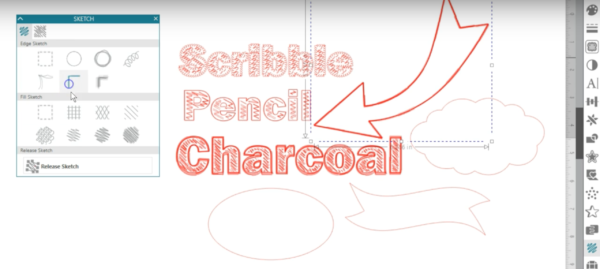
In Designer Edition and higher, Silhouette Studio® lets you create sketch edges and fills to the shapes and text on your page. In the first tab, you’ll find all the preset edges and fills, and in the second tab, you can customize everything, so it’s perfect for your particular design.
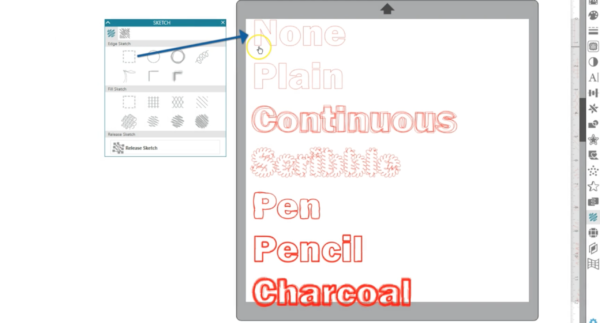
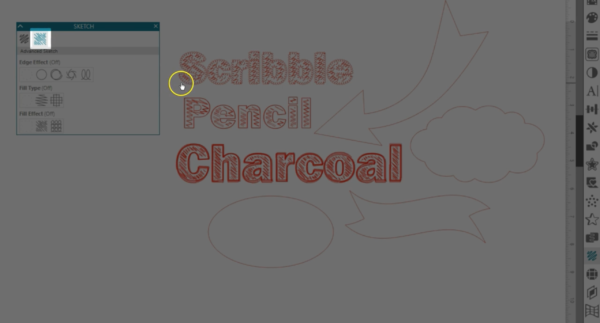
You’ll find the Sketch panel down here on the right. The icon looks like scribbled lines.
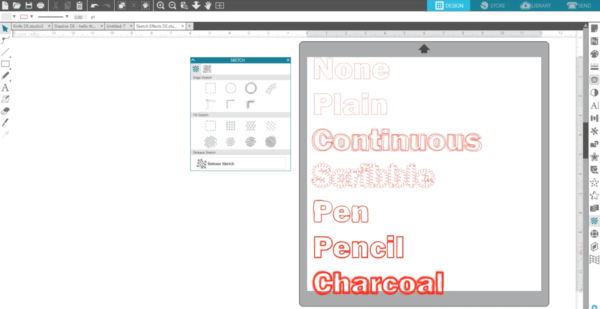
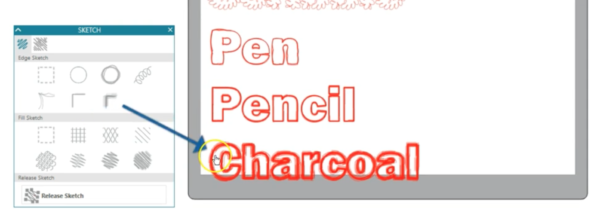
The first section contains options for styles of Edges. We’ve got words set with these edges.

None – Removes any original lines around the border of the image if the image is filled with one of the Fill Sketch effects.
Plain – Leaves a plain, solid edge around your design or it reverts the image to its original state if you’ve applied other edge effects.
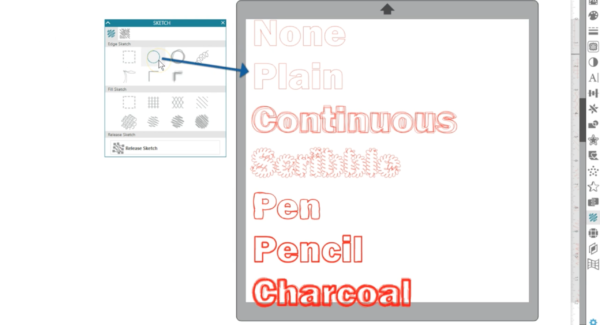
Continuous – Applies a continuous drawn effect to the edge of your selected design.
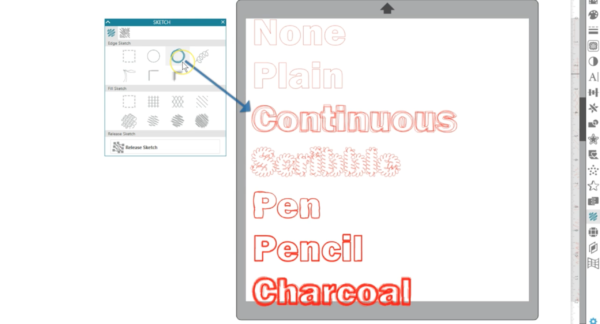
Scribble – Applies a scribbled loop effect.
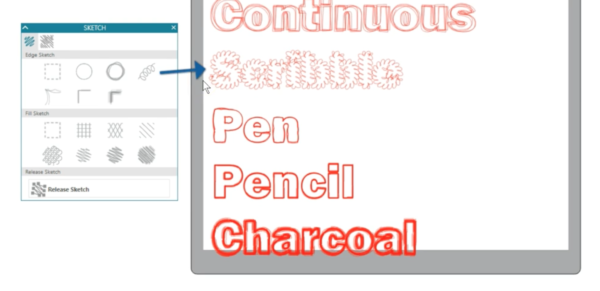
Pen – Applies a pen-drawn appearance to the edge.
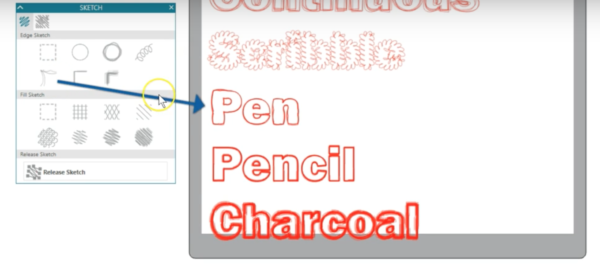
Pencil – Applies a pencil-drawn appearance.
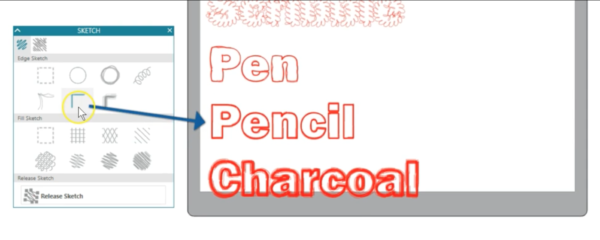
Charcoal – Applies a thicker charcoal-drawn effect to the selected design.
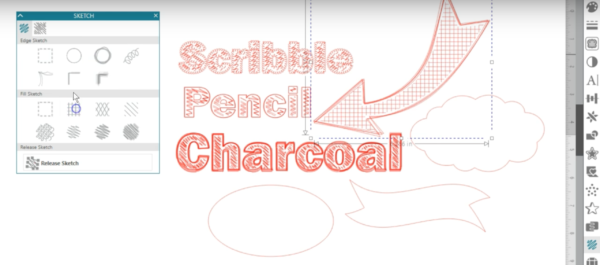
The next section holds Fill Sketch effects.

The Fill Sketch effects can be applied to images whether they have a Sketch Edge effect applied or not. These next examples all have the “None” option for the Edge Sketch so we can focus just on the fills.
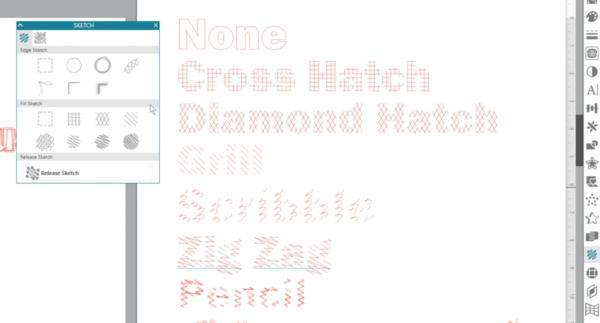
None – Clears the image of any Fill Sketch effects.
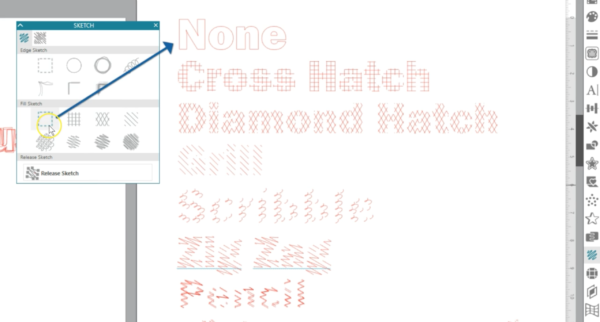
Cross Hatch – Applies a filled square box pattern.
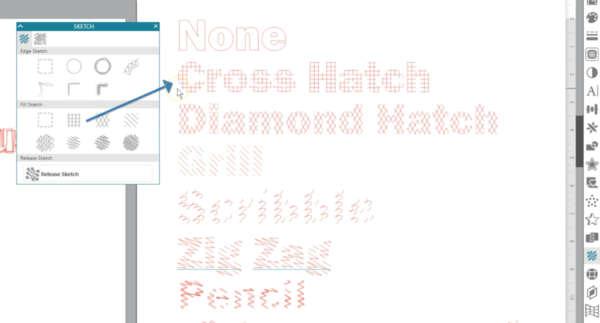
Diamond Hatch – Applies a filled diamond pattern.
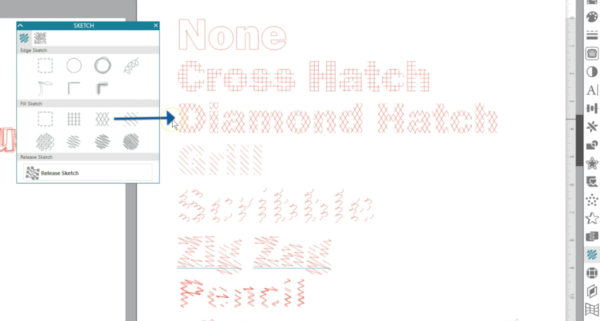
Grill – Applies a pattern of straight parallel lines.
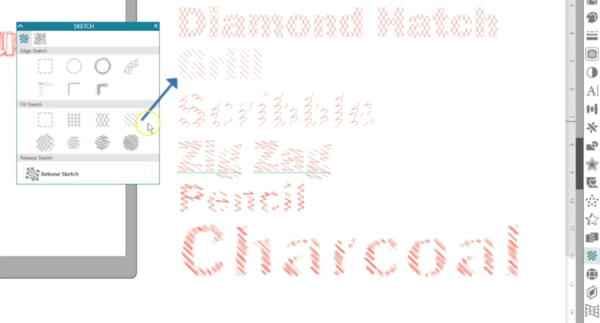
Scribble – Applies a filled scribble loop pattern.
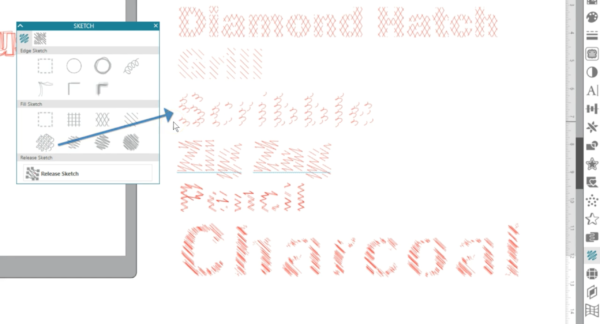
Zigzag – Applies a series of filled zigzag lines to the image.
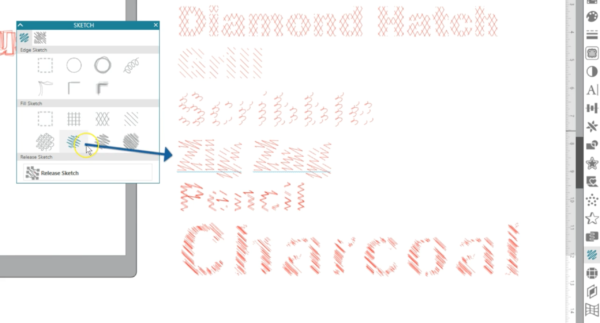
Pencil – Applies a filled pencil-shading effect to the image.
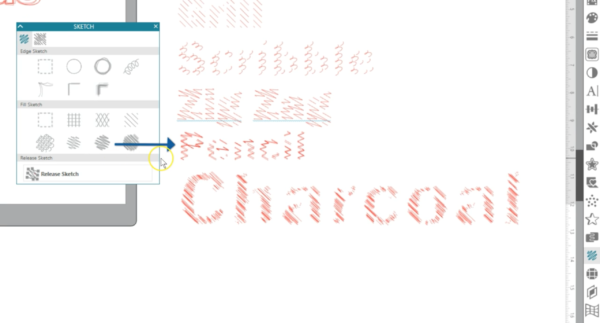
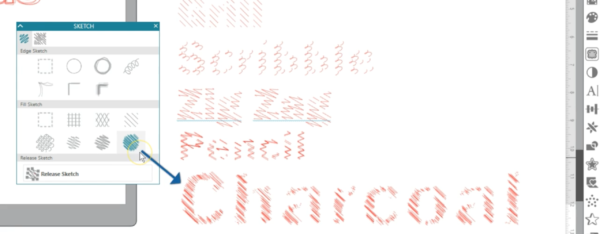
Charcoal – Applies a filled thicker charcoal-shading effect to the image.
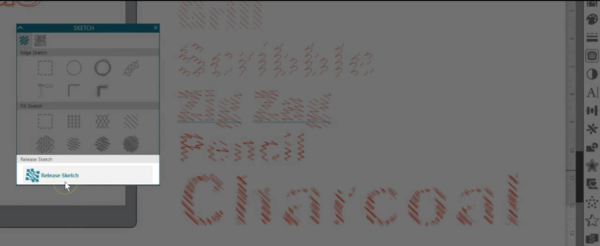
Release Sketch will release the sketch pattern from further changes, regardless of how it’s later adjusted or resized.
Don’t worry if you can’t see some of these fills and edges very well with the default. That will depend on the size and shape of the design, and you can adjust the effects in the next tab.
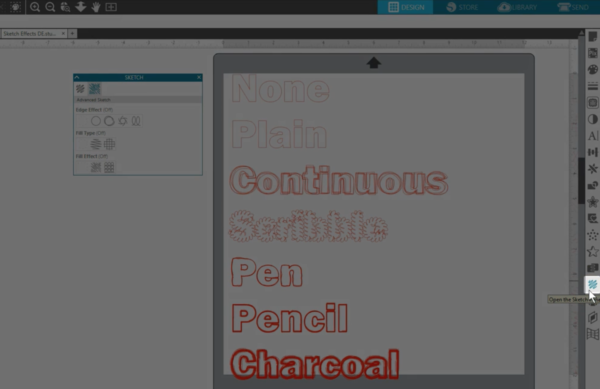
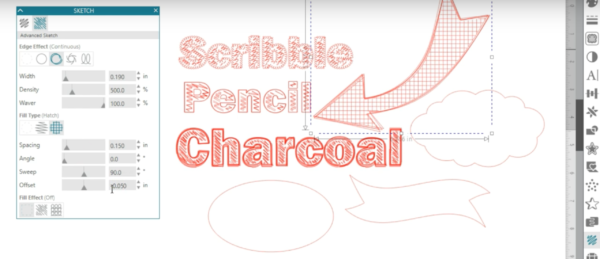
Let’s look at the Advanced Sketch Options in the next tab of the Sketch Panel.
Each of the preset options from the Basic set are a combination of variables that can be adjusted in the Advanced Options.

We’ve brought over some of these words that didn’t look so great with just the basic fills applied and have made adjustments in the advanced sketch tab.
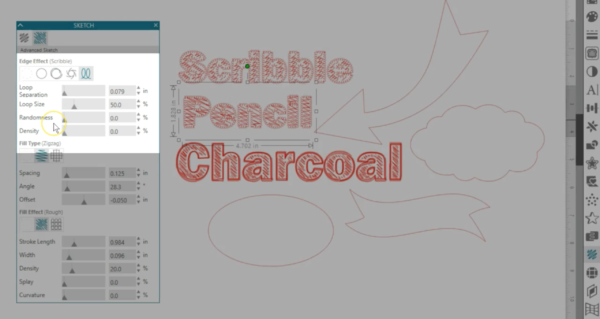
Advanced Edge Effects contain Off, Plain, Continuous, Rough, and Scribble.
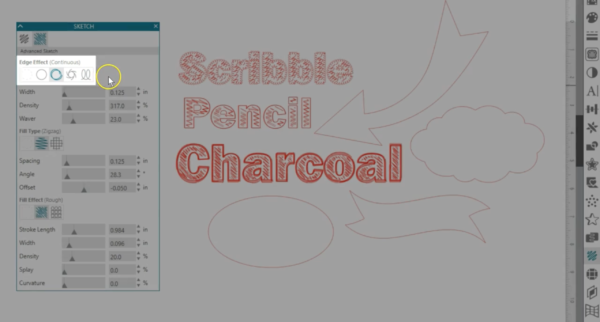
Each of these are similar to the default edge effects, but you have controls for fine tuning depending on the edge effect chosen, such as Width, Density, Waver, Stroke Length, Splay, Curvature, Loop Separation, Loop Size, and Randomness.
As you adjust these Edge effects, you can see what they do.
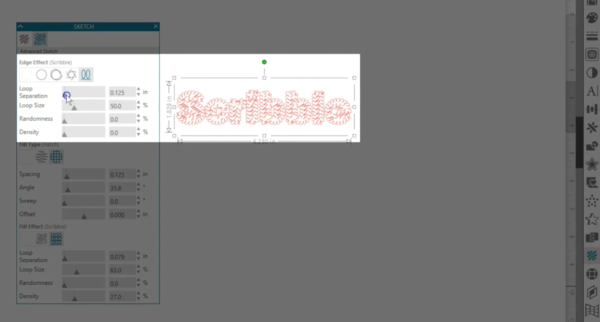
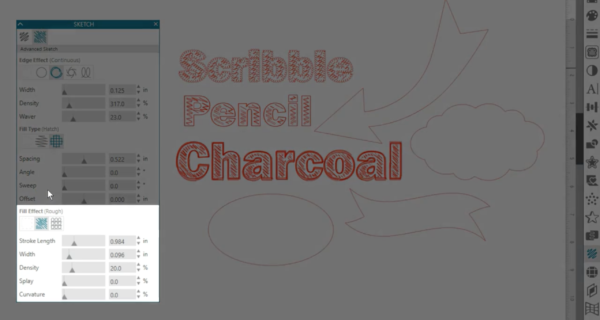
Advanced Fill Types contain Off, Zigzag, and Hatch. Again, you can use the controls to alter the fill with Spacing, Angle, Offset, and Sweep.
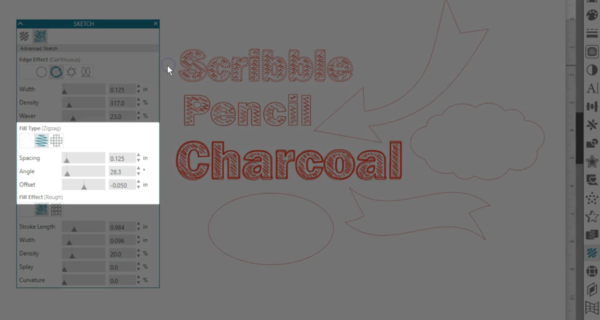
Advanced Fill Effects contain Off, Rough, and Scribble, with options to adjust as well.
Start with a basic edge and/or fill, and then adjust the values in the Advanced tab.
Whatever lines you see on screen are what you’ll get when sending it to your Silhouette machine to sketch.
Remember, not every design will look great with sketch effects. You might need to enlarge your design to show it off better.