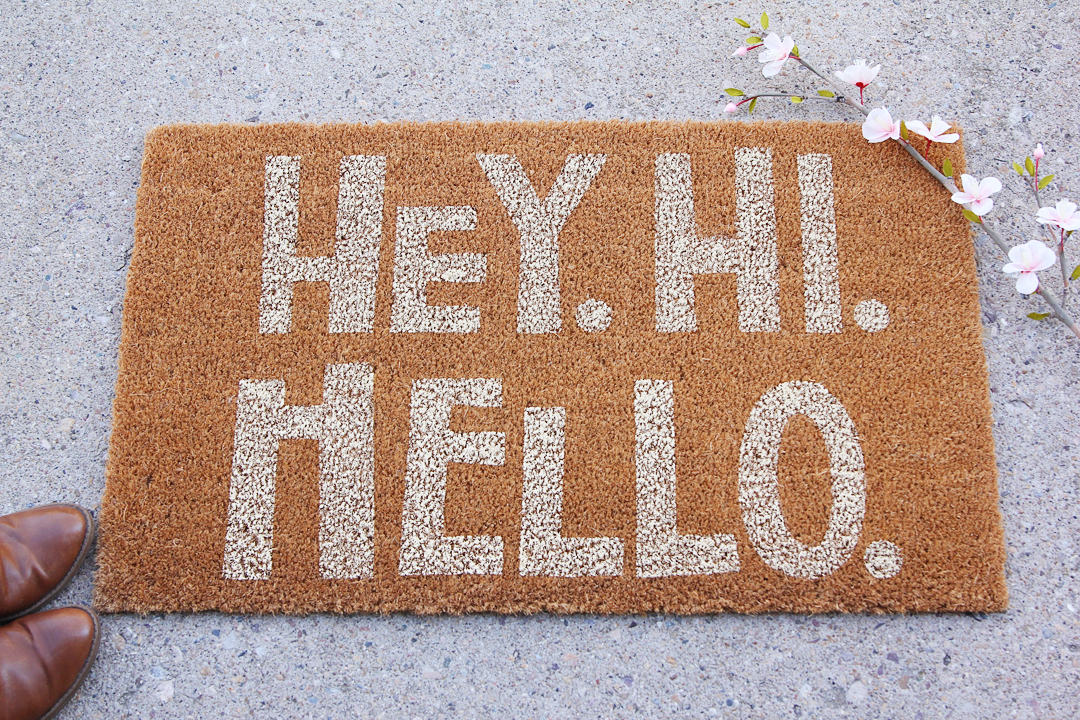
As I’m having fun with my Cameo Pro this month, I decided to use the full 24-inch wide cutting capability to create a giant vinyl stencil for decorating a doormat. Follow along with me to make your own painted doormat!
Supply List:
- Silhouette Cameo® Pro
- Silhouette Studio® – Basic Edition or higher
- Blank door mat
- 24 in. vinyl roll
- Transfer tape
- Hook
- Paint (I used craft acrylic paint)
- Paint applicator
- Masking tape/painter’s tape (optional)
- Design ID #328565 by Sarah Bailey
Step One: Create Design
In Silhouette Studio®, set your Page Setup so you can cut 24 in. vinyl with the Cameo Pro:
- Machine = Cameo Pro
- Cutting Mat = None
- Media Size = 24.0 in. width; approx. 36 in. height
- Check box for Show Cut Border
Open Hey Hi Hello (Design ID #328565)
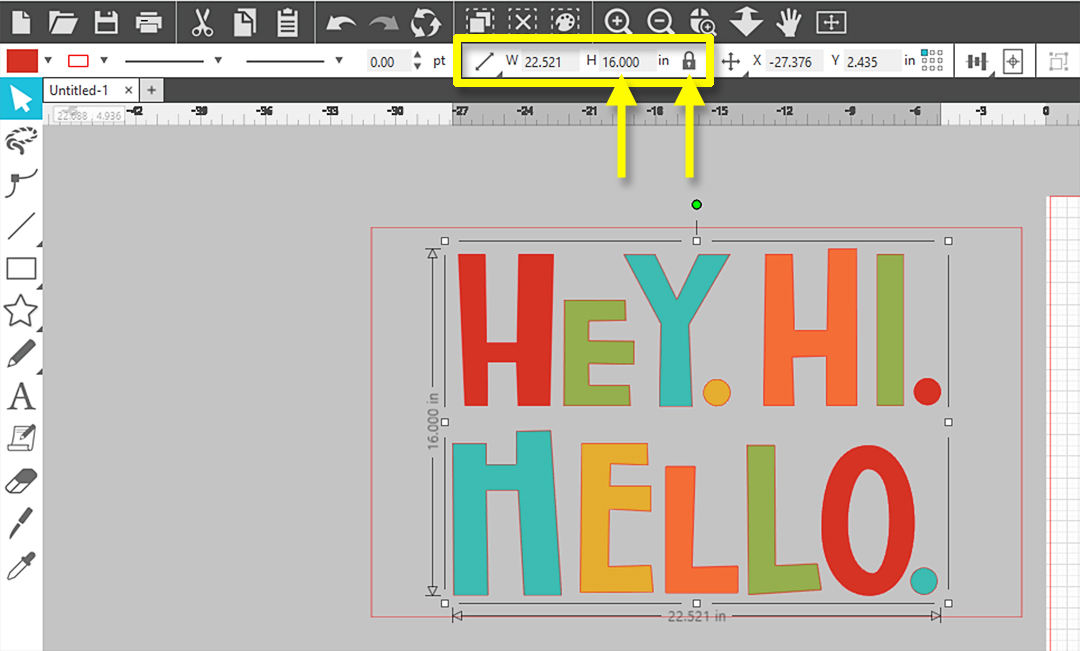
Measure your door mat. Mine is 30 in. wide x 18 in. high.
Draw a temporary rectangle on your design page to represent the doormat. Use the Scale tool to input the dimensions of your door mat. (Unlock aspect ratio to have full control of dimensions.)

Drag your design inside the temporary rectangle.
Resize your design so the closest edges to your design have at least an inch of white space between the design and the edge. I’ve resized mine to 16 in. high. (Lock Scale aspect ratio to keep the design proportionate while changing one dimension.)
Center the design within the rectangle by selecting both and using the “Center” button in the Quick Access Toolbar. Then click off to the side to deselect.
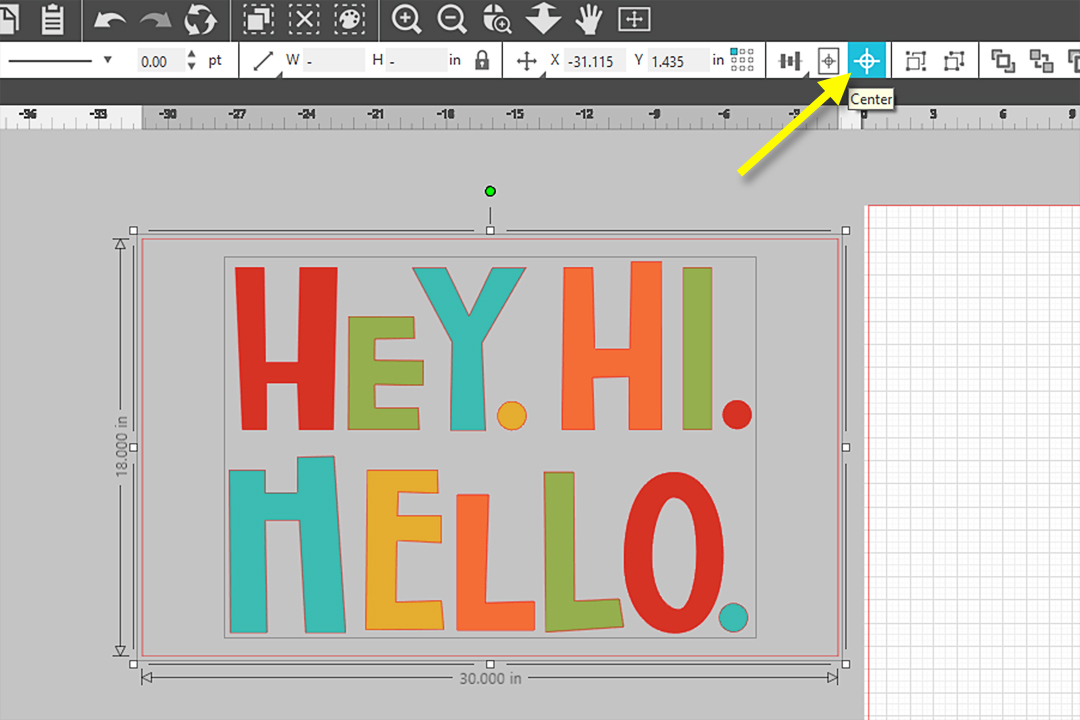
Leave the reference design in place off to the side, and drag a copy of the text over to the digital media area. There are many ways to make a copy, but I like to hold my Alt (or Option) key and click and drag the design I want to copy.
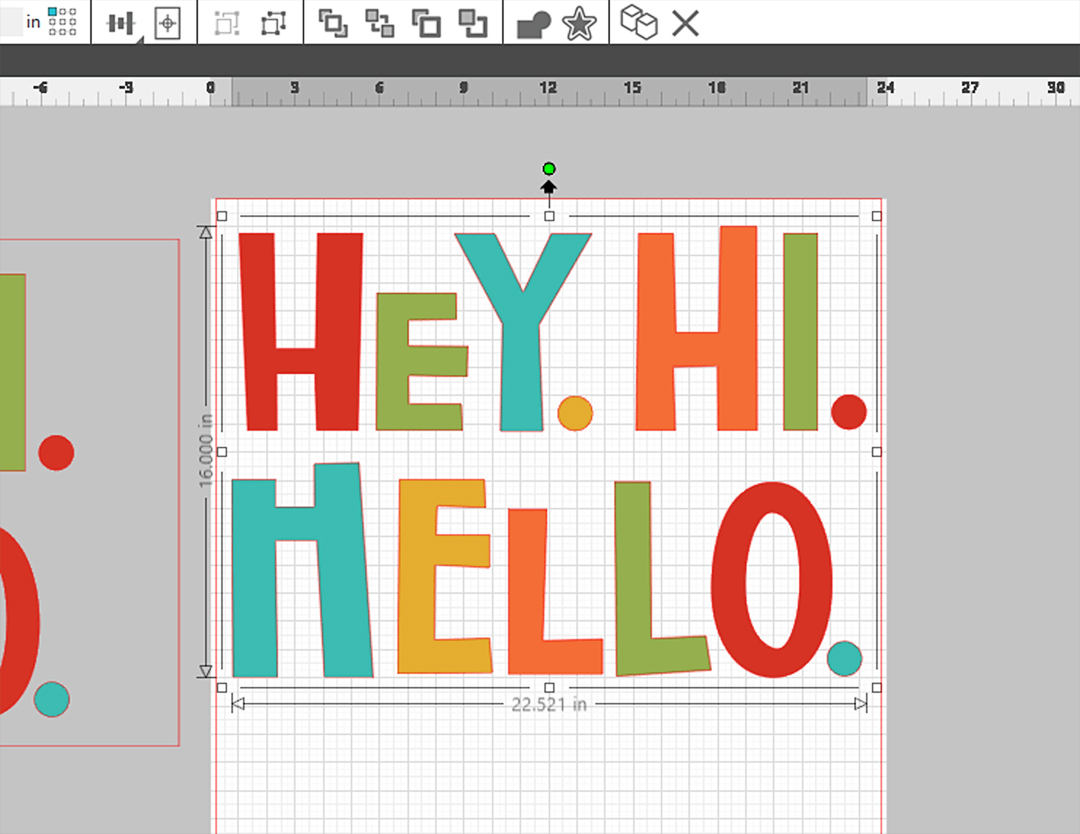
Tip: Toggle the grid lines on and off by tapping letter G on your keyboard. This is personal preference if you want the grid lines to show while designing.
Position the design so it’s completely within the virtual media’s cut border and leaves about an inch of white space at the top.
Step Two: Cut Vinyl
To prepare to cut this design from a 24-inch roll of vinyl, go to the Send Tab and make sure your Cameo Pro is connected and selected as your machine.
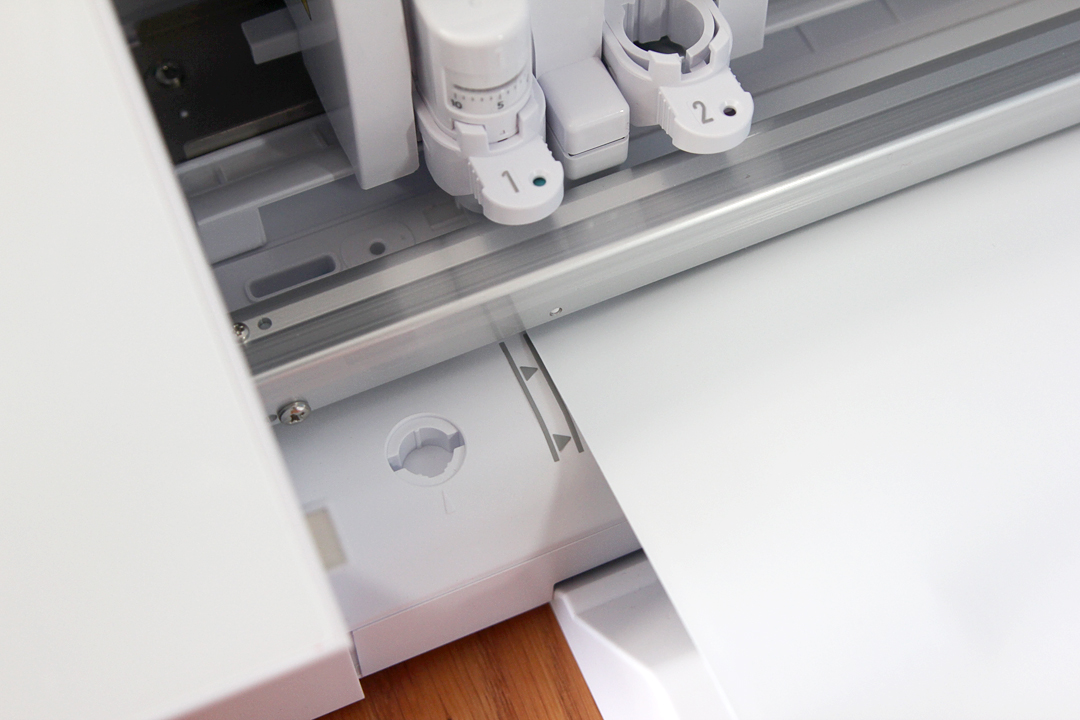
With your blade inserted in Tool Carriage 1, select the following cut settings:
- Material = Vinyl, Matte
- Action = Cut
- Tool = Autoblade or other 1 mm blade
Adjust Blade Depth to 2, Force 8, Speed 9, and check the box for Line Segment Overcut. These are my favorite vinyl settings and should be a good starting point for you to try.
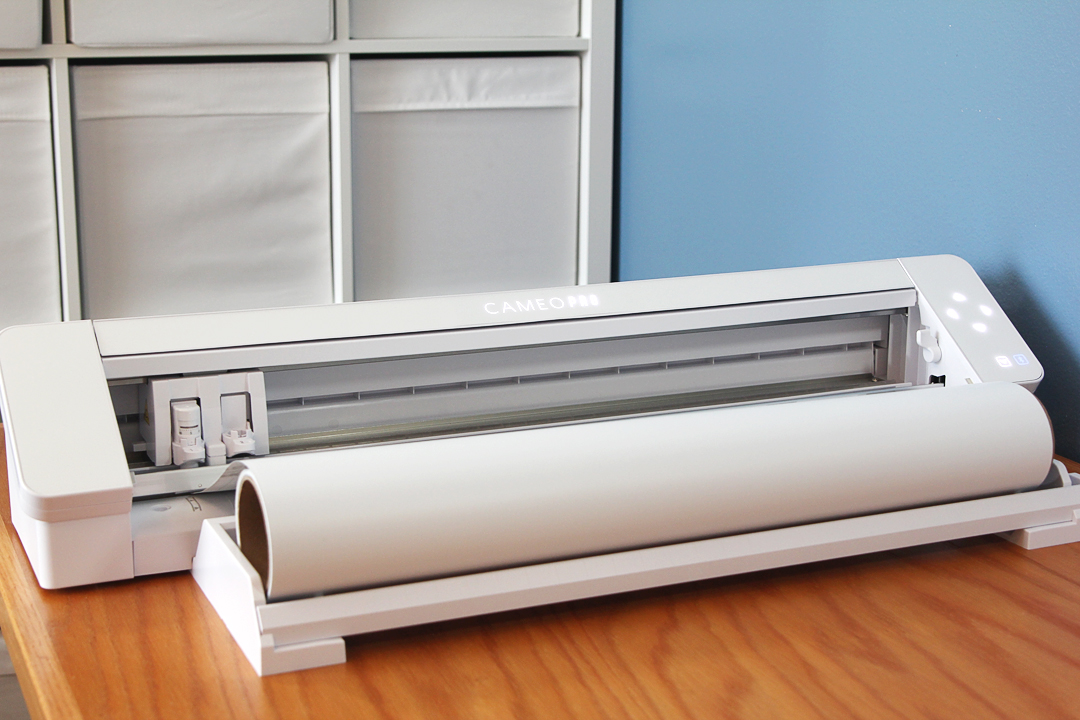
Set up the Cameo Pro roll feeder and load the vinyl directly into your machine with the left edge of the vinyl lined up with the inner loading guide line.
Test cut to verify your settings work for your blade and vinyl.
Once you’ve got your settings adjusted appropriately, click Send to cut the full design.
Step Three: Weed and Apply Vinyl
Trim off the vinyl roll about an inch below the bottom edge of the design.
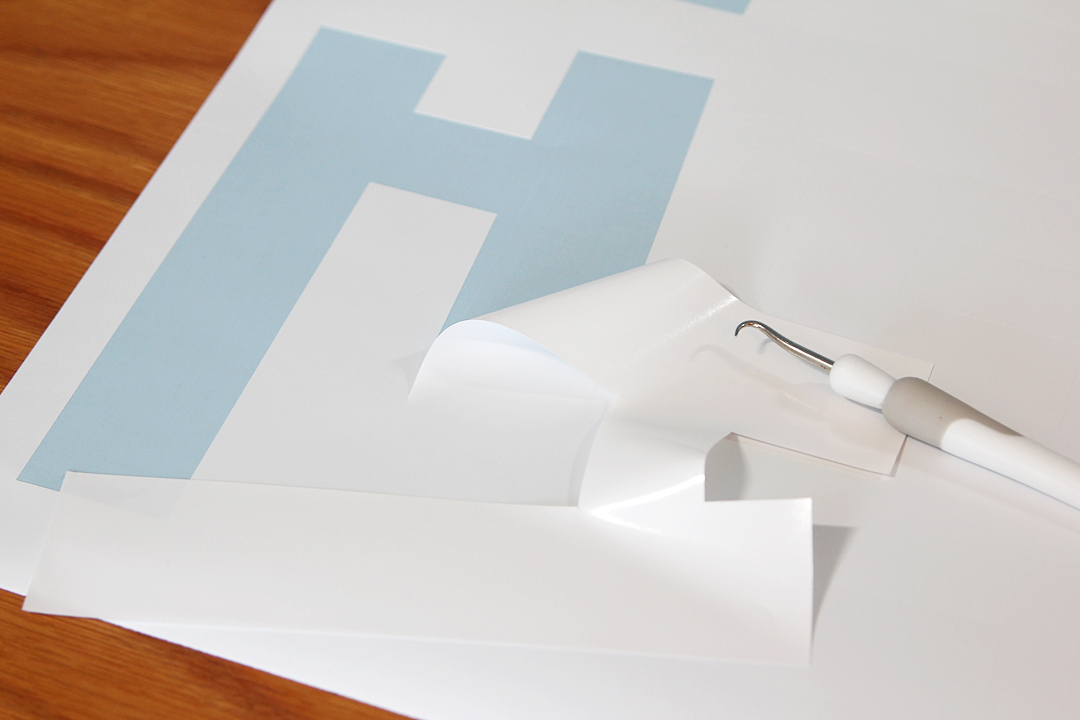
Using a weeding tool, remove the letters from the vinyl backing. This will be a stencil, so the letters are removed so we can paint them in.
Lay down transfer tape across the design so you will be able to pick up the vinyl all in one piece. It’s OK to use multiple pieces of transfer tape that slightly overlap in order to work with large projects like this.
Place the vinyl design against your door mat and carefully remove the transfer tape so only the stencil vinyl remains in place.
Tip: Don’t expect a completely tight seal with the vinyl against the doormat. If the mat is quite fibrous, the stencil will mostly lay on top, so you just need to be careful and go slowly when removing the transfer tape and again when painting.
Use extra masking tape to extend the edges of the stencil as necessary in order to have a large enough stencil that paint won’t get on your mat beyond the stencil edges. Cover any test cut holes with masking tape, as well.
Step Four: Paint Stencil
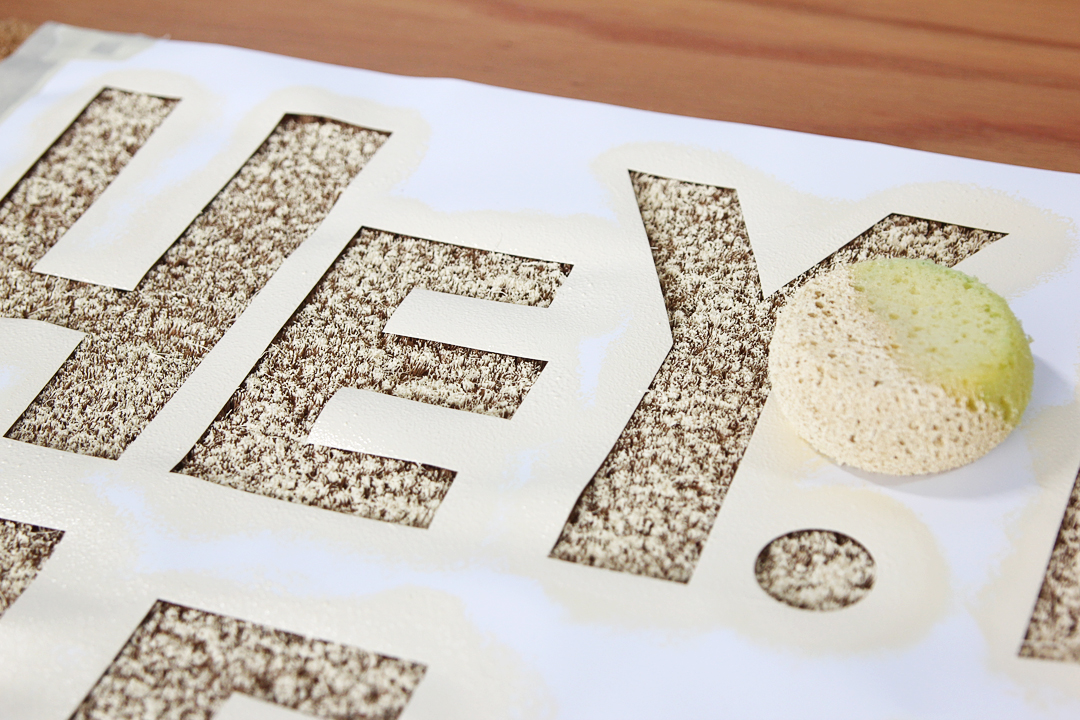
Use a paint applicator to add paint inside the letters. Be careful to avoid any brush motions that will slide paint under the edges of the stencil. Use up-down tapping motions to apply the paint.
Repeat with several coats until the painted design is bold enough. Carefully remove and discard the vinyl stencil.
Let the doormat dry completely, then put it out for your visitors!
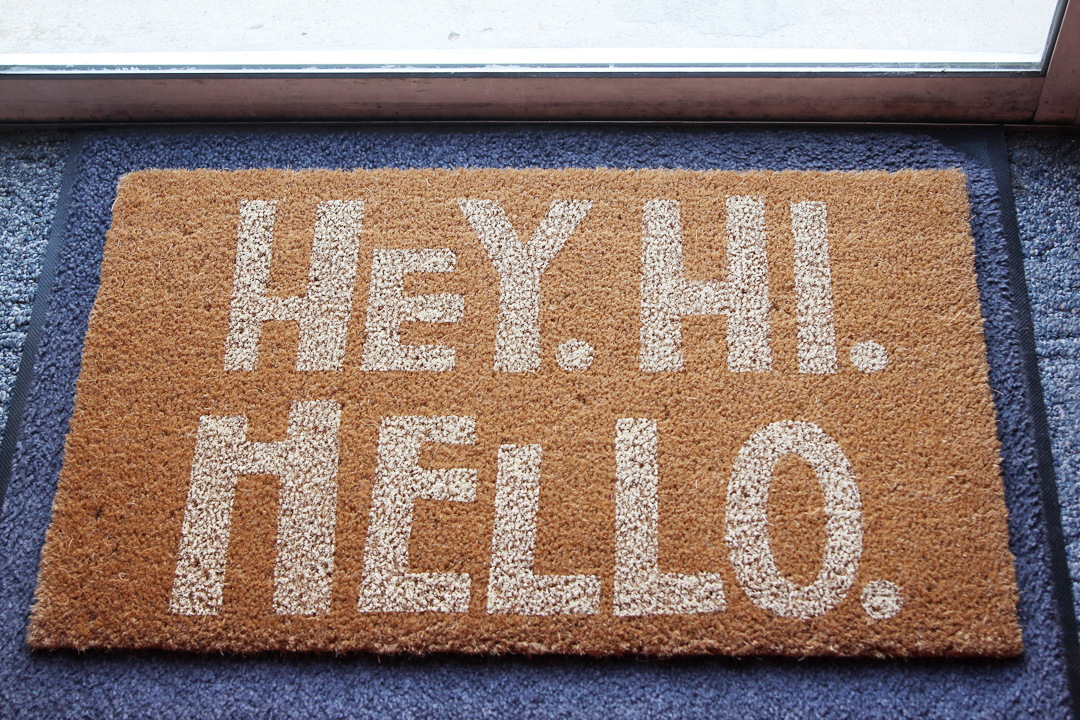
I just love using my Cameo Pro to create giant stencils that go on and off in one piece! How have you used vinyl with your Cameo Pro?
 Free Class - Father's Day Apron Set
  Free Class - Custom Graduation Tumbler