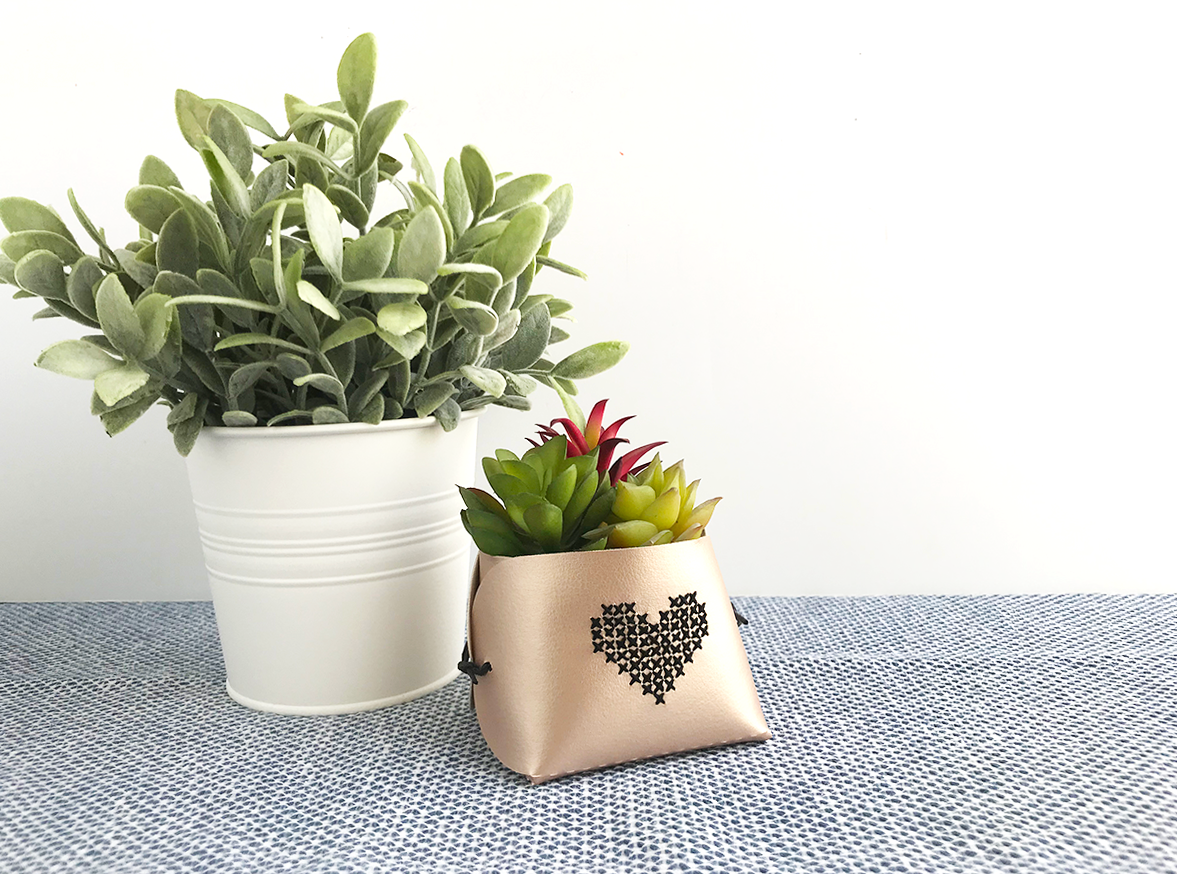
Anyone else have #plantladygoals? This project will make your tiny potted plants very happy and stylish wrapped up in beautiful leatherette! I absolutely love the stitched heart design that adds another element of texture and dimension.
There are lots of great stitch design files on the Silhouette Design Store website, including this poinsettia (great for Christmas) or this quilt pattern. Or come up with a fun phrase and use the Cross Stitch Font!
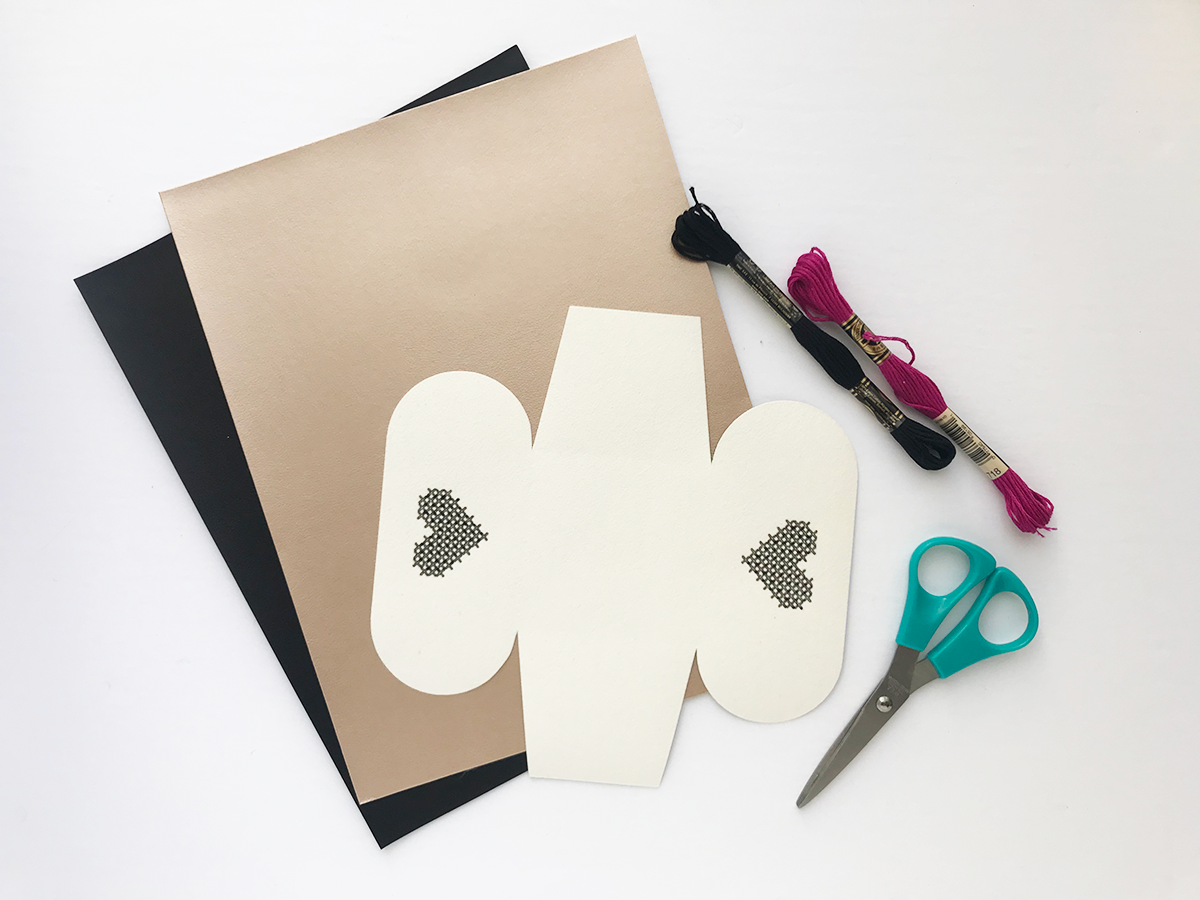
Supplies Needed:
- Silhouette CAMEO® or Silhouette Portrait®
- Silhouette Studio®
- Silhouette Cutting Mat
- Silhouette Cutting Blade
- Silhouette Sketch Pen – Black
- Silhouette Leatherette Sheets
- Embroidery Floss
- Sewing Needle
- Twine
- Hole Punch
- 3-inch Potted Plant
- DIY Planter SVG Cut File (link: http://studioxtine.com/2019/04/diy-3d-planter-svg-file-freebie/)
- Design ID #242188
NOTE: Before we start the tutorial, I want to point out that this project uses Leatherette Sheets that measure 8.5 inches by 11 inches, so the planter cut file is sized to fit within that size. If you choose a different material with a larger size, you can resize the planter cut file accordingly.
Step One: Prepare the Design
1. Download the free DIY planter SVG cut file and import it into in Silhouette Studio®. (Note: You must have Silhouette Studio® Designer Edition or higher.) You can view the video tutorial here or the written tutorial here.)
2. Open Design ID #242188 and resize it to fit within one of the side flaps. For my project, I resized the heart to 1.675 inches wide by 1.369 inches tall.
3. Next, duplicate the resized heart and center align the two hearts with the DIY planter cut file.
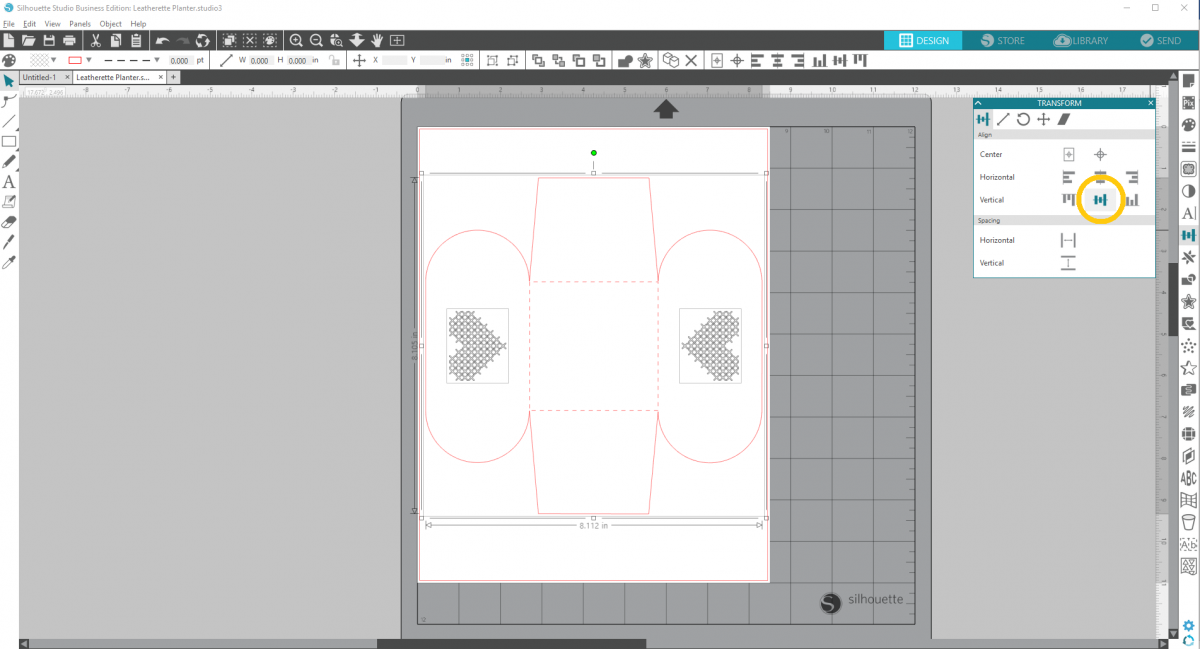
4. Click on both hearts and set the line color to black. The DIY planter shape should have a red line color.
Step Two: Send to the Silhouette
1. We will use the Silhouette machine to cut out the planter shape and sketch the cross-stitch heart pattern.
2. First, place the leatherette sheet (colored side face down) on the cutting mat, and load the cutting mat into the machine.
3. Then on the Send Panel, under the Action Tab, select “Action by Line.”
4. For items in red, select “Leatherette” as the material and “Cut” as the Action.
5. For items in black, select “Cardstock, Plain” as the material and “Sketch” as the Action. For those who don’t have dual carriages, I suggest inserting a pause between the two actions. This will give you time to switch out the cutting blade for the sketch pen.

6. Send to your Silhouette, and watch the magic unfold!
Step Three: Stitch the Design
1. Peel off the cutout leatherette planter from the cutting mat.
2. Pull out two long strands of embroidery floss, loop them through a sewing needle, and knot the ends together. I didn’t measure how long my strands were when I separated them from the main strand, but they were probably about 3–4 feet long.
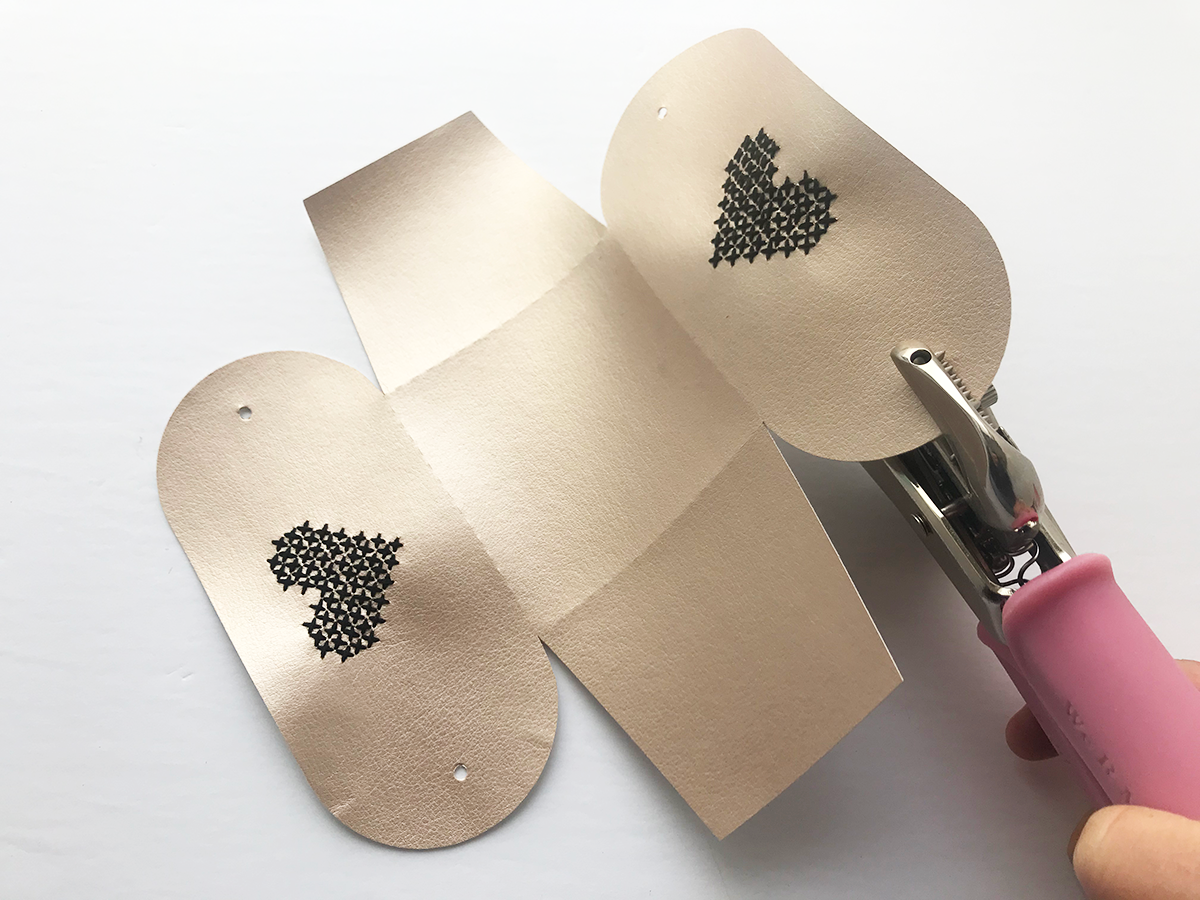
3. With the sewing needle, poke holes at the four corners of one sketched X before cross-stitching.
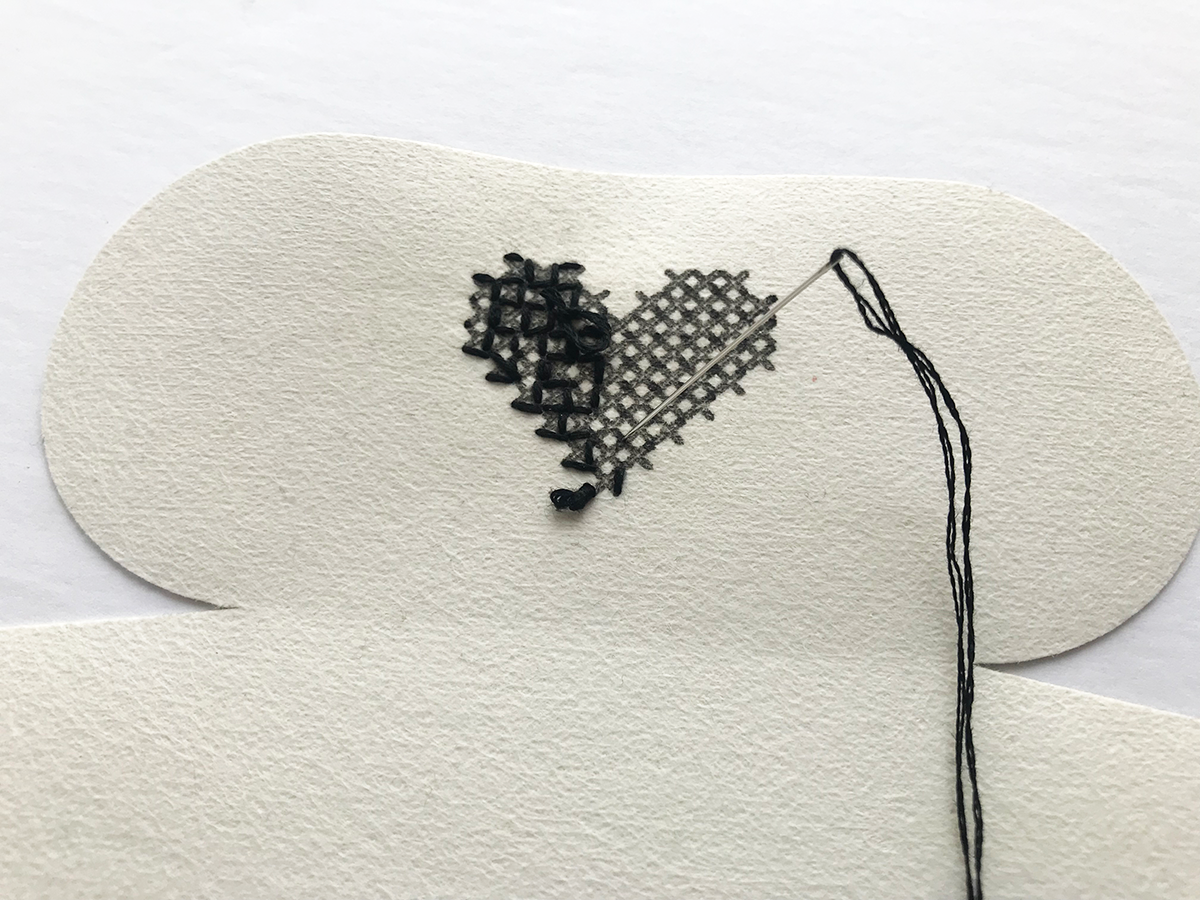
4. Continue Step 3 for each sketched X until you have completed your entire cross-stitch design. Finish the stitch with a knot. This step is super easy to do while watching your favorite Netflix show or while you’re waiting at your kid’s soccer practice!
Step Four: Assemble the Planter
1. Hole punch on each curved side flaps. For mine, I hole punched about 0.5 inches from the curved edge.
2. Place your potted plant on top of the leatherette planter cutout and pull up the flaps to wrap around the pot.
3. Cut two strands of twine, each about 3 inches long, and tie the curved side flaps together to create a snug fit around the potted plant.

4. Lastly, trim twine to the desired length.
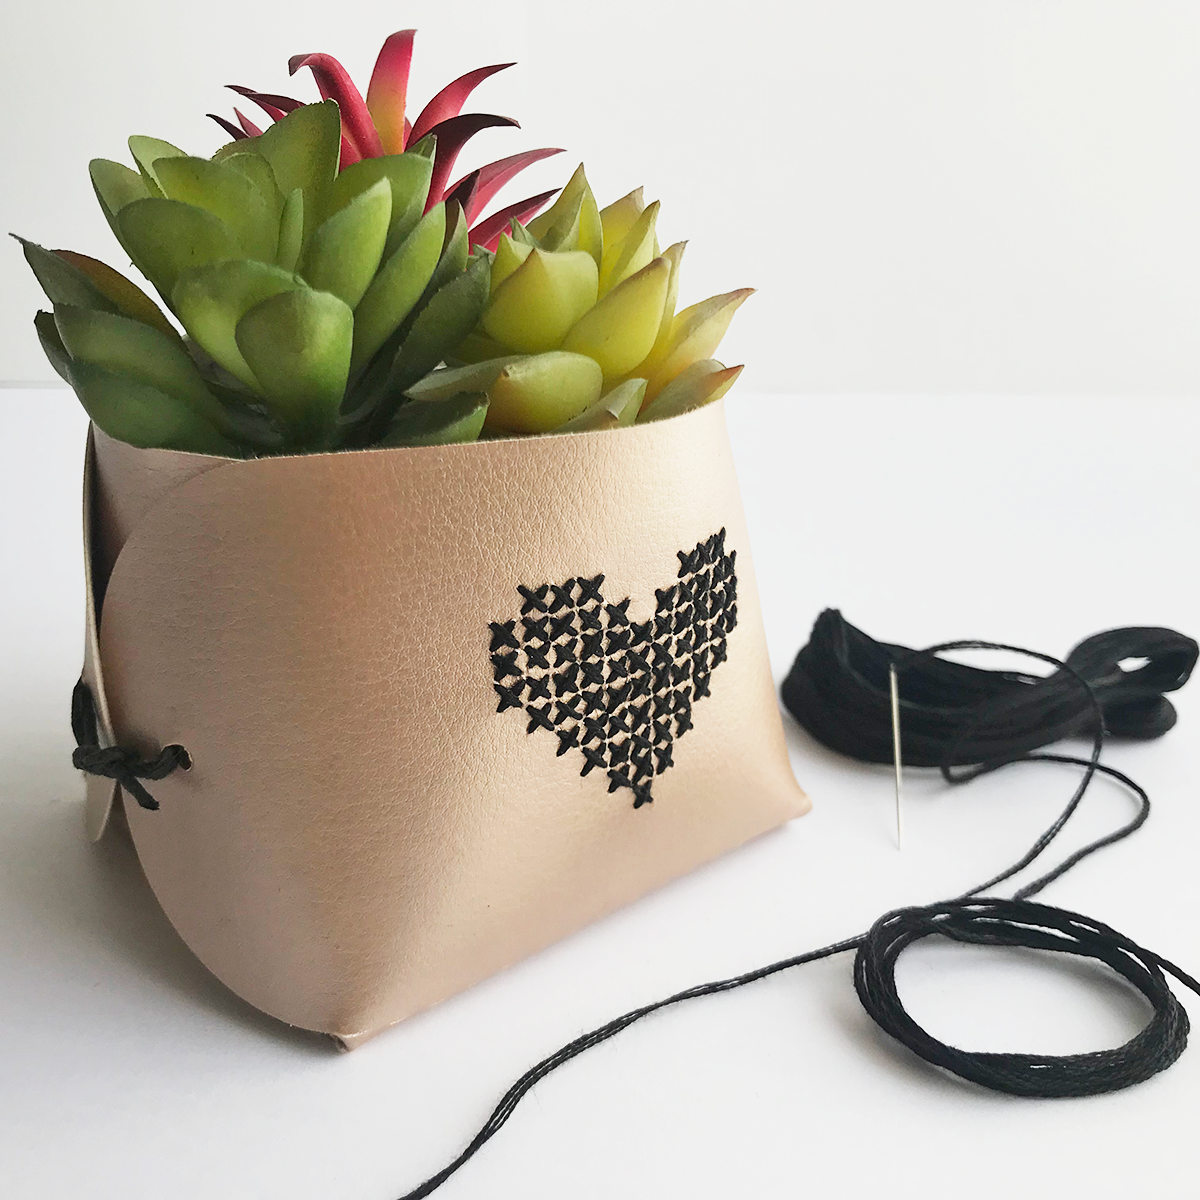
Aren’t these leatherette planters darling?! I love the black stitching against the pearly rose gold leatherette. It feels and looks so chic. Wouldn’t this be a fun way to dress up a gift or party favor! What stitch design would you put on yours?