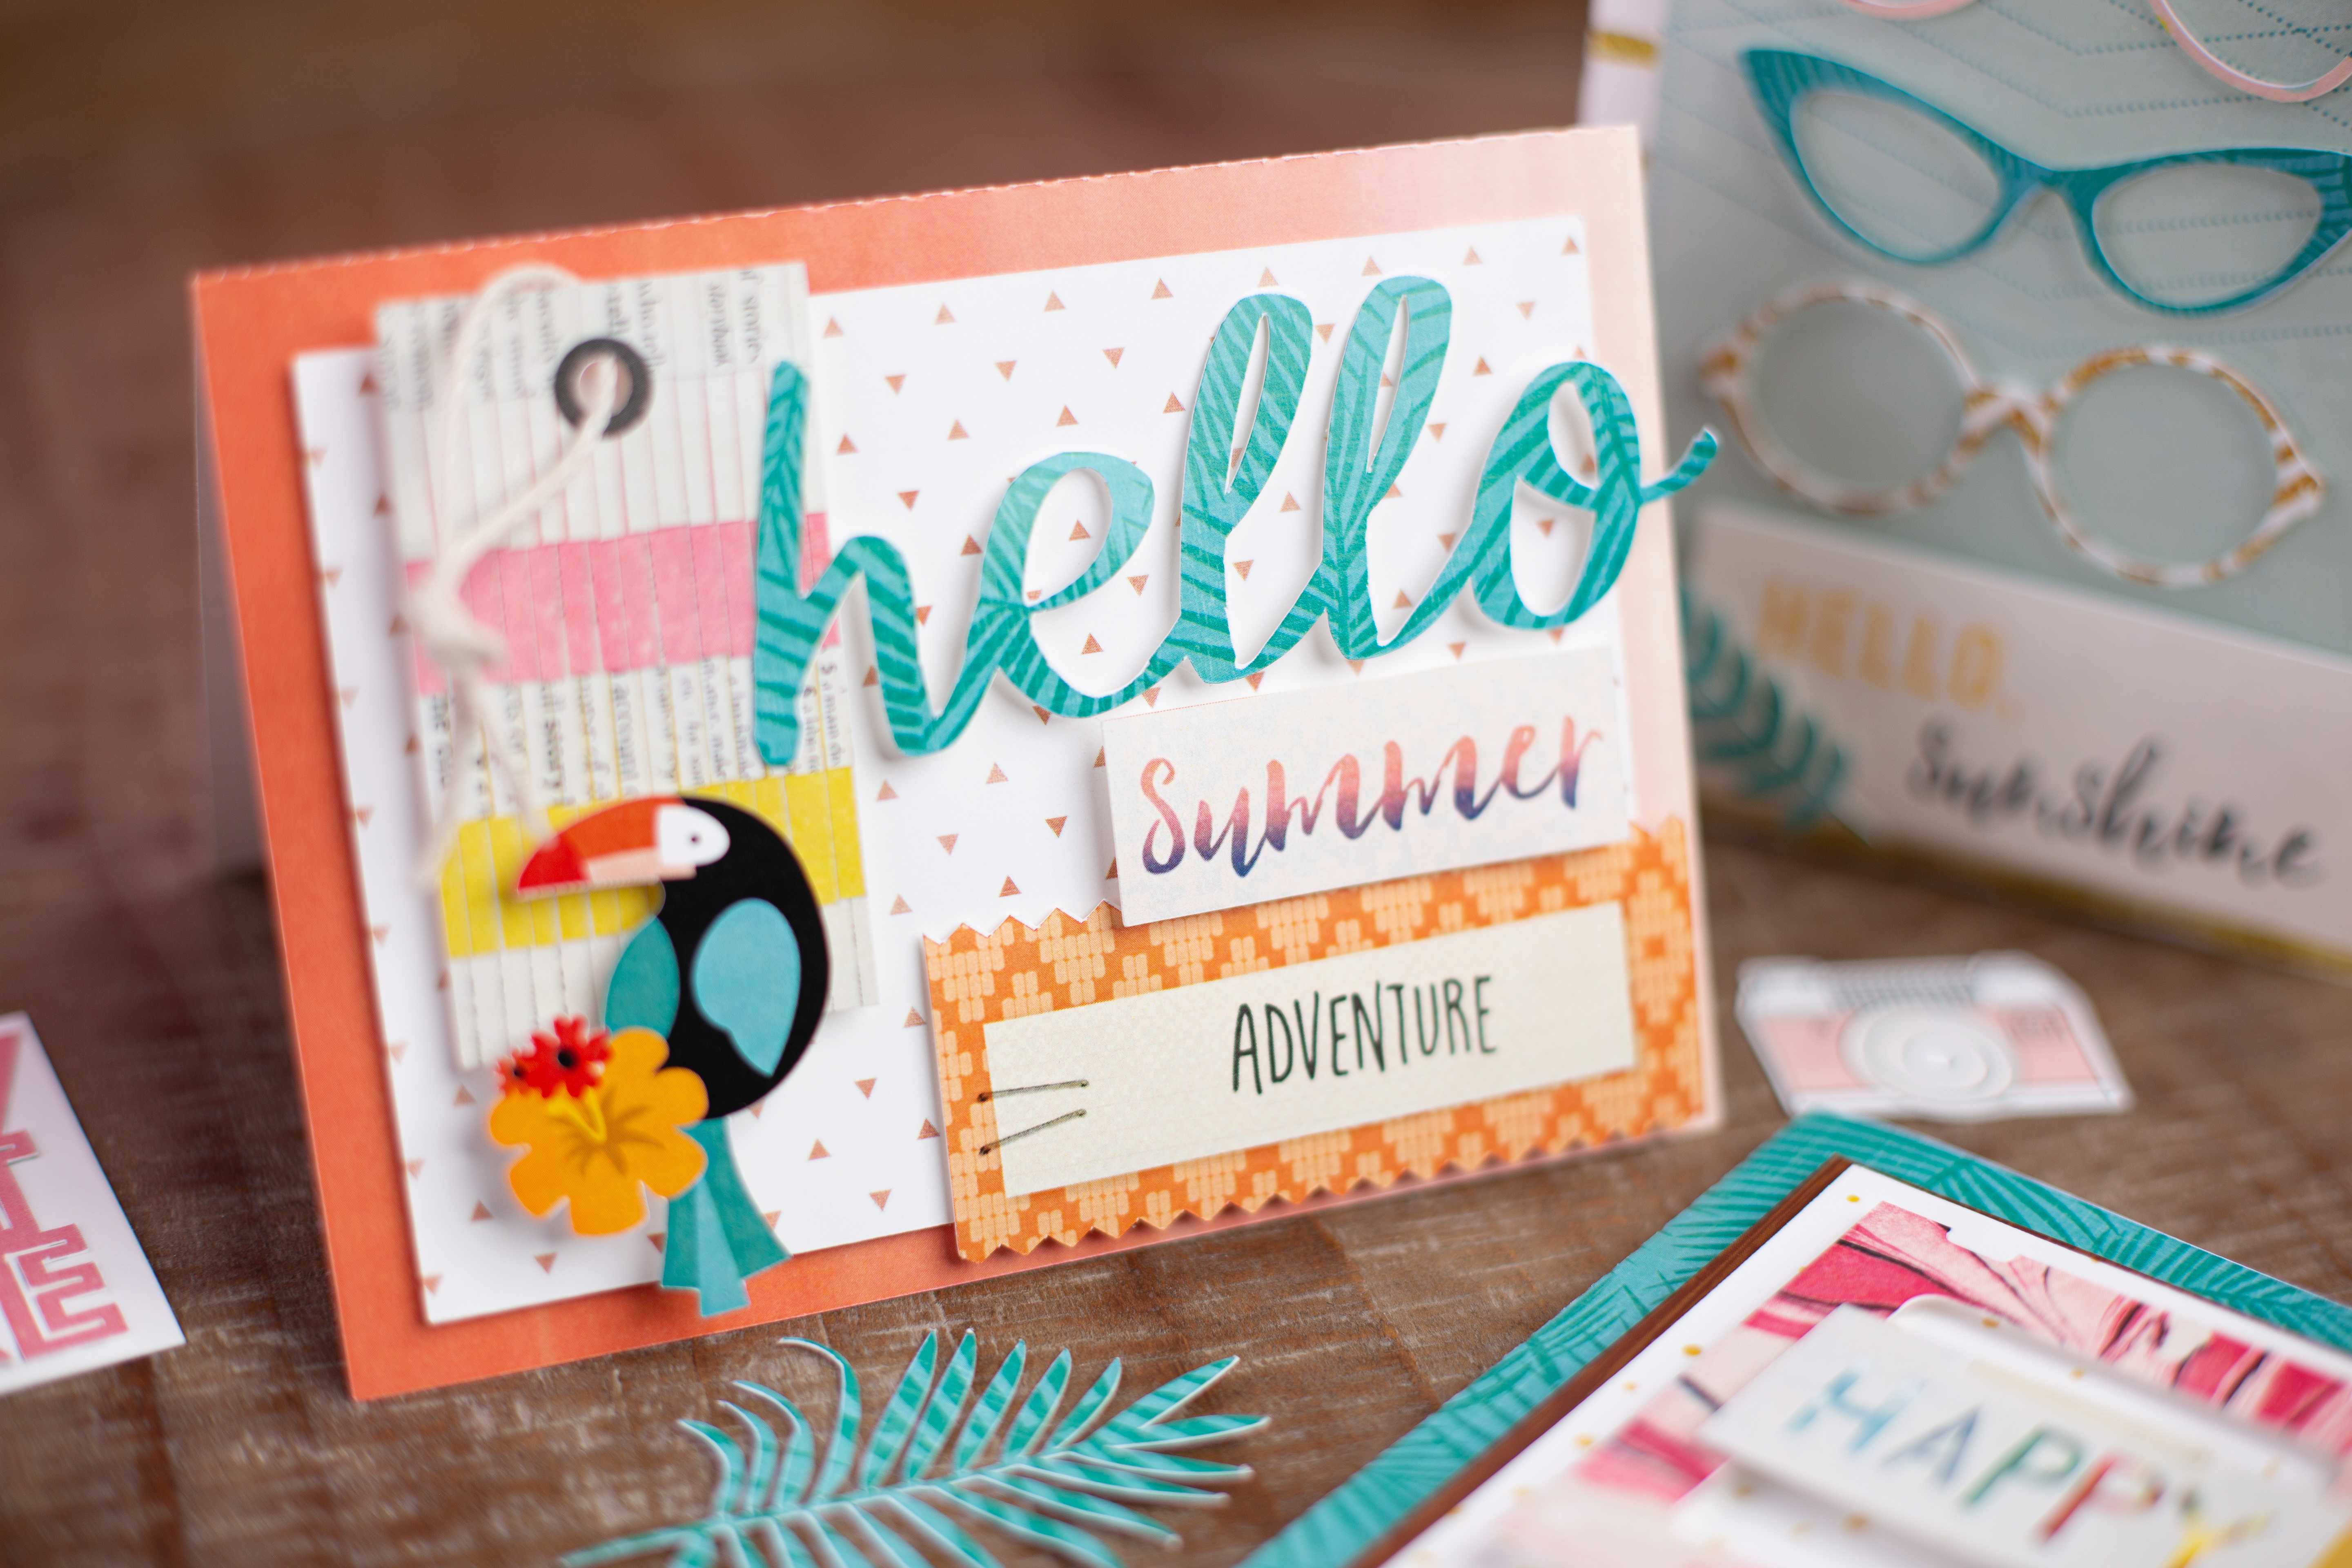
We’re going to show you how to make these three summer cards using patterned designs. To help you with some of the designs, you’re going to learn how to use the New Project Wizard as well as how to fill shapes and fonts with patterns.
Supplies Needed:
- Silhouette CAMEO®, Silhouette Portrait®, or Silhouette Curio™ (with a big base)
- Silhouette Cutting Mat
- Silhouette Cutting Blade
- Silhouette Studio®
- Cardstock – white
- Adhesive foam dots
- Printer
- Design ID #269750, Design ID #183976, Design ID #245689, Design ID #21861, Design ID #54000, Design ID #246094
- Design ID #182626, Design ID #247198, Design ID #195748, Design ID #68335, Design ID #201461, Design ID #126941, Design ID #157420
- Design ID #182563, Design ID #184576, Design ID #245737, Design ID #252169, Design ID #57486, Design ID #201809, Design ID #244972

Step One: Preparing the Designs
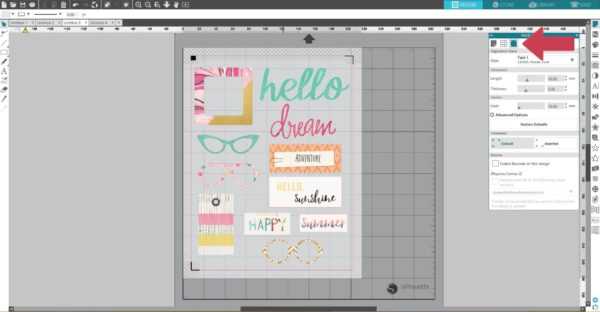
1. Open Silhouette Studio® and go to the menu panel on the upper left corner of the screen. Click File, and in the pop-up menu, choose New Project Wizard (shortcut Ctrl + Shift + N). You will see a pop-up panel where you can choose different projects.
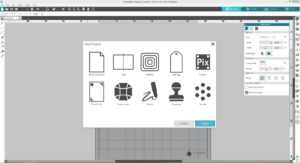
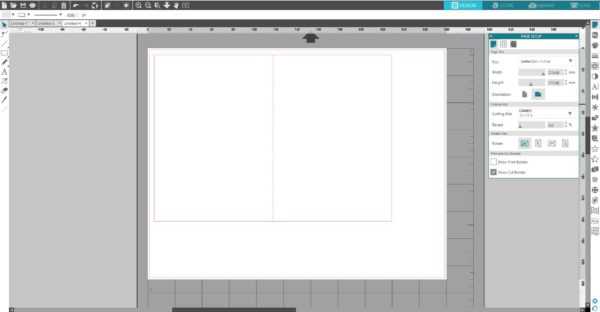
2. Double-click on the card icon and a template for a 7 x 5 in. card will appear on your work space. If you use a CAMEO, in the Page Setup panel, you will need to change the mat size to the CAMEO 12 x 12 in. cutting mat and resize the card template if needed.
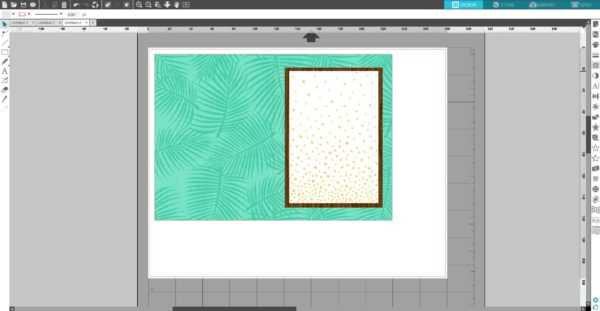
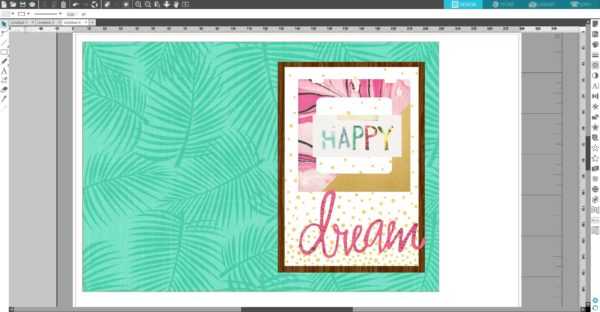
3. Download the Tropical Leaves Pattern (Design ID #269750) from the Silhouette Design Store. Select a card template, go to your Silhouette Studio® library, open the pattern folder, and click on the Tropical Leaves Pattern. When you go back to your design work space, you will see that the card template is filled with the pattern. Under the Advanced Options, you can manipulate your pattern. You have the ability to scale the pattern’s size, mirror it, and change the aspect ratio and angle. For more information about the Fill Pattern panel, watch this video.

4. Draw two rectangles that are a little bit smaller that your card base and fill one of them with the Brown Wood Grain Pattern (Design ID #21861) and fill the other one with the Gold Confetti Pattern (Design ID #54000).
5. Download and open in the Silhouette Studio® the Dream design (Design ID #183976), the Happy Tag design (Design ID #245689) and the Slide design (Design ID #246094). Place them on the card.
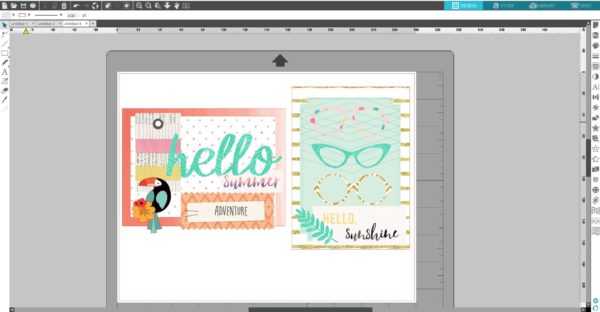
6. Now that you’ve created everything for the first card, you can create the designs for the other two cards in a similar way.
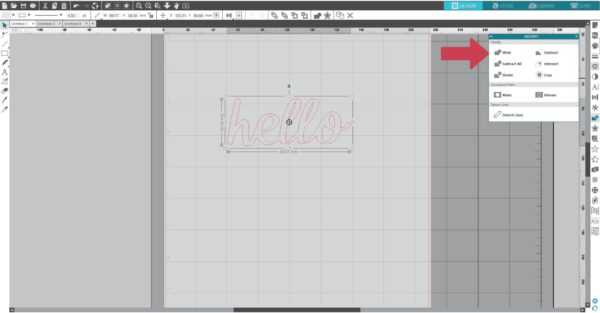
7. To fill font with pattern, you need to download the Armadillo font (Design ID #244972) or any other font you want to use. Type “hello”. Select the text, go to the Modify panel, and click the Weld icon to weld the letters together.
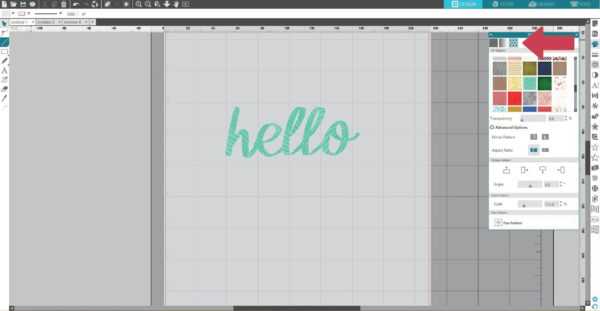
8. Fill the text with a pattern. To do so, select your design, go to the Fill panel, click the Fill Pattern icon, and choose the Tropical Leaves Pattern (Design ID#269750).
Step Two: Cutting Out the Designs
1. In the Page Setup panel, change the page size to the Letter size. Turn on the registration marks (found in the Page Setup panel) and place all the designs you want to Print & Cut within the registration marks border.
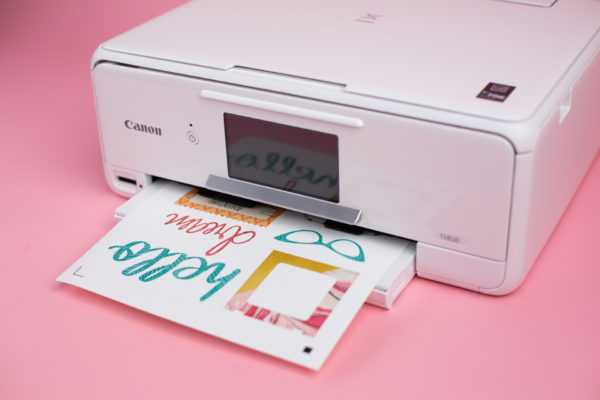
2. Print out your designs on white cardstock by selecting the printer icon.
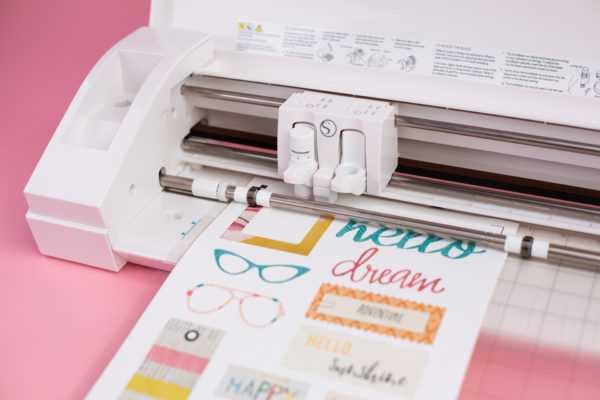
3. Place the printed sheet on your mat and feed it into your Silhouette machine.
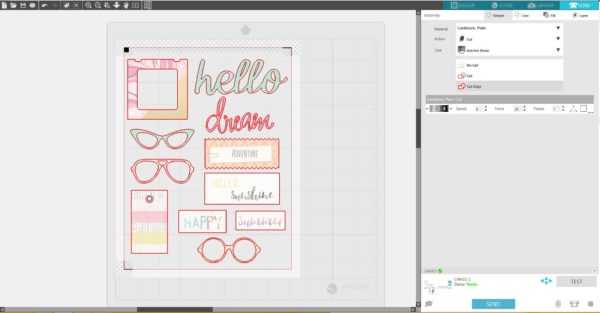
4. Go to the Send panel. Choose “Cardstock, Plain” as your material type. Adjust your blade if necessary and send your cut job to your Silhouette machine.
5. After cutting the designs, remove the designs from the cutting mat.
Step Three: Arranging the Cards
1. When we have all our card pieces cut out, we can start to adhere them to the card base using adhesive foam dots.

Now our cards are ready!

Which card is your favorite? Tell us in the comments below!