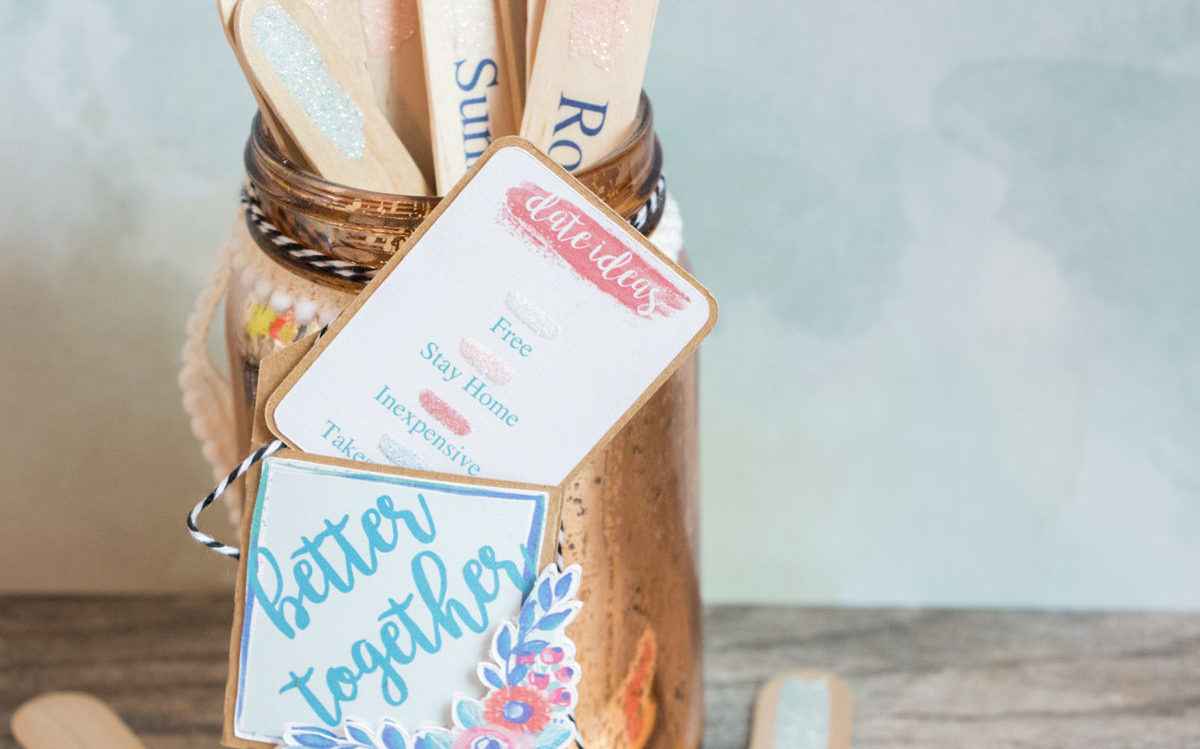
Can’t decide on what to do together on a Saturday night? Let me show you how to solve that problem with this adorable date night jar. All you have to do is decide on what type of date, and then pick that coordinating colored stick from the jar. Keep it fun; don’t peek!
With a little planning in the beginning by writing down your date ideas, you will have endless fun times this summer with your loved one!
Materials Needed:
- Silhouette Curio™ (or your preferred cutting machine)
- Mason Jar
- Silhouette Glitter, 4 colors (I used white, strawberry, aqua, and coral)
- Silhouette Double-Sided Adhesive
- Cardstock (white and craft)
- Glue
- Jumbo 6” craft sticks
- Silhouette Tattoo Paper
- Ribbon
- Design #62934
- Design #137705
- Design #139607
- A bit of experience using Silhouette Studio®
Tip: Before you start, I would suggest creating a list of all your exciting date ideas and grouping them into the four categories used on our color key: free, stay home, inexpensive, and takes planning. This will help make the process in Step Four much quicker.
STEP ONE: CREATE YOUR POCKET CARD TAG
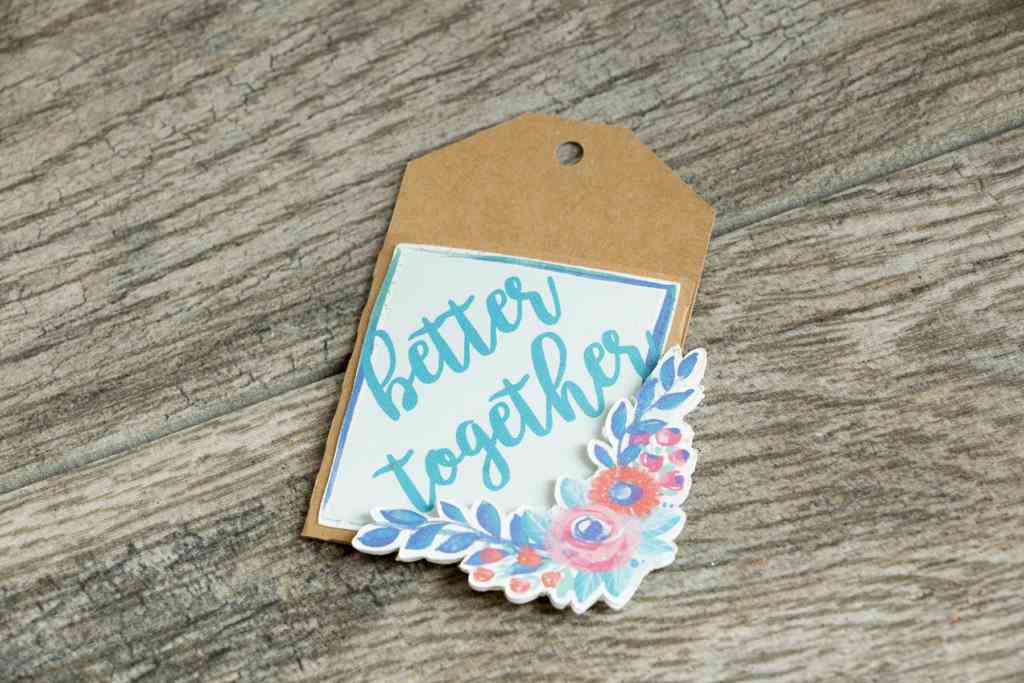
Creating this gorgeous pocket card tag that holds the color key for your date ideas does take a little bit of experience in the Silhouette Studio® if you want to create the 3D effect on the flowers as well as the colored background. If you’d like to see how I created that, head over to my blog for full step-by-step instructions.
But don’t worry, it looks just as beautiful without those details.
1. To start, cut out your pocket tag, Design #62934, on craft paper with your Silhouette Curio™. (I resized mine down to approximately 3½ in. high.)
2. Fold and then glue the flap to the back piece.
3. Select the rectangular piece in Silhouette Studio® and create an internal offset of about 0.075 in. (We’ll use this later to design your color key.)
Tip: To create an offset, open the Offset panel, choose “Internal Offset,” set your distance and corner shape, and then press “Apply.”
4. Open your painted floral frame, Design #137705, and resize it to fit on the front of your pocket tag. Add “Better Together” text in a slanted orientation in the middle of your design in my favorite font, Bromello. You can add Bromello to your font library from most free font websites. (It’s okay if the flowers hang off the tag; that’s part of the design!)
5. Turn on your Registration Marks, and send to Printer on white cardstock.
Tip: If you’re new to Print & Cut, this is a great tutorial that shows you step by step how to use the Print & Cut feature successfully.
6. To ensure that your Curio doesn’t cut the middle section out, right click on the design and select “Release Compound Path.” Then select the inside object and set it to “No Cut.”
7. Load your design onto your cutting mat and send to Silhouette.
8. Glue this design to the top of your pocket tag.
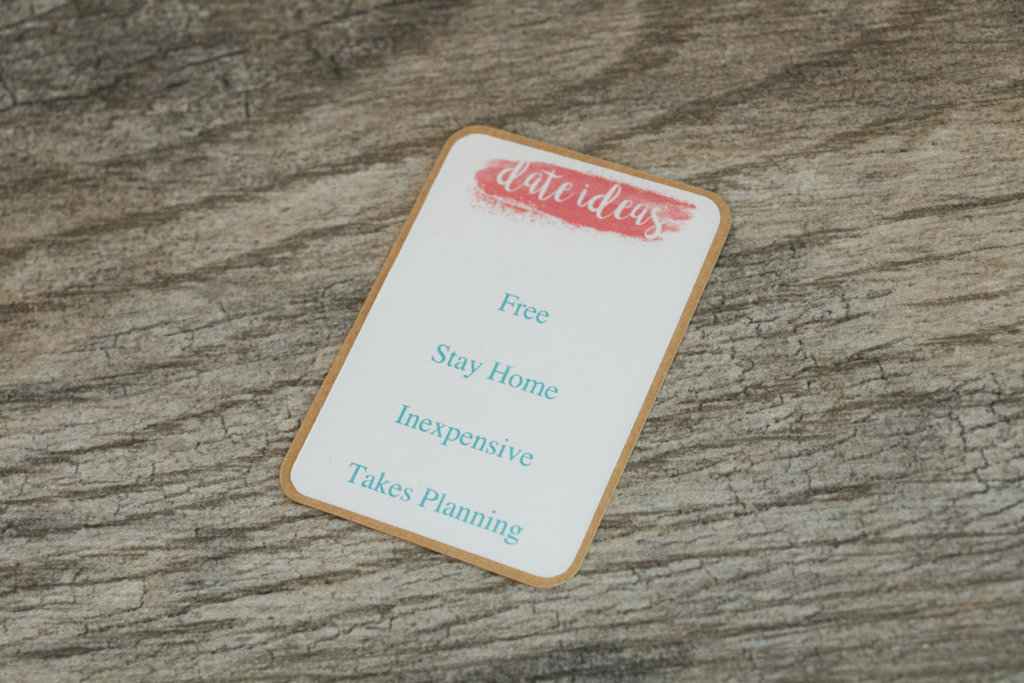
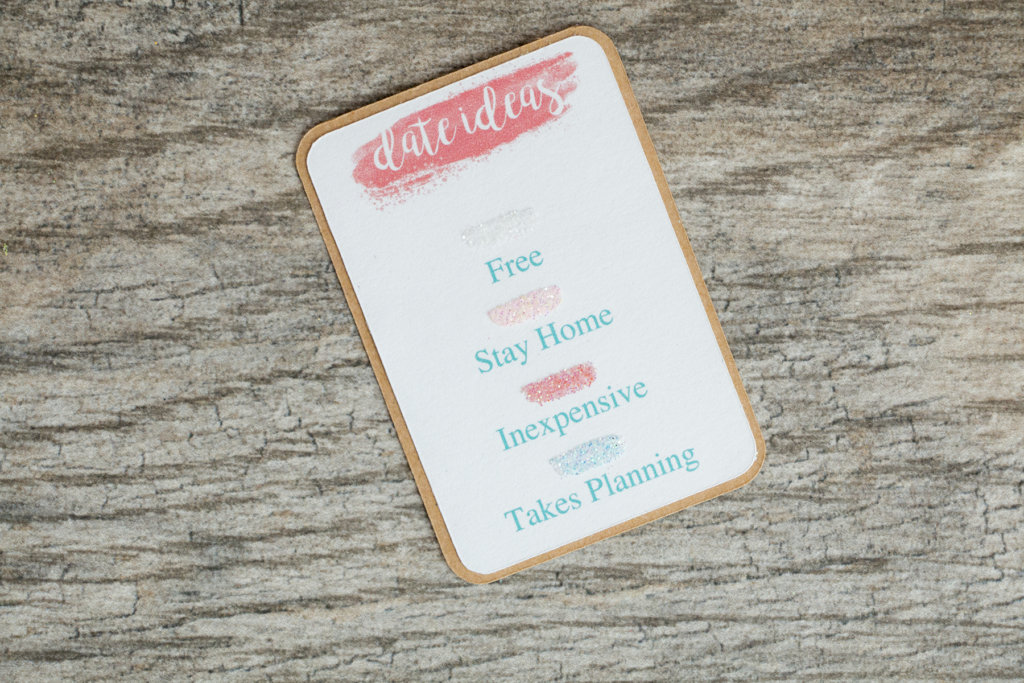
STEP TWO: DESIGN YOUR DATE IDEA COLOR KEY
1. Grab that rectangular object you created in step one.
2. Open your painted multicolor swatches, Design #139607, and place one of the objects at the top of your rectangle. Add “Date Ideas” in a white font.
3. Type “Free,” “Stay Home,” “Inexpensive,” and “Takes Planning,” aligned and centered in your rectangle, leaving enough space in between each word for your glittered color key.
4. Make sure to turn on your registration marks, and send to Printer on white cardstock.
5. Load your design onto your cutting mat and send to Silhouette.
6. Glue your design onto the coordinating rectangle that you cut in Step One.
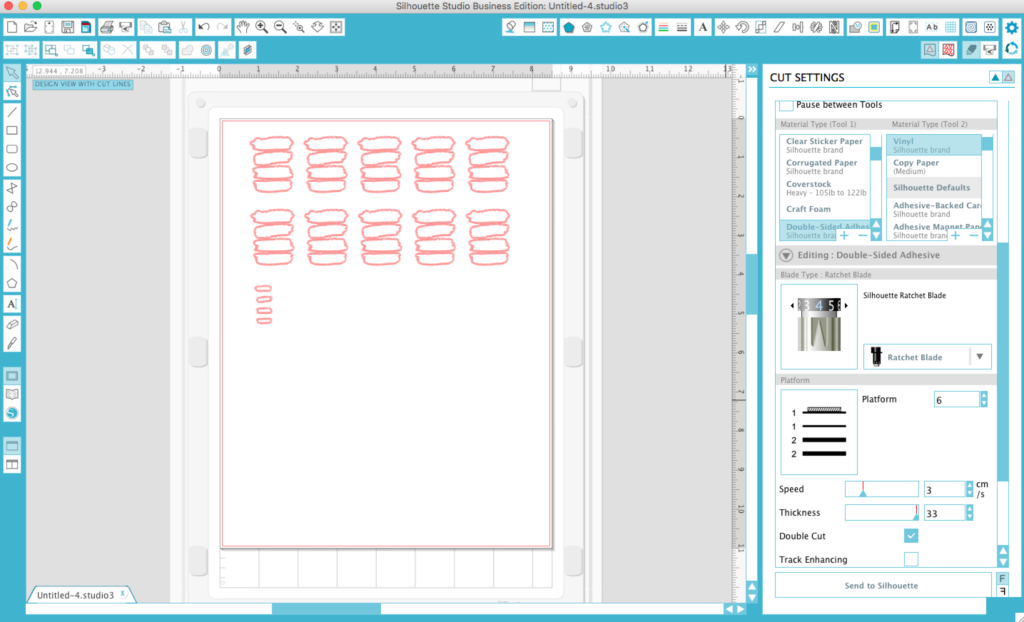
STEP THREE: CREATE DESIGNS FOR STICKS AND COLOR KEY
1. Open the painted multicolor swatches design again.
2. Resize them to fit at the top of your craft sticks. (I resized mine to about 1 in. wide.)
3. Multiply these swatches by the number of sticks you want.
4. Resize another set of your objects to fit on your color key above each word (about .418 in. wide).
5. Load your double-sided adhesive onto your cutting mat and send to Silhouette.
STEP FOUR: CUT OUT YOUR DATE IDEAS
I would suggest making a list ahead of time of all your exciting date ideas and possibly grouping them into the four categories used on your color key. This will help make this process quicker.
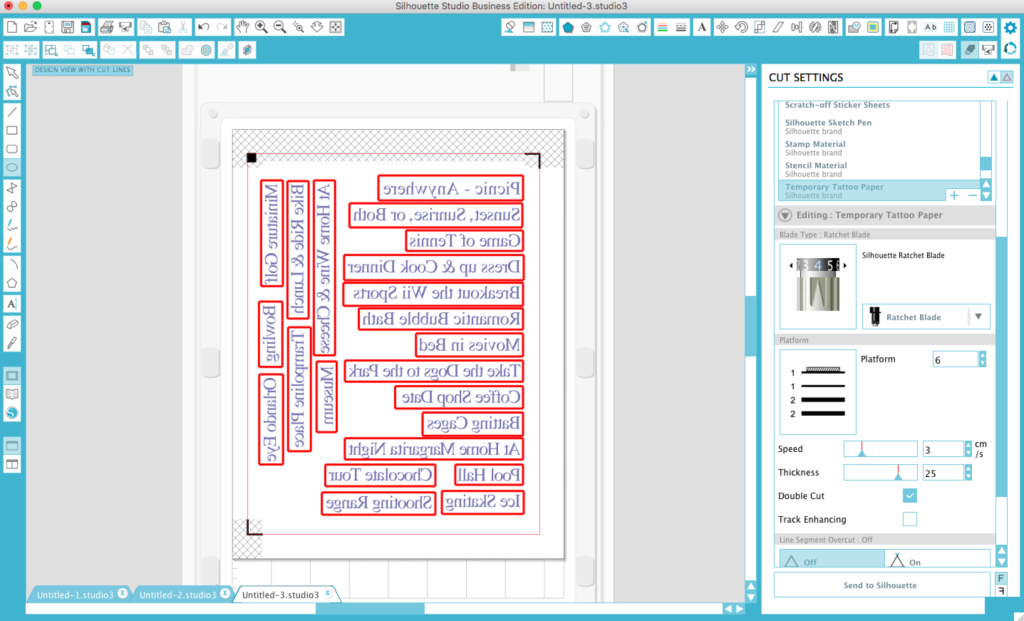
1. Type out all of your date ideas onto an 8.5 in. x 11 in. page size.
You want to make sure they’ll fit on your craft sticks, so don’t go over the maximum width. With color swatches on the craft sticks, I kept the max length of my date ideas to a little less than 5”.
2. Create a box around each of the ideas (this will be used for cutting).
3. Select your entire design and flip horizontally.
4. Make sure your registration marks are on, and send to Printer using your printable tattoo paper.
5. Load your printed design onto your cutting mat, and send to Silhouette.
STEP FIVE – ASSEMBLE
1. Apply the small double-sided adhesive swatches to the color key and sprinkle with glitter, one color per word.
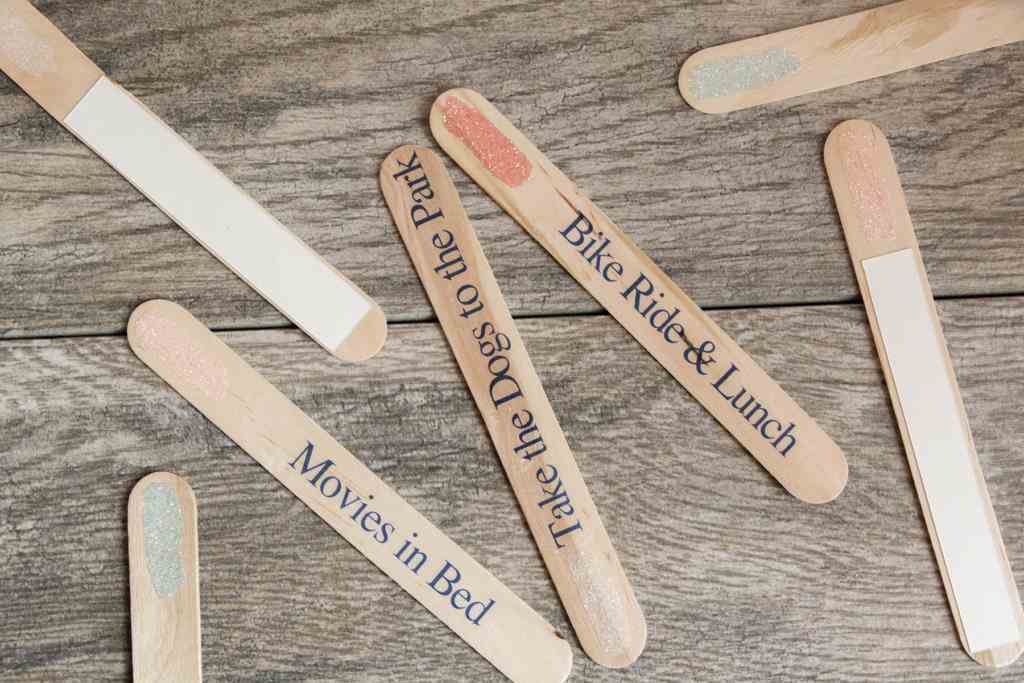
2. Apply one larger swatch onto the top of each craft stick at the top, and sprinkle with glitter.
3. Apply the tattoo-paper date ideas to the appropriate colored sticks.
4. Finish by stringing your tag to the jar and adding any additional decorative ribbon.
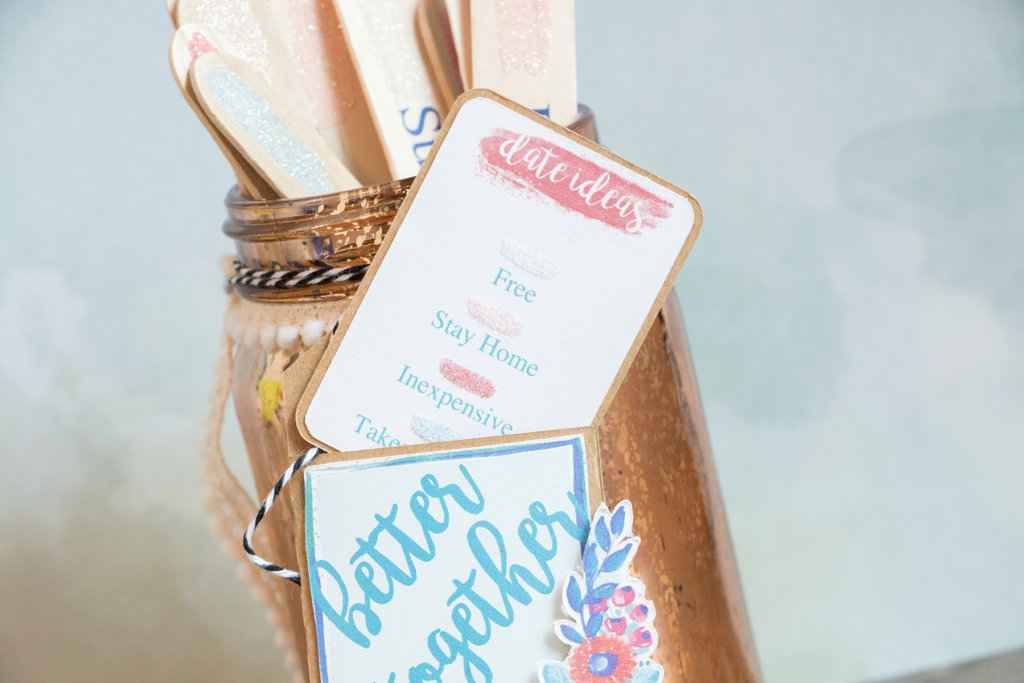
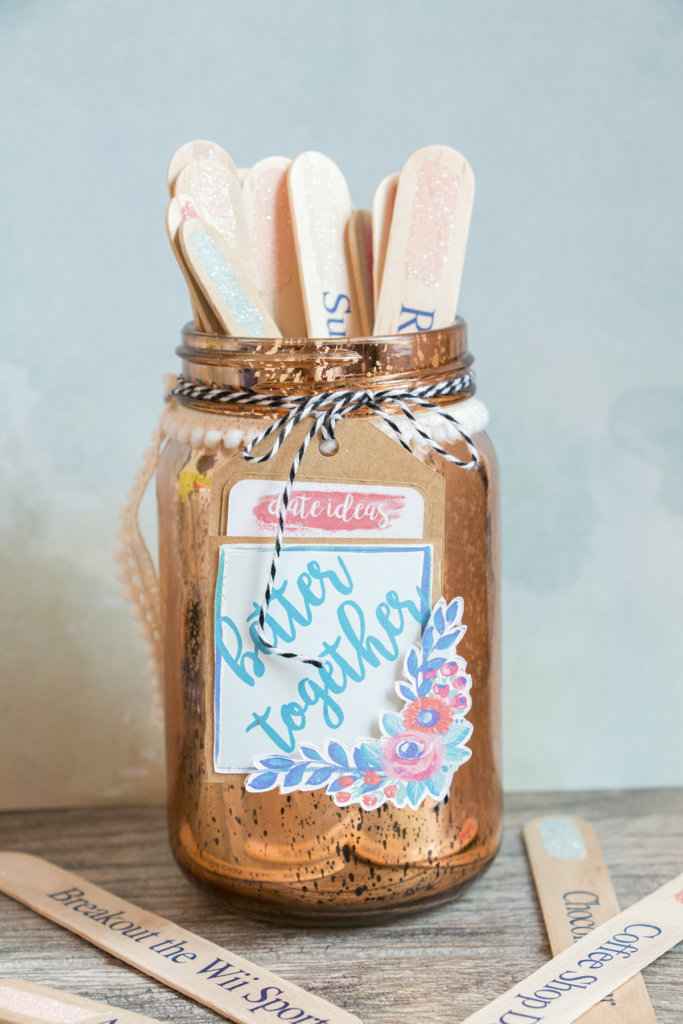
Now that you have created a beautiful date night jar, go ahead and start making those fun memories together!
What’s your favorite way to spend time with your loved one?
Nasze Naturalne
September 3, 2025
Your authentic voice really shines through in everything you create and share
Naszenaturalne
September 2, 2025
Really love your style
Kelly Wayment
June 28, 2024
You can use it with vinyl as long as it is smooth and flat to allow the static charge to hold on to it. Rolled vinyl that wants to go back to its rolled shape will not necessarily work well, and it would need to be trimmed to fit the ES mat cutting area.
Kelly Wayment
June 28, 2024
Yes, you can use the heat pen while using the ES mat. 🙂
Yurii
March 2, 2024
Hello. May it be used with heat pen?
Thanks
Jerome
February 24, 2024
Hi, works this with the normal vinyl foils or only with printer papter etc?