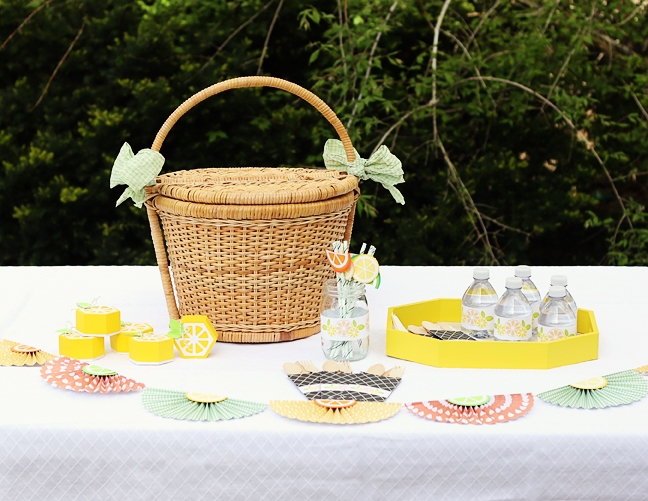
Summer is upon us! Why not use your Silhouette Portrait® to create a festive summer picnic party as you head outside? I chose a citrus theme for my picnic party and have some fun ideas to share with you.
If you ever wonder whether the Portrait is capable of the same awesome things as its bigger sibling, the CAMEO, then read on!
Supplies Needed:
- Silhouette Portrait®
- Silhouette Sticker Paper – White
- Patterned paper and/or colored cardstock
- Decorative paper straws
- Baker’s twine
- Favorite adhesives
- “3D Picnic Envelope Bag” (ID #58486), “Citrus Favor Box” (ID #81252), “Lemon Straw Slider” (ID #142580), “Lime Straw Slider” (ID #142583), “Citrus Bunting” (ID #45770), “Citrus Slices” (ID #138755)
Note: This tutorial uses Silhouette Studio® v3.8.211.
Are you ready? Let’s get started!
STEP ONE: UTENSIL SLEEVES

You really could start anywhere on this project, but I started with these utensil sleeves. With a little resizing, you can fit two sleeves on your Portrait mat that will fit small wooden or plastic utensils.
Tip: When you want to see the finished size of 3D designs before committing your nice paper, try cutting the base shapes from spare paper first. Then do a quick (mostly glueless) assembly to see if you’d rather have them smaller or larger.
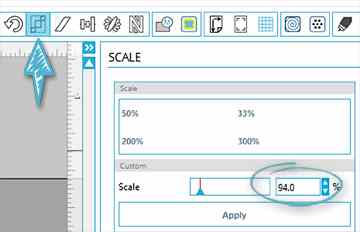
Resize the utensil bag to fit small utensils and maximize paper.
- Using the Scale window, resize the picnic envelope bag (while all parts are selected) to 94%.
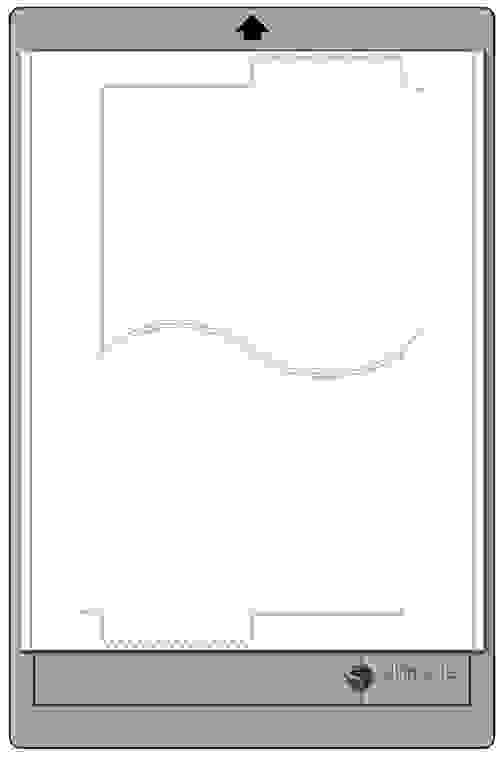
- Rotate one copy of the bag 90 degrees and position it closely above the original bag so that both can be cut at the same time from letter-size paper or larger.
Here’s how it should look on your virtual Portrait mat.
Cut and assemble the utensil bags.
- Cut two bags at a time from patterned paper.
- Assemble with a strip of adhesive along each of the two glue tabs.
- Save the extra rectangle on the Silhouette Studio® work page for Step Two, below.
STEP TWO: PRINT & CUT LABELS
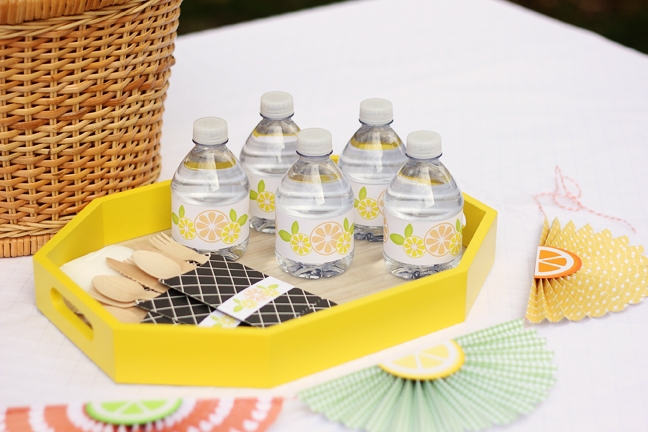
White sticker paper and the Portrait’s Print & Cut feature are truly a perfect match! (You can read more about Print & Cut, one of the Portrait’s best features, here.) I used one design to create labels for the utensil pockets, drinks, and straw jar.
Prepare the Print & Cut labels.
- Convert the citrus slices cut design into a Print & Cut. See this tutorial for help turning a regular cut file into a Print & Cut.
- Resize copies of the citrus grouping to fit the following shapes:
- Small rectangle from the utensil sleeve design, above (approximately 1 in. high x 2.77 in. wide)
- Rectangle to fit generic water bottles (8½ in. wide x 1½ in. high)
- Rectangle to fit pint-size mason jar (9½ in. wide x 1½ in. high)
Cut the Print & Cut labels.
- Remember to turn on Registration Marks in Silhouette Studio®.
- Set the design to Cut Edge and set your blade to white sticker-paper settings before cutting.
STEP THREE: CITRUS BOXES
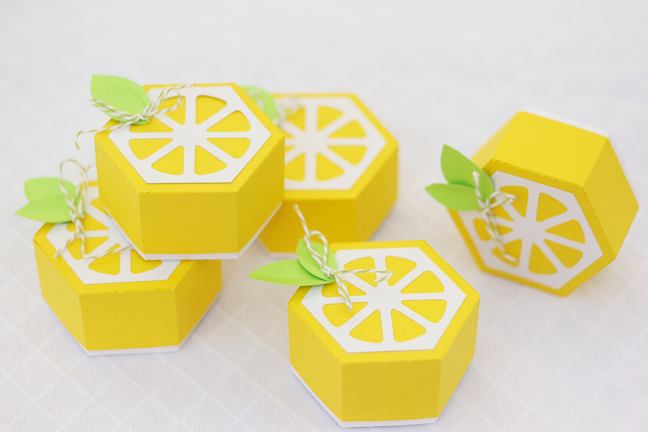
I love these little hexagon citrus favor boxes, which fit my theme perfectly. And they’re easy to make! Just make them a little bigger than the default size.
Resize the citrus favor box to fit bigger treats.
- Using the Scale window, resize the picnic envelope bag (while all parts are selected) to 140%, making the assembled box about 2½ in. wide and 1½ in. tall.
Cut and assemble the citrus boxes.
- Duplicate the larger box lid in the Silhouette software, and cut the lids from yellow cardstock (two lids can fit on a 6 in. x 12 in. piece of cardstock).
- Duplicate and cut the smaller box base from white cardstock (again, two bases per 6 in. x 12 in. piece of cardstock).
- Cut the hexagonal center piece from white and the leaves from green cardstock.
- Fold the boxes together and glue on the glue tabs, one half at a time. Each box side is a single piece, so they’re simple to assemble.
STEP FOUR: STRAW SLIDERS
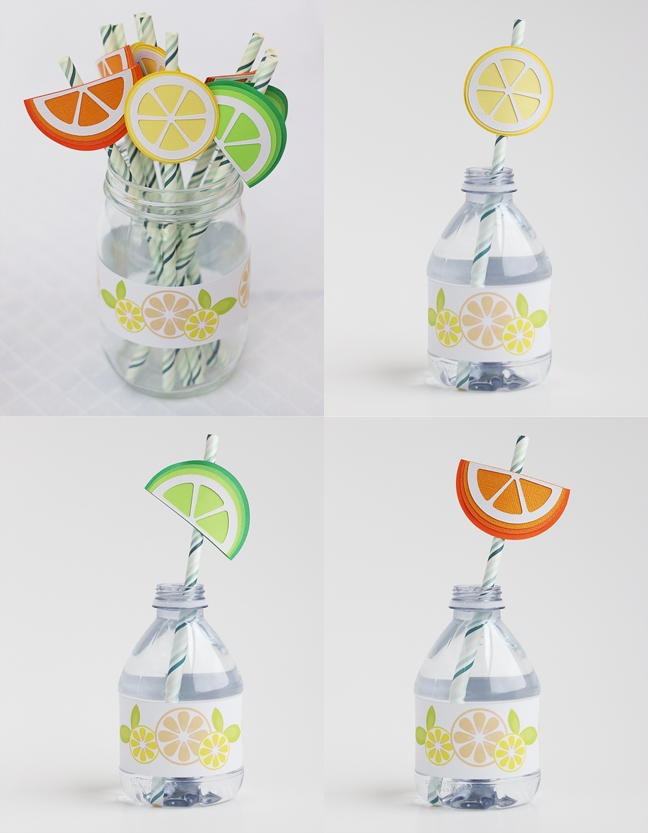
How about some charming straw sliders to continue the citrus theme? You can make any kind of citrus slice you want, simply by choosing 2–3 shades of green, yellow, or orange for each slider. You can find the designer’s tutorial for making these here.
Cut extras (without the extra slider back piece) for the bunting in the next step.
STEP FIVE: BUNTING
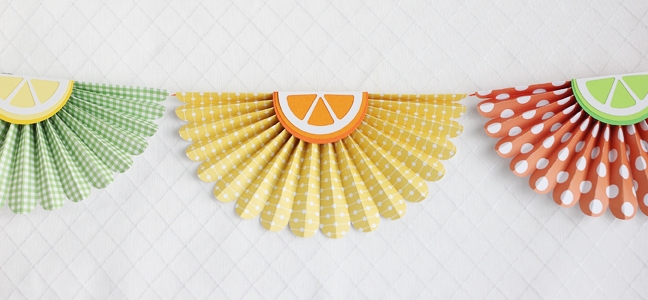
This citrus bunting has to be a little smaller when cut with the Portrait, in contrast to the CAMEO, but it still looks great! You can find the designer’s tutorial here.
My variations from the original design:
- Cut each bunting section in one layer of lightweight patterned paper in citrus colors.
- Use extra citrus pieces from Step Four as decorative centers for each bunting piece.
What do you think? Are you ready to party with your Portrait this summer?
 Free Class - Father's Day Apron Set
  Free Class - Custom Graduation Tumbler