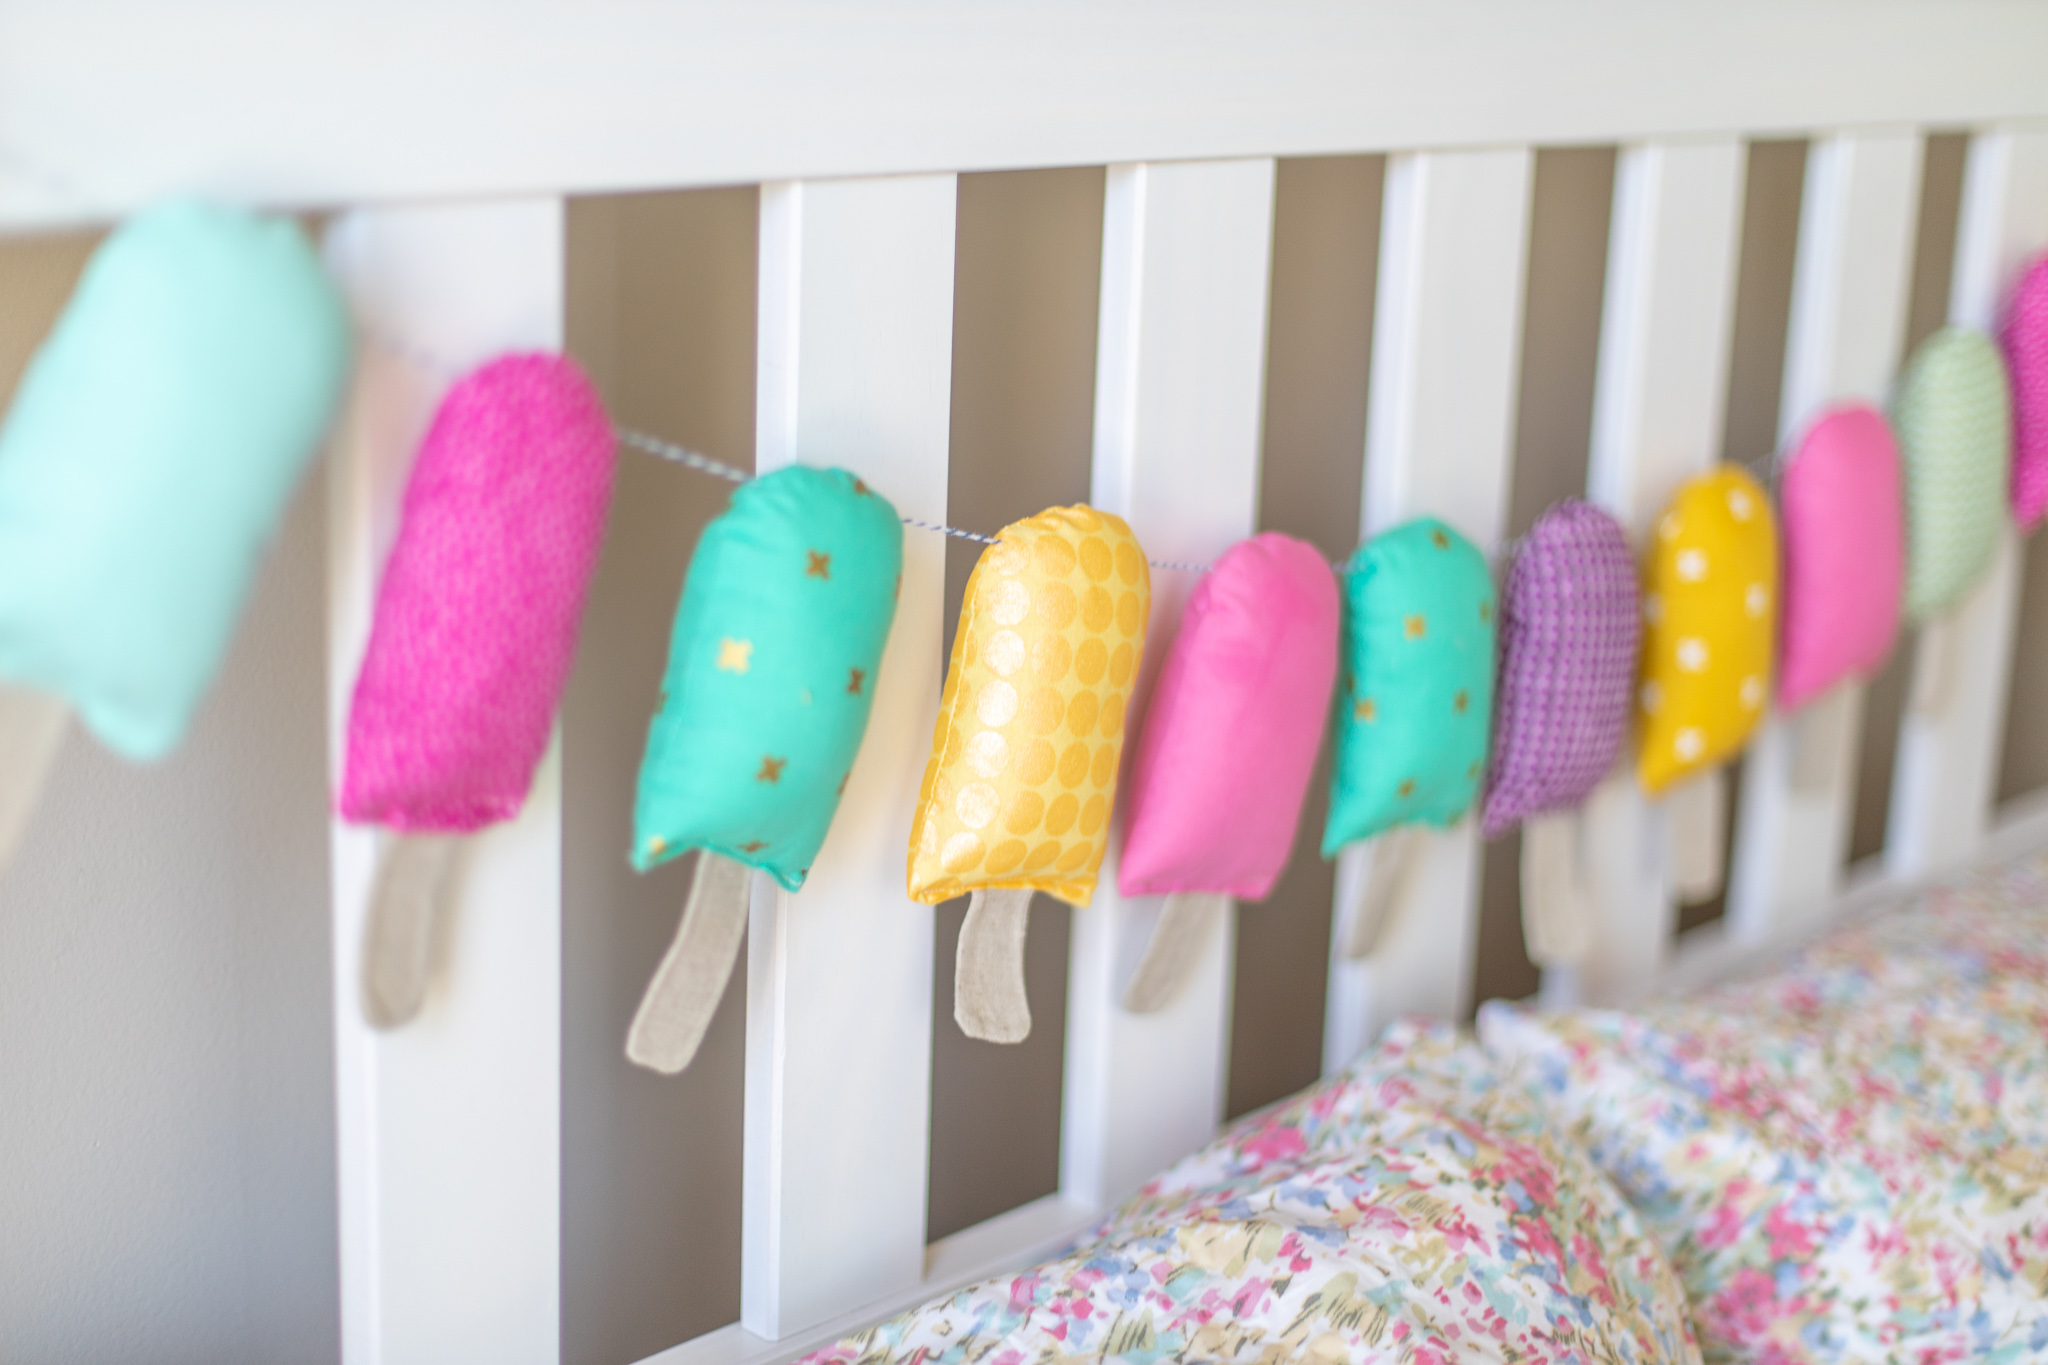
We are going to add a little POP of color with a fun fabric Popsicle garland. So go gather your favorite fabrics and let’s get crafting!
Supplies Needed:
- Silhouette CAMEO® or Silhouette Portrait®
- Silhouette Studio®
- Silhouette Cutting Mat
- Silhouette Cutting Blade
- Silhouette Fabric Blade
- Silhouette Fabric Stabilizer – Wash Away
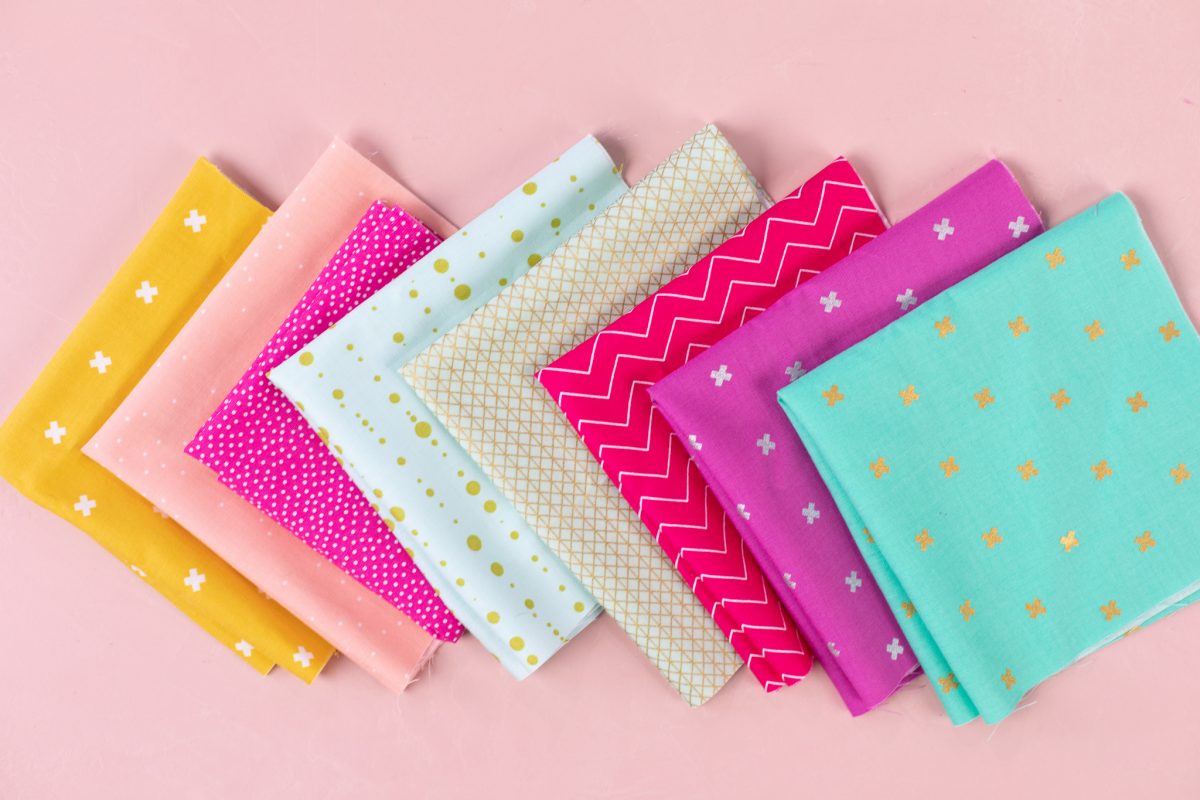
- Fabric
- Sewing Machine
- Iron
- Poly-Fil Stuffing
- Baker’s Twine
- Design ID #195865

Step One: Prepare the Design
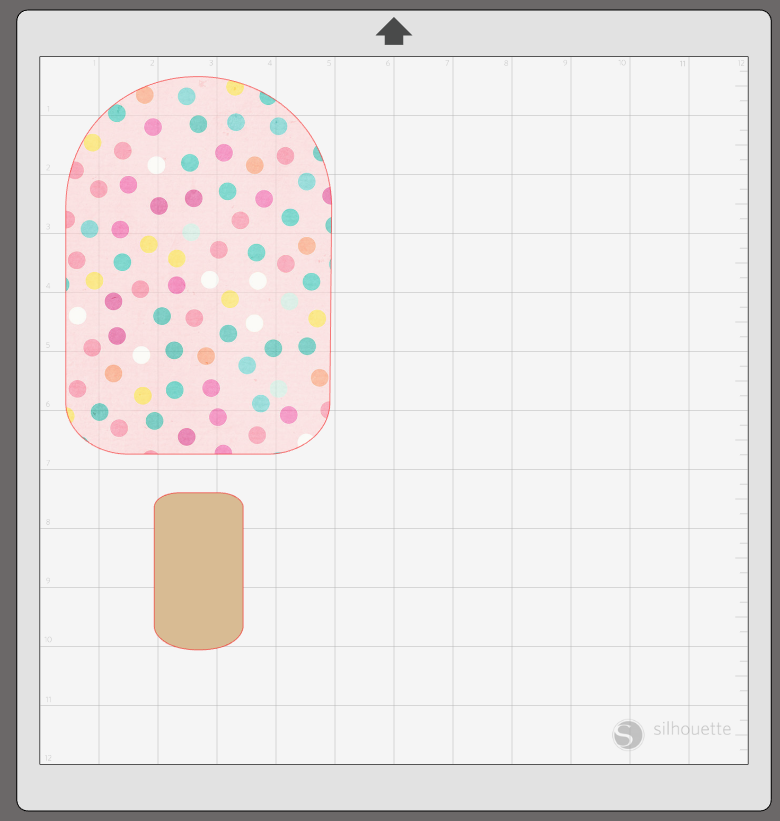
1. Open Design ID #195865 in Silhouette Studio®. We only need the Popsicle top and the stick, so Ungroup the design (select the design, right-click, and click Ungroup) and delete the excess images.
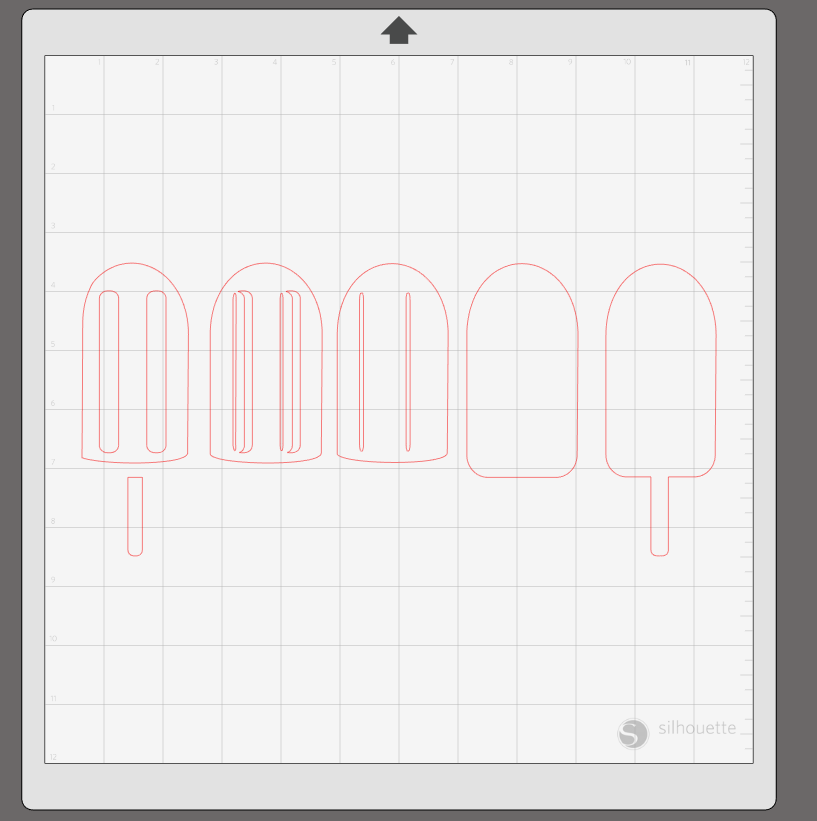
2. We added fill color just to make the process steps easier to see. The fill color is not necessary.
3. Select the design and open the Offset panel. Set the distance to 0.250. This will give us our seam allowance.
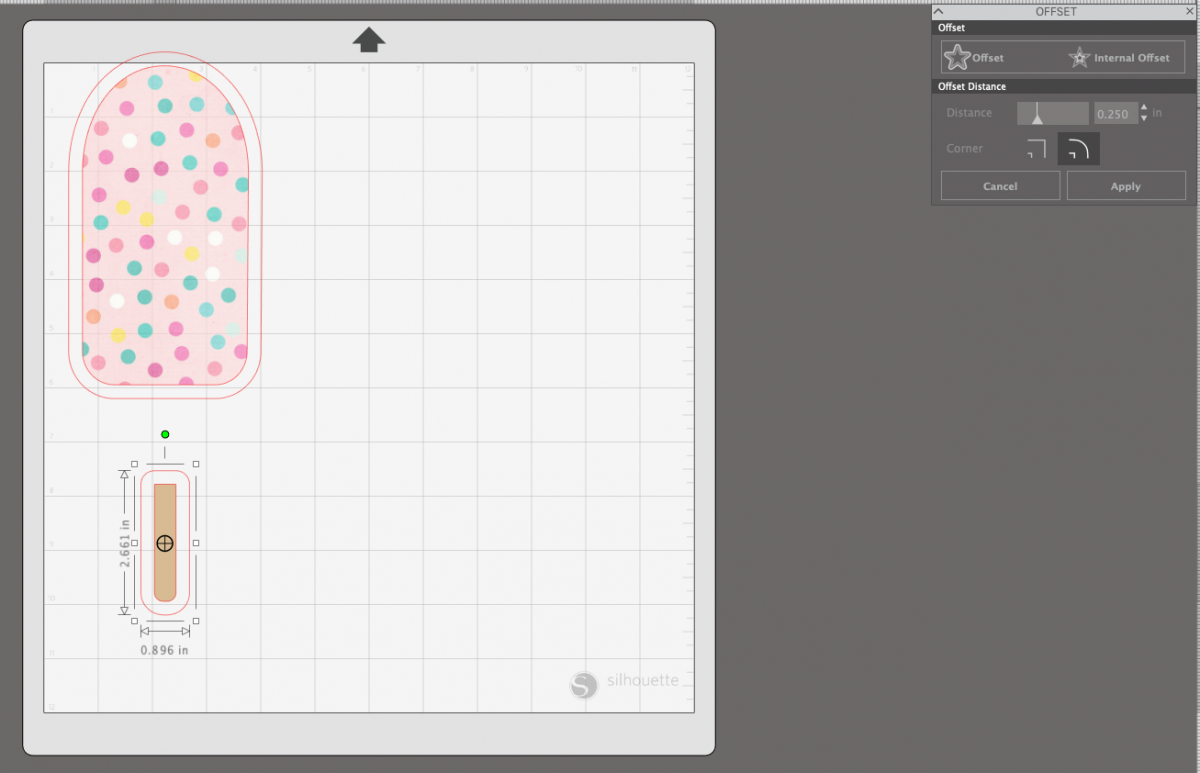
4. Now delete the original inner line.
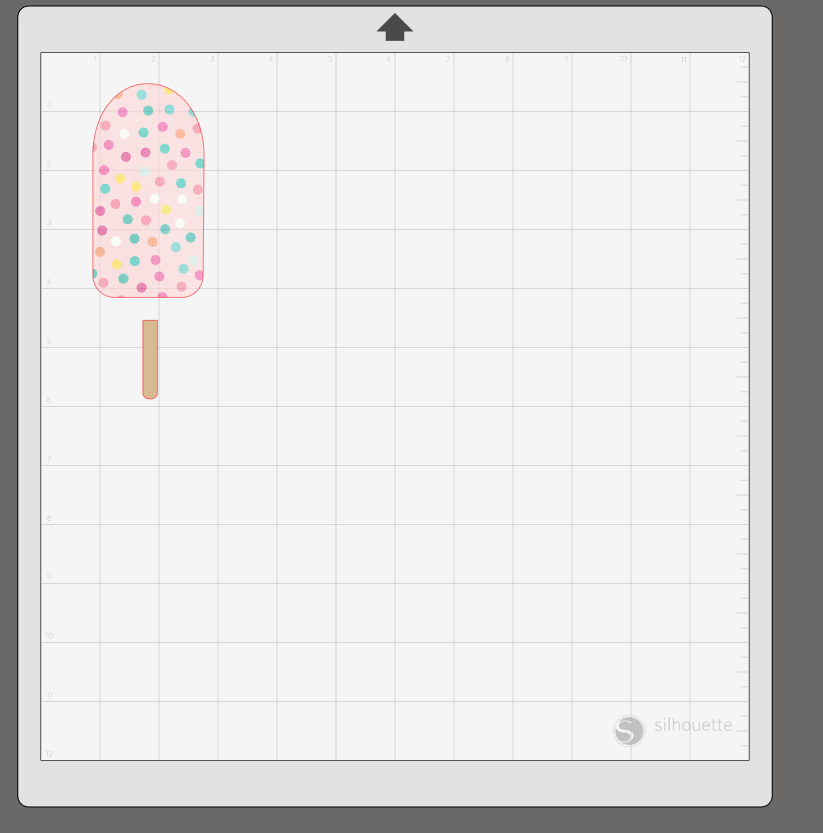
5. Select the design and, using the middle scale handle, stretch your Popsicle width. We want a plump looking Popsicle. And we will lose width with the sewing and stuffing in later steps.
Step Two: Apply the Stabilizer and Send to Machine
1. Get your wash away fabric stabilizer and cut it to size. You want it larger than the design you want to cut but smaller than your fabric.
2. Spritz some water onto the grid side of the stabilizer and then place your fabric on top and smooth the fabric.
3. When the fabric and stabilizer are dry, load onto cut mat and send to your machine.
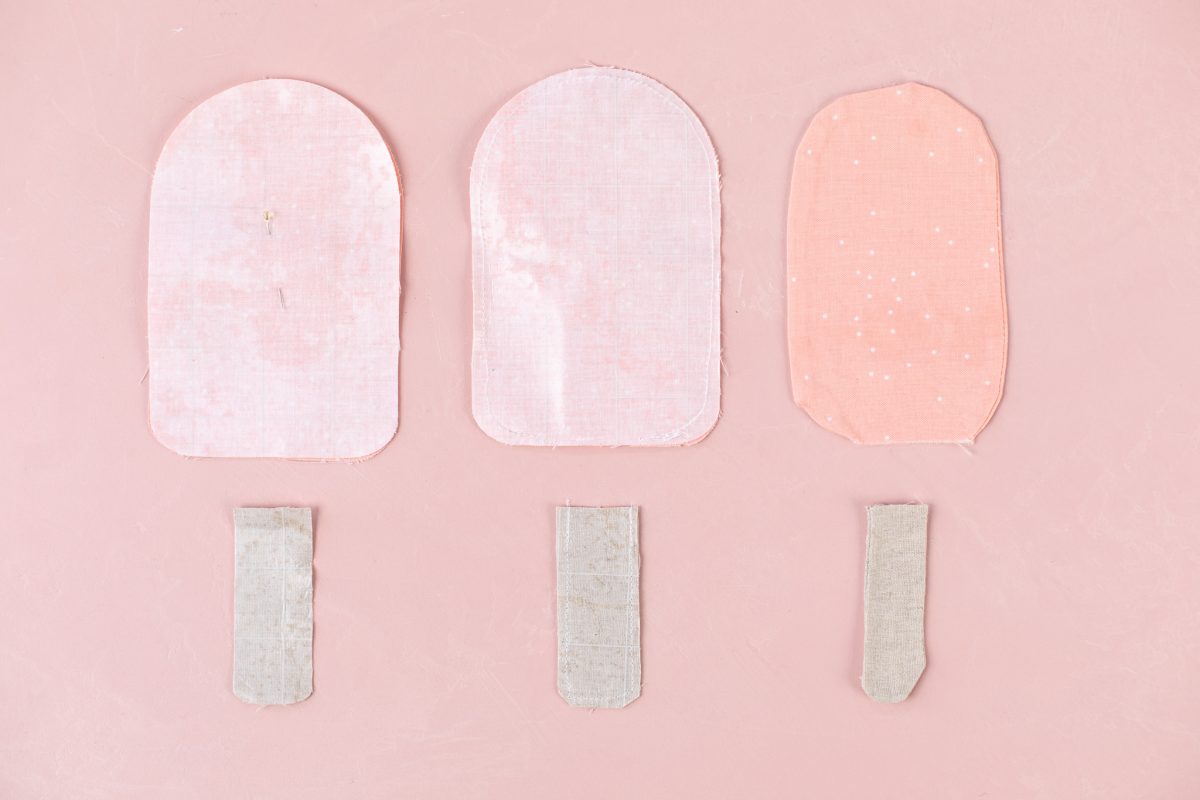
Step Three: Sew and Stuff the Fabric
1. Now that your pieces are cut, place the pieces of fabric with the right sides together.
2. Sew around the perimeter of the design, leaving an opening at the bottom of the Popsicle to allow a space to turn the fabric right side out and stuff the Popsicle.
3. Now that the design is right side out, stuff with some Poly-Fil.
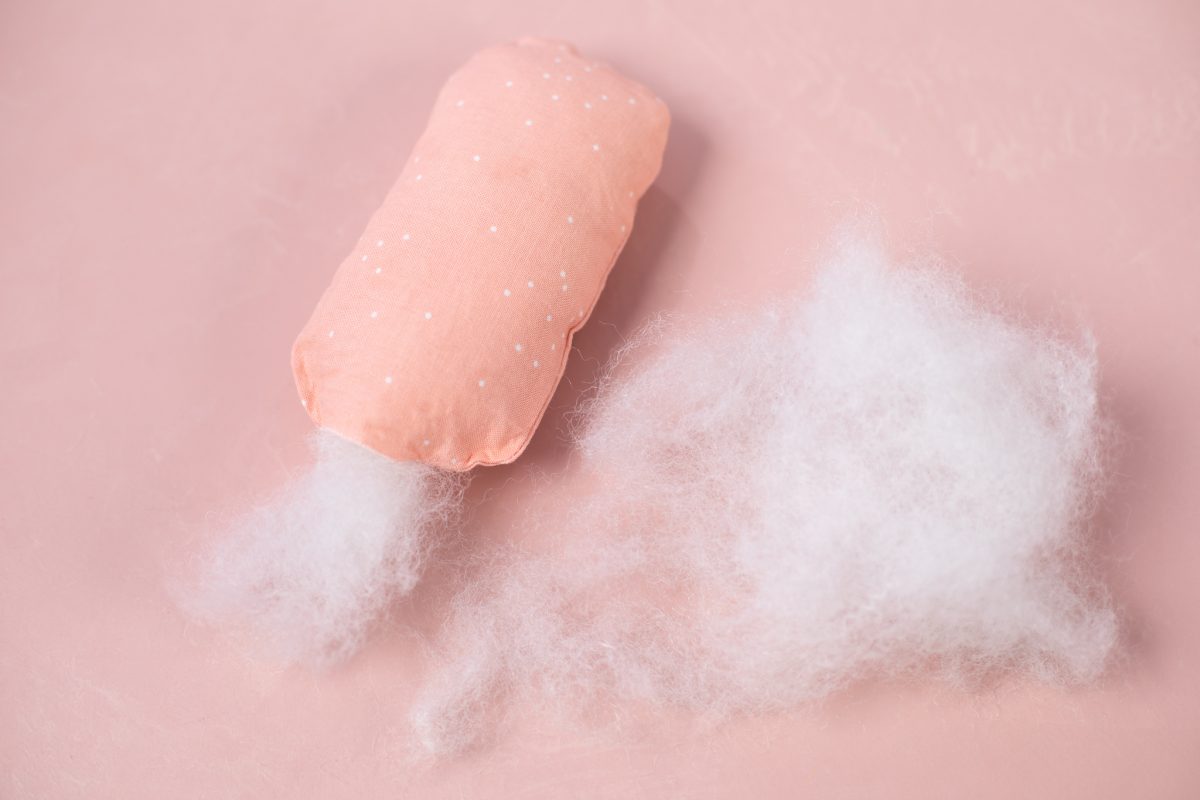
4. Insert the stick into the bottom center of the Popsicle and pin down. There are several ways you can close the Popsicle. We just sewed a line across the bottom.


Step Four: Thread the Popsicles onto Twine
1. Take a piece of baker’s twine and a needle. Thread the needle through the top of the Popsicle.
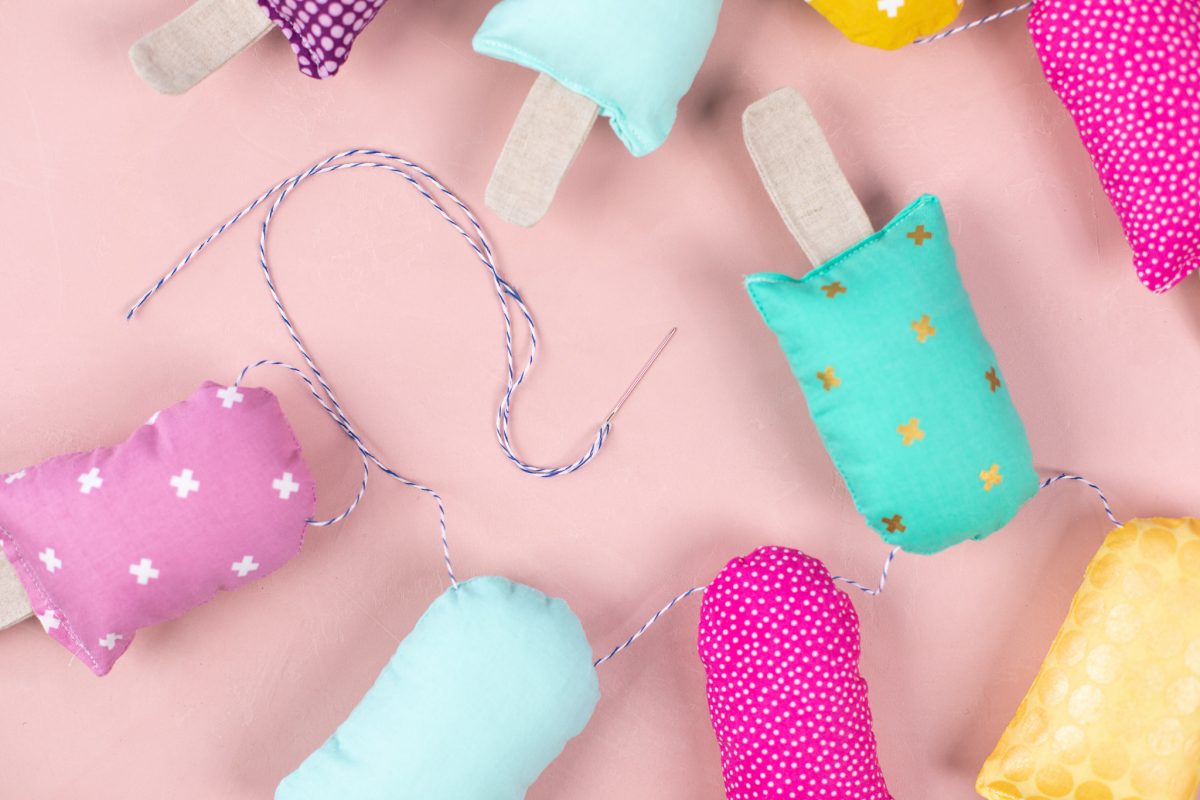
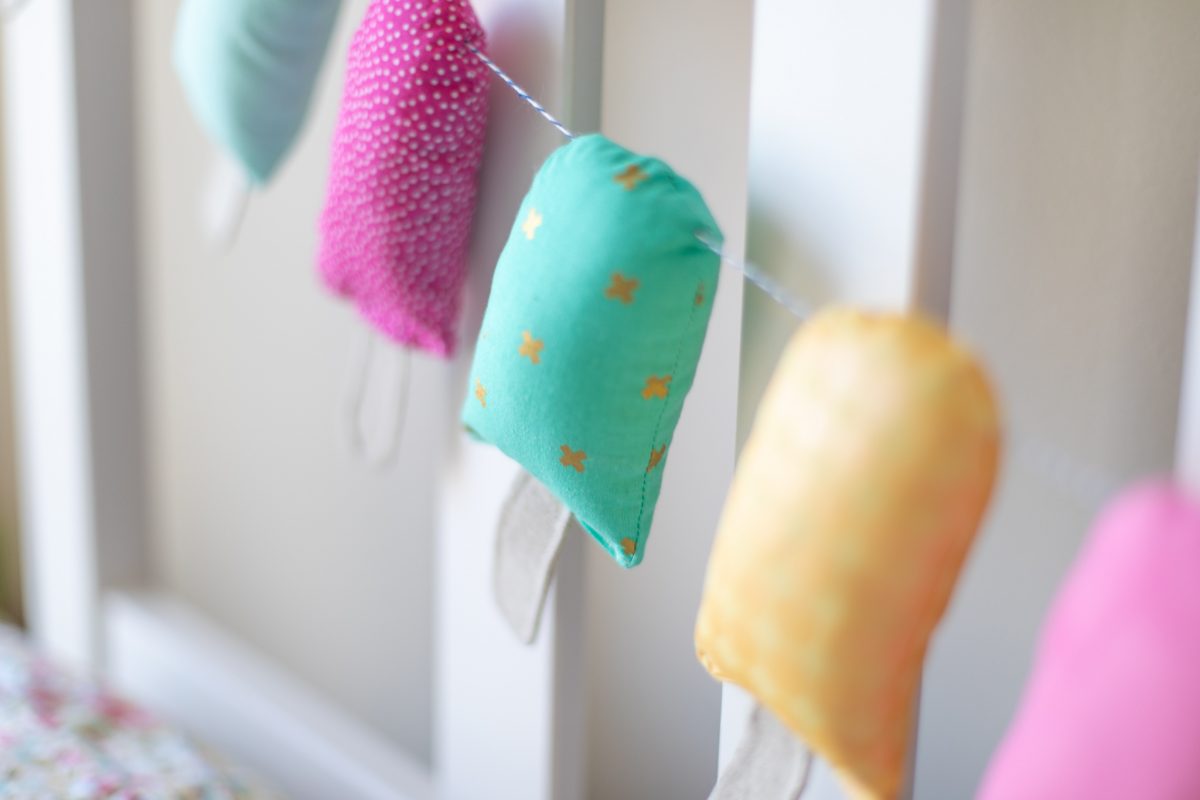
2. And now enjoy a guilt free Popsicle treat for the eyes!

Nasze Naturalne
September 3, 2025
Your authentic voice really shines through in everything you create and share
Naszenaturalne
September 2, 2025
Really love your style
Kelly Wayment
June 28, 2024
You can use it with vinyl as long as it is smooth and flat to allow the static charge to hold on to it. Rolled vinyl that wants to go back to its rolled shape will not necessarily work well, and it would need to be trimmed to fit the ES mat cutting area.
Kelly Wayment
June 28, 2024
Yes, you can use the heat pen while using the ES mat. 🙂
Yurii
March 2, 2024
Hello. May it be used with heat pen?
Thanks
Jerome
February 24, 2024
Hi, works this with the normal vinyl foils or only with printer papter etc?