
You guys, ever since I saw these new egg designs by Paige Evans in the Silhouette Design Store, I knew they were going to be in my next project. They remind me of Scandinavian design, which I’m a fan of.
By the way, this is a build your own sign project. But if you don’t have the tools, there are always premade wooden signs available at your local craft stores.
Supplies Needed:
- Silhouette CAMEO®, Silhouette Portrait®, or Silhouette Curio™
- Silhouette Studio®
- Silhouette Cutting Mat
- Silhouette Cutting Blade
- Silhouette Matte Vinyl (White)
- Vinyl Transfer Tape
- Jigsaw
- Safety Goggles
- Plywood
- Sander
- Ruler
- Pencil
- Clamps
- Clear Wood Stain (Matte)
- Foam Brush
- Paper Towel
- 2 Eyelet Screws
- Rope or Twine
- Design ID #134399
- Design ID #50328
- Design ID #253000
Step One: Measure the Sign
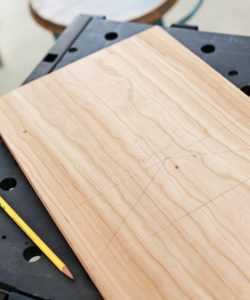
I didn’t want my sign to be too big, so I stuck with 12 inches x 10 inches. Always double-check your measurements, especially when you can’t afford to mess up on the cut.
Step Two: Cut the Wood
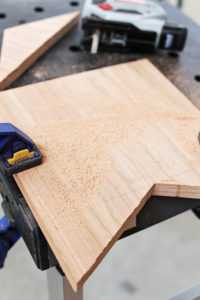
- Put on your safety goggles.
- Clamp the plywood down onto a table base.
- Begin cutting your sign with the jigsaw.
- Take the sander and sand the entire wooden sign. Get rid of any splinters, rough edges, and pencil marks.
- Wipe off remaining saw dust with a paper towel or old shirt.
- Apply clear wooden stain on the front and sides of the sign.
Step Three: Create the Design in Silhouette Studio®
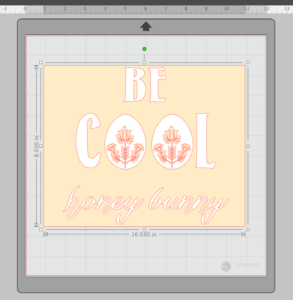
- I created a temporary square that measured 8 inches x 10 inches. This will help me keep my designs within the measurements.
- Once you are satisfied with your design send it to your Silhouette machine to cut the white vinyl.
- Weed the excess vinyl.
- Place transfer tape on top of your vinyl design.
Step Four: Transfer Vinyl to the Sign
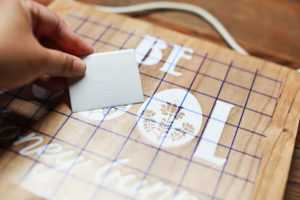
- Make sure the stain on your sign is completely dry before placing your vinyl.
- Screw in the eyelets on the top of your sign (one on each corner).
- Attach your rope or twine with a simple knot on each eyelet.
- Finally, place your vinyl on your wooden sign.

I wanted to keep this sign simple because it reflects the minimalist designs of Scandinavian decor. What will your Easter sign say?
This blog post was contributed by Kathi Arbiso. Follow her for more inspiring Silhouette projects.