

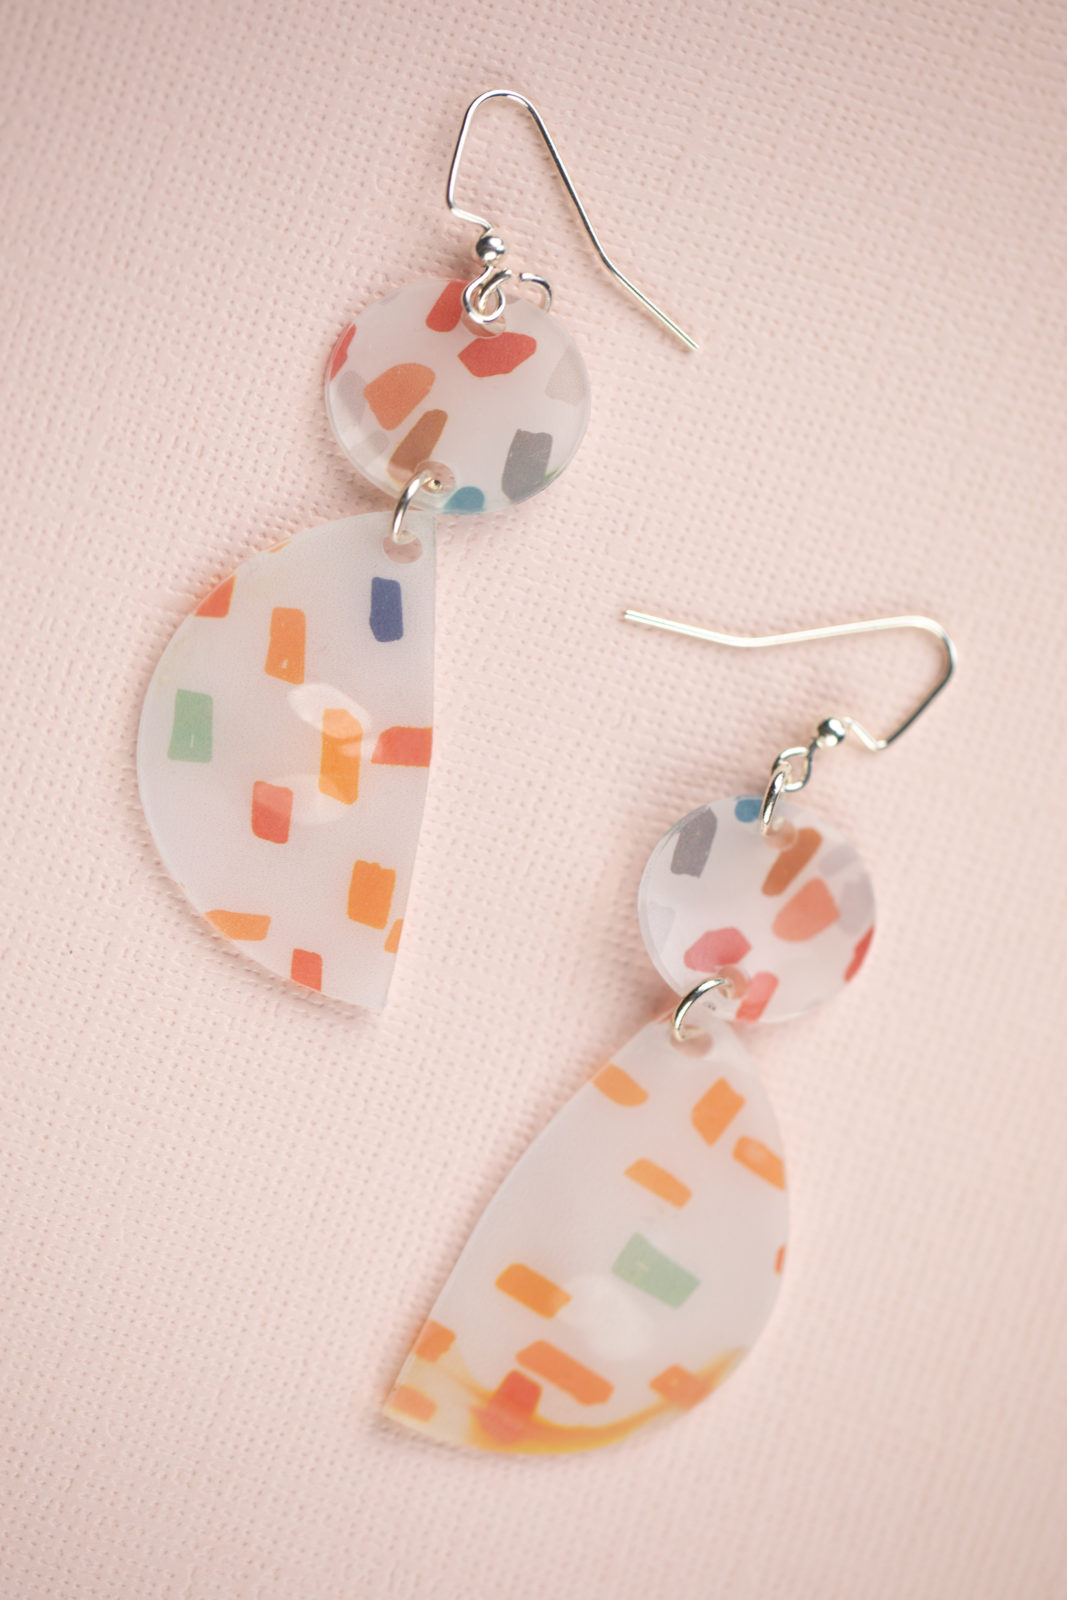
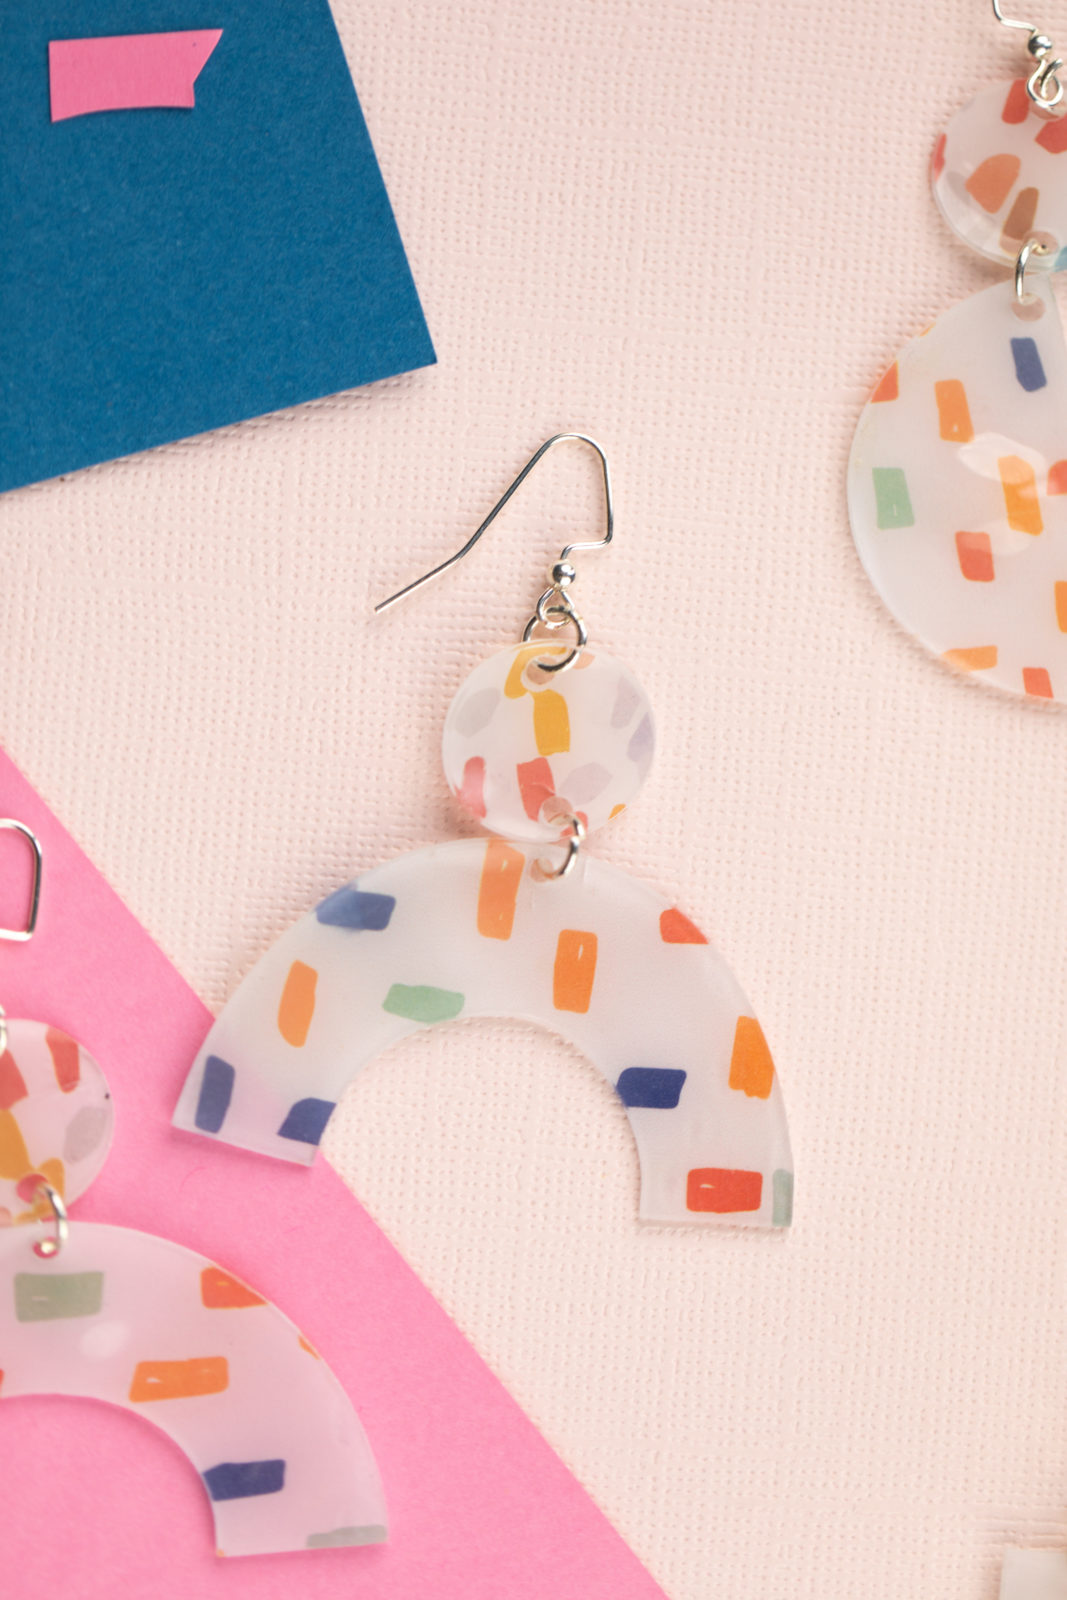
Maybe you’ve noticed that terrazzo is having quite the moment lately. Terrazzo is a composite material typically used for flooring that’s filled with bits and pieces of marble, quartz, and glass. It looks a whole lot like confetti! These abstract earrings are made with Shrink Plastic and a pattern that gives them a terrazzo-like feel, perfect for a statement accessory.
Supplies Needed:
- Silhouette CAMEO® or Silhouette Portrait®
- Silhouette Studio®
- Silhouette Cutting Mat
- Silhouette Cutting Blade
- Clear Shrink Plastic Material
- Fishhook Earrings
- 4 mm Split Rings
- Needle-nose Pliers
- Oven
- Baking sheet
- Parchment Paper
- Design ID #171181
- Design ID #187201
Step One: Printing Your Earring Shapes
1. Within Silhouette Studio®, use the drawing tools to create shapes for your earrings. I made rectangles, circles, half circles, and rainbow shapes. Remember that your shape will shrink to be about three times smaller once it is baked.
For this tutorial, I will show you how to create the rectangle earrings.
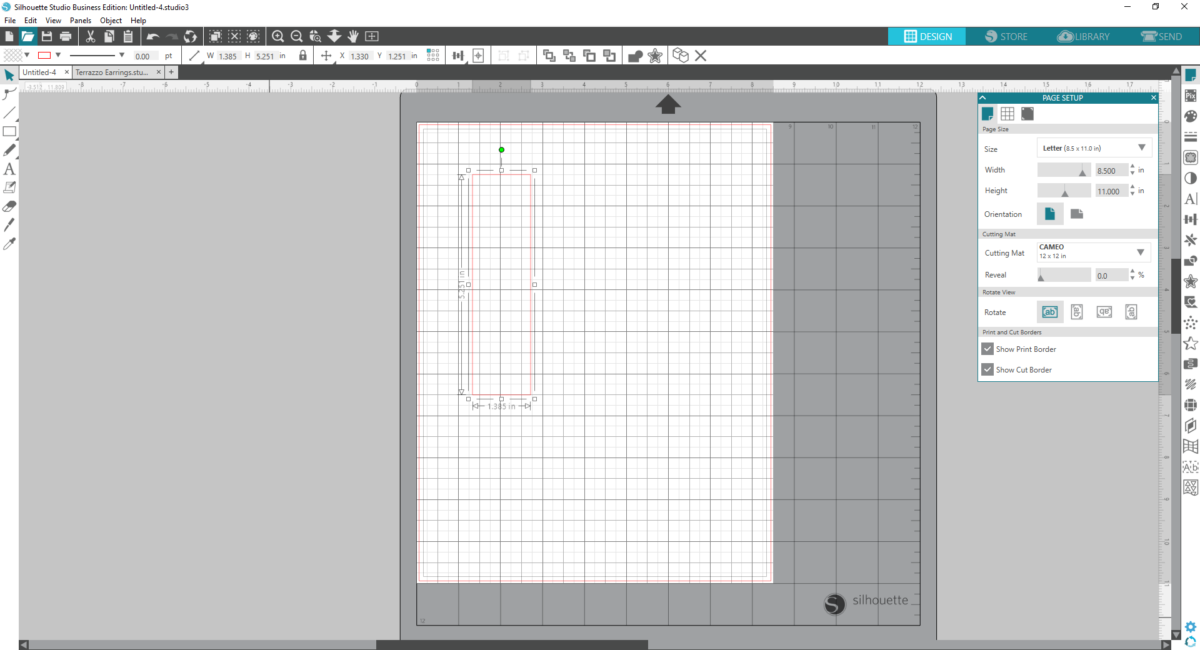
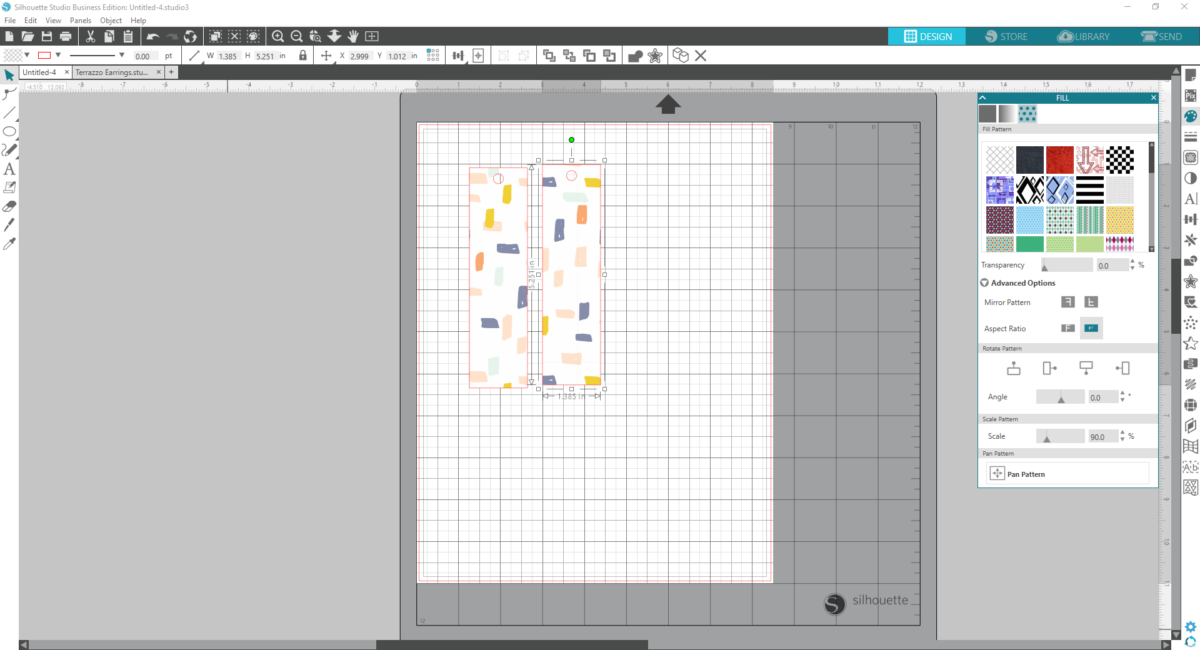
2. Select Draw a Rectangle tool. Draw a rectangle with the dimensions 5.251 inches tall and 1.385 inches wide.
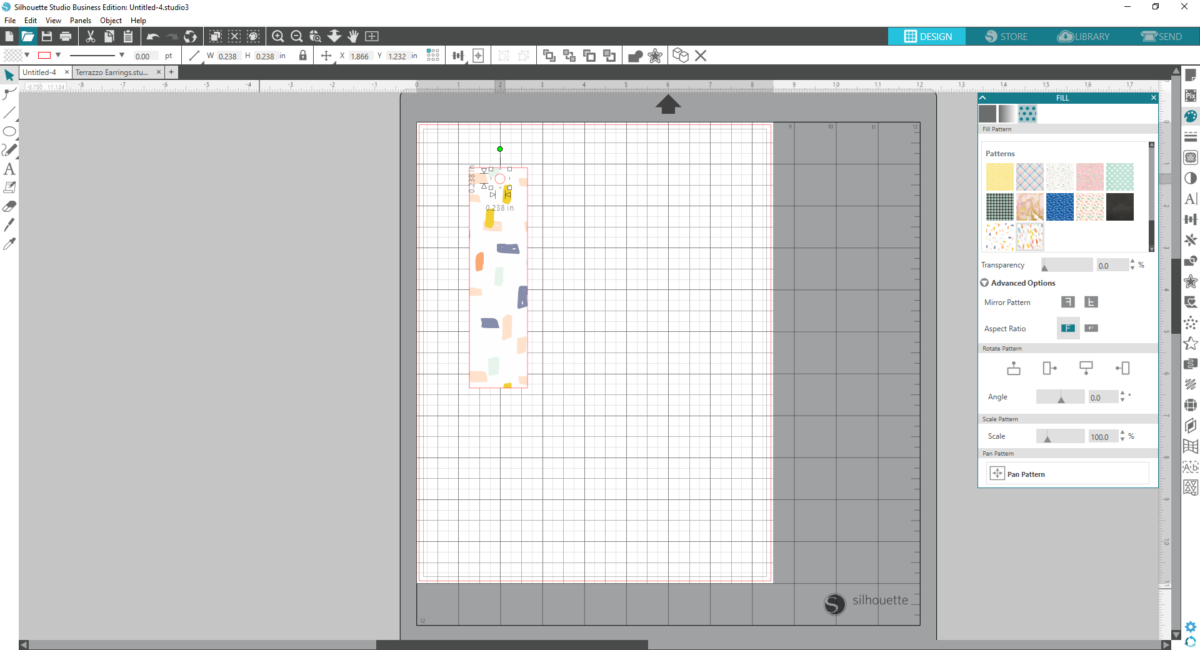
3. Select the rectangle and open the Fill panel. Click Fill pattern and select one of your designs mentioned above from Silhouette Studio®.
4. With the Advanced Options, you can increase or decrease the scale or size of the pattern and Pan the pattern so you can adjust which portion you’d like to be visible on the earrings.

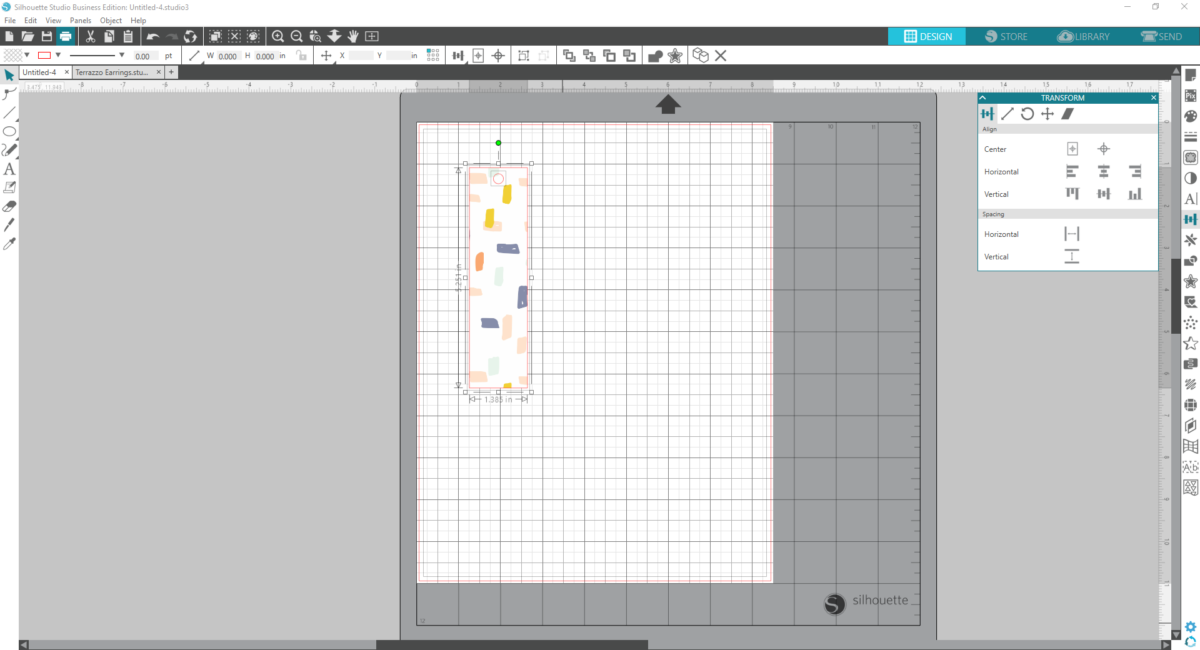
5. Next insert a small circle with the drawing tool. Press the Shift key on your keyboard while you are drawing the circle to create a perfect circle.
6. Change the dimensions of the circle to be .238 inches.
7. Move the circle on top of the rectangle near the top. Highlight both shapes and open the Transform panel to center the shaped horizontally.
8. Open the Modify panel and, making sure both shapes are still highlighted, select Subtract. This will create a small hole at the top of the rectangle for the earring hardware.
9. Right-click on the rectangle and select duplicate to create a set of two earrings. Pan the pattern on the second earring in the Advanced options on the Fill panel if desired. This will make the earrings asymmetrical and is optional.
10. Open the Page Setup panel, open the Registration Marks section, and in the drop-down style menu, select your machine to insert the registration marks needed. Position your designs so they are inside the registration marks.
11. Feed your clear shrink plastic into your printer. Make sure the material is oriented to print on the clear side, not the side with the Silhouette watermark. Print your designs.

Step 2: Baking Your Earrings
1. Lay your pieces out on a baking sheet covered in parchment paper. Bake your plastic pieces according the directions on the shrink plastic. Tip: It’s helpful to bake each shape separately because the different shapes react differently in the oven. The earring pieces will shrink to about a third of their original size.

2. Have a smooth, flat object on hand to press the shapes flat as soon as you take them out of the oven if they have bent or curved up.
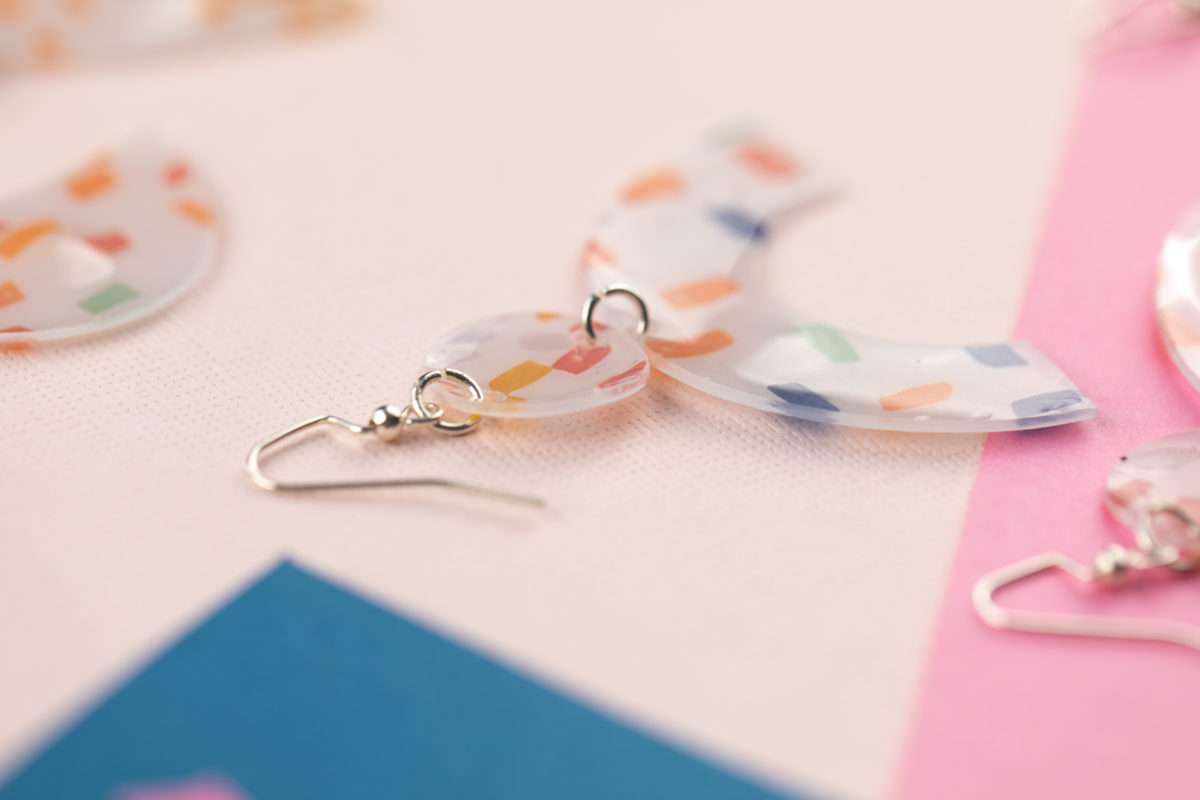
3. Once the designs have cooled, use needle-nose pliers to connect jump rings through the small holes. Make combinations with different shapes or just use one shape for each earring. The possibilities are endless!
4. Then add the fishhook earring pieces with the needle-nose pliers.

Voila! Your new statement earrings are sure to put the finishing touch on any outfit.
Nasze Naturalne
September 3, 2025
Your authentic voice really shines through in everything you create and share
Naszenaturalne
September 2, 2025
Really love your style
Kelly Wayment
June 28, 2024
You can use it with vinyl as long as it is smooth and flat to allow the static charge to hold on to it. Rolled vinyl that wants to go back to its rolled shape will not necessarily work well, and it would need to be trimmed to fit the ES mat cutting area.
Kelly Wayment
June 28, 2024
Yes, you can use the heat pen while using the ES mat. 🙂
Yurii
March 2, 2024
Hello. May it be used with heat pen?
Thanks
Jerome
February 24, 2024
Hi, works this with the normal vinyl foils or only with printer papter etc?