
The text tools in Mint Studio™ are an excellent way to customize your stamps. Typing text is as simple as choosing the Text tool on the left, placing a cursor on the work space, and typing some text.
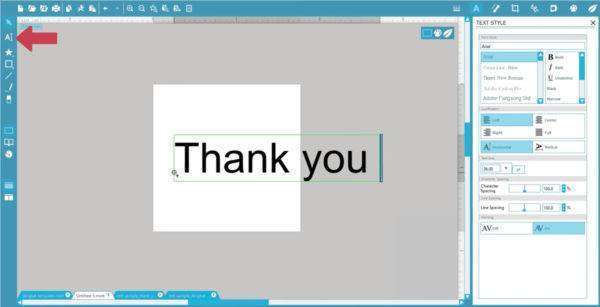
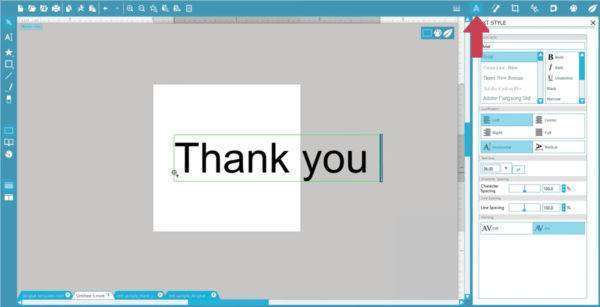
The Text Style panel automatically opens, so you can use all the fonts installed on your computer along with text properties like justification, text size, character spacing, and line spacing. If you need to access this Text Style panel after using other tools, just click the A icon up at the top or double-click your text.
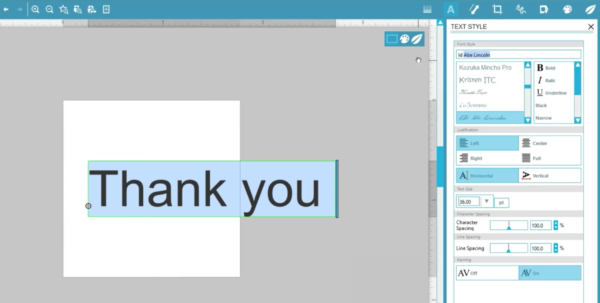
You can change text properties when text is highlighted in Text Editing Mode or when it’s selected as an object. Text Editing Mode is when you see the flashing cursor and green box. You need to highlight the letters you want to change while in Text Editing Mode.
Use the slider bar on the right to create or remove line breaks when text has been typed with no hard paragraph breaks.
Change your justification here.
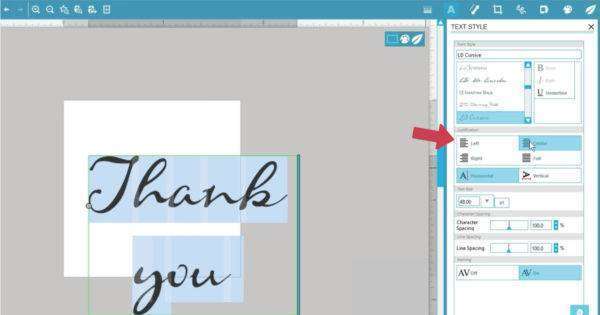
Line Spacing adjusts the spacing between the lines. Character Spacing adjusts the spacing between letters. Keep in mind this affects the spacing for the entire text box, even if you have just a few letters highlighted.
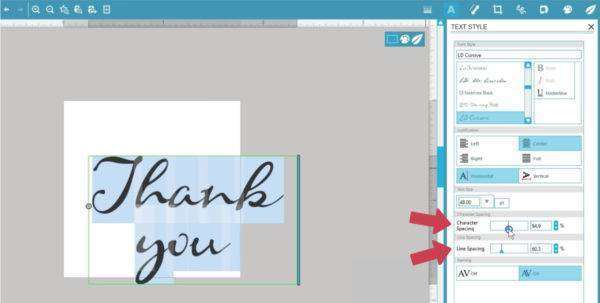
Kerning is on by default. With most fonts, you won’t see a difference, so I recommend leaving it on.

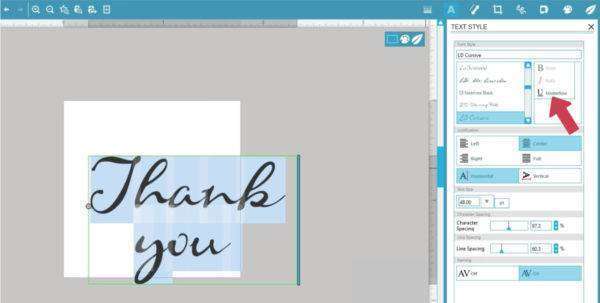
Bold, Italic, and Underline may or may not be available, depending on the particular font.
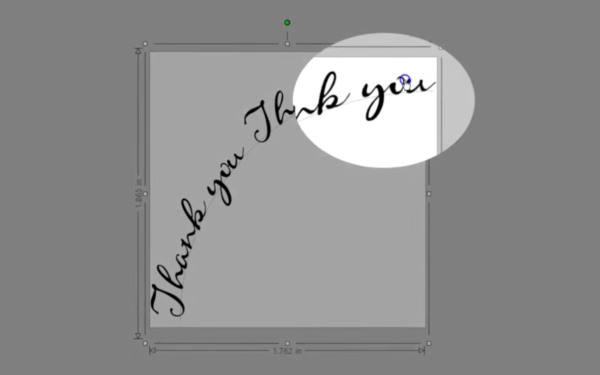
Let’s talk about curving text. You have two ways to curve text in Mint Studio™. The easiest way is to use the preset curves in the Curved Text panel, which you can find up at the top.
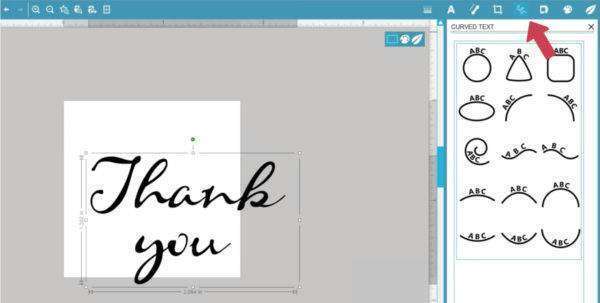
Select your text, then click through the various choices to see what works best for you.

To quickly fit the design into your selected stamp size, you can choose “Fit to Stamp” at the bottom of the screen.

Your stamp size, the amount of text, your font choice, and font size will all affect how well these choices work for your stamp project.
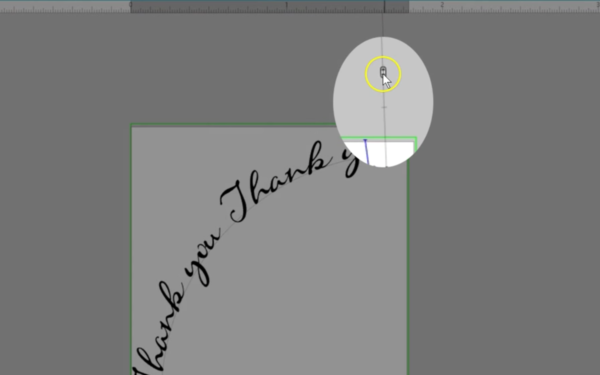
To fine-tune your text on a path, you can drag this 4-pointed arrow in a circle to slide your text along the path.
This double-arrow slider allows you to place the text above, on, within, or below the path. Sometimes it’s difficult to find the slider, so watch for a tiny four-pointed arrow to appear as you hover anywhere along this slider line. Once that little arrow appears, click and drag up or down to reposition the text.
If you exit Text Edit Mode, simply double-click the text again to get back to those text-to-path handles. You can continue to add or remove text, adjust character spacing, and use all the font options while in Text Editing Mode. To remove any kind of path and go back to a straight line of text, grab the text-to-path circular handle and drag it away from the path. The path that’s left behind can be deleted.
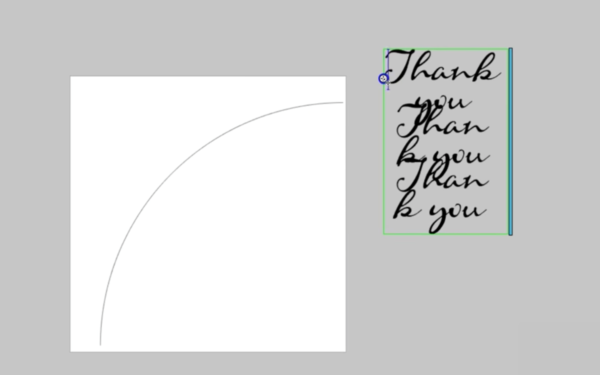
We mentioned there was a second way to curve text. Instead of using the preset curves, you can use this same text grab handle while in Text Editing Mode to drag text to any shape you may have drawn. Note that any shape you draw will remain visible on the stamp as opposed to the preset curves where only the text will show.
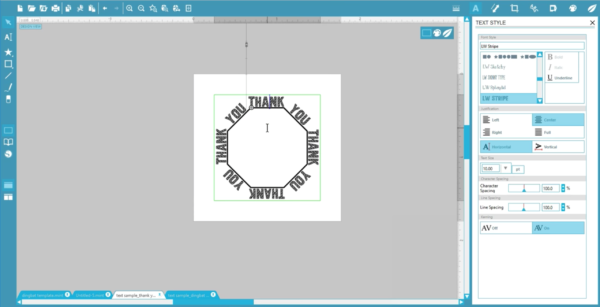
If you want to remove that drawn shape and/or resize the text to fit better on the stamp, right-click on the text and choose Convert to Path.
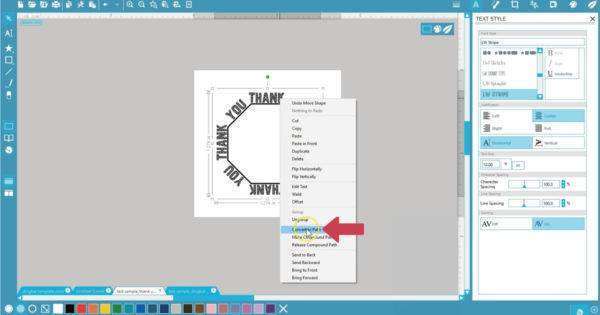
That separates the text from the path, so it can be manipulated as an object. Your text options are no longer available once it’s converted to a path.

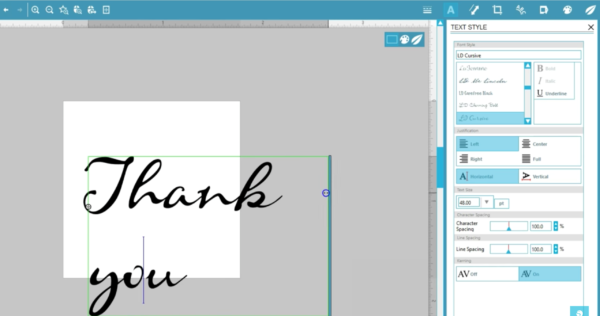
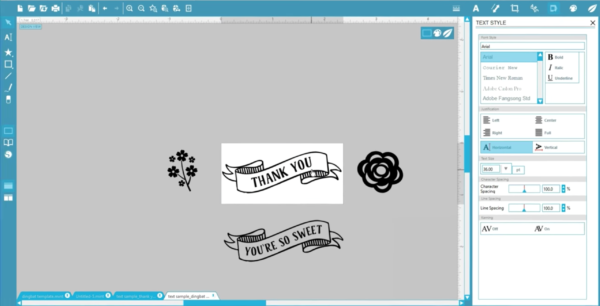
One last thing we want to mention about fonts. You can use dingbat font characters to make great stamp designs!
That’s how to use the text tools in Mint Studio™ to create stamp designs.
Nasze Naturalne
September 3, 2025
Your authentic voice really shines through in everything you create and share
Naszenaturalne
September 2, 2025
Really love your style
Kelly Wayment
June 28, 2024
You can use it with vinyl as long as it is smooth and flat to allow the static charge to hold on to it. Rolled vinyl that wants to go back to its rolled shape will not necessarily work well, and it would need to be trimmed to fit the ES mat cutting area.
Kelly Wayment
June 28, 2024
Yes, you can use the heat pen while using the ES mat. 🙂
Yurii
March 2, 2024
Hello. May it be used with heat pen?
Thanks
Jerome
February 24, 2024
Hi, works this with the normal vinyl foils or only with printer papter etc?