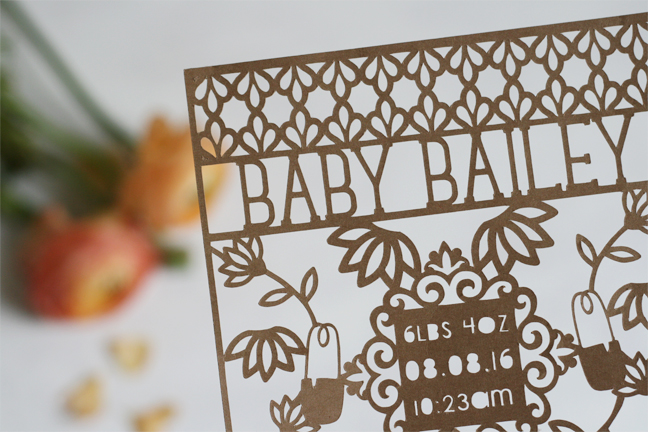
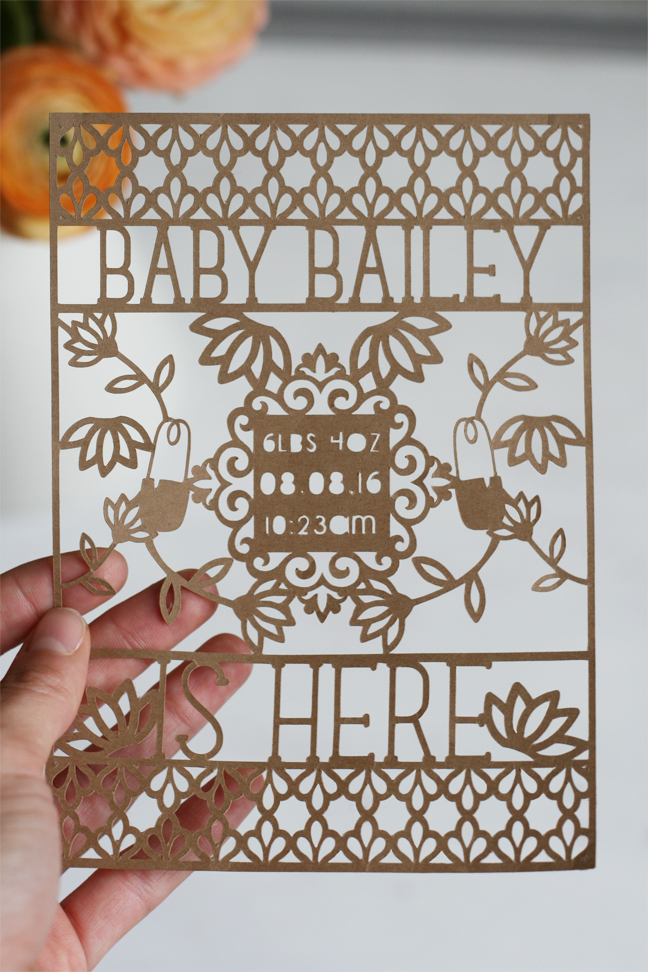
Friends! HELLO! It’s been a minute, huh? So glad to be back at it– sharing more tips, tricks and projects with you. By adding thickness to my favored thin lettering, I was able to cut out this intricate invitation with more stability than the very thin font alone would allow and I’m so happy with the results.
Picking A Font
As many of you already know, I’m a big fan of fonts. I tend to gravitate towards the thinner, more delicate typefaces, but that sometimes leads to issues in certain projects. What if there is no bold option for that font? Well, today I’m going to take you through how to manually thicken any font you may need.
To begin, let’s pick a font.
If you haven’t perused the Silhouette Design Store for fonts, you’re missing out. I have plenty of favorites– but you can pick your own here. Once you have a font chosen, type out whatever wording you want. Here I’ll be using “Baby Bailey” for sample text, but the same guide will apply for your own creation.
Manually Bolding Your Font
There are two different ways to manually “bold” or thicken a font:
- Adding a line
OR
- Using the Offset Tool
1. Adding A Line

Adding a line to your font is the easiest way to add width to a font that doesn’t offer a bold option. By adding a line, you will be able to achieve a bold look for both print, and cut.
- Open the Line Styles panel
- Increase Line Thickness to desired width
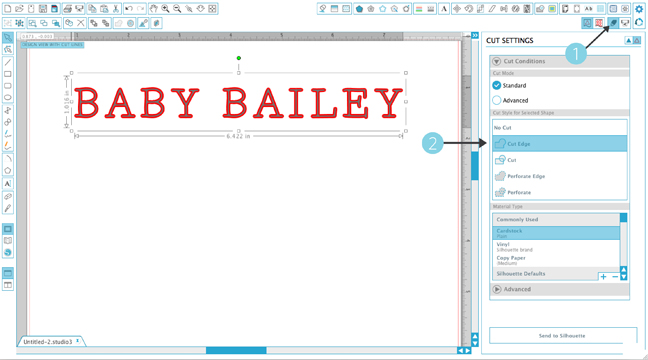
You can also use the adding a line method to cut out your thicker lettering. This is both helpful for designs like the one above, as well as stencil designs that may not allow enough room for paint, etc. To assure that your lettering is properly set up:
- Open the Cut Settings window
- With your wording selected, choose Cut Edge in the Cut Style section. This moves the cutline from the outside of the original font, to the outside of your added line.
To print the thickened font, be sure to check the Print Lines of Selected Shapes box before sending it to print!
2. Using The Offset Tool
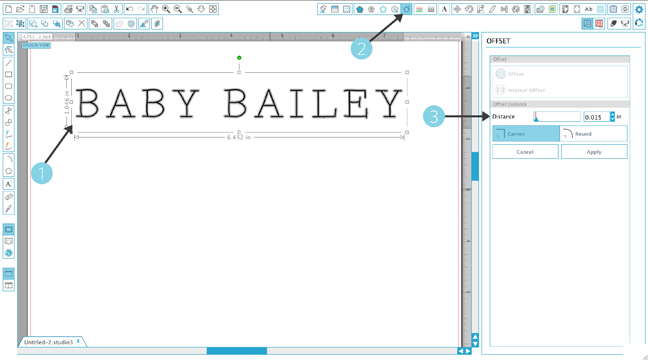
Another option in adding thickness to a thin font is by offsetting the letters. To offset your wording:
- 1. Select your wording
- Open the Offset Window
- Choose the offset distance. This will determine how thick your final lettering will be.
Offsetting essentially makes an outline of each letter, so after the offset distance is applied you will need to fill in the the lettering for print.
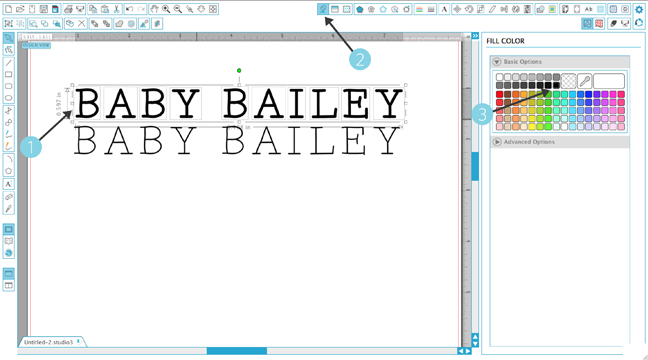
- Pull the new offset shapes to separate them from the original thin font.
- Open the Fill Color window
- Select your desired fill color
The fill color will only matter for printed designs. For mine, the thickness of the lettering mattered for cut purposes, so the color didn’t make a difference.
Using Other Silhouette Studio® Tools
Once I had my wording all set, it was a matter of utilizing a variety of other in-Studio functions to create these beautifully intricate birth announcements. By combining all those functions, with the thickening of my lettering, I think I was able to create a stable, yet dainty design that feels light and legible. LOVE.
From cutting bits of designs with the knife tool, to perfecting your cut quality– there are a lot of other helpful guides here on the blog to get you even more acquainted with all Silhouette Studio + the machinery have to offer.
- Learn how to use the knife tool to customize designs, here.
- Learn how to get perfect cuts with your Silhouette cutting mat, here.
- Search: Weld on the blog for a variety on utilizing this function. It’s a little hidden magic maker.
Keep learning, keep creating, and I’ll do the same. Happy Crafting!
Kelly Wayment
June 28, 2024
You can use it with vinyl as long as it is smooth and flat to allow the static charge to hold on to it. Rolled vinyl that wants to go back to its rolled shape will not necessarily work well, and it would need to be trimmed to fit the ES mat cutting area.
Kelly Wayment
June 28, 2024
Yes, you can use the heat pen while using the ES mat. 🙂
Yurii
March 2, 2024
Hello. May it be used with heat pen?
Thanks
Jerome
February 24, 2024
Hi, works this with the normal vinyl foils or only with printer papter etc?
Kelly Wayment
February 16, 2024
Once you’ve pushed the mat up against the rollers, just press the “Load” arrow button (bottom right on the display). Does a regular sticky mat load into the machine for you?
Michelle a goodall
January 24, 2024
Hello! I just got my new electrostatic mat and have watched every video i can find on it. However, what i can t find is why it wont feed into my cameo 5/ it slides right up the rollers but wont go any further. and yes- iam pushing the into button. help!