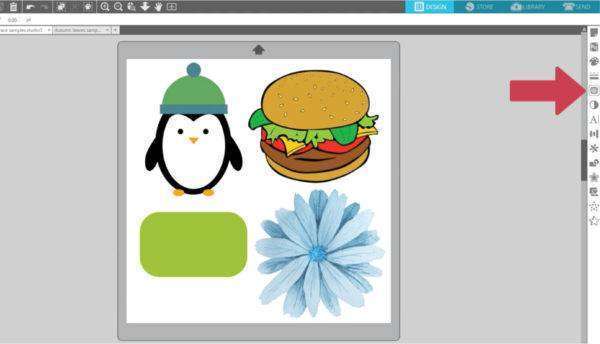
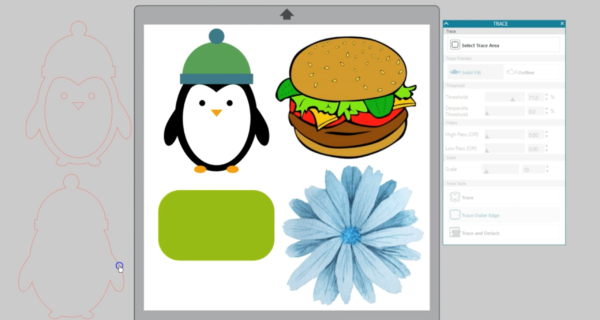
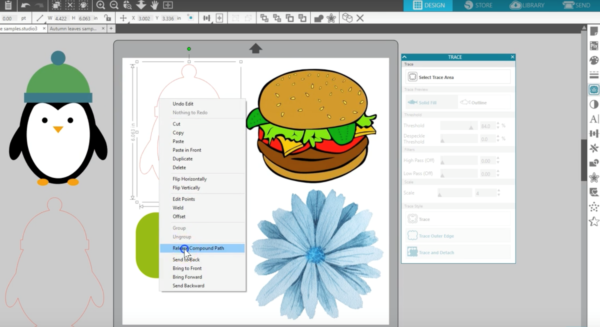
Silhouette Studio® has a Trace feature that allows you to assign cut lines to imported images so your machine knows where to cut. Silhouette Studio® should not be used to trace licensed or copyrighted images that you do not own. We’ve got some imported images here and want to be able to cut them. Tracing these images is necessary if we want to cut out these images along their borders. Open the Trace panel along the right side of your screen that looks like a butterfly.
Click “Select Trace Area.”

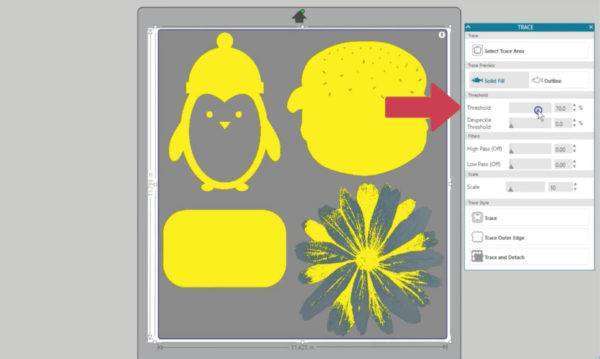
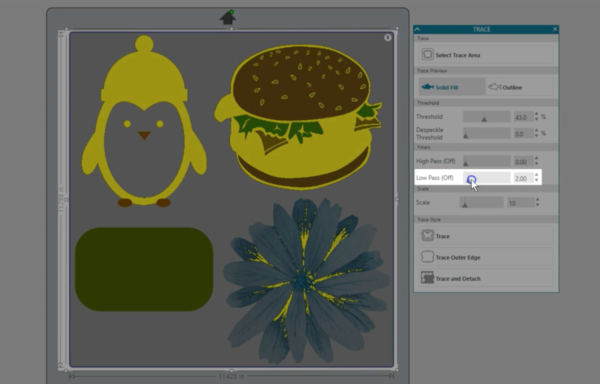
Drag a box around an image to completely enclose it. If you don’t catch it all the first time, you can expand the box with the resizing handles. Typically you would trace one image at a time, but we want you to see the difference between several examples.
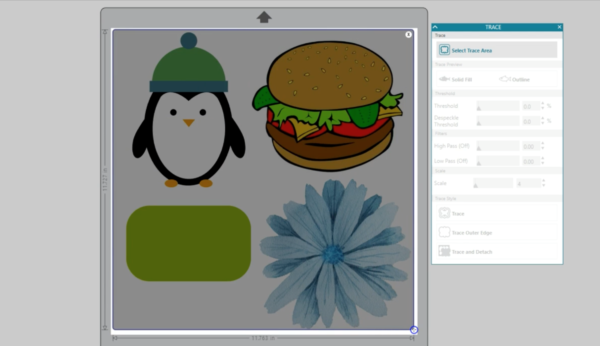
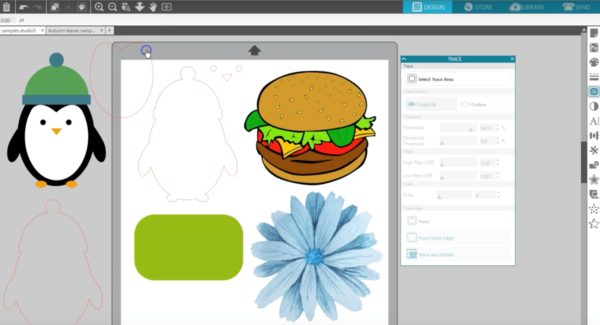
Your image will start to fill with yellow. The yellow overlay is a preview of what your software sees and where the trace will be applied. This is where the cut lines will be created. You can choose to leave it as a solid fill or as an outline, depending on the detail you need to see for your particular image.
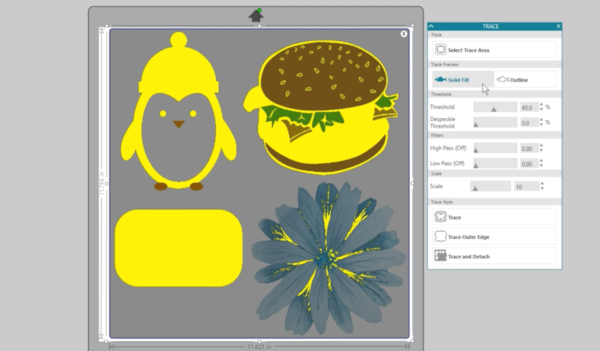
Each image will be a little different, so you have adjustment options available. High-contrast images trace best. Threshold determines how broadly the trace filter is applied to your image, beginning with the darkest colors on the low end of the scale. As we drag the percentage higher, it picks up more of my design. White areas won’t be traced.
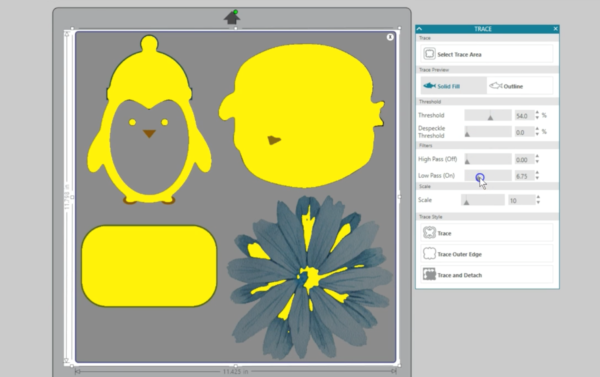
Threshold is the most common adjustment you will make, but there are a few other features below. Despeckle Threshold helps eliminate noise in the trace. This isn’t necessary for all images, but can be helpful if you have extra small spots that you don’t want to be traced.
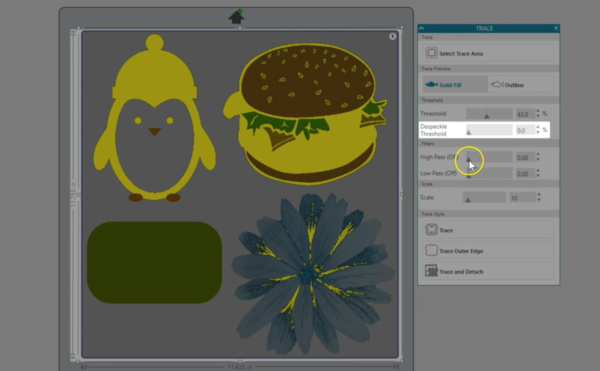
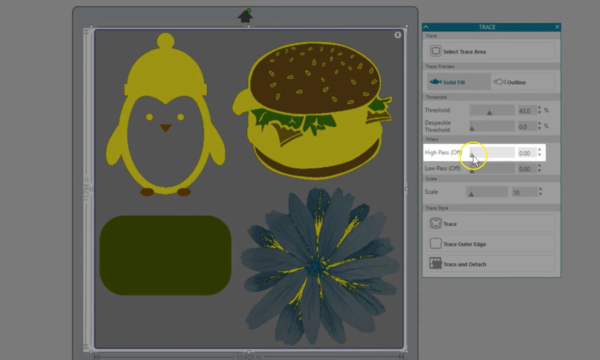
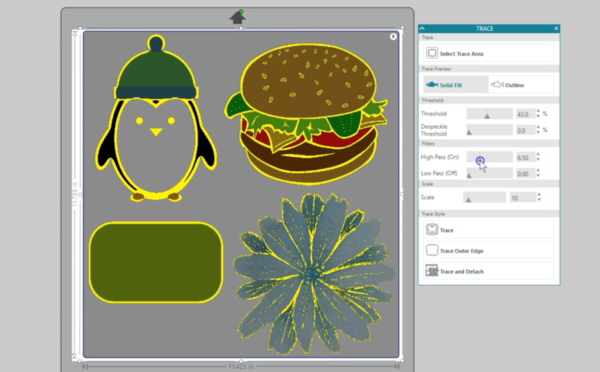
High Pass Filter allows trace lines to work from the outside edge, in toward the middle. This is good for creating a basic frame outline for your image.
In these examples, it might work well for the hamburger and the rectangle, if we want those thick framed lines.
Low Pass Filter allows trace lines to start at the center of your image and work outward.
Higher values recede from the edge.
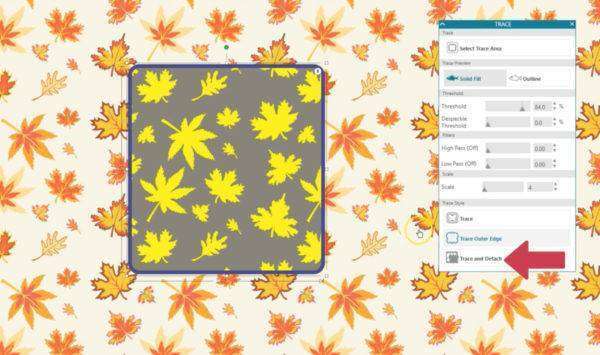
Scale controls the smoothness of pixelated edges of your image.
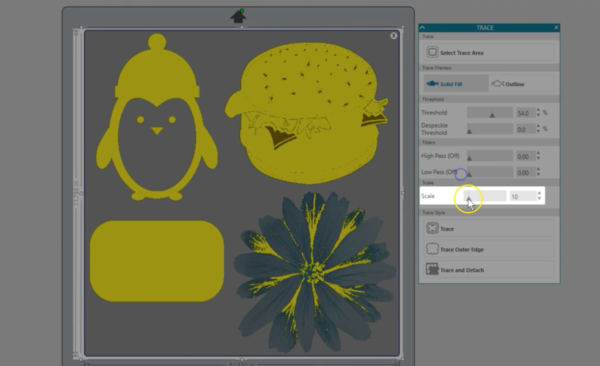
Higher values will be more pixelated, and lower values smooth out the edge. The initial trace is quite pixelated when tracing these leaves, but decreasing the scale allows it to pick up better detail. Once you’ve got your trace area the way you want it, you have three Trace Style options.
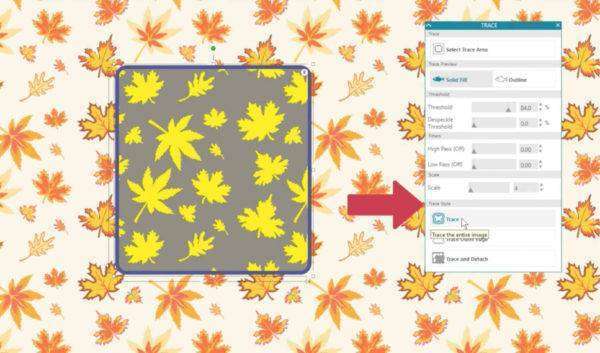
Trace creates all outer and inner lines. This retains the voids and details in a design that are not filled with yellow.

Trace Outer Edge creates a cut line only around the outer edge of your image. This is a good choice if you want to create a Print & Cut image that isn’t filled with holes in the center of the design.
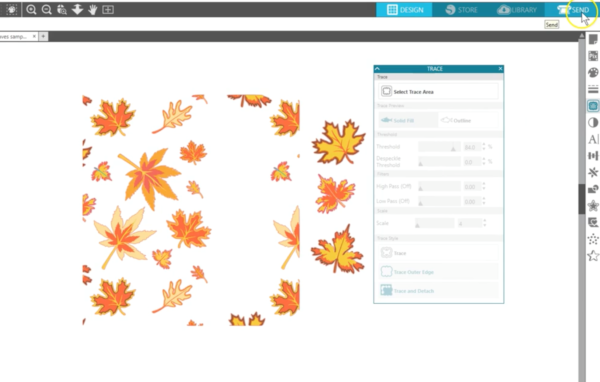
Trace and Detach will actually cut out the image from the background.
This is helpful when you need to remove that white background so you can overlap images or have more room to get designs closer together on a Print & Cut job.
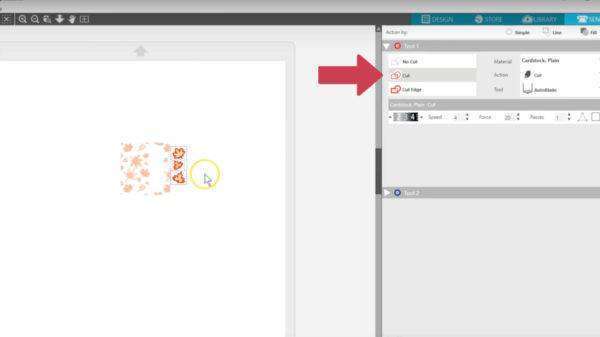
Objects that are traced with Trace and Detach need to have their cut lines turned on in the Send Panel.
Objects with Trace or Trace Edge are immediately ready to cut with their cut lines on. As we mentioned, tracing will be different with each image. Not every design can be traced effectively, especially if it has low contrast.
If you trace a design that has too many details or otherwise needs to have traced lines separated, you can “Release Compound Path” to separate those cut lines and access just the parts you want to keep.
For additional Trace features, like Trace by Color and Magnet Trace, you can upgrade to Designer Edition or higher.