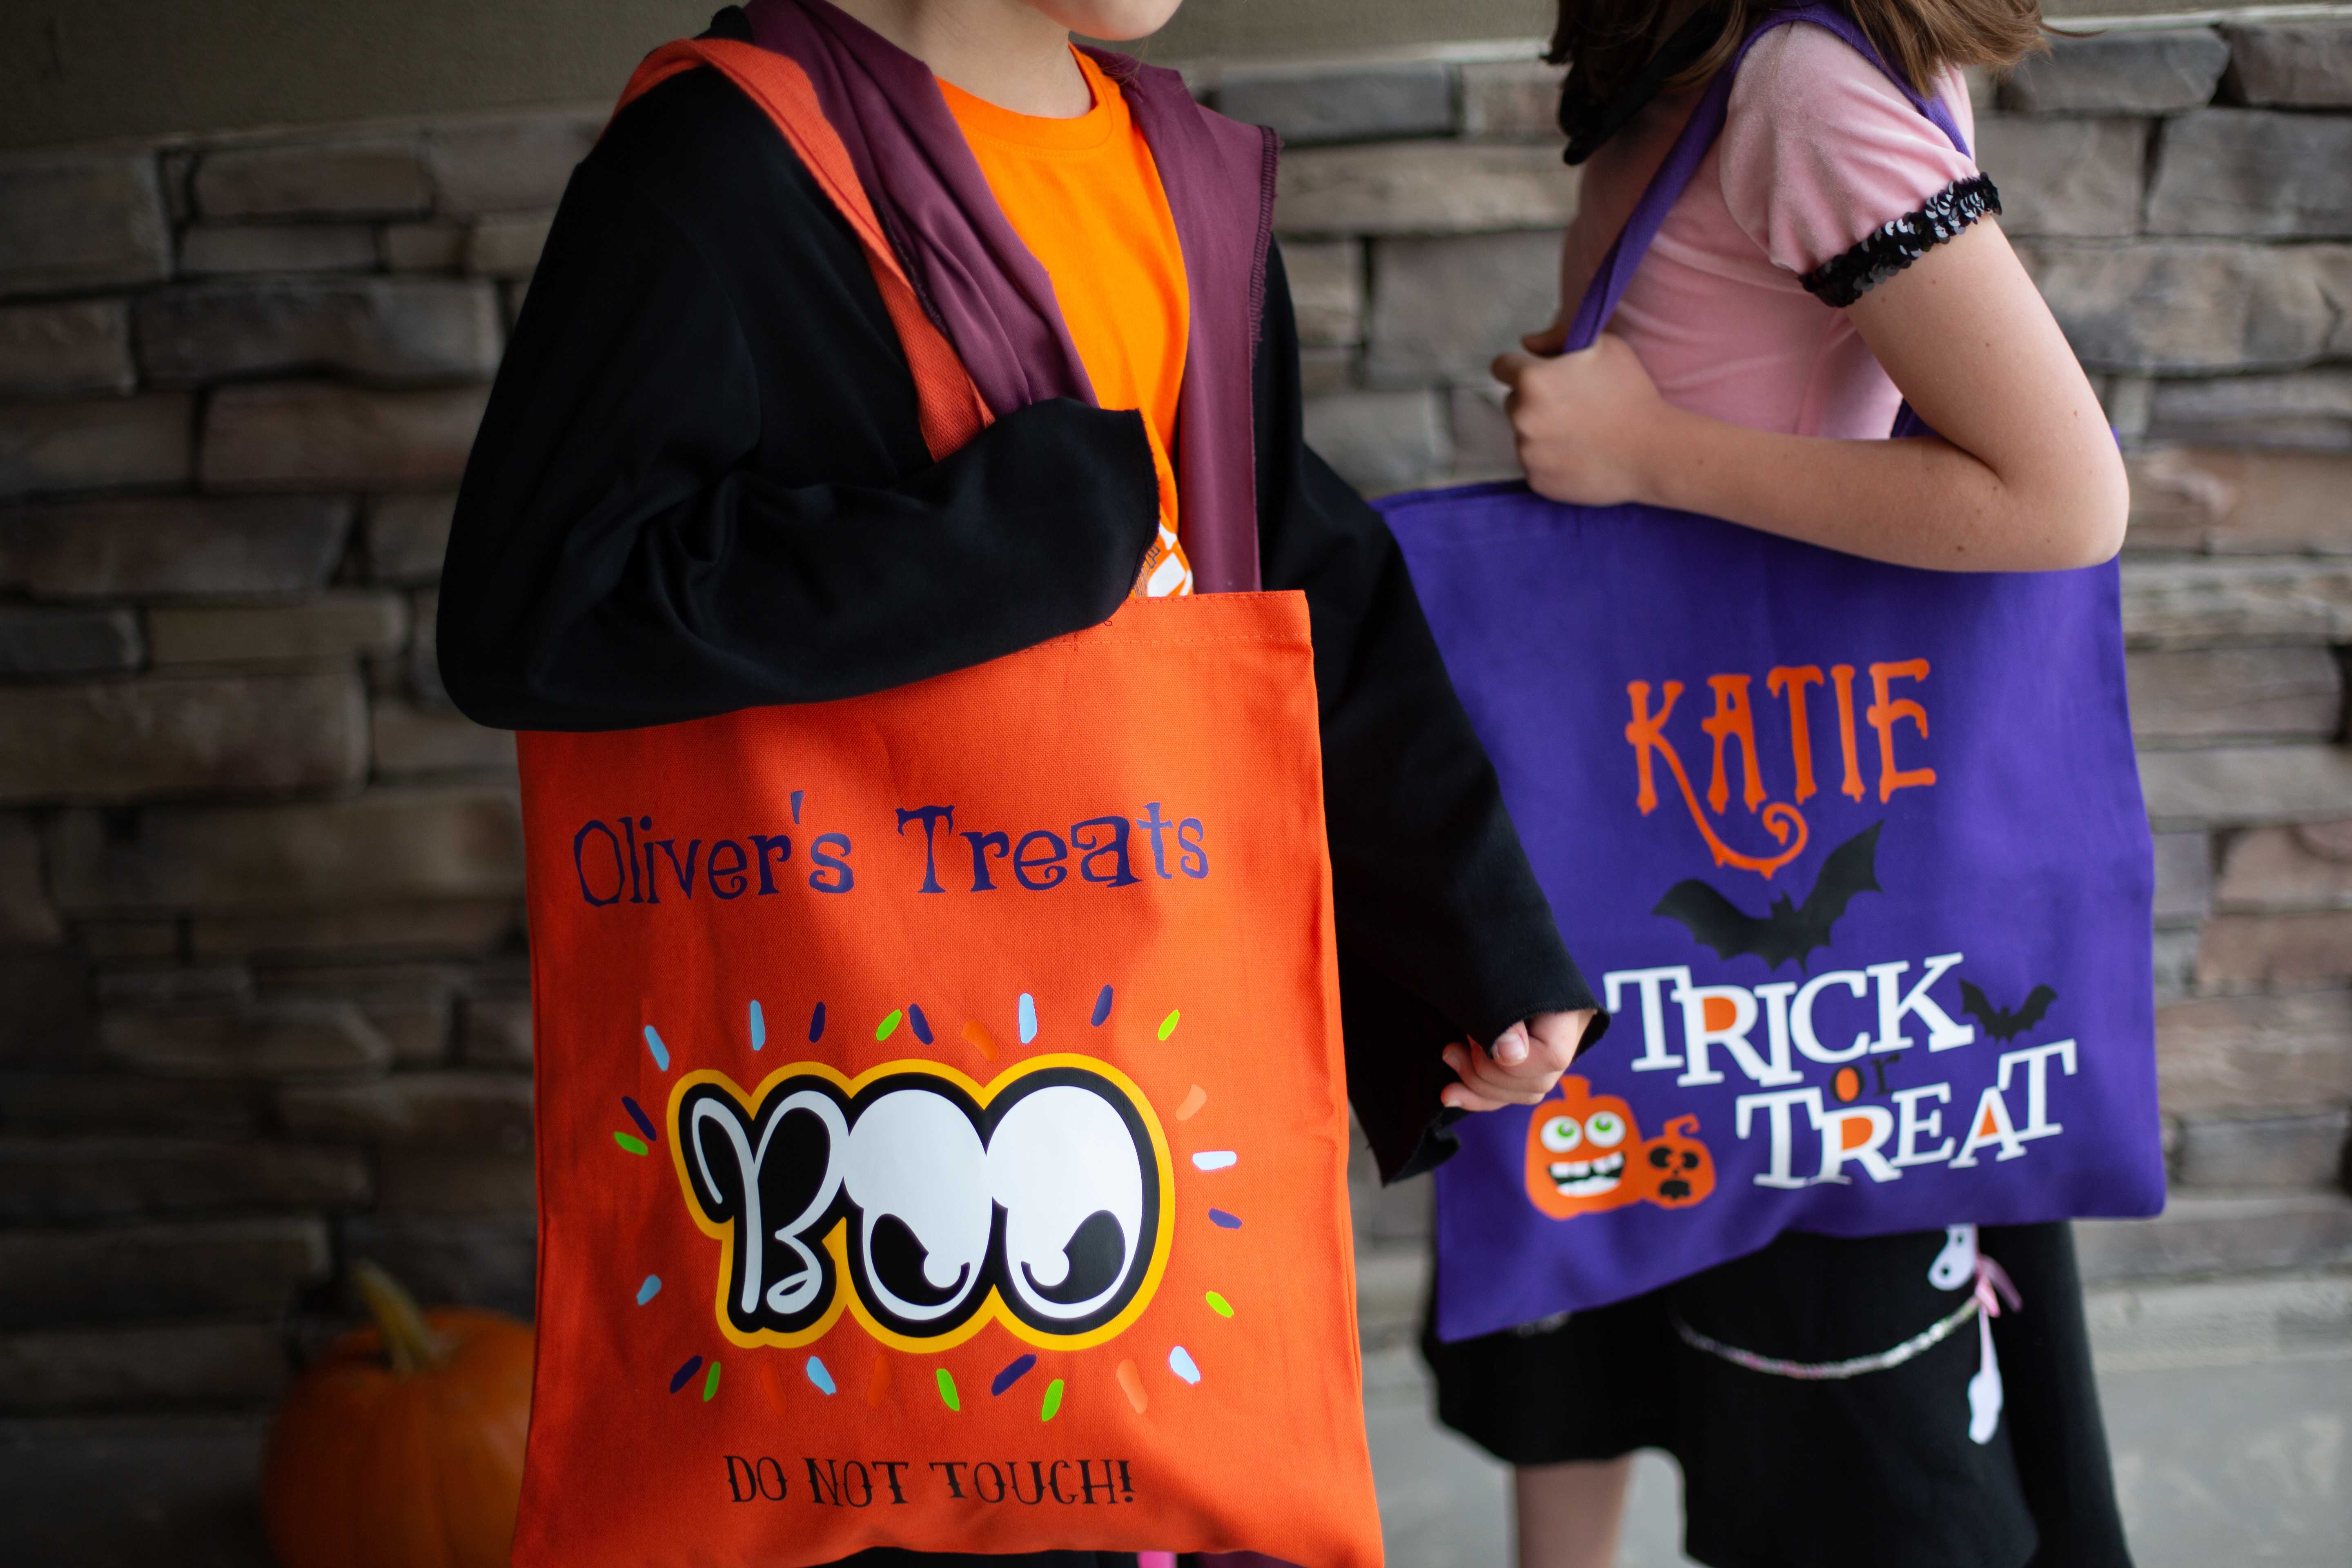
One of the best parts of Halloween is getting dressed up in your costume and collecting a nice little stash of candy. But in order to get all the candy, you need to have a sturdy bag that’s going to last you through the night! We’re going to show you how to create these personalized trick-or-treat bags that you can continue to use every year. Just follow the tutorial below!
Supplies Needed:
- Silhouette CAMEO®
- Silhouette Studio®
- Silhouette Cutting Mat
- Silhouette Cutting Blade
- Silhouette Smooth Heat Transfer – white, black, orange, light blue, lime green, purple, yellow
- Silhouette Hook Tool
- Iron
- Piece of cloth or parchment paper
- Totes – orange and purple
- Design ID #276066
- Design ID #226992
- Design ID #226281
- Design ID #227145
- Design ID #95768
- Design ID #275069
Step One: Preparing the Design
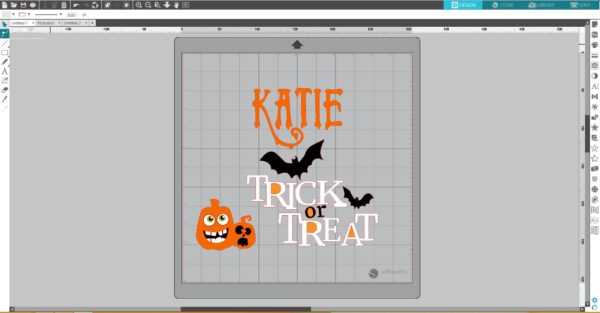
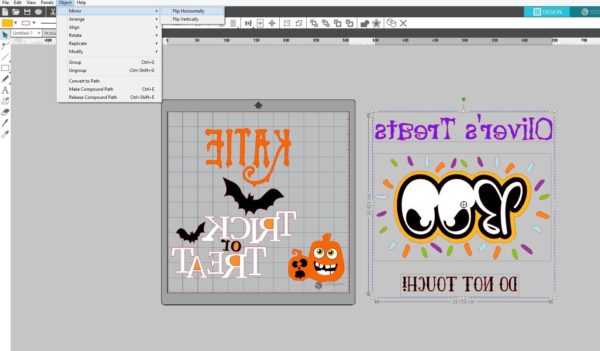
1. Open the Trick or Treat design (Design ID #276066) and Pumpkin Pair design (Design ID #226992) in Silhouette Studio®. Fill the parts of the pumpkin pair design with color and assemble them. Type your child’s name using the ZP Sand & Sea Drool font (Design ID #226281). Arrange designs on the working space.
2. For the second tote, open and assemble the Boo design (Design ID #227145) in Silhouette Studio®. If we leave the design as-is, we will layer heat transfer with overlapping areas. To reduce the bulk of any heat transfer layers, you can use the Modify Tool “Subtract All” to erase parts of the design covered by other designs. To do so, open the Modify panel, select the black and yellow layers of the design and click Subtract All. Then select the white and black layers and click Subtract All.
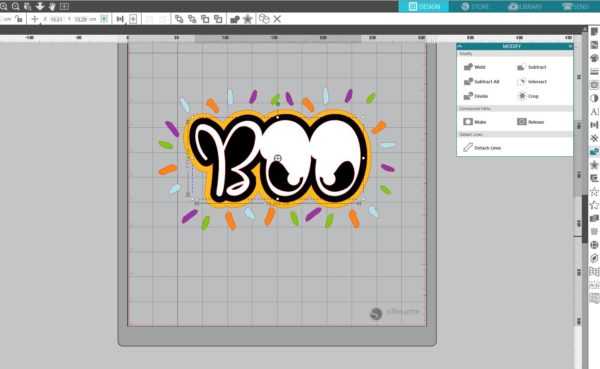
If you place white and black layers aside, you will see that white and yellow layers are subtracted.

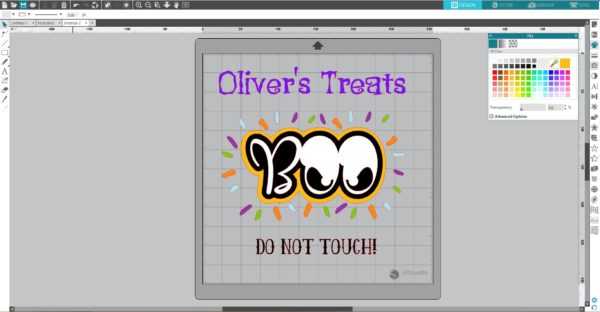
3. Type your child’s name using the LDJ Eerie-sistable font (Design ID #95768) and place it above BOO design. Using the eraser tool erase little details inside and above letters as they are too small to cut them from the heat transfer material. Type “DO NOT TOUCH!” with the Spooky font (Design ID #275069) and place it below Boo design.
4. Resize your designs according the tote size you will use. Mirror the designs (select design > object > mirror > flip horizontally).
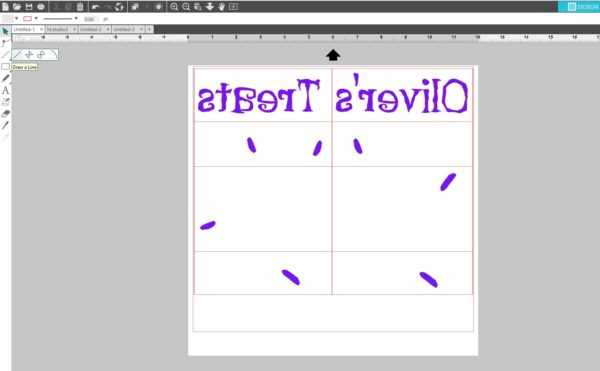
5. Group each color separately. Place the first color group on the working space. Go to the Page Setup panel, choose None as your mat option, and adjust the page size.

6. Let’s add weed lines to our design. After we cut the heat transfer material, the weed lines will make the weeding process easier and faster. To add weed lines, just draw horizontal and vertical lines, between parts of your design, using the Draw a Line tool. Then using the Draw a Rectangle tool, draw a rectangle around your design.
Step Two: Cutting the Design
1. There are two ways to cut heat transfer material:
- load heat transfer material directly into the cutting machine
- place heat transfer material (if you have a small piece or small pieces) on the cutting mat and load the mat into the cutting machine
For this project we will load heat transfer directly into the cutting machine using roll feeder. If you’re cutting vinyl directly from the roll, feed a purple heat transfer material roll (glossy side down) directly to the Silhouette cutting machine using the roll feeder. If you are using the CAMEO, don’t forget to adjust the rollers according the size of the heat transfer roll you are going to cut.
![]()
2. Under the Send panel, select “Heat Transfer, Smooth” as your material type. Adjust the blade if necessary, and click Send. Silhouette Studio® will ask you if you need to mirror your design. Since we already did, we can click Send As-Is when the message pops up. Tip: If you choose to have the software mirror the design for you, it will cut the entire page in reverse (not just the designs in reverse), so it’s important to have your page size set to match your actual material size if you go with that option.

3. Once the image is cut, select Unload on your machine and remove the heat transfer from the machine. Repeat this same cutting process for each color.
4. Remove the excess heat transfer from your design in a process called weeding with your Silhouette hook tool. Repeat this process for each color of the heat transfer you cut.
![]()
![]()
Step Three: Applying Heat Transfer on the Totes
1. After the design is weeded, place the layer with black heat transfer on your tote (plastic side up).
![]()
2. Use an iron (or a heat press) to adhere the heat transfer. The iron should be set to no steam on a cotton setting. It shouldn’t be set higher than 300 degrees Fahrenheit. We recommend using a piece of light-weight fabric between the iron and the heat transfer.
![]()
3. Once the design has cooled, peel away the clear plastic liner. If the heat transfer material continues to stick to the liner, then lay the liner back down, replace the protective sheet or cloth, and iron some more.
![]()
4. Line up the layer with the white heat transfer on the top of the black heat transfer and iron it on.
![]()
5. Repeat the same steps for the orange color.
![]()
6. Iron the parts for the pumpkin eyes in place.
![]()
7. Using the same technique, arrange and iron heat transfer layers on the orange tote.
![]()
We are done with our trick-or-treats totes!
![]()
These tote bags are perfect for storing candy stashes and will last for at least a few Halloweens to come. You can find so many other fun designs and fonts to customize your own trick-or-treat tote bags at the Silhouette Design Store.