I absolutely love this time of year! The Christmas carols are being sung, the trees are getting lit, the Christmas baking is getting made and the romantic Christmas movies are playing. Yes, I love it all!!
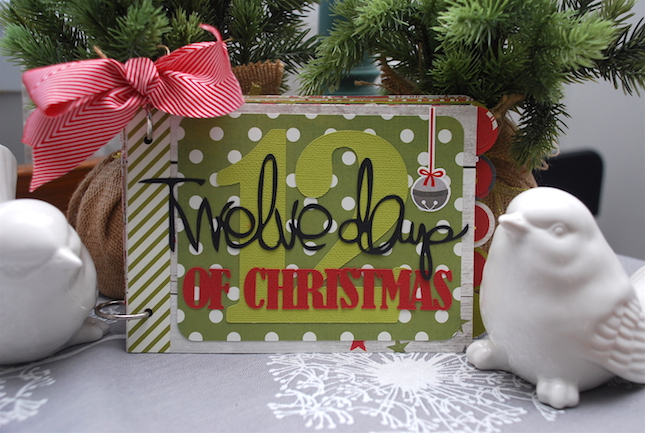
Today I’m excited to share with you this little 5 in. x 7 in. mini album that I’ve created for the month of December. It’s like a December Daily in which I will fill out each page with the various activities or things we’ve done as a family that day. I decided to just do the 12 day before Christmas rather than the entire month—only because my life is so crazy that I’m worried I’ll miss a day filling it out!
Supplies needed:
- Silhouette CAMEO®
- Adhesive Backed Cardstock
- Printable Adhesive White Cardstock
- Gold Printable Foil
Design used:
- 25 Days of December (5×7 horizontal) – Design ID #69724
- 25 Days of December (5×7 Horizontal Album Pages) – Design ID #69725
- 25 Days of December (5×7 Horizontal Album Deep Pocket Page) – Design ID #69728
- 25 Days of December (5×7 Horizontal Shape Pages) – Design ID #69726
- 25 Days of December (5×7 Horizontal Simple Shape Pages ) – Design ID #69727
- Christmas Eve Postmarked Sentiments – Design ID #35439
- Christmas Season Has Begun – Design ID #35273
- Christmas Sentiments- Greetings Tickets Set 1 – Design ID #12949
- Christmas Village Polaroid Frame – Design ID #51979
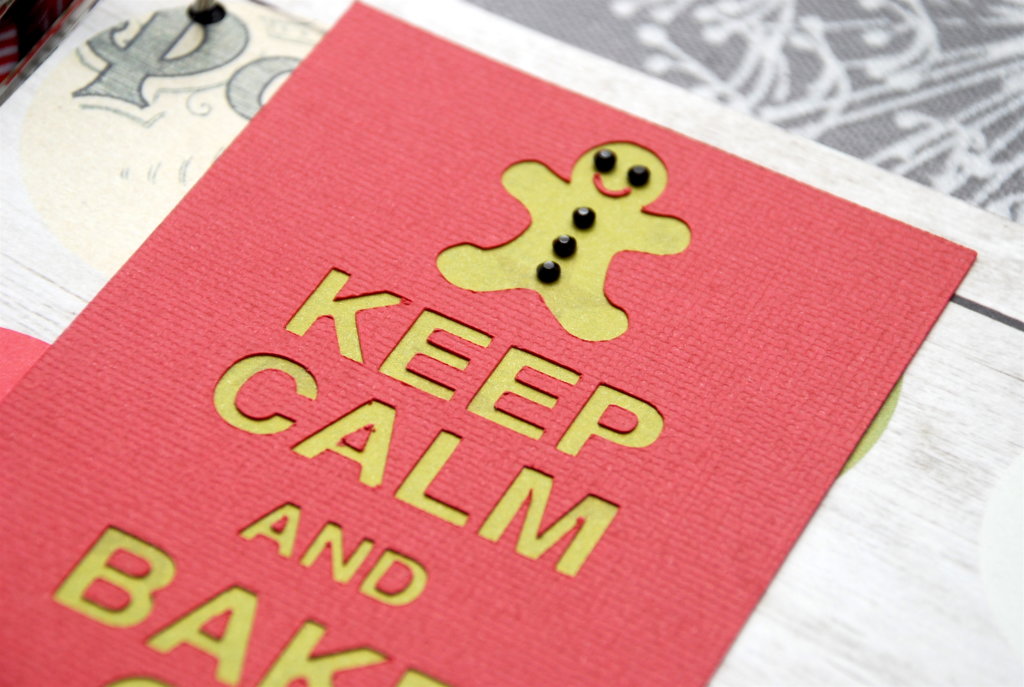
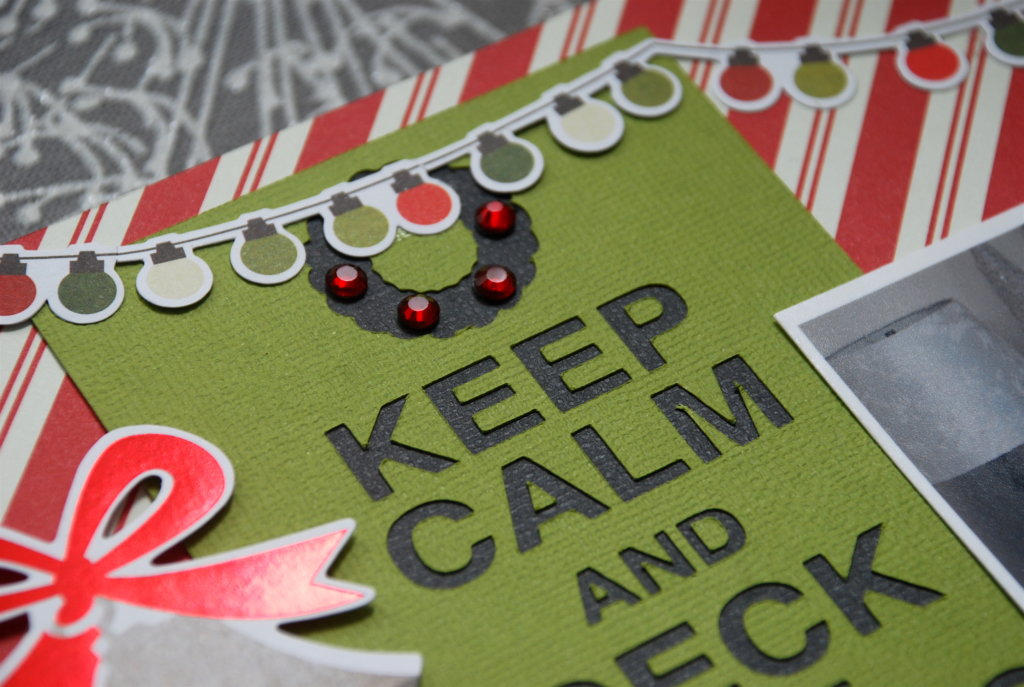
- Keep Calm Pocket Christmas Cards – Design ID #69183
- Merry Christmas Circle Tag – Design ID #51139
- Pine Tree Cards – Design ID #114901
- Holly Jolly Christmas Bingo Card – Design ID #34242
- 3 piece nativity – Design ID #111286
STEP ONE: SELECT DESIGNS AND CUT OUT PIECES 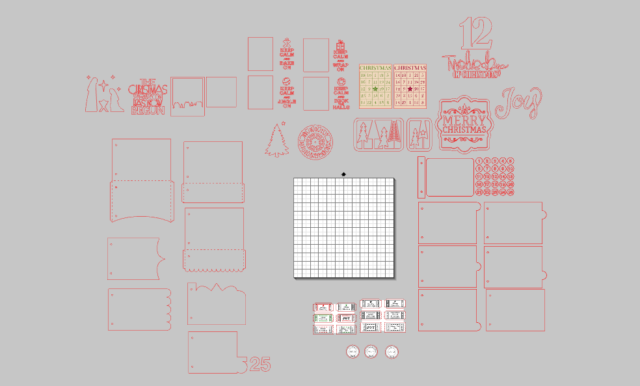
I have a habit of figuring out the designs that I want to use before I cut everything out. I find that this system helps me stayed organized, and I don’t feel like I need to add more and more details or feel like I’ve forgotten something.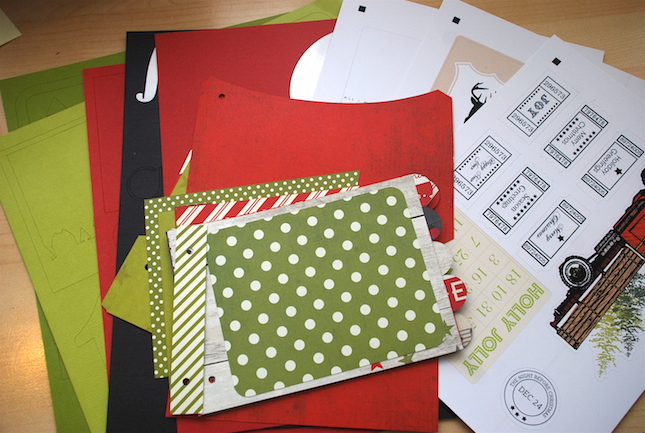
Once I’ve figured out what I want to use, I begin cutting pieces out using similar colored cardstock or patterned papers.
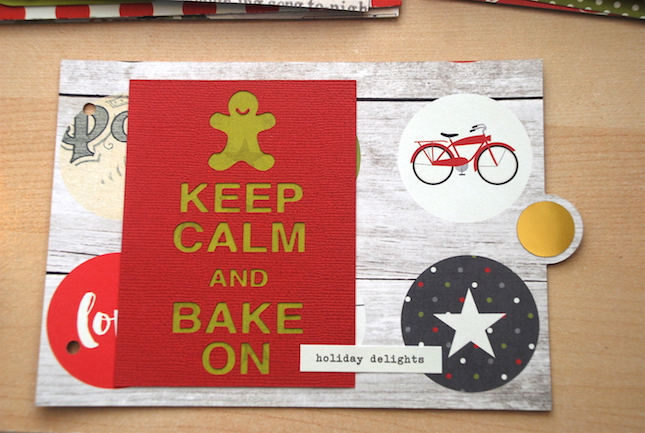
You’ll also notice that I’ve created some print & cut pages as well . These are so easy & fun to create!
STEP TWO: ASSEMBLE PIECES TOGETHER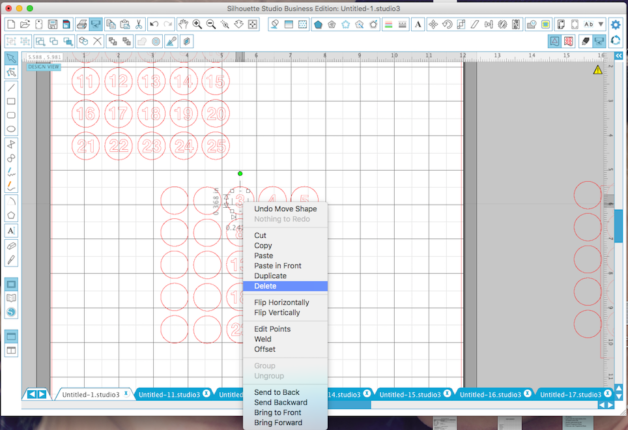
The album that I cut out had tabs on the right side for numbers, so I cut the numbers out of red cardstock. I didn’t want the patterned paper to show through so I cut out some gold foil circles.
To do this, I simply copy & pasted the number set, ungrouped the image, and deleted all of the numbers from the circles. Then, I regrouped it and cut the circles out.
Here I’ve added the cut out gold circle.
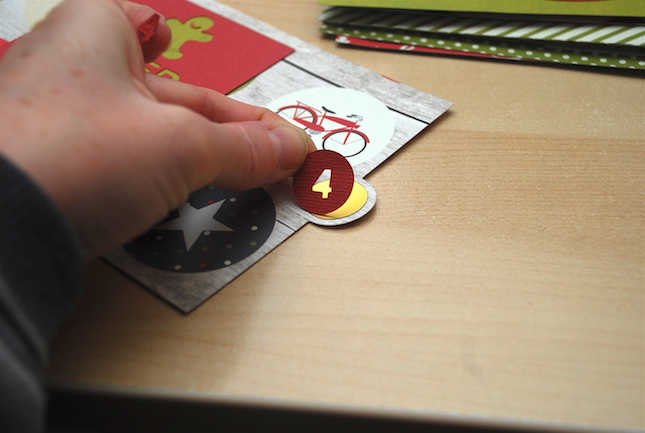
Then placed the number circle over top. Remember to save the negative parts of numbers like 4, 6, 9, 0, etc.
STEP THREE: ADDING DETAILS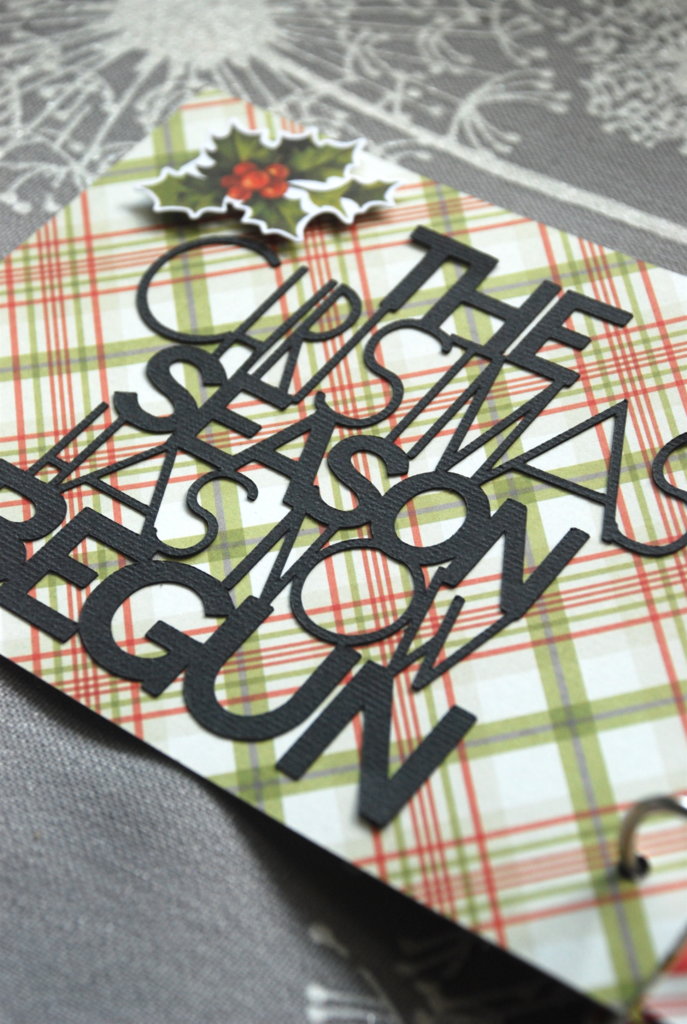
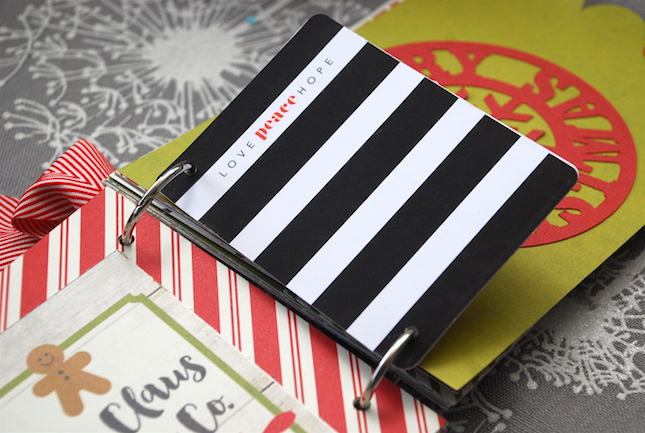
A fun clean & crisp cut phrase is a great way to start the opening of an album!
Adding rhinestones to cut out designs (rather than using the same yardstick) is fun idea.
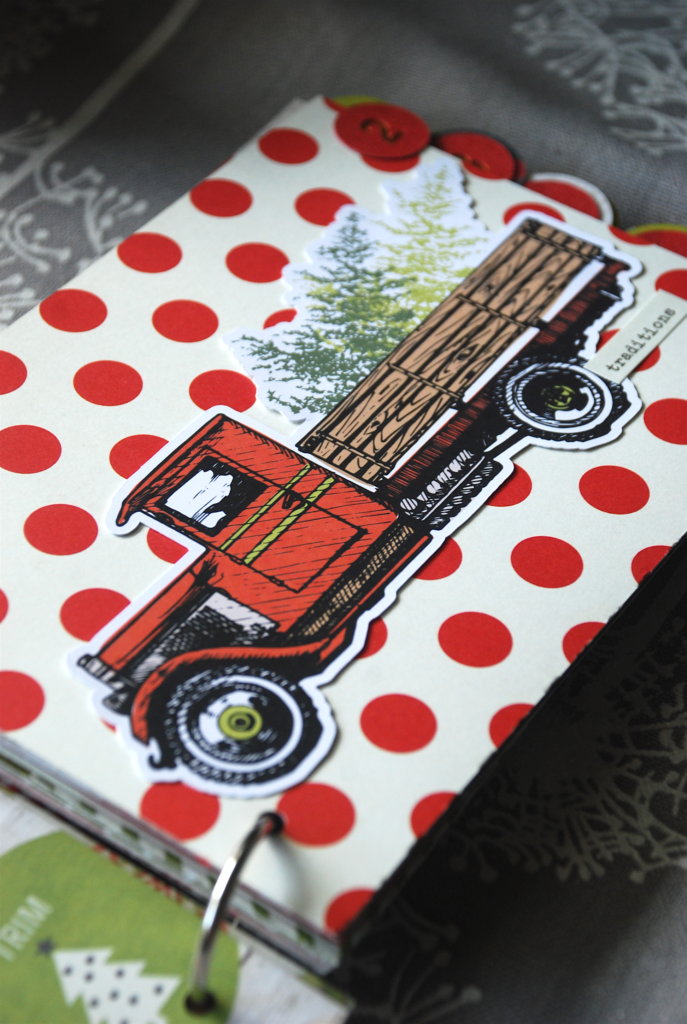
STEP FOUR: ALL DONE & TIME TO FILL THE INSIDE WITH PICTURES & STORIES 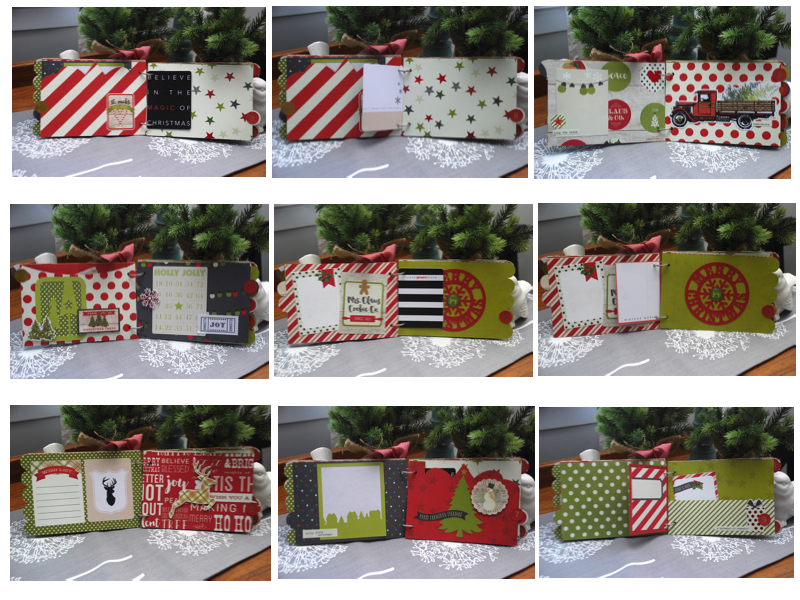
Here are the pages of my mini album. I’m excited to fill it all up with our December adventures and festivities!
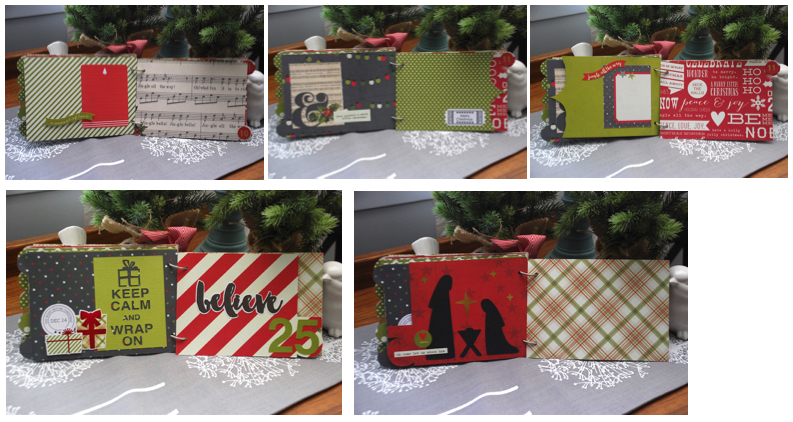
I hope that I’ve inspired you to share your memories in a little keepsake such as this.
Nasze Naturalne
September 3, 2025
Your authentic voice really shines through in everything you create and share
Naszenaturalne
September 2, 2025
Really love your style
Kelly Wayment
June 28, 2024
You can use it with vinyl as long as it is smooth and flat to allow the static charge to hold on to it. Rolled vinyl that wants to go back to its rolled shape will not necessarily work well, and it would need to be trimmed to fit the ES mat cutting area.
Kelly Wayment
June 28, 2024
Yes, you can use the heat pen while using the ES mat. 🙂
Yurii
March 2, 2024
Hello. May it be used with heat pen?
Thanks
Jerome
February 24, 2024
Hi, works this with the normal vinyl foils or only with printer papter etc?