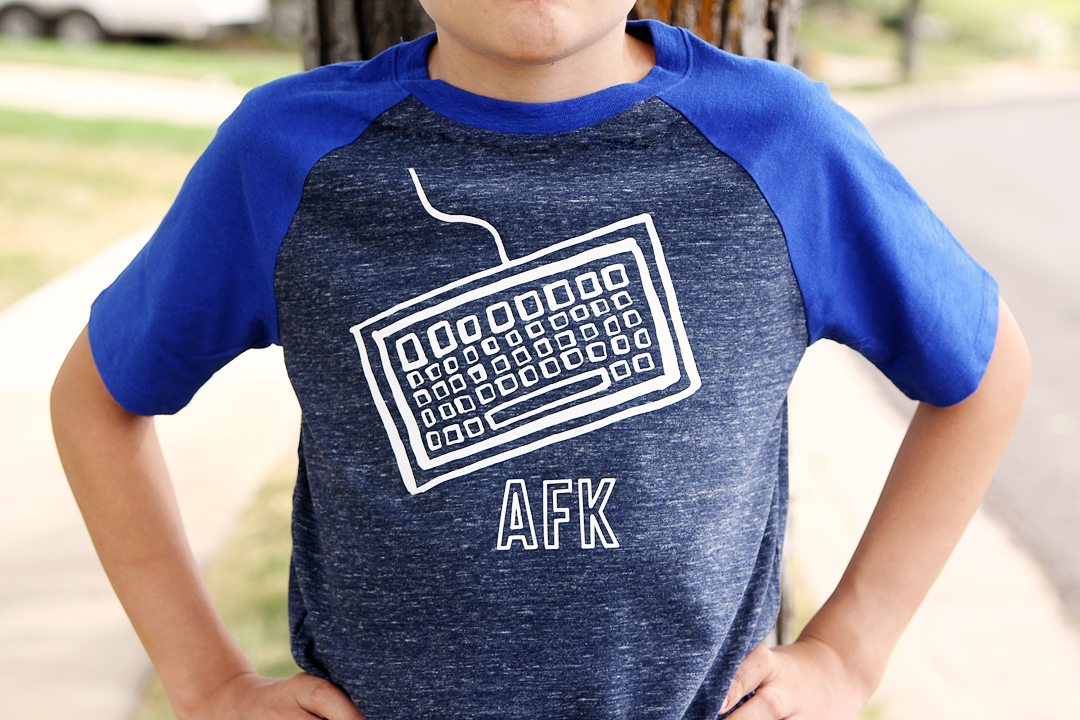
As school approaches for my kids, I like to buy a few inexpensive T-shirts and customize them with heat transfer material. To get my son involved in the design process, I let him choose from a range of designs found in a themed dingbat font. He’s happy. Mom’s happy. It’s all good.
Read on to see how I created this T-shirt.
Supplies:
- Silhouette Cameo® or Portrait®
- Silhouette Studio® (Designer Edition or higher)
- Blank T-shirt
- Smooth heat transfer material
- Autoblade or other 1mm blade
- Hook tool for weeding
- Iron (high, no steam) or heat press (305 deg. for 10-15 seconds)
- Dingbat font – I used Design ID #300564 by Carina Gardner
- Other font – I used Design ID #87906 by Sweet Elsie
Step One: Create Design
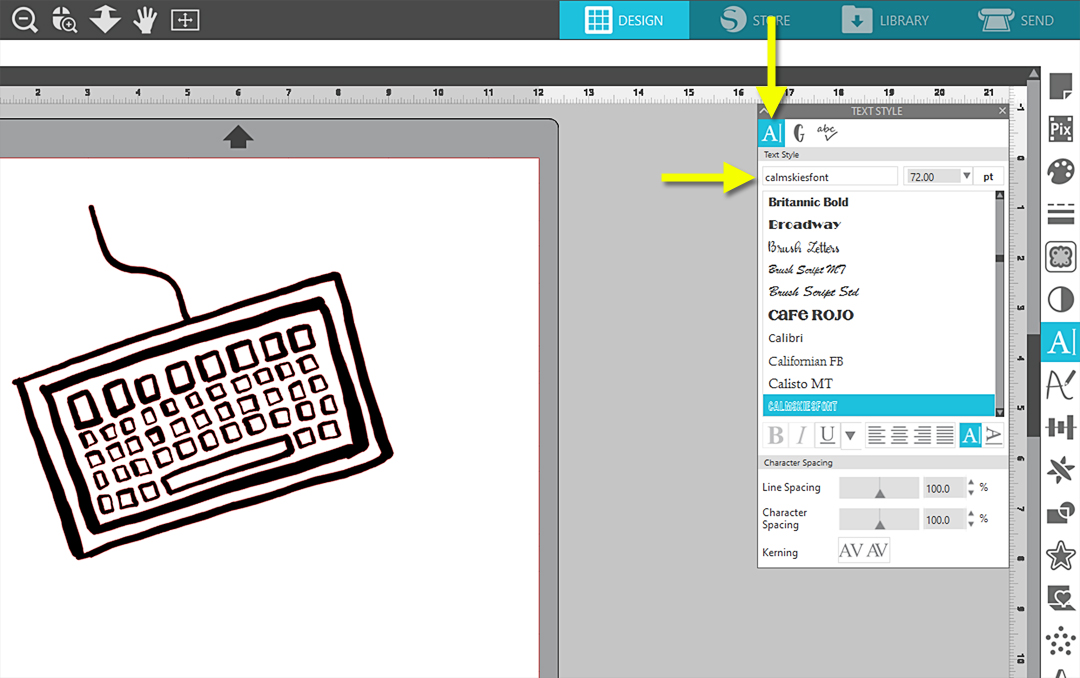
In Silhouette Studio®, open the Text Style Panel and go to the Glyphs tab (second tab). The Glyphs tab is only available in Designer Edition or higher.

Scroll to, or type in “CG video games dingbats”, to choose this dingbat font. (Or choose another of your choice.)
Set the slider to “large” for the preview.
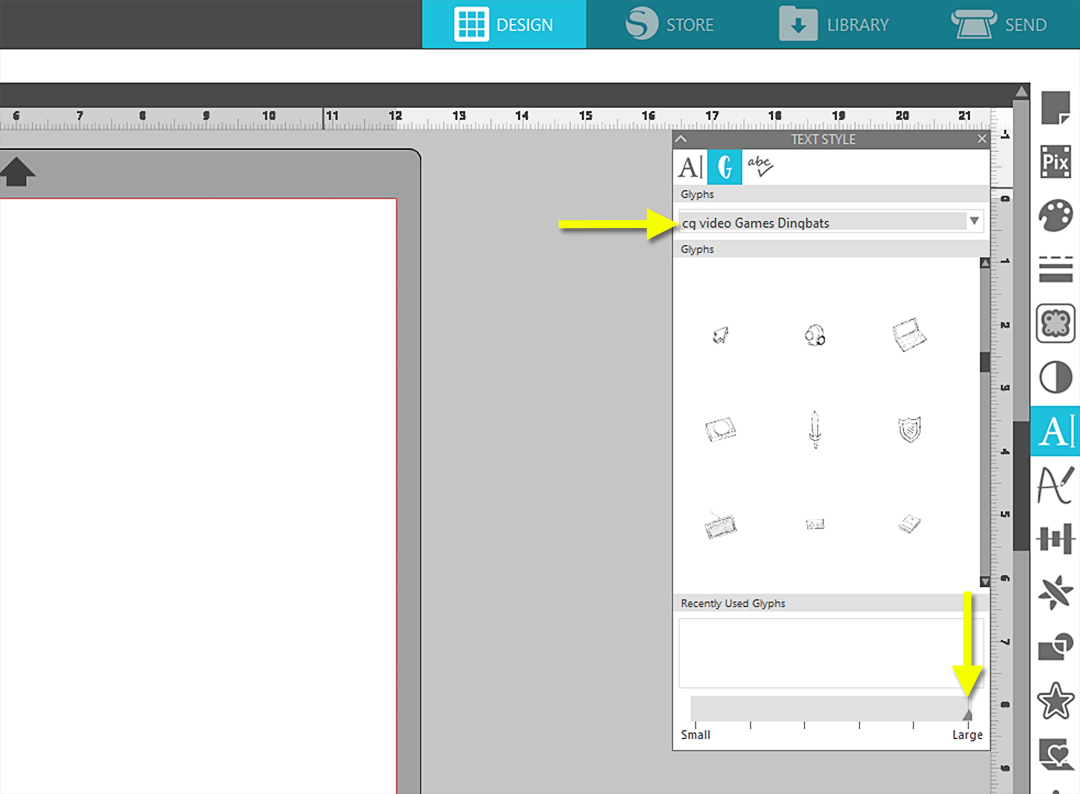
Tip: Hover your mouse over the various dingbats to preview the icons even larger.
Select your Text Tool and click the cursor onto the design page.
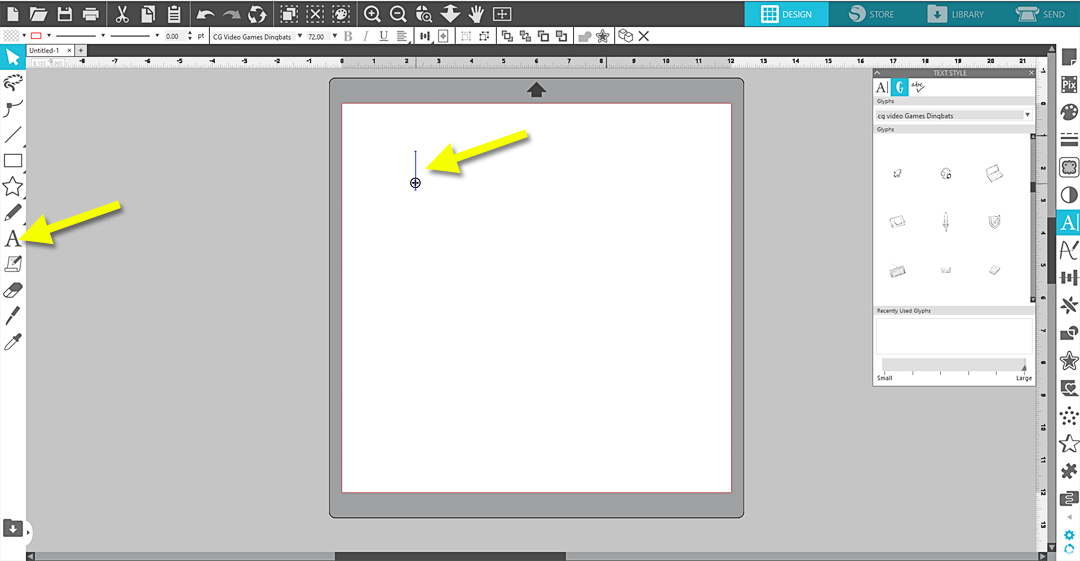
Click once on a glyph to type it where the cursor is blinking. You can choose a few, and then later delete all but your favorite.
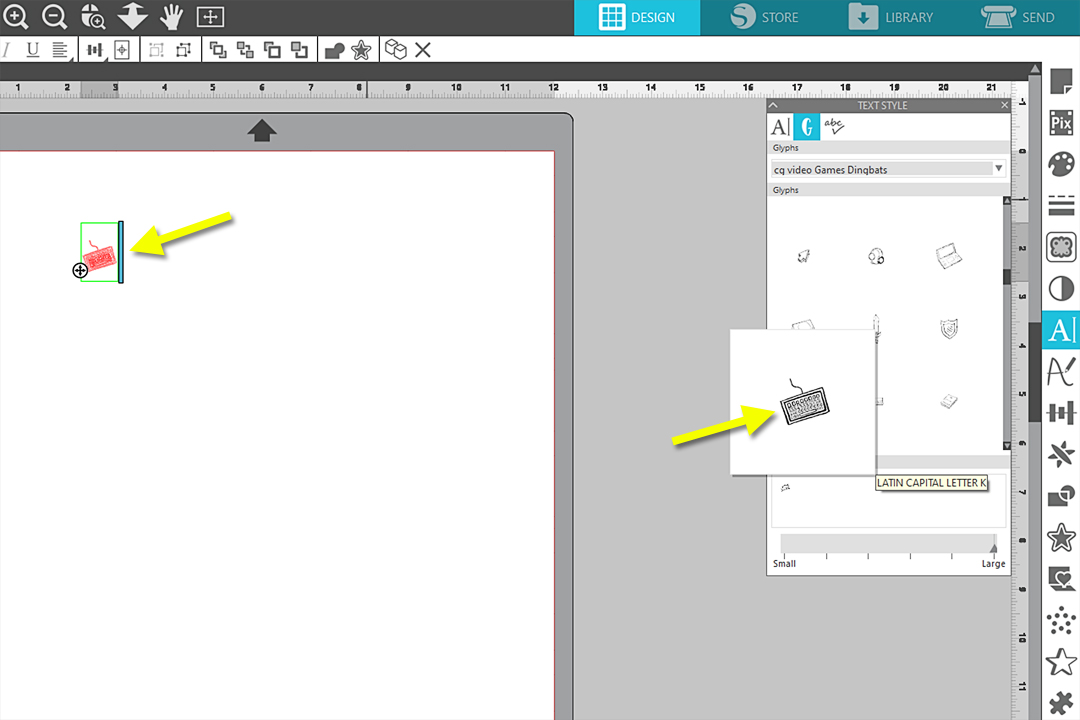
Choose (or let your child/grandchild choose) the best option for your project.
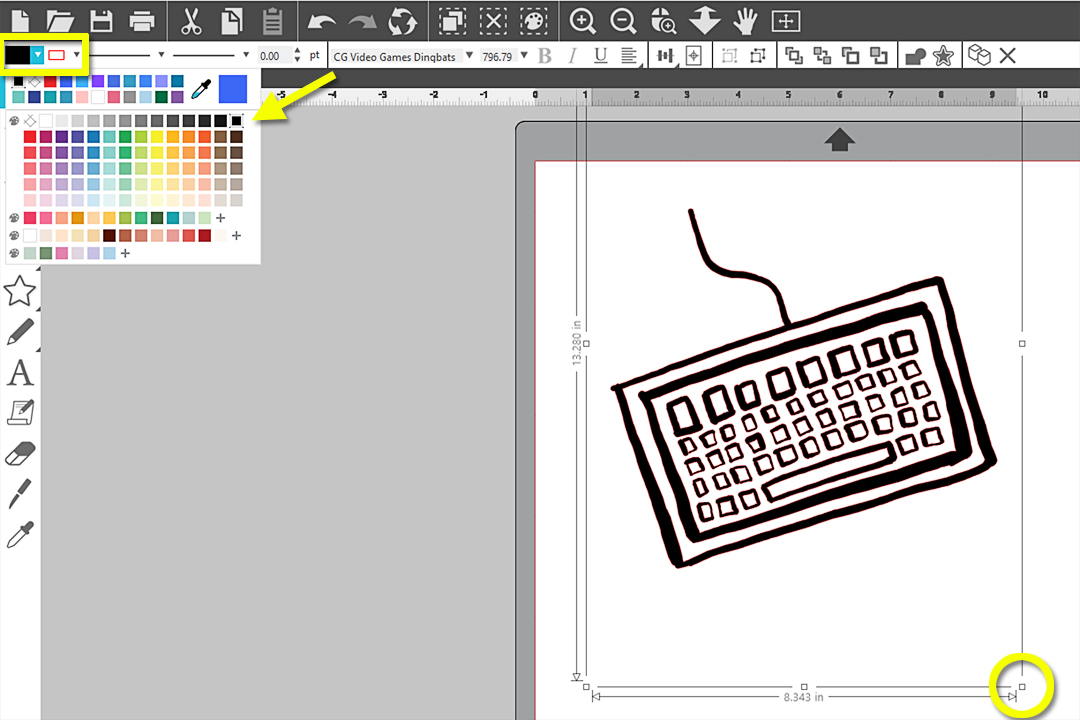
To see the design larger, click off to the side to deselect the text, then click once to select it again as an object. Now it can be manipulated easily for size and color.
Drag a corner handle outward to enlarge it, fill it with a color for visibility, and you may wish to choose an invisible line color.
Step Two: Add Text
Go back to the first tab on the Text Style Panel and choose “Calmskiesfont”.
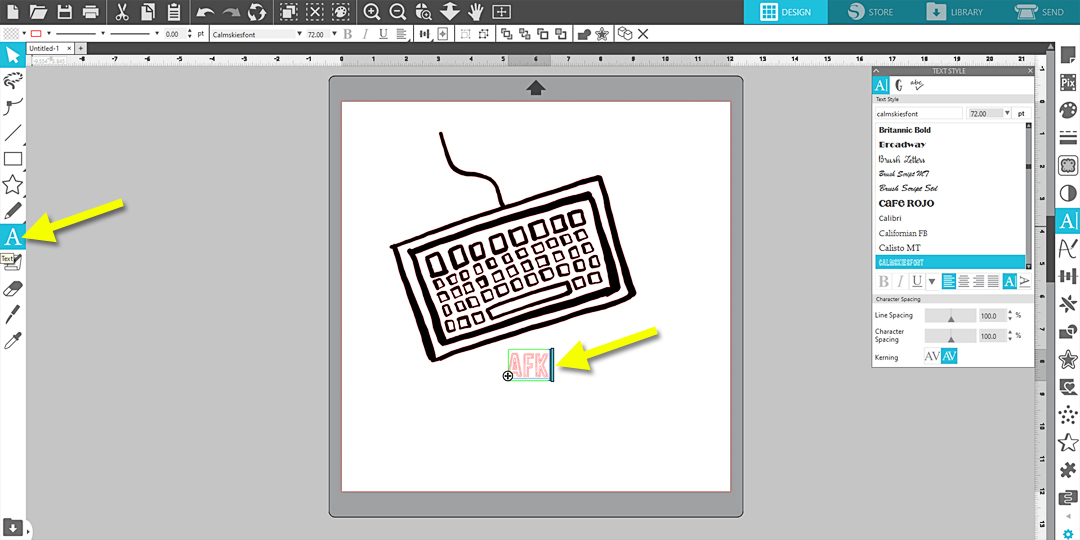
Grab your Text Tool again, click the cursor onto the design page, and type your sentiment.
Again, fill the text with black and choose an invisible line color. (This is optional.)
Hint: Feel free to choose another font, a different phrase, or leave off additional text altogether. It’s your custom T-shirt, after all!
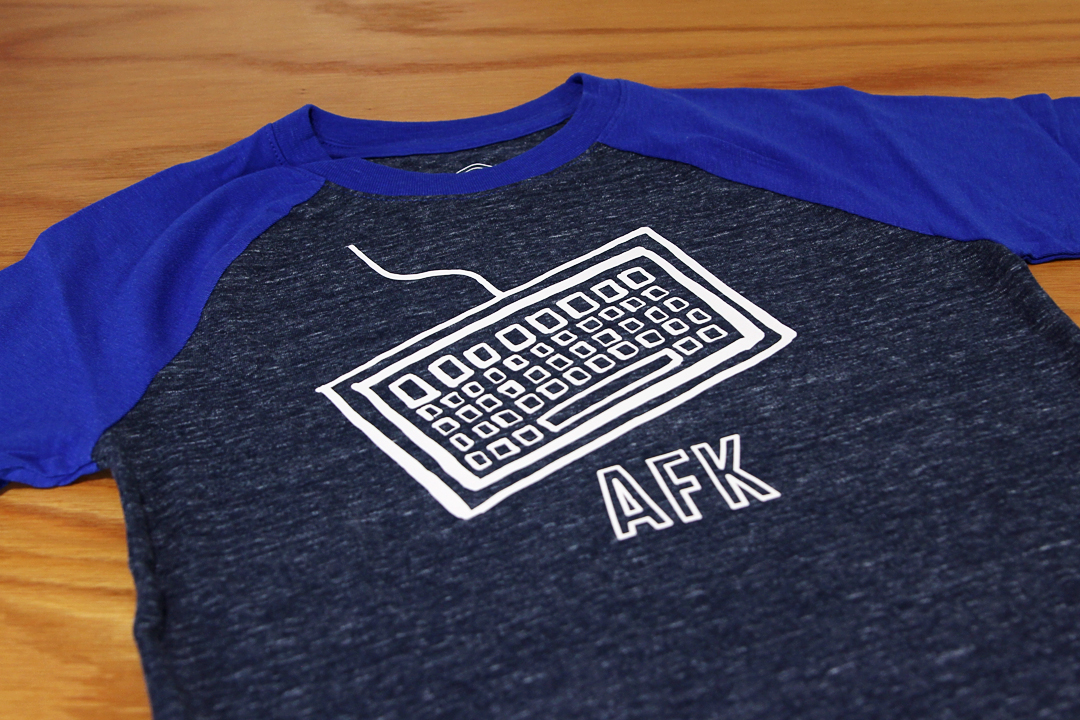
By the way, for you non-gamers out there, “AFK” stands for “Away From Keyboard.” (Very fitting for a back-to-school shirt!) I had to be schooled in some gamer acronyms as my son decided what to put on his shirt.
Resize both the design and the text so they’re an appropriate size for the t-shirt. I prefer about 7 inches wide for a kids’ shirt, but it’s personal choice. My font size for the “AFK” letters ended up at about 142 pt, but that will depend on the font you choose.
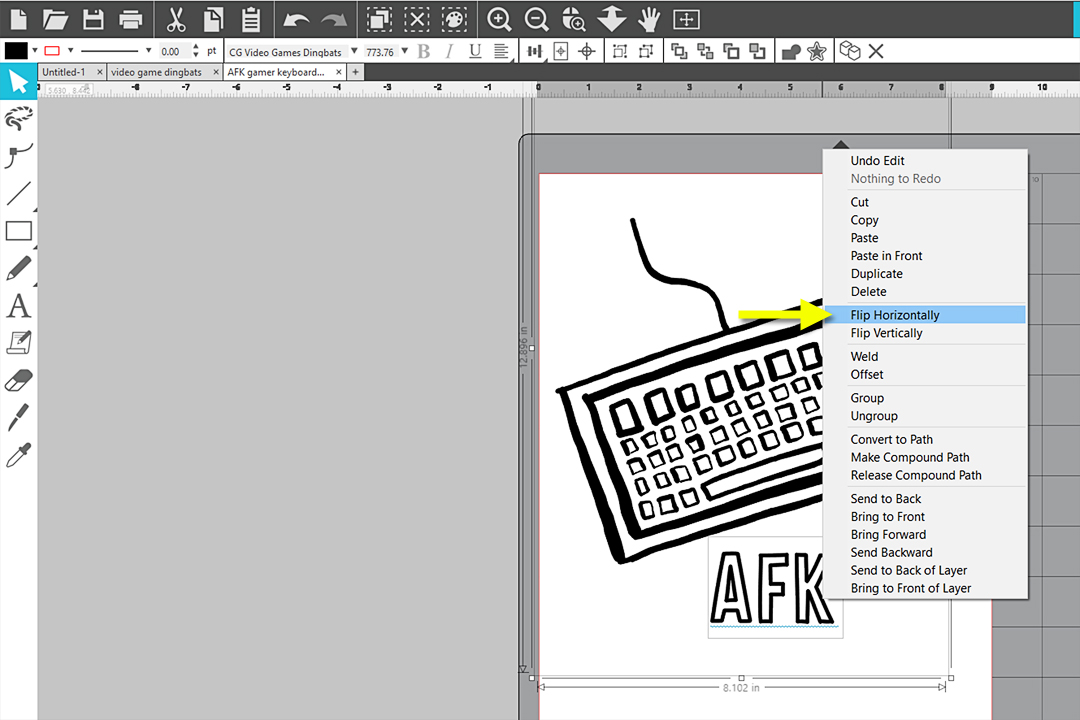
Once you have the design and text finalized and resized, select them both, and mirror them so they will cut correctly on the back side of the heat transfer. (Right click + Flip Horizontally)
In the Page Setup Panel, make sure your machine and media match exactly what you are using to cut it. I’m cutting matless from a roll of 12 in. wide heat transfer, so I made sure to choose “None” for my cutting mat and 12 in. wide for my media size. (Make sure “Show Cut Border” is also checked.)
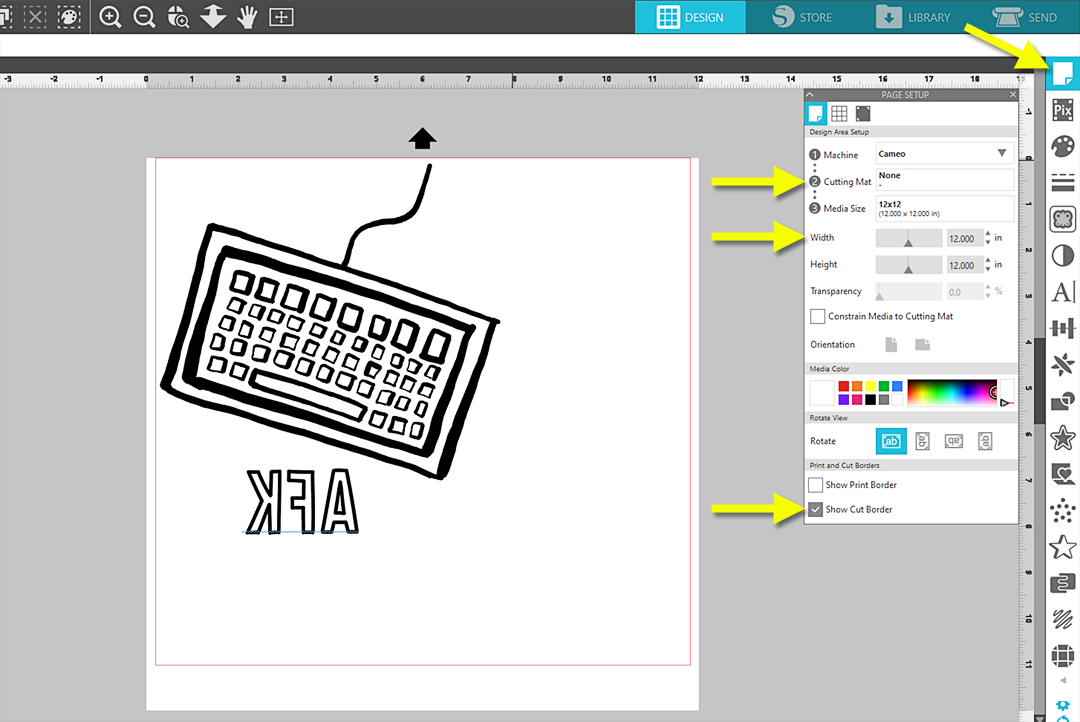
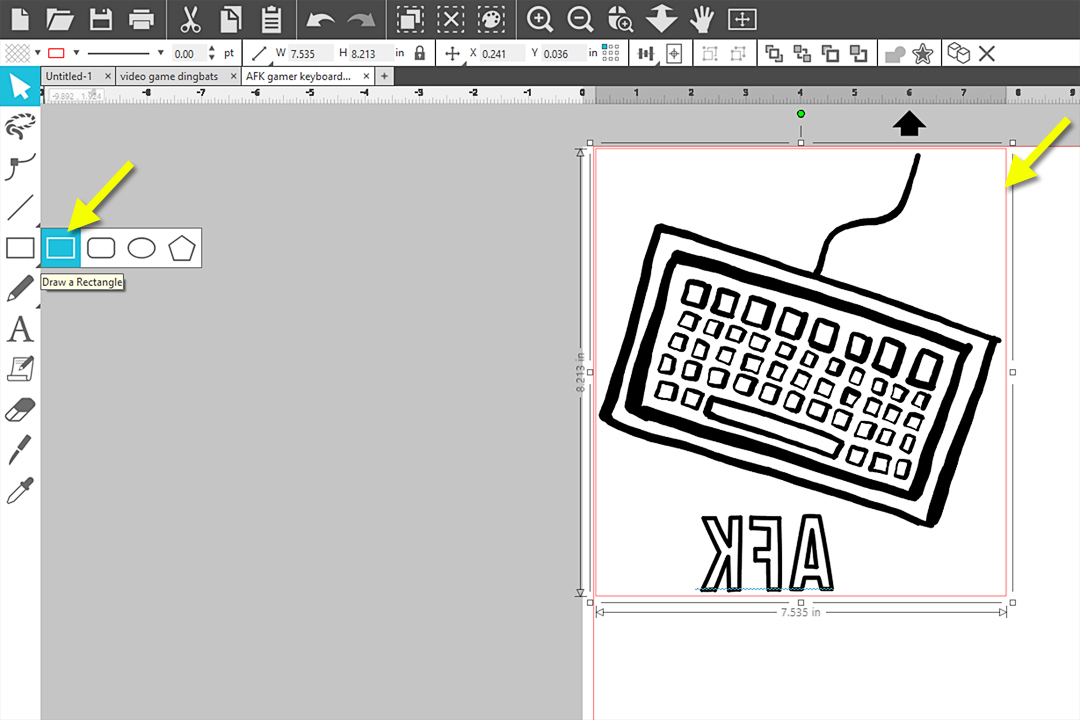
Draw any weeding lines you wish with the rectangle drawing tool.
Go to the Send Tab and make sure your cut preview shows it will cut as you expect. Fonts by default show as “Cut Edge”, but you may wish to select your text pieces (not the weed lines) and choose “Cut” so the cut preview lines are less chunky.

Select your material for the heat transfer you will use. I’m using smooth heat transfer and have tested it, so I’m adjusting to the following settings:
- Material = Heat Transfer, Smooth
- Blade Depth = 2
- Force = 12
- Speed = 8
Be sure to test cut and adjust for your own material and blade.
When you Send, choose “Send As-Is” when you see the popup, because we already mirrored the design for heat transfer.
When cutting heat transfer without a mat, be sure to adjust your rollers to the width that will grip both sides of the material firmly, and load it glossy side down, dull side up.
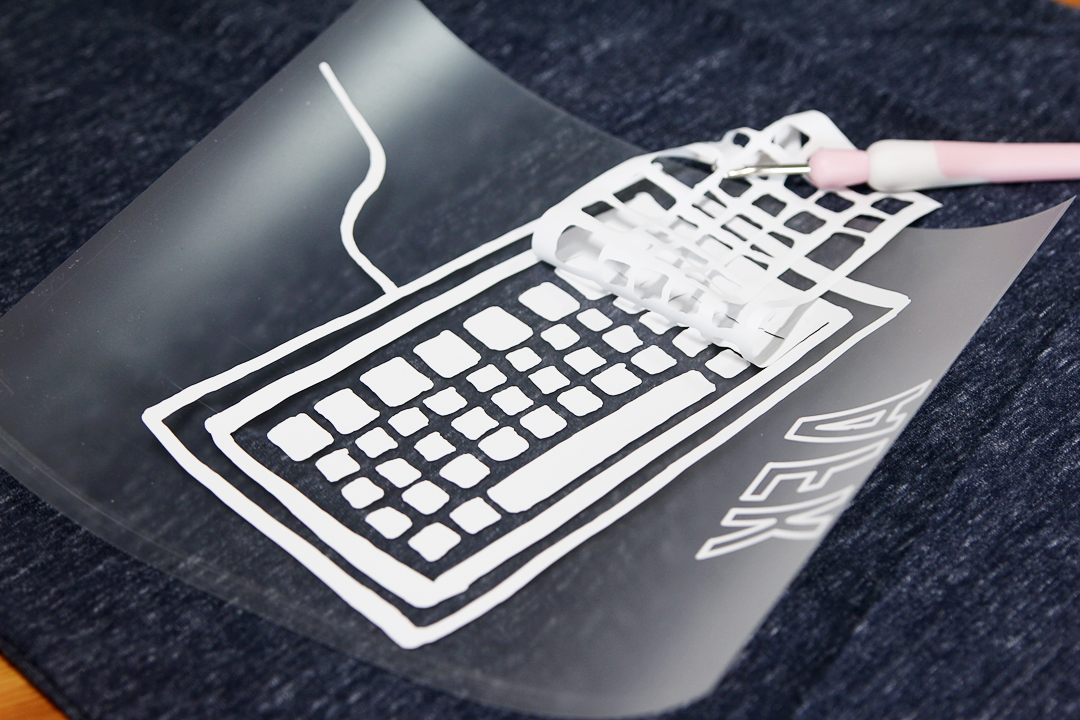
Step Three: Weed and Apply
Trim off the excess heat transfer material, then weed away the unnecessary bits with a hook tool.
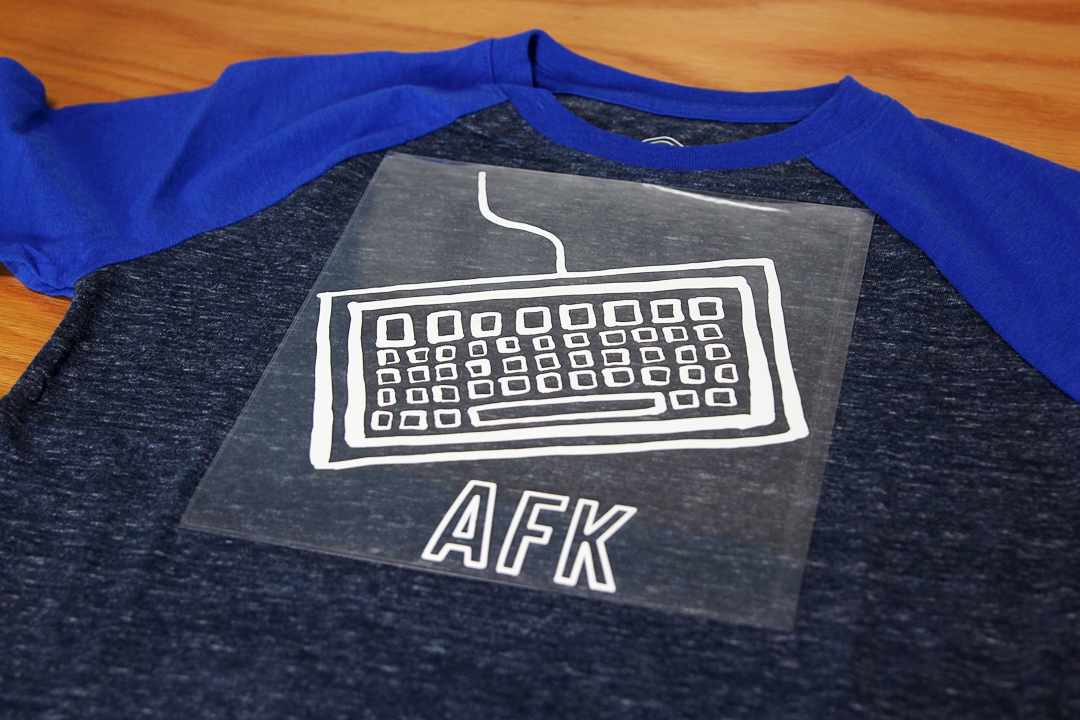
Place the sticky side of the heat transfer’s carrier sheet onto the shirt and position it so it looks good.
Cover the heat transfer with a protective cloth or paper, and iron or heat press the design into place.
- For an iron, set it to high temperature and do not use steam. Iron the entire design until it stays in place when the carrier sheet is peeled away. (Probably 30-60 seconds.)
- For a heat press, smooth Silhouette heat transfer applies at 305 degrees for 10-15 seconds.
Carefully remove the carrier sheet and make sure all of the design is transferred. If not, lay the carrier sheet back down and apply additional heat and pressure.
Your child/grandchild’s shirt is ready to wear!
What are some of your favorite dingbat fonts in the Silhouette Design Store?
 Free Class - Father's Day Apron Set
  Free Class - Custom Graduation Tumbler
Naszenaturalne
September 2, 2025
Really love your style
Kelly Wayment
June 28, 2024
You can use it with vinyl as long as it is smooth and flat to allow the static charge to hold on to it. Rolled vinyl that wants to go back to its rolled shape will not necessarily work well, and it would need to be trimmed to fit the ES mat cutting area.
Kelly Wayment
June 28, 2024
Yes, you can use the heat pen while using the ES mat. 🙂
Yurii
March 2, 2024
Hello. May it be used with heat pen?
Thanks
Jerome
February 24, 2024
Hi, works this with the normal vinyl foils or only with printer papter etc?
Kelly Wayment
February 16, 2024
Once you’ve pushed the mat up against the rollers, just press the “Load” arrow button (bottom right on the display). Does a regular sticky mat load into the machine for you?