In this tutorial, you’ll learn about filters in Mint Studio™. The Mint Studio™ software has a selection of filters to apply a variety of effects to your stamp. Let’s look at these filters so you can see what they do. On the stamp design page, we have a flower PNG file we’ve imported and a design from the Silhouette Design Store. Click on this painter’s palette icon to go to Filters.
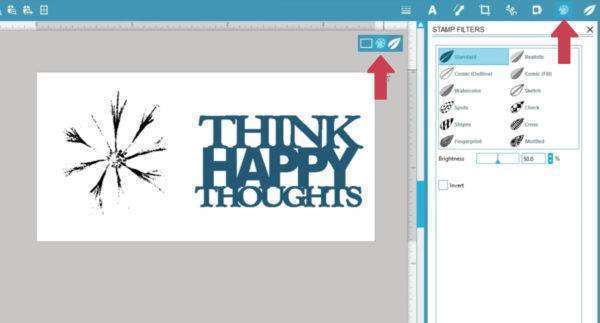
This is where you adjust how the stamp prints. Don’t pay attention to colors here; you add your own color to the stamp after it’s printed. You have to select the object on your page to apply a filter to that image. Note that the filter effect will only show up when the design is within the stamp boundary.
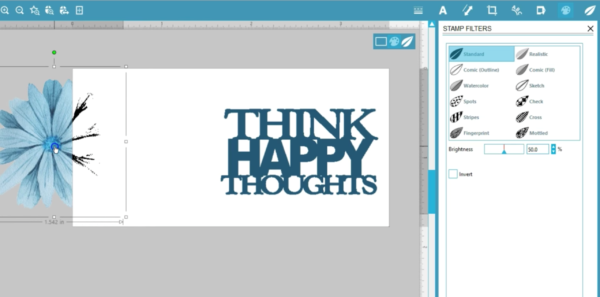
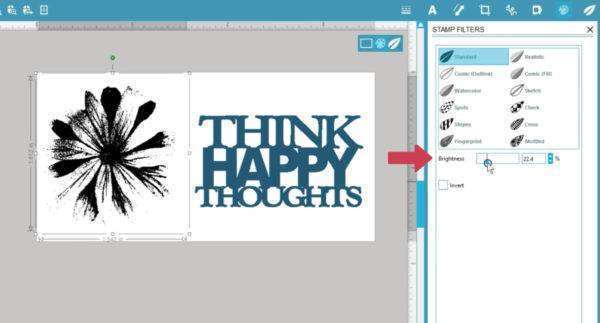
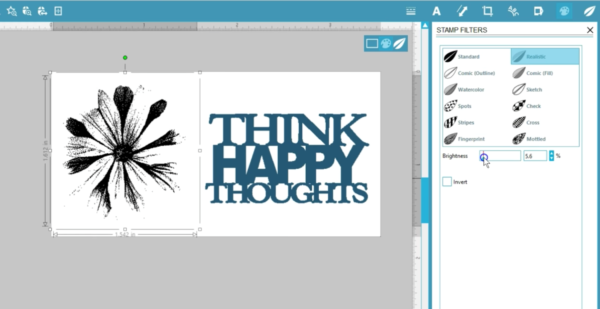
The words look fine, so we’ll focus on the flower image. With the standard filter, often you’ll need to decrease the brightness to get a design to show up completely, if it’s in color.
Standard and Realistic get you an image that looks closest to the original design, but the design itself plays a big part in whether it works well with any particular filter.
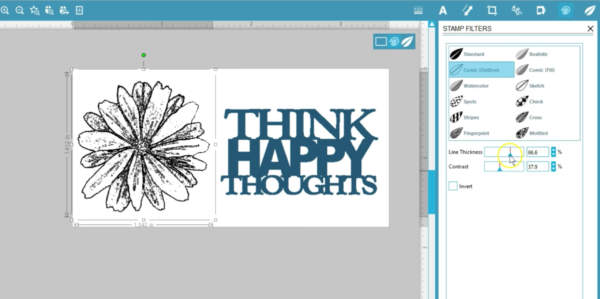
Here’s Comic (Outline), and you can fine tune the options below.
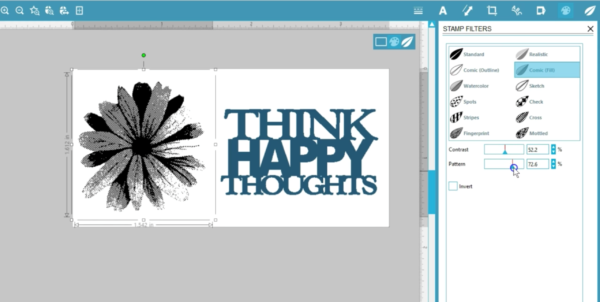
Comic (Fill) looks nice to me for this design.
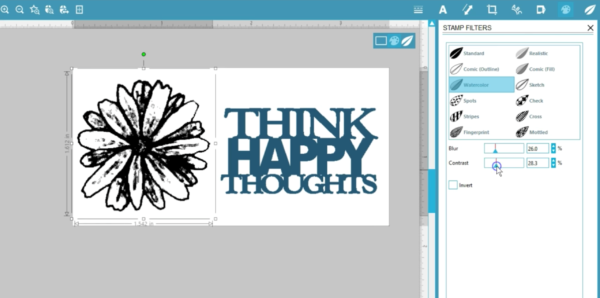
Watercolor is another artistic effect with blur and contrast adjustments.
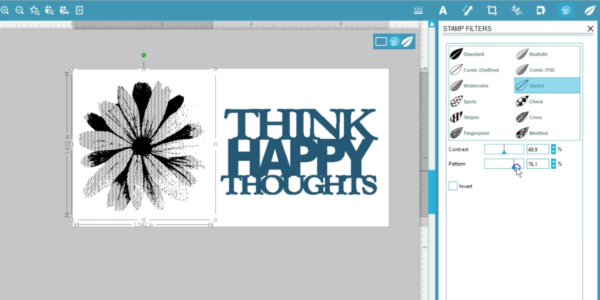
Sketch is another artistic filter.
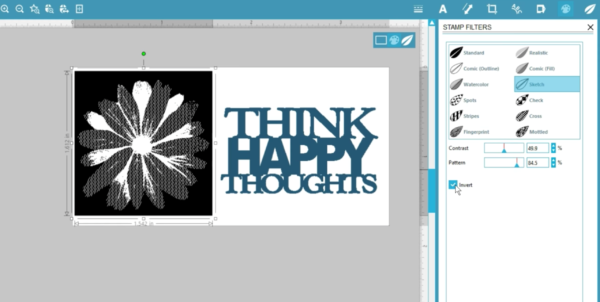
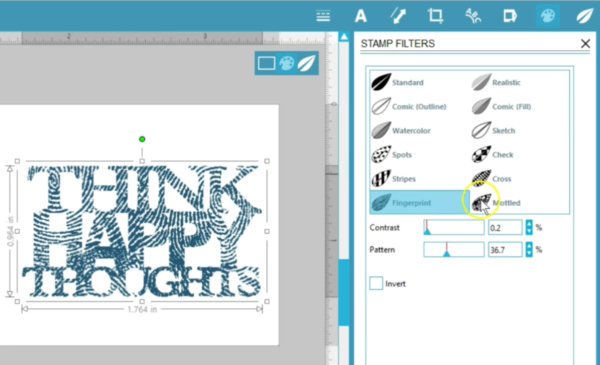
Note that every filter has an Invert option.
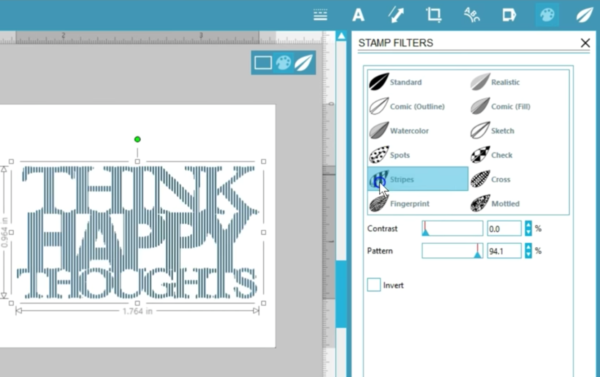
The filters are independent of each other, so adjusting settings for one filter does not carry over to another filter. These other 6 filters apply a pattern to your selected design, and each has its own sliders for fine tuning.
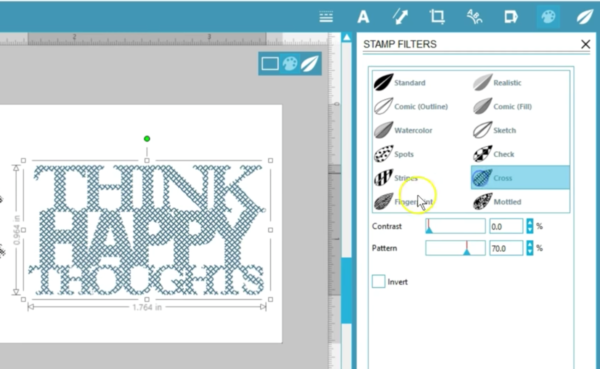
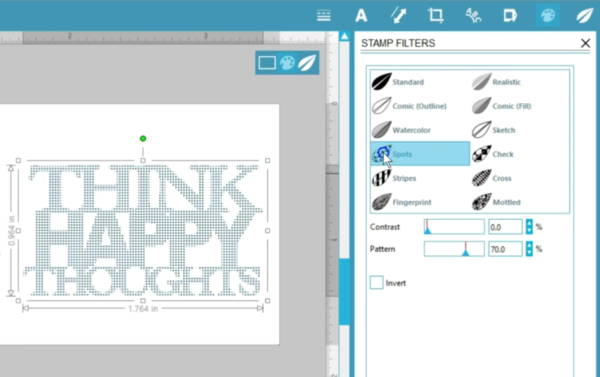
Just try the various filters on your design to see what you like best, and whatever you select will be reflected in your printed stamp.
That’s how to use filters to customize your stamps in Mint Studio™.