
We over here at Silhouette think it’s time to break out the pinks and reds and start decorating for Valentine’s day. We are going to walk you through some projects—including large paper flowers to dress up your walls or to hang above your mantle, adorable chipboard marquee letters, and a heart garland—to bring some Valentine love to your home.
Supplies Needed:
- Silhouette CAMEO® or Silhouette Portrait®
- Silhouette Studio®
- Silhouette Cutting Mat
- Silhouette Cutting Blade
- Silhouette Chipboard
- Cardstock – Reds, Pinks, Golds, Polka Dot, Glitter, etc.
- Glue Gun and Glue Sticks
- Christmas Lights
- Sewing Machine
- Design ID #217968
- Design ID #216792
- Design ID #229292
- Design ID #131333
- Design ID #125945
Blooming Rose
Step One: Prepare the Design
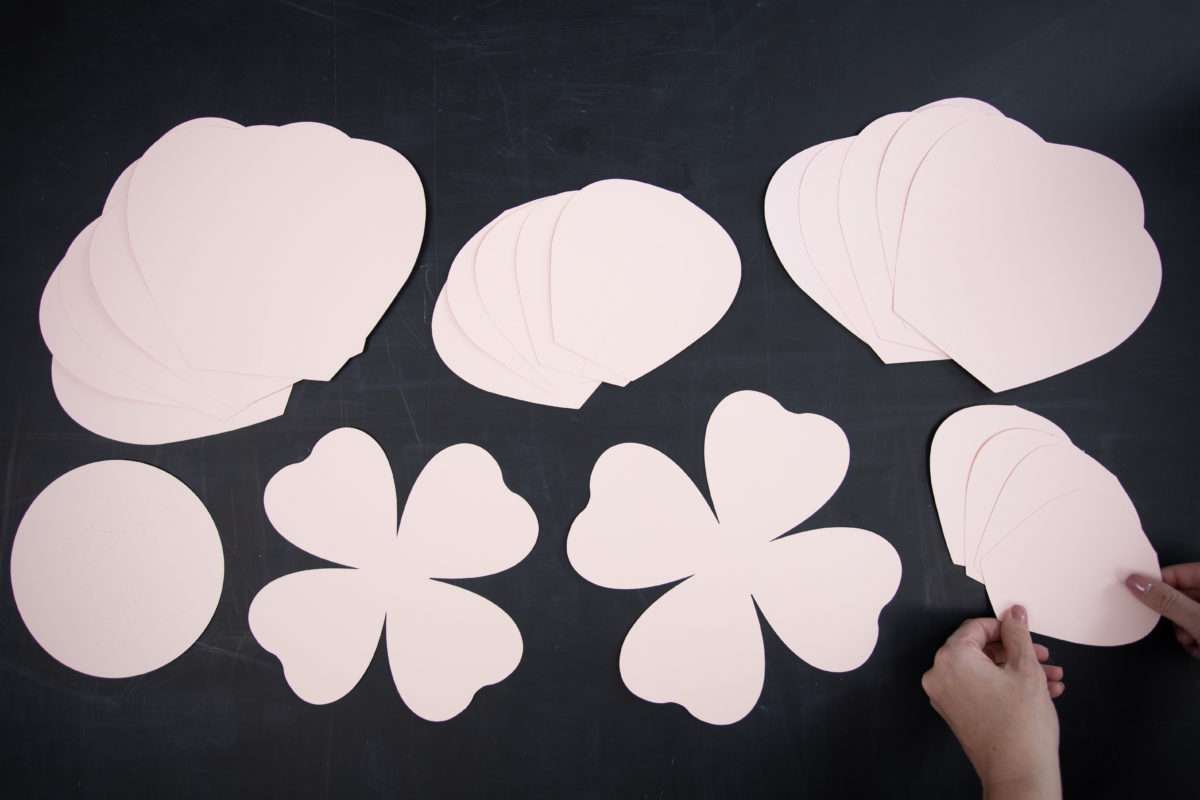
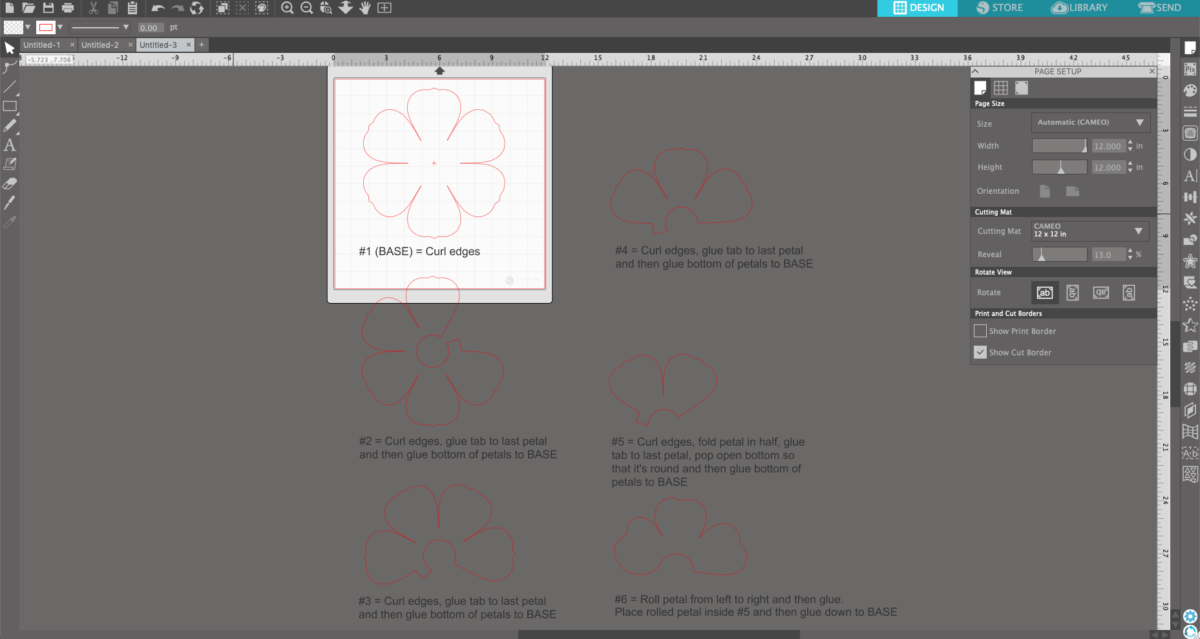
1. Open the Blooming Rose 3D design (Design ID #216792) in Silhouette Studio®. You will see the design cut lines along with instructions underneath the drawings.
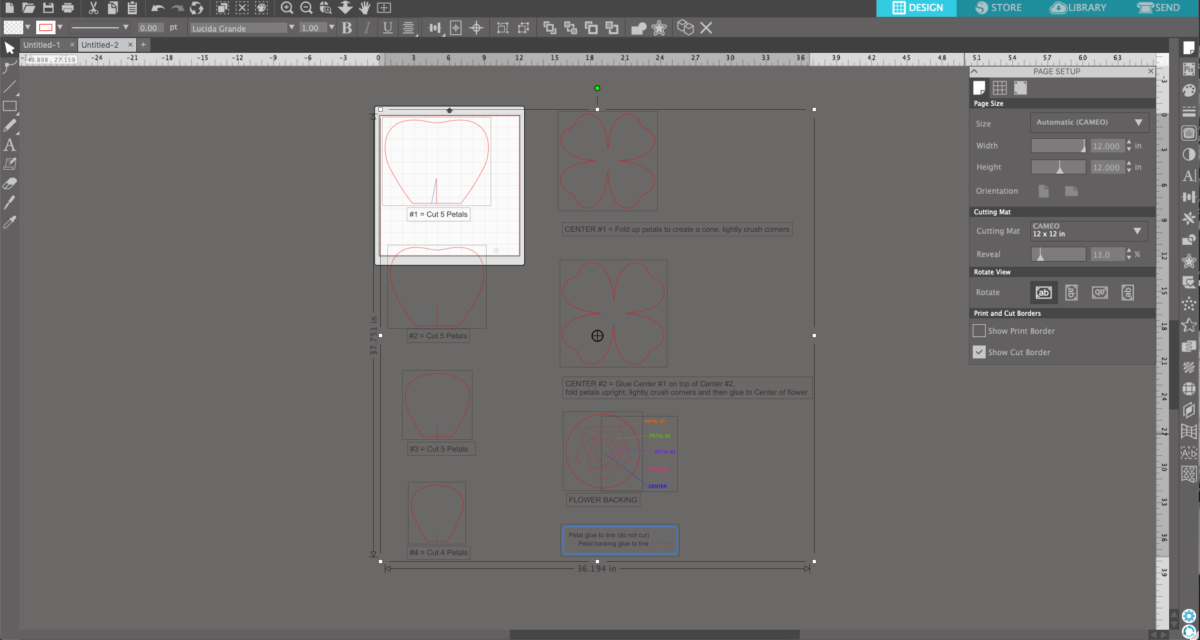
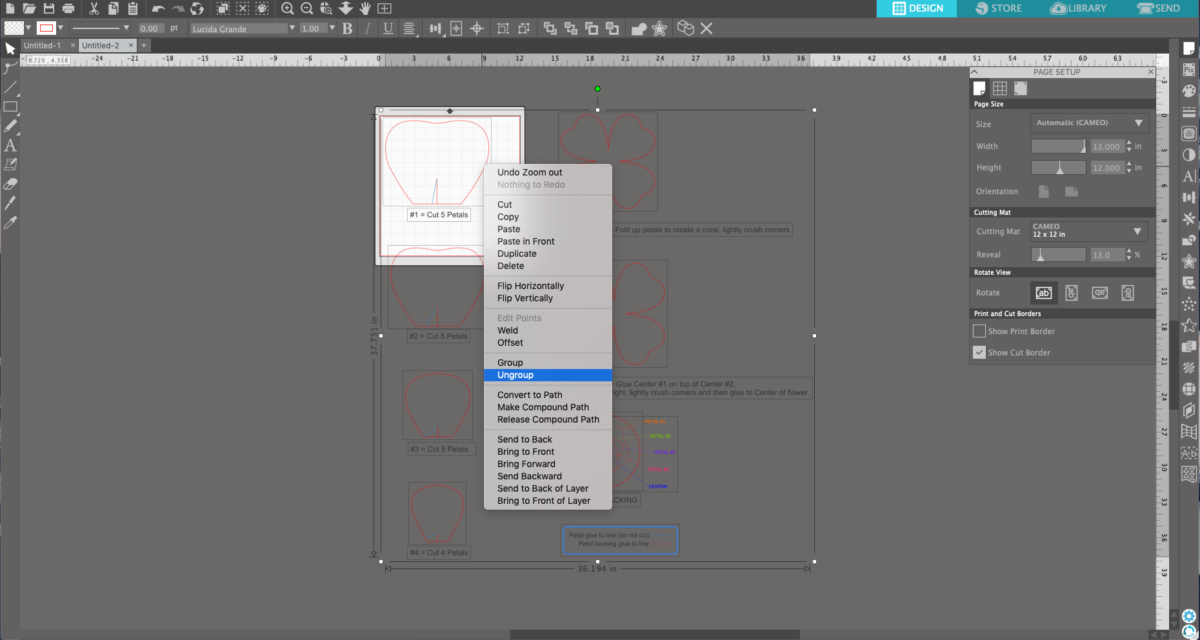
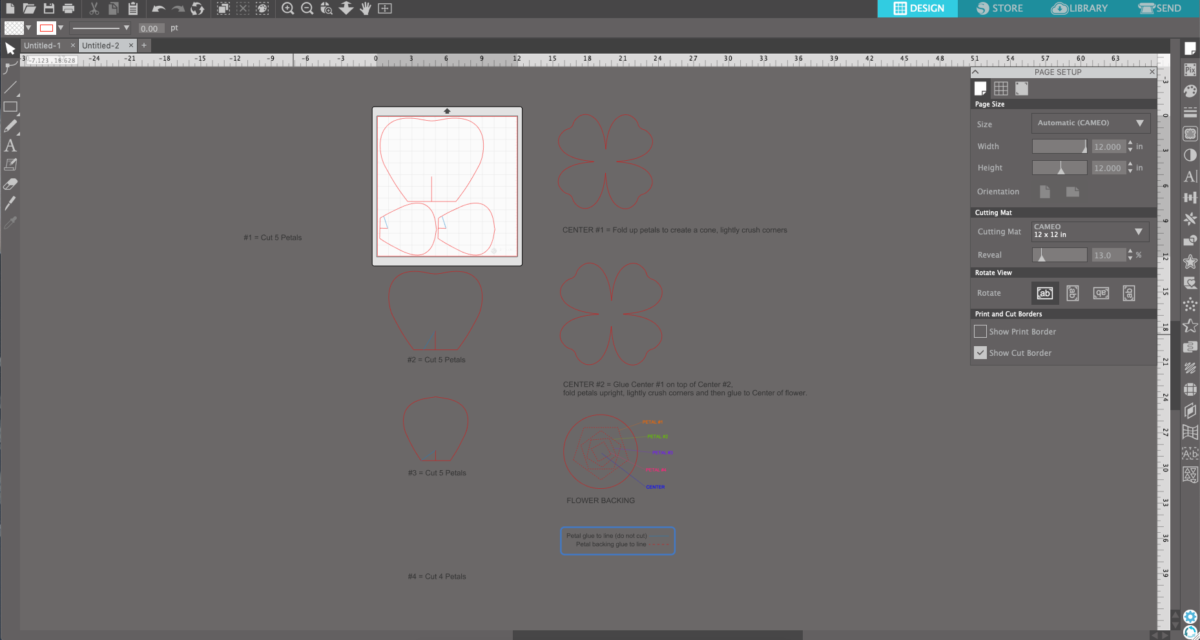
2. Ungroup the design so you can manipulate and cut each petal individually.
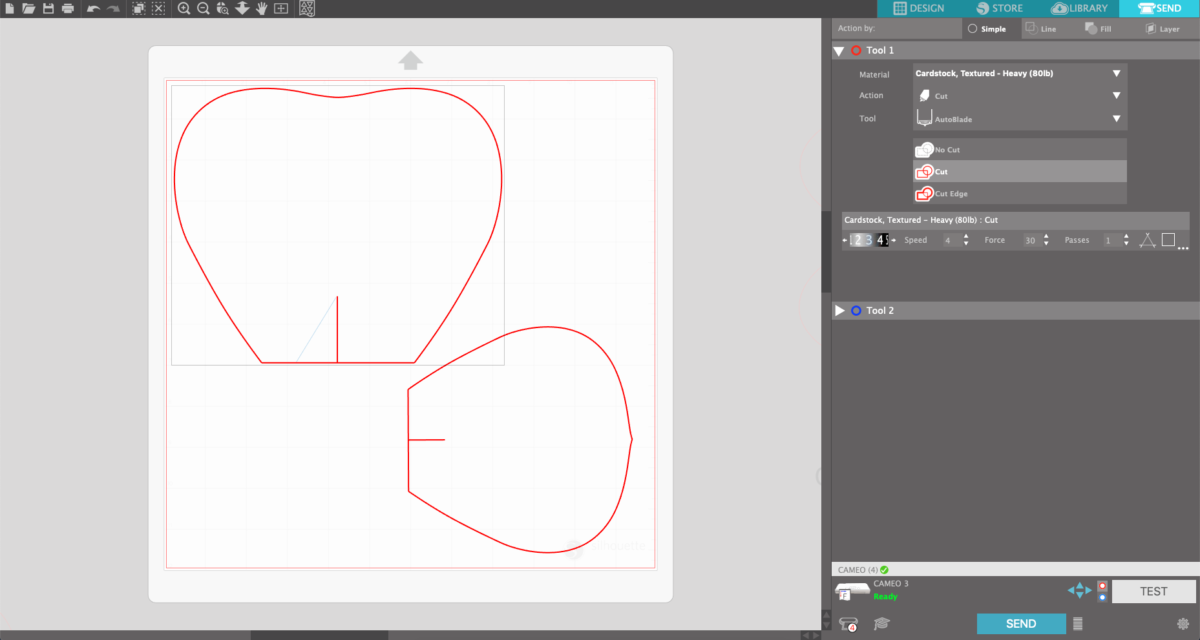
3. Place the design in the design field and cut according to the number indicated underneath each design.
4. When you have the petal in your cut field, go to the Send panel and select your cut settings. Before you hit the Send button, make sure that the blue fold line isn’t registering as a red cut line. If it does, you can either ungroup and delete the cut line by right-clicking the petal, choosing ungroup from the drop-down menu, and then selecting your cut line and deleting it. Or you can ungroup, select the blue line, and choose the No Cut option from the right-hand menu in the Send panel.
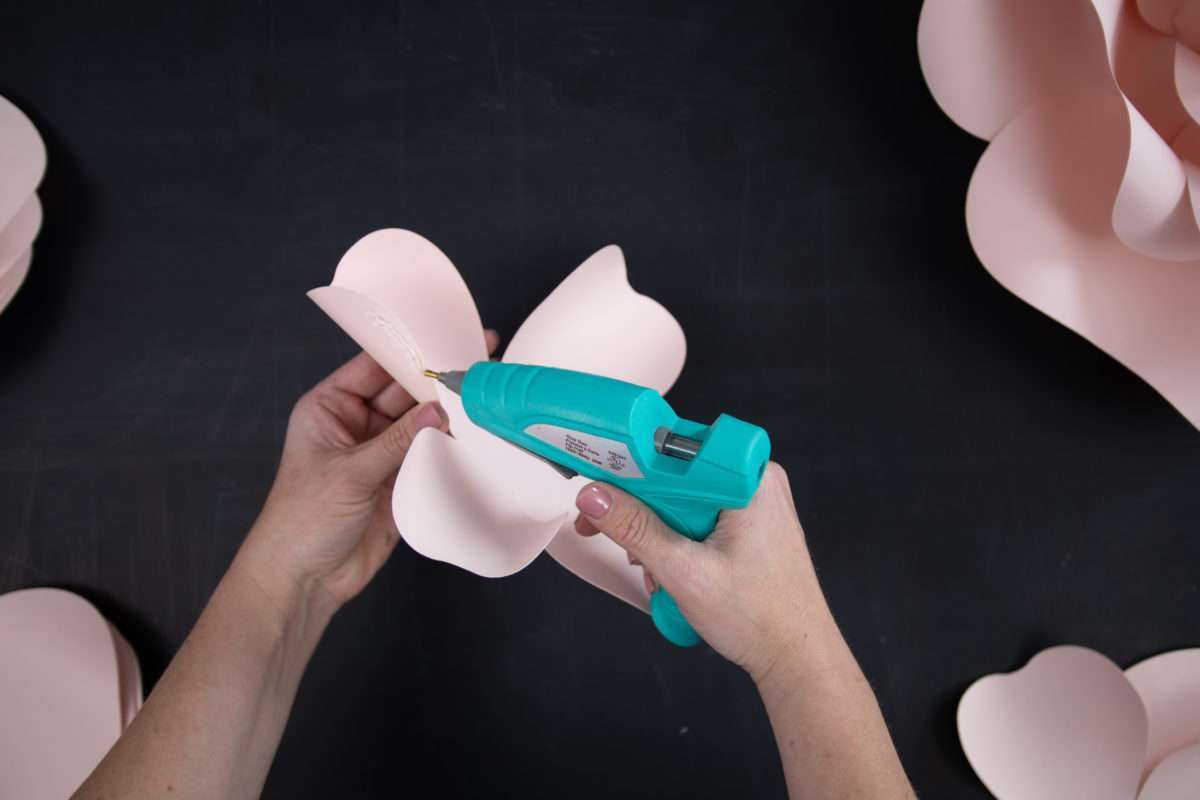
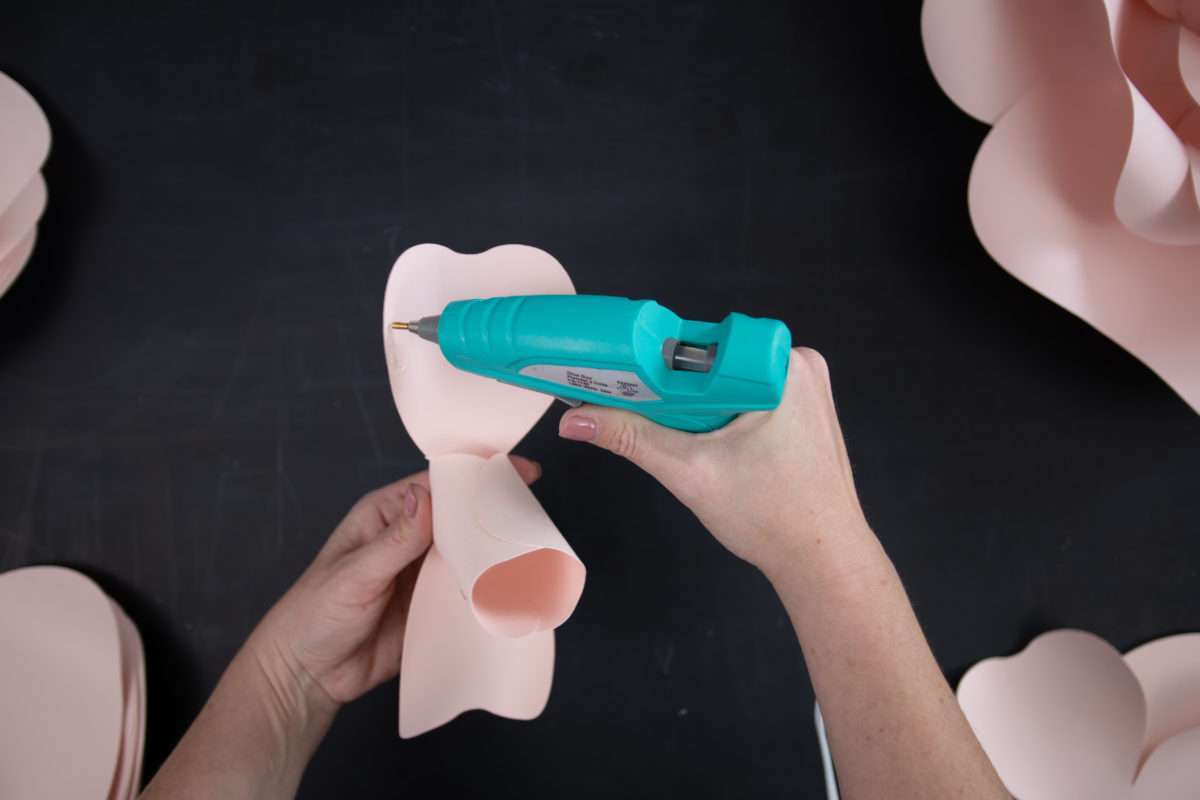
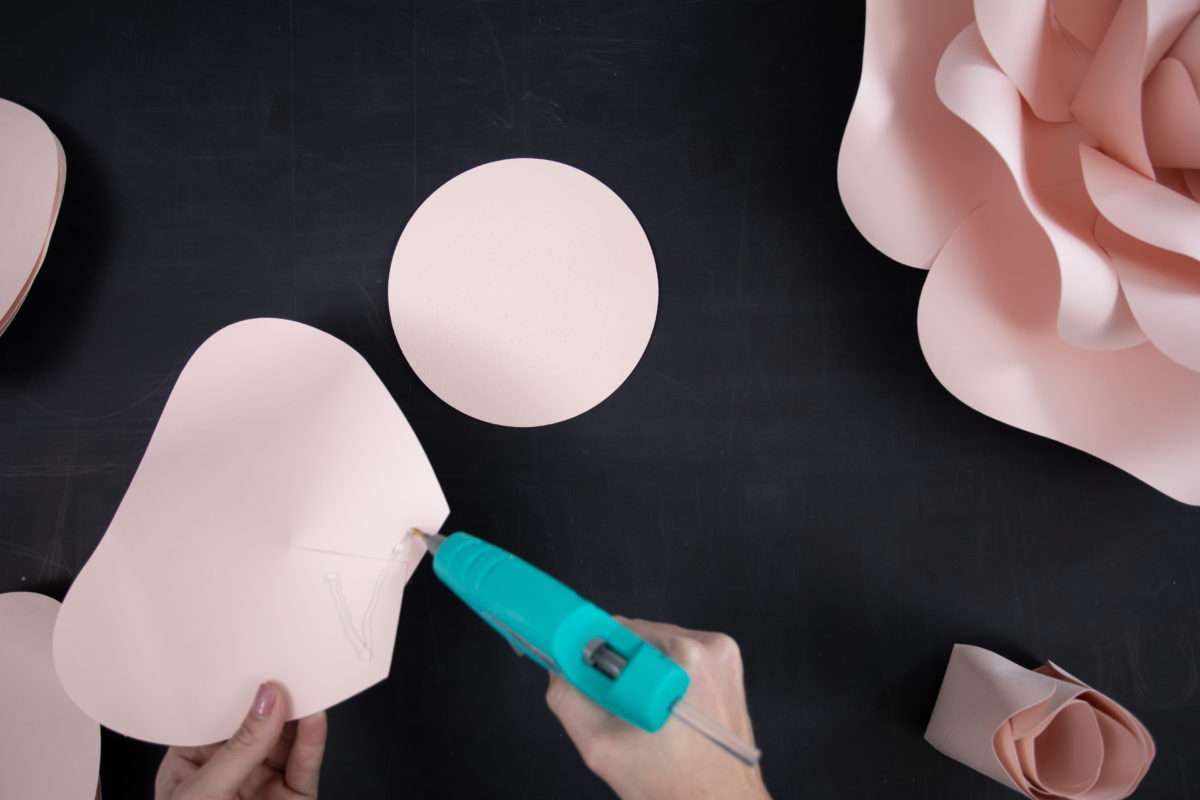
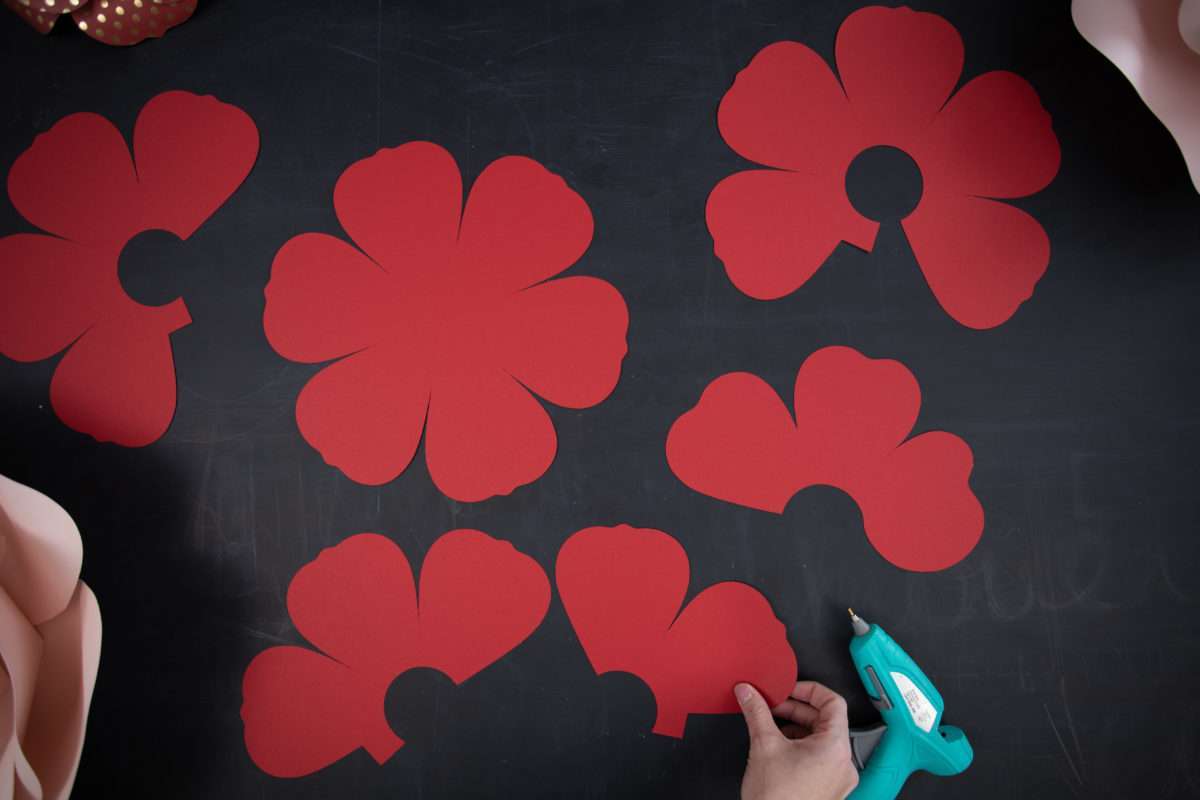
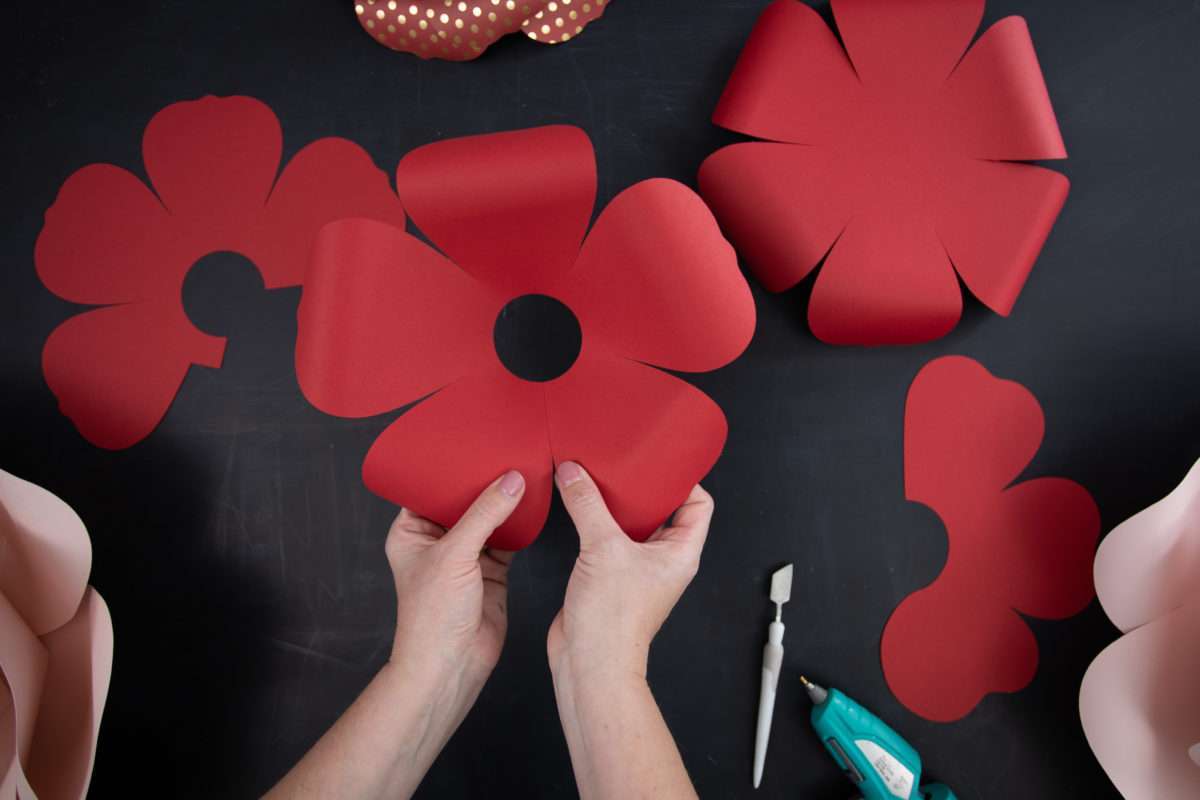
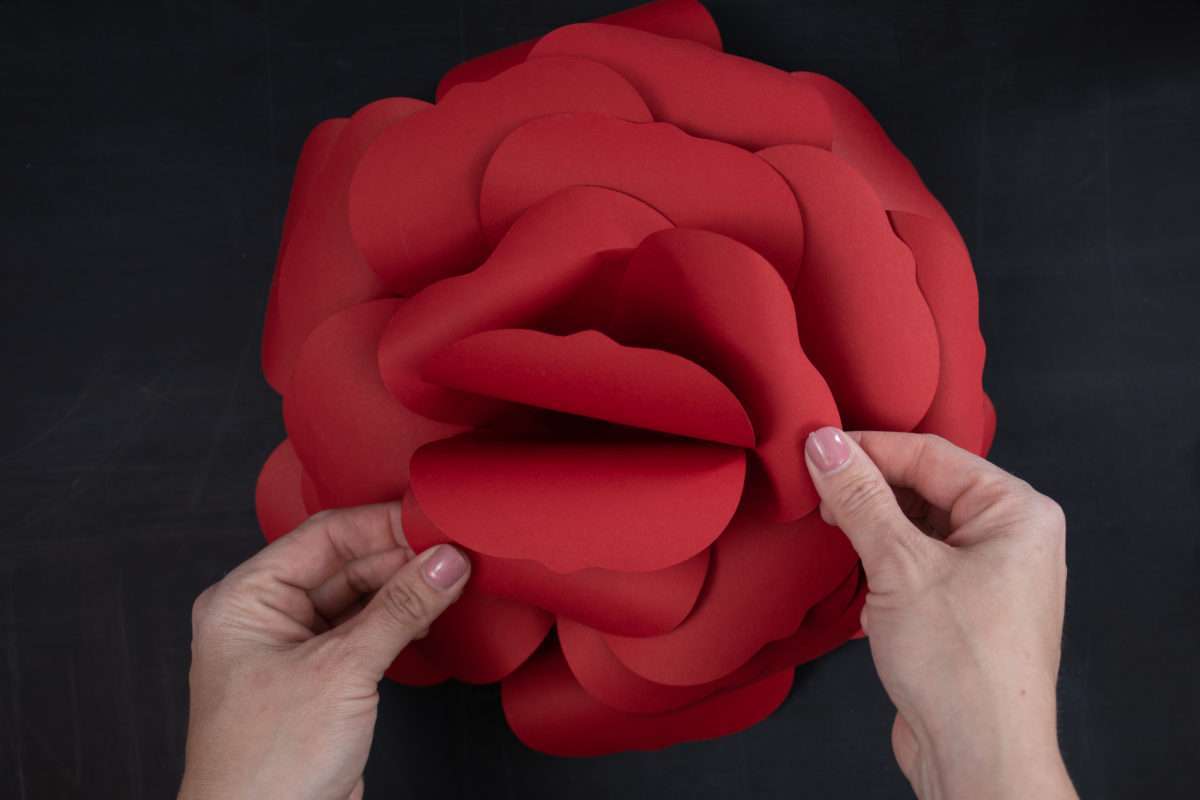
Step Two: Curl and Glue Petals
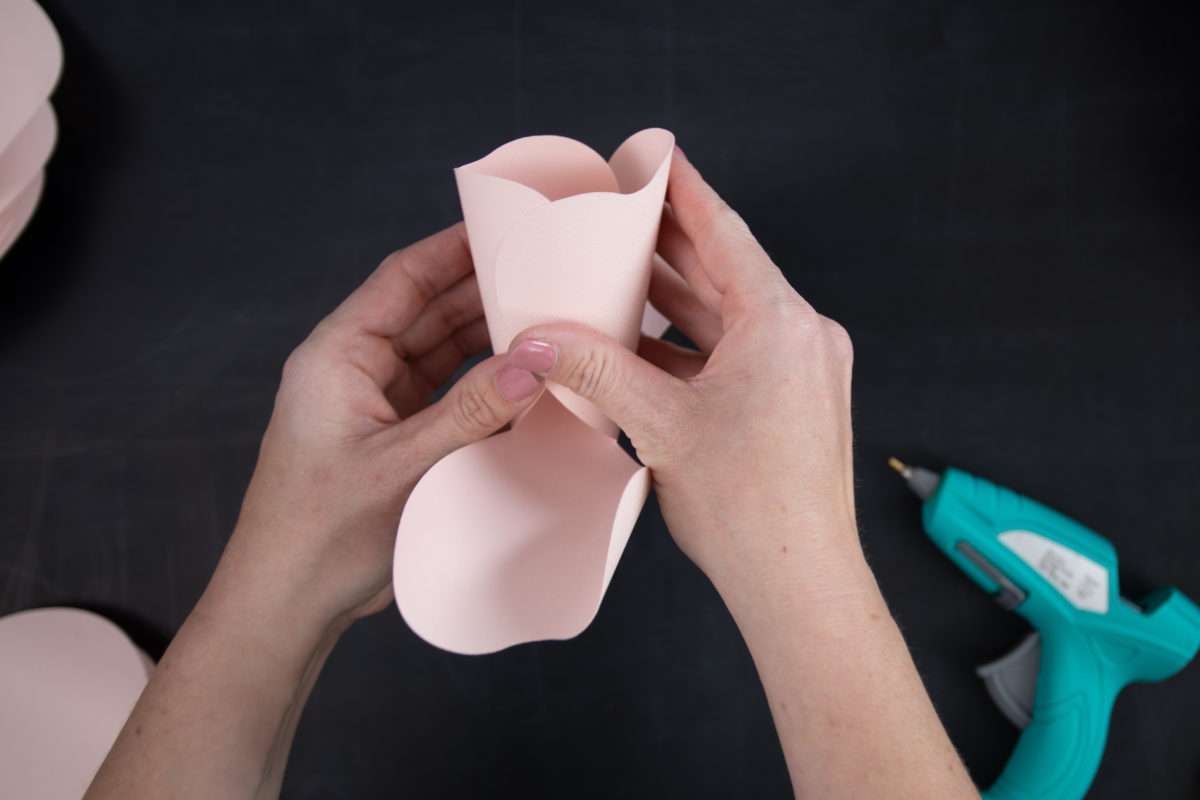
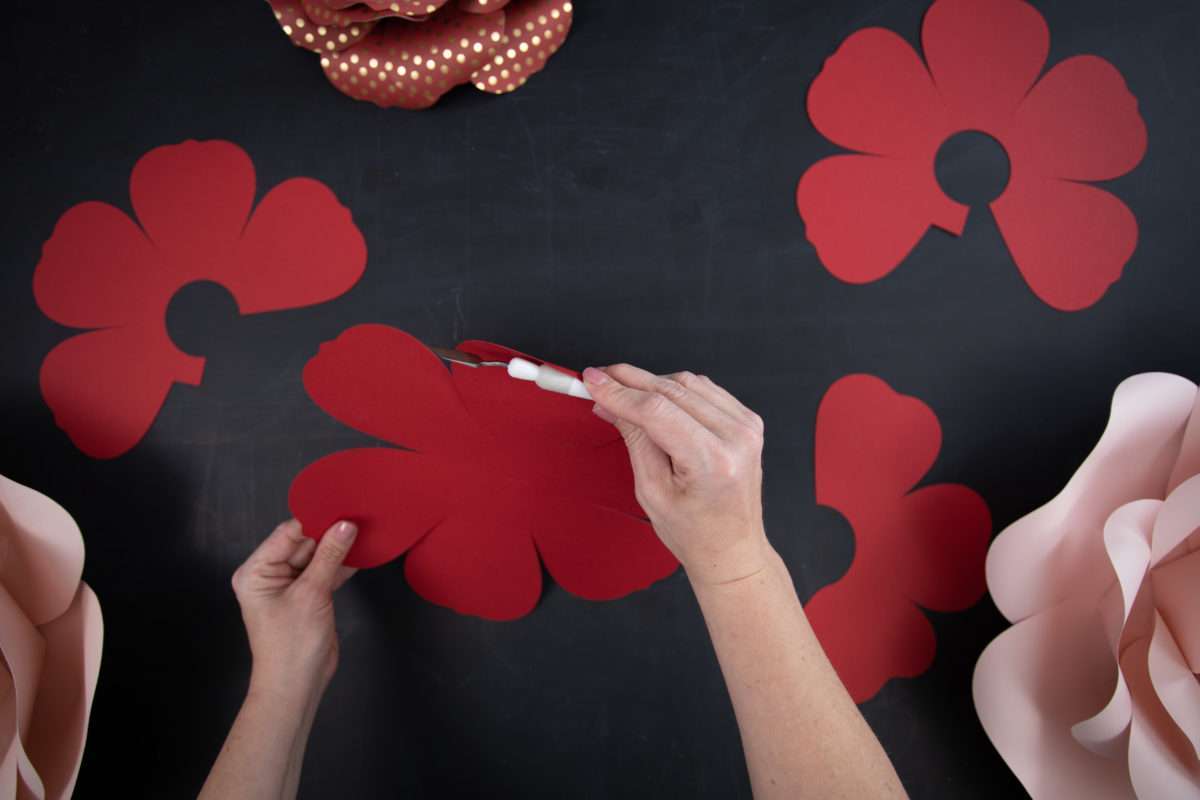
1. Curl the tops of each petal, you can roll this around something like a pencil or glue stick.
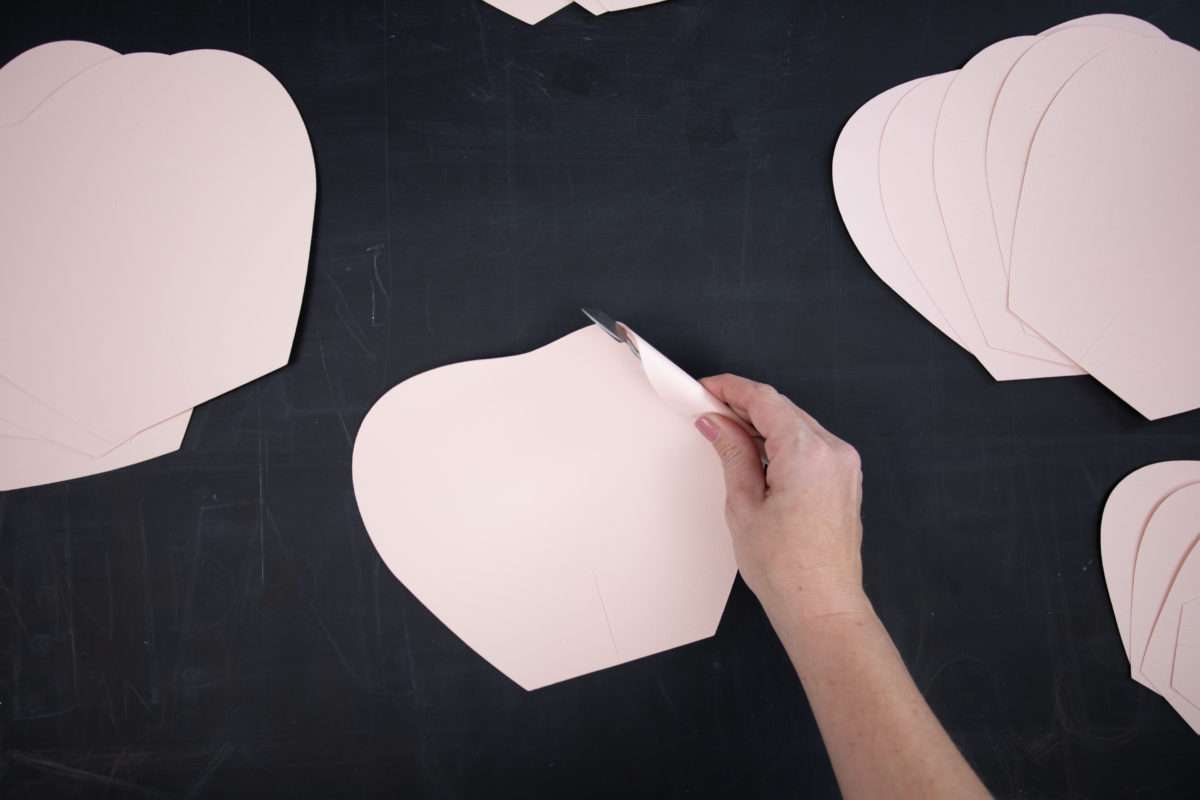
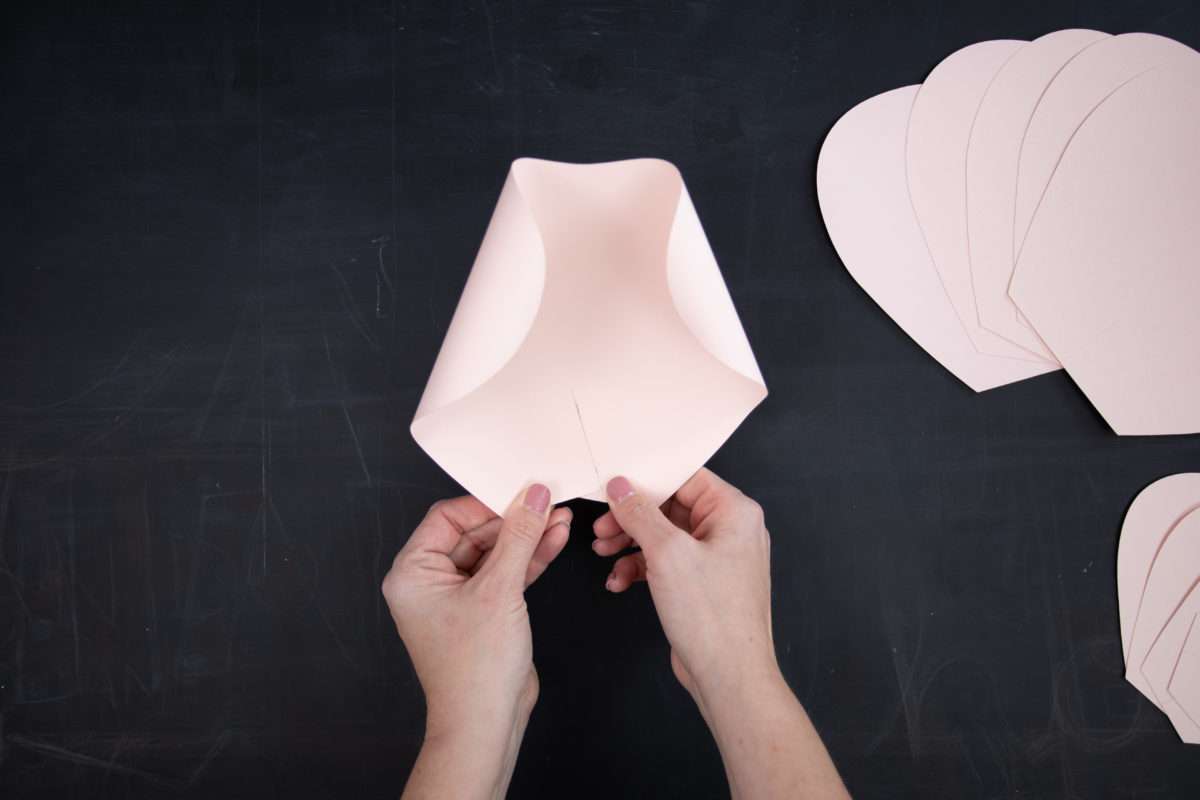
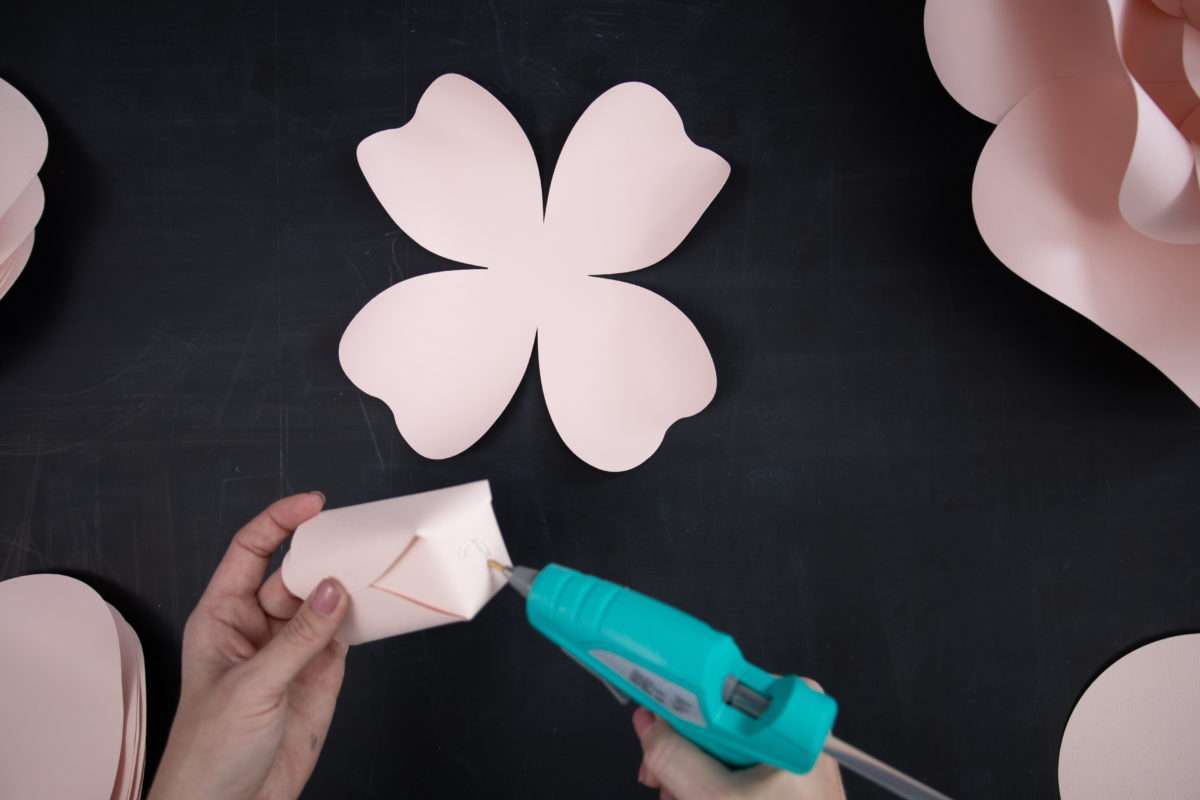
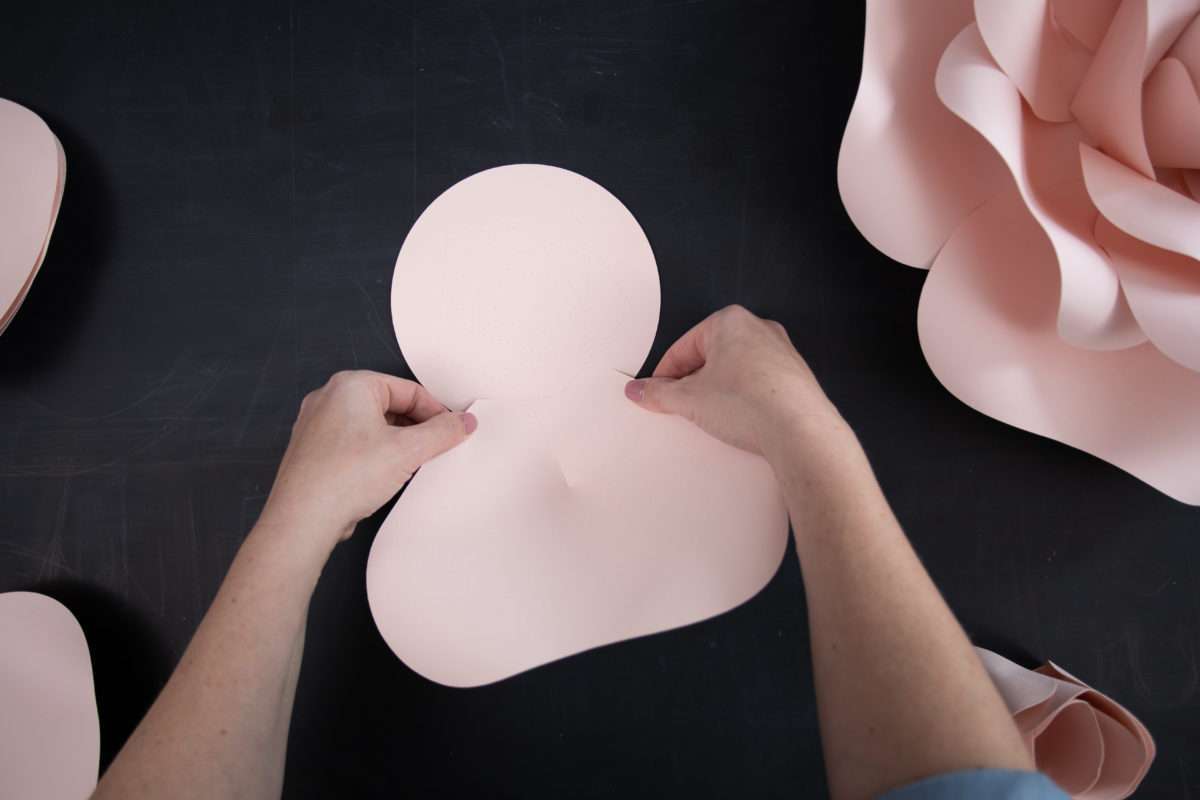
2. When all the petals are curled take your adhesive and glue the bottom of the petal by placing one end of the slit over the other.
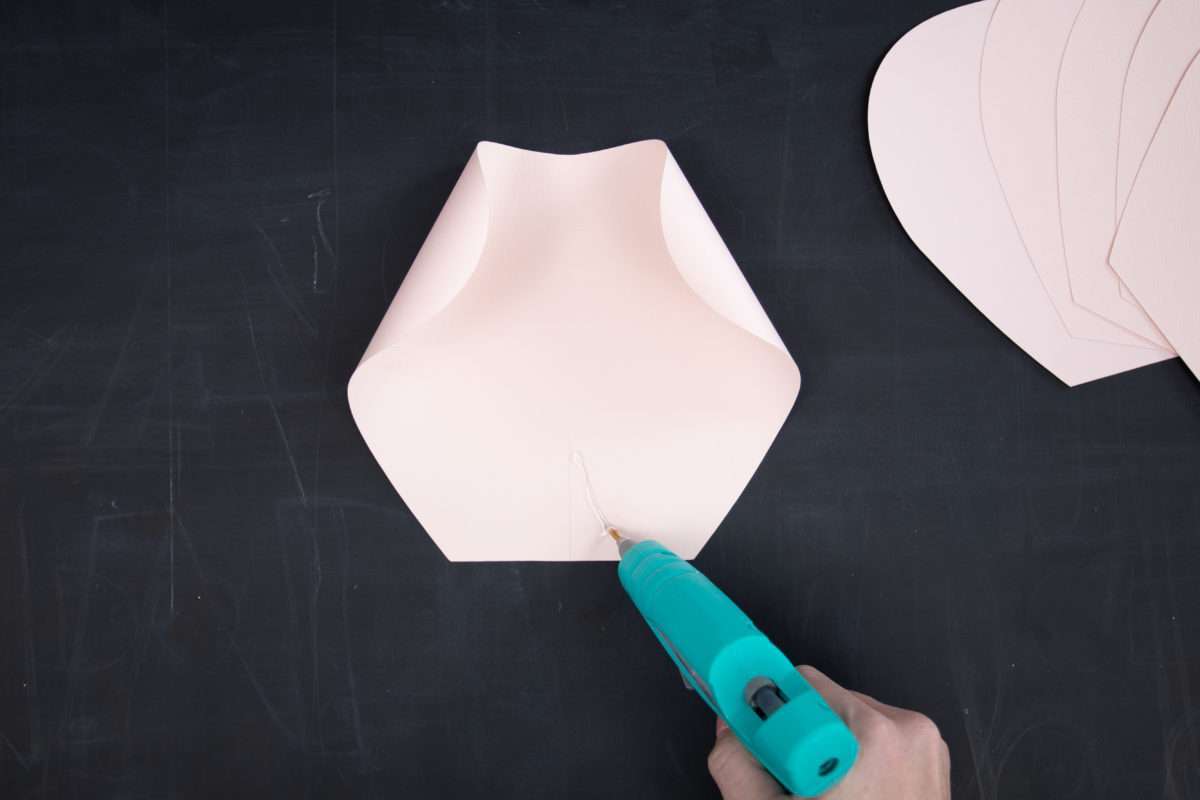
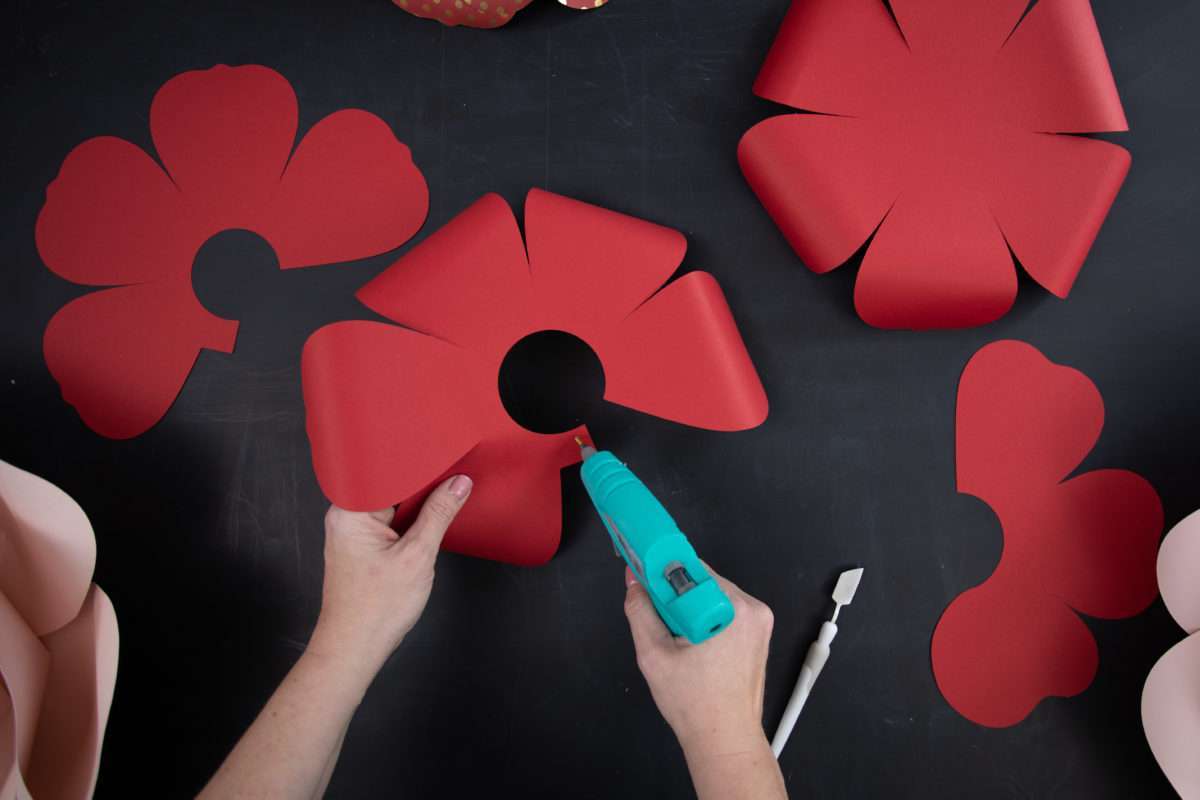
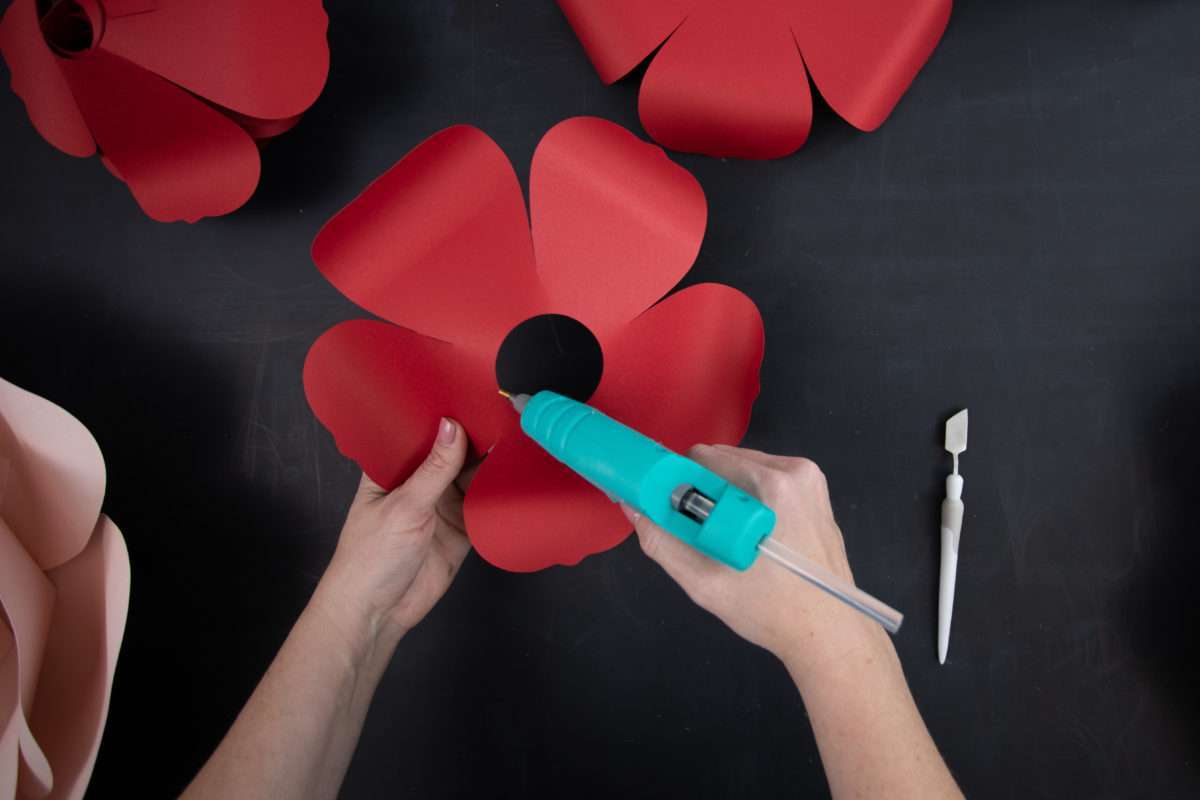
Step Three: Glue to Base
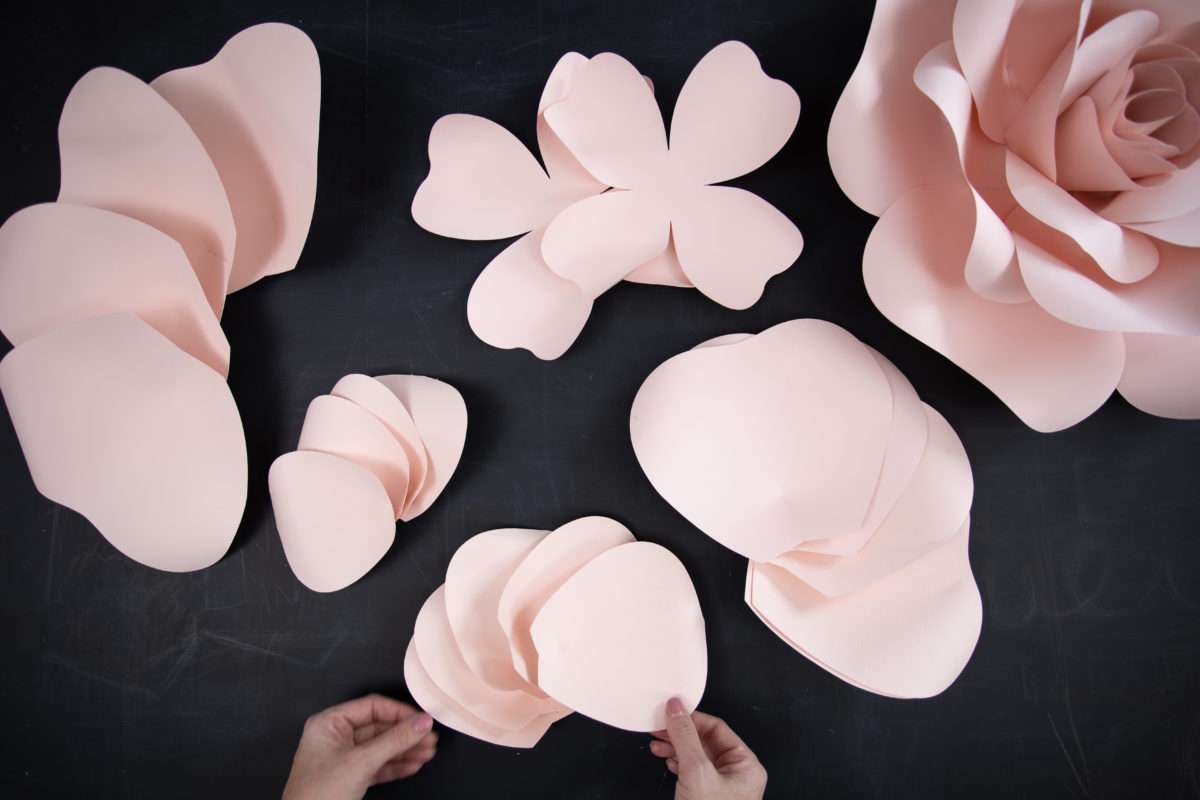
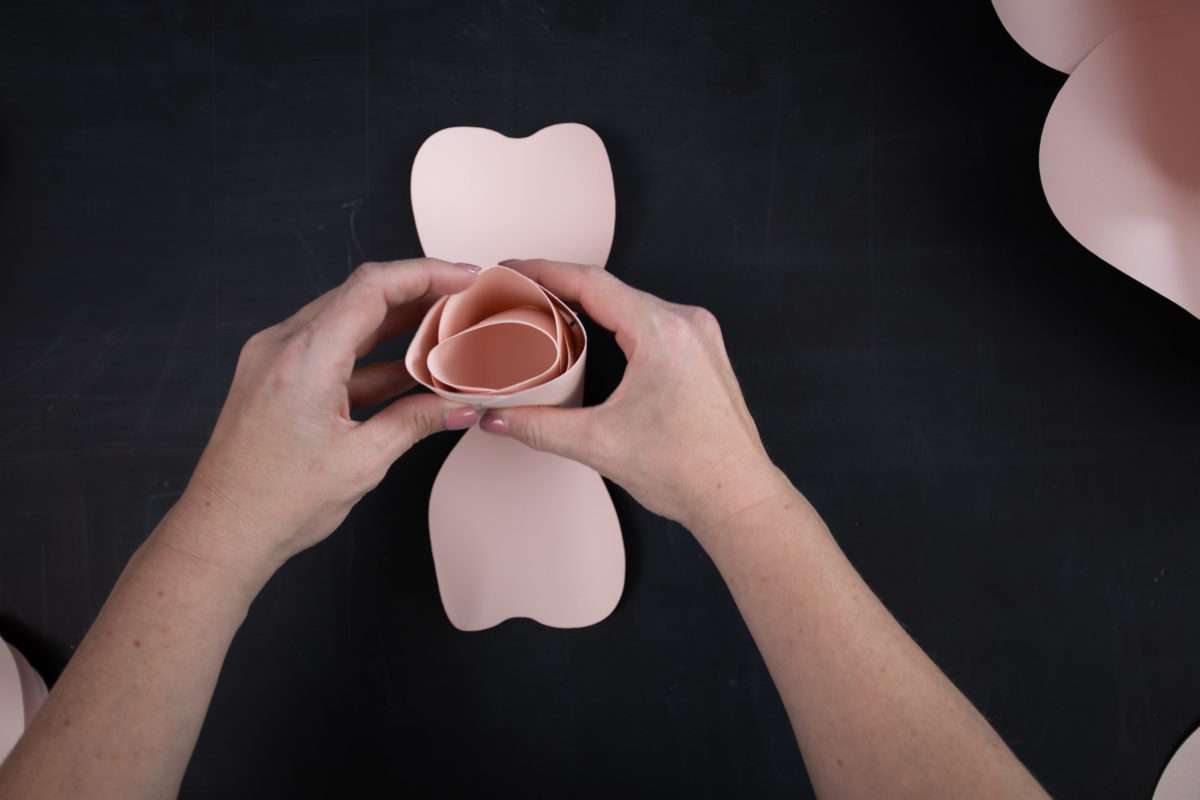
1. When all petals are curled and glued take the 4 leafed petals and we are going to glue them into a cone like shape by gluing the petals opposite of each other together.
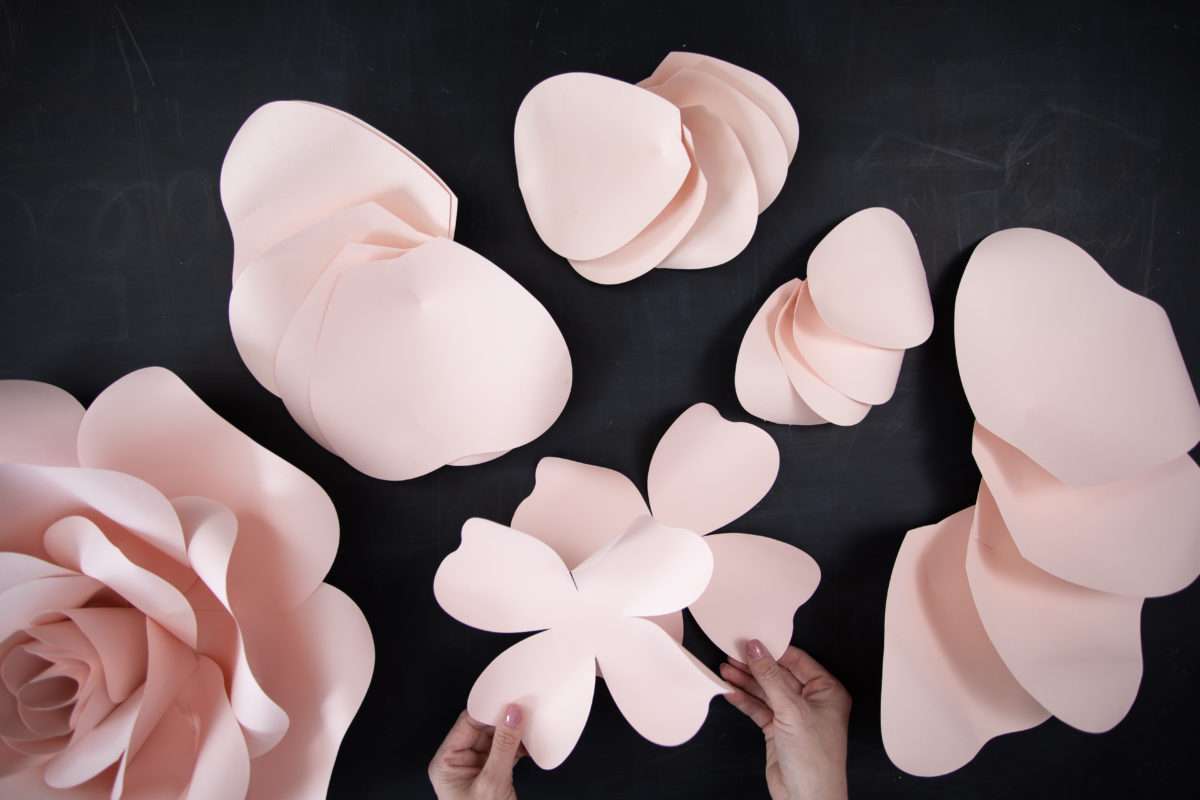
2. Repeat with the remaining opposing petals.
3. When those are all done glue cone to center of second 4 petal shape and repeat steps.

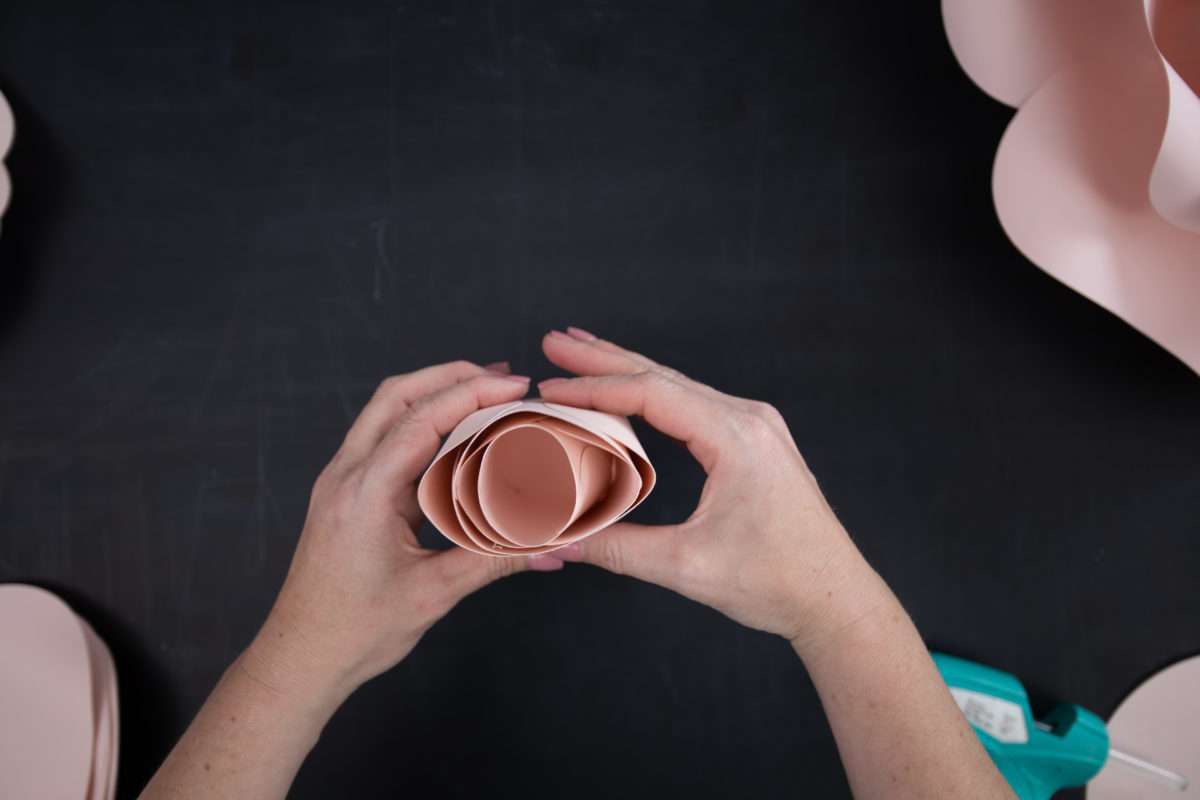
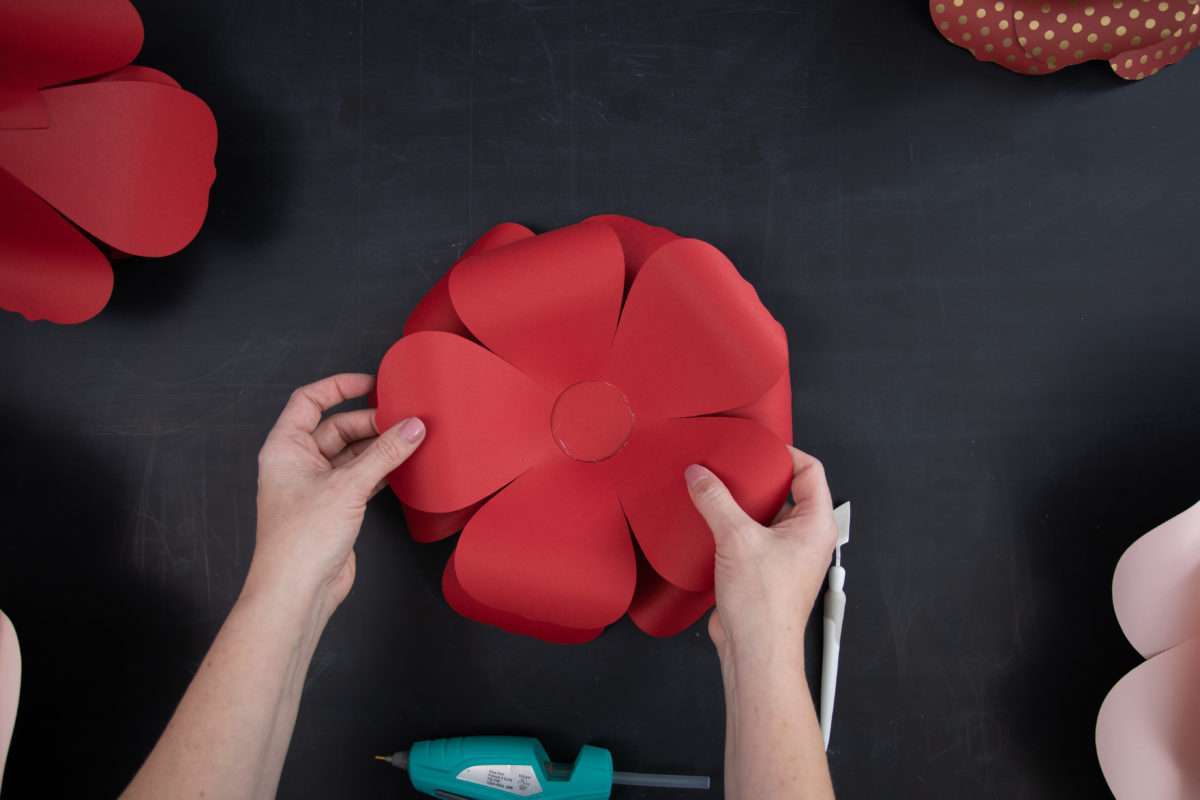
4. Now glue petals onto circle base, largest petals first going around the perimeter, ending with the smallest petals.
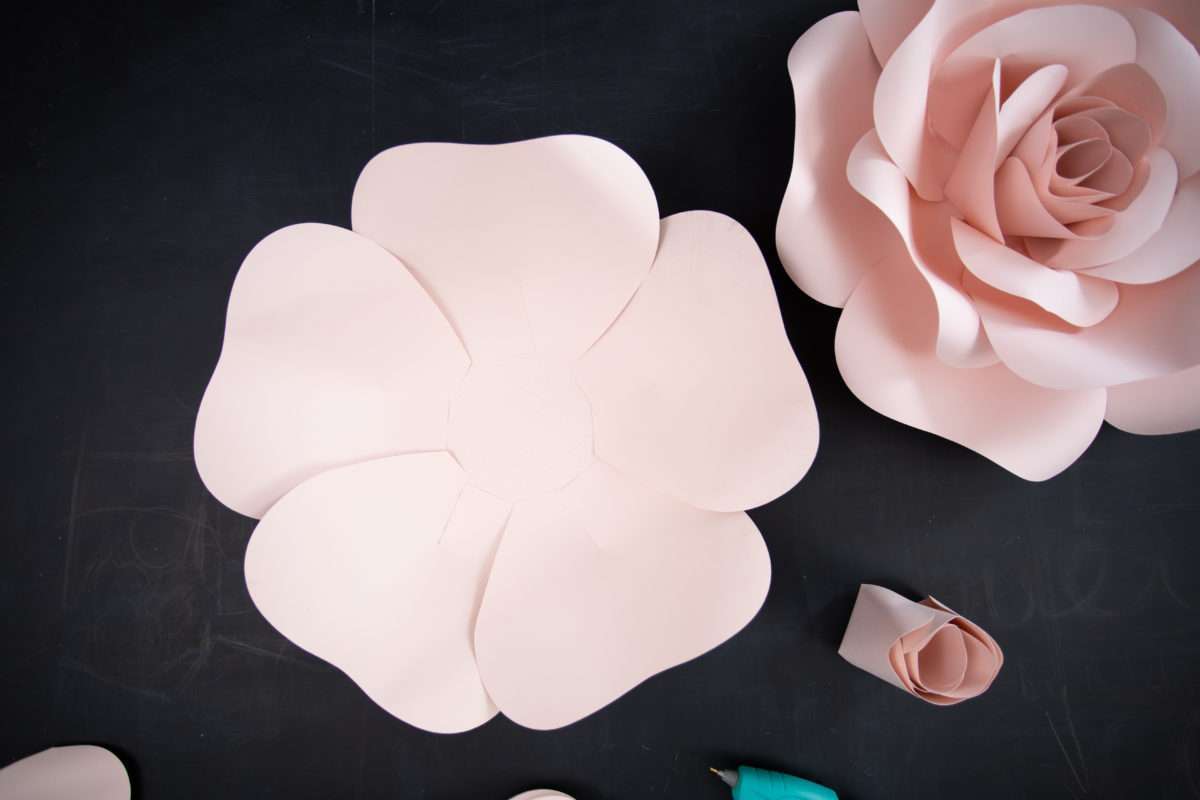

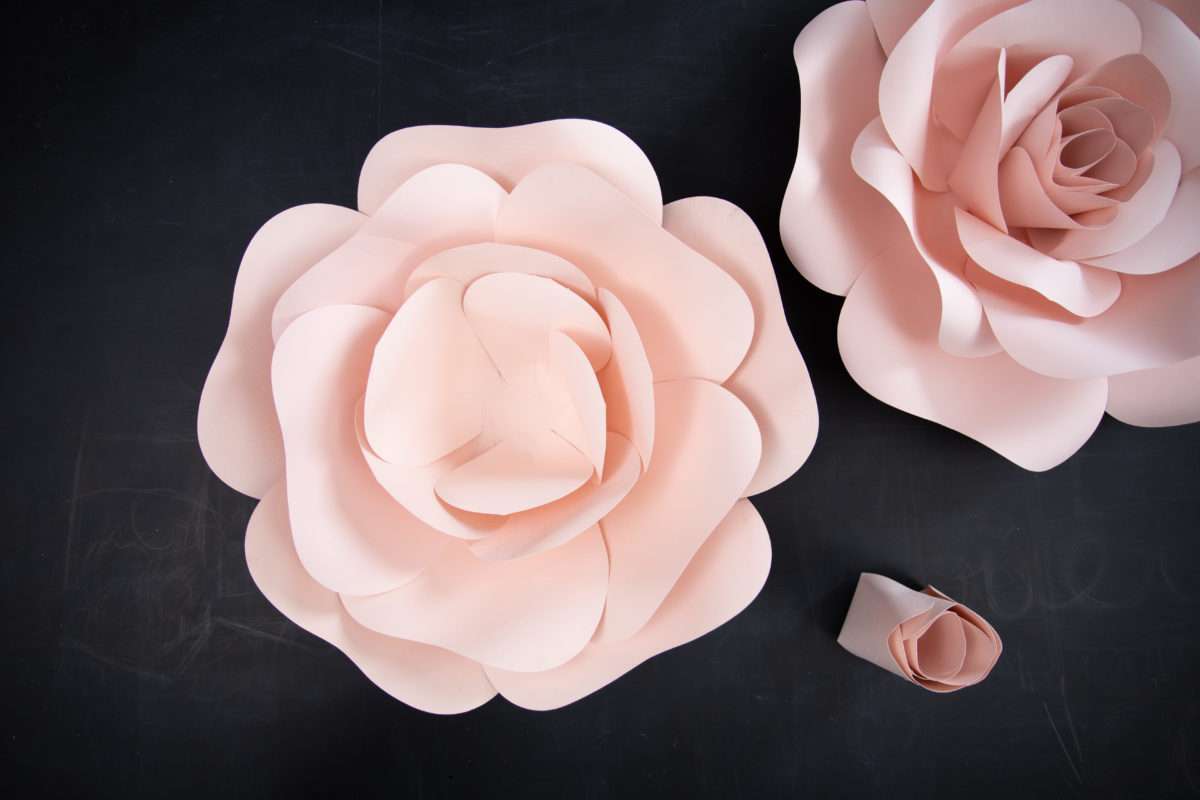
5. When the perimeter is done, take the center cone shaped petals and glue it to the center.
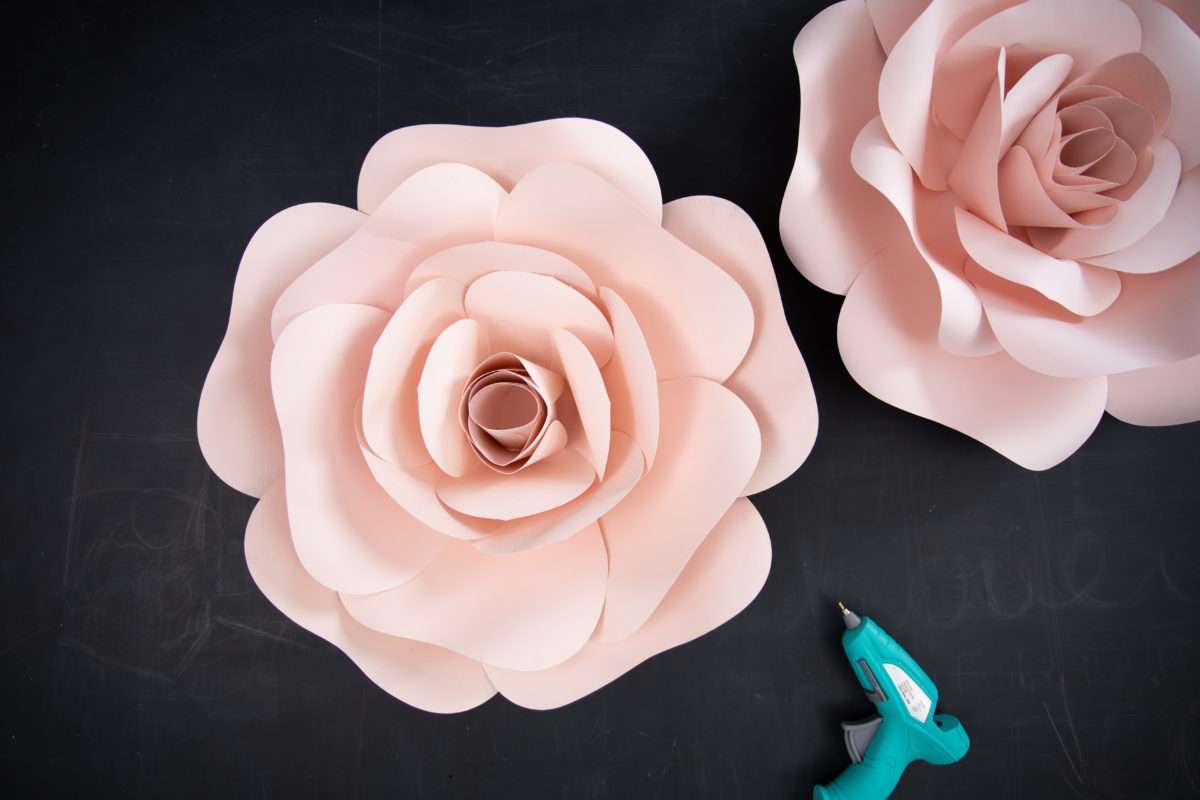
French Rose
Step One: Prepare the Design
1. Follow the instructions under Step One for the Blooming Rose above. Open the flower design (Design ID #217968) and cut the petals.
Step Two: Curl and Glue Petals
1. When all of the petals are cut, curl the ends and glue the tabs to the back of the flower.
2. Then assemble smallest to largest gluing each ring on top of the next.

Marquee Garland
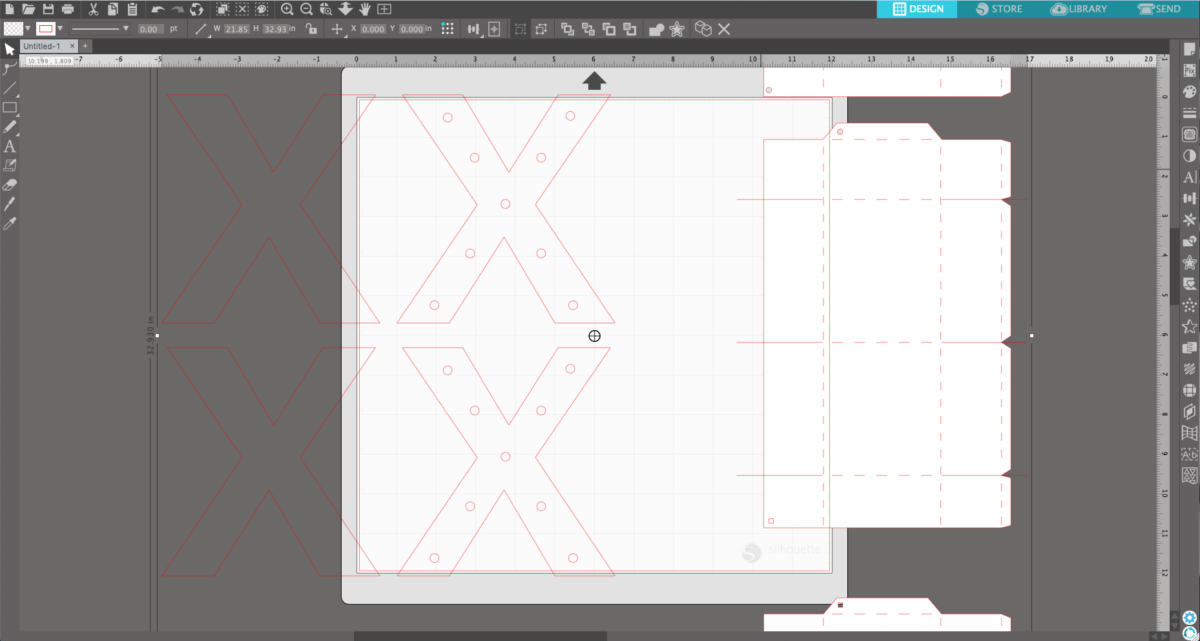
Step One: Prepare the Design
1. Open the design (ID #131333) in the design field and scale to size by using the square resize handles.
2. When you have the the letter the size you desire, ungroup the design by right-clicking on the design and choosing Ungroup from the drop-down menu.
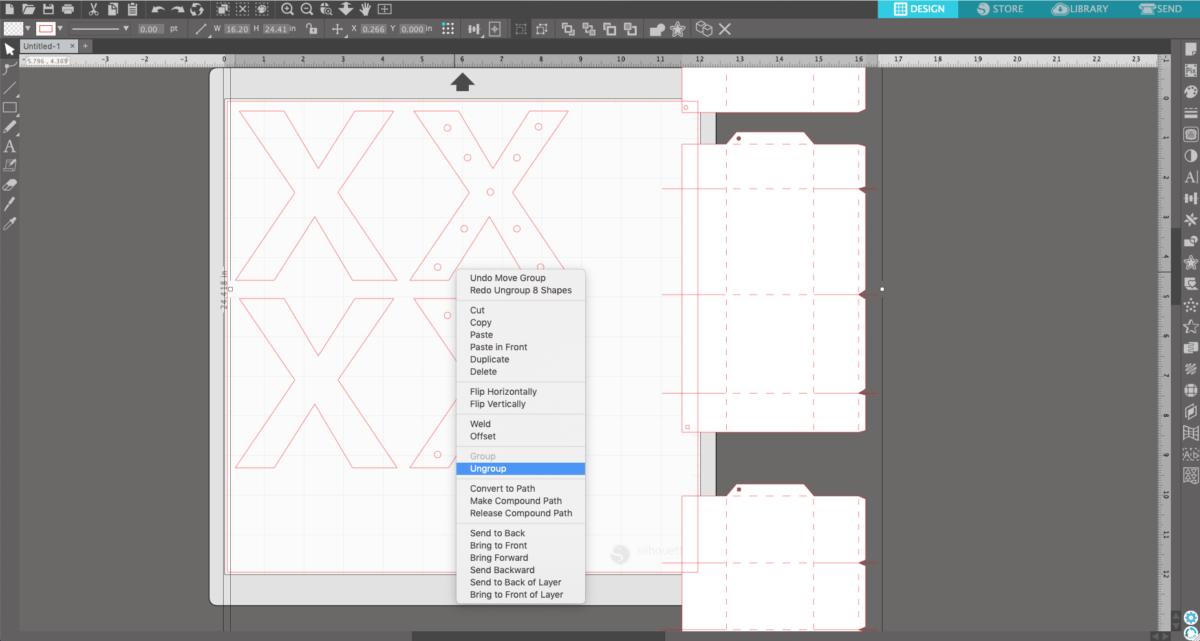
3. We are going to be placing lights in our letters, so we don’t need the solid letters. Select the solid letters and delete them.
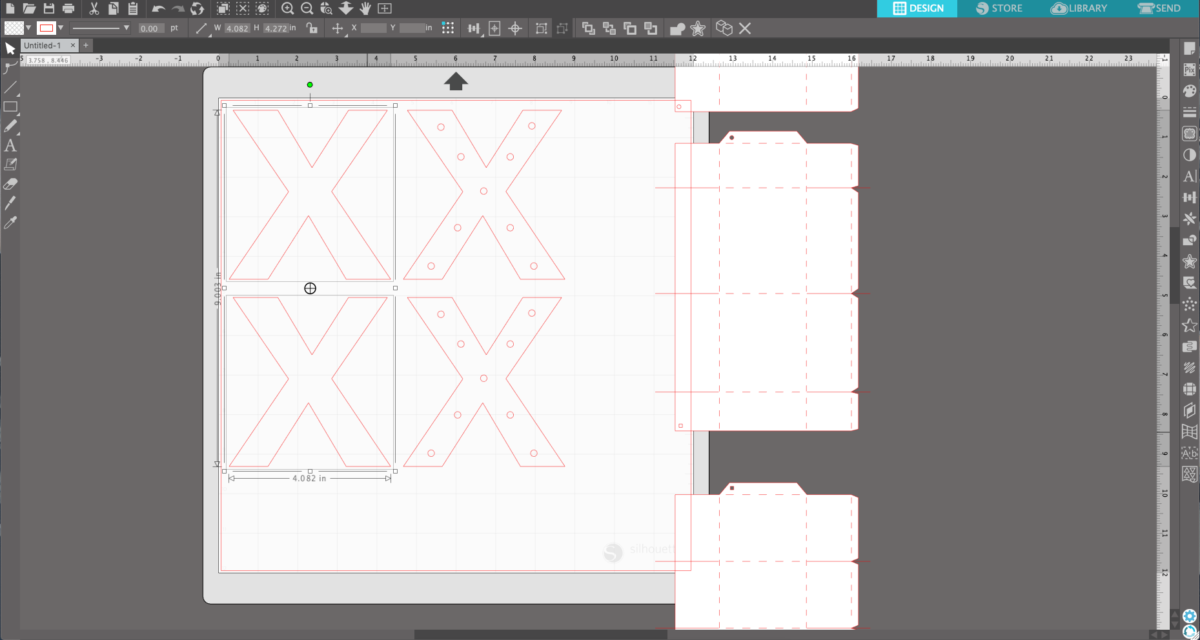
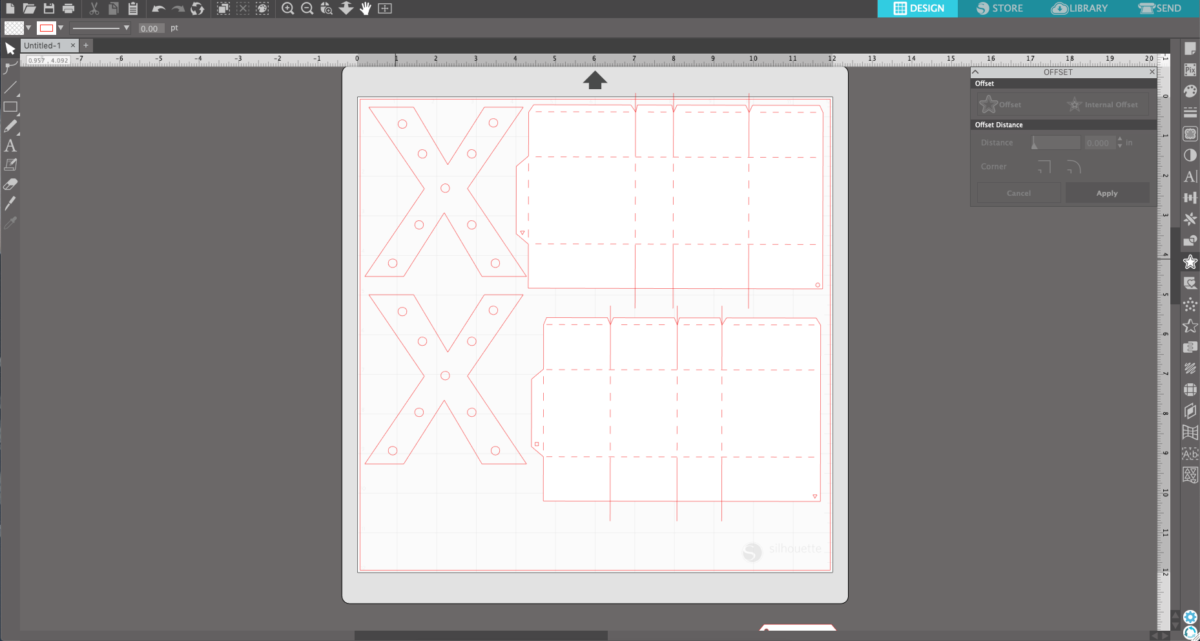
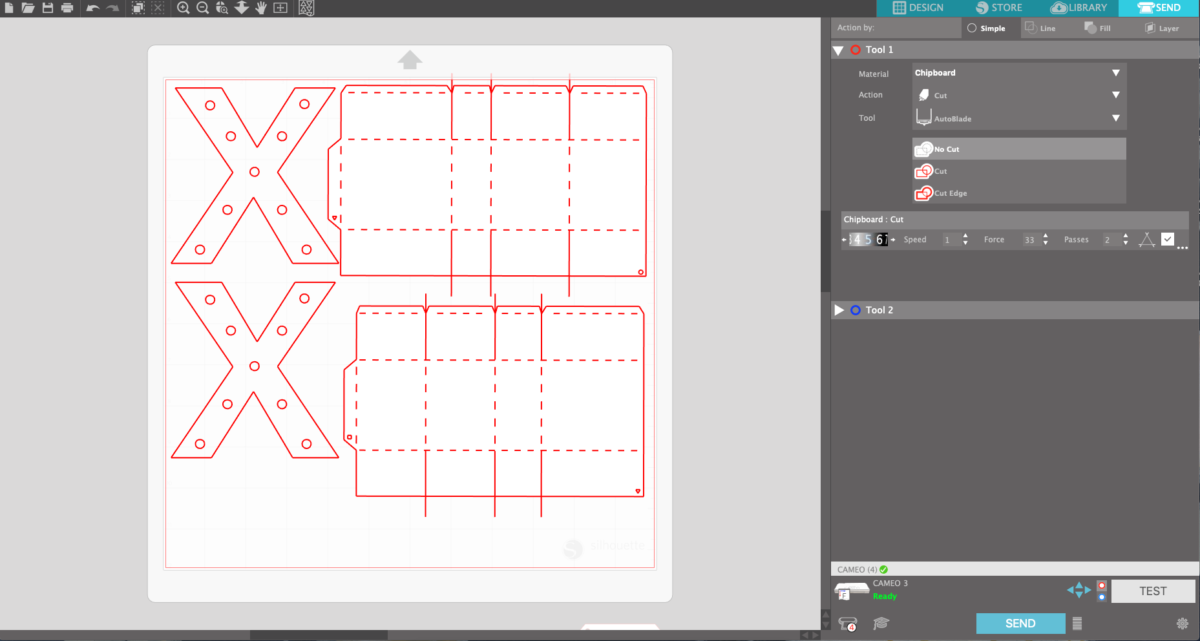
4. Now cut the pieces out using your cutting machine.
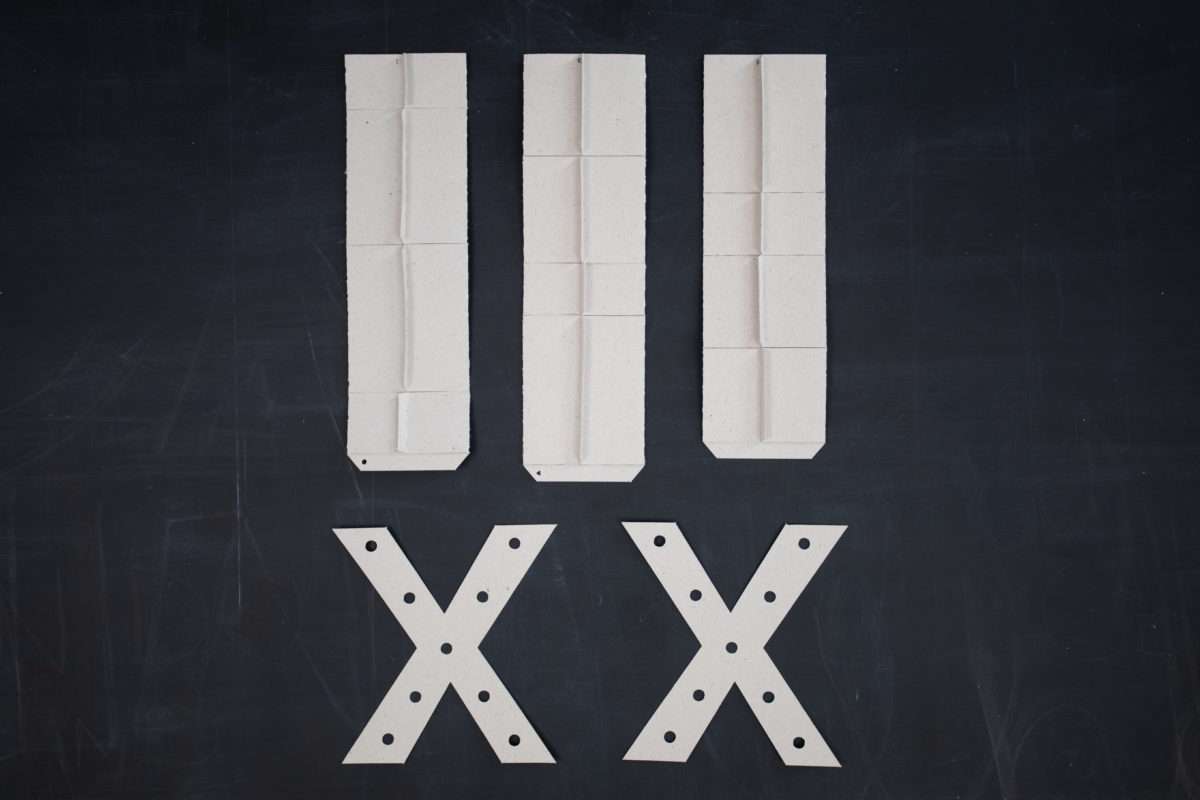
5. When all of your pieces are cut, begin assembling them.

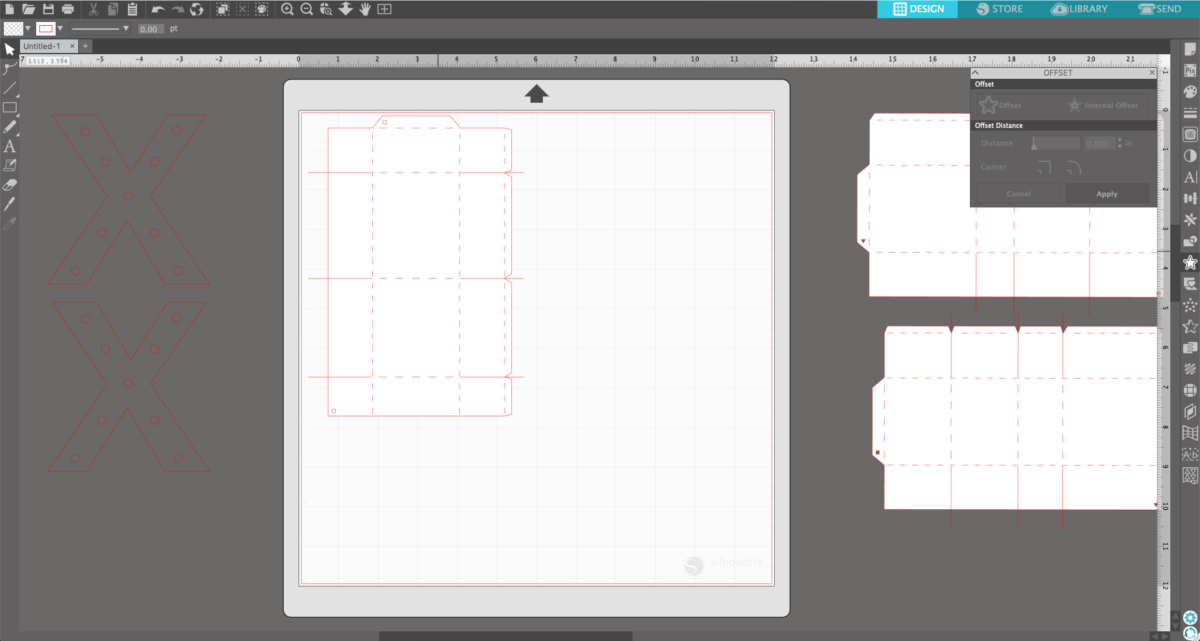
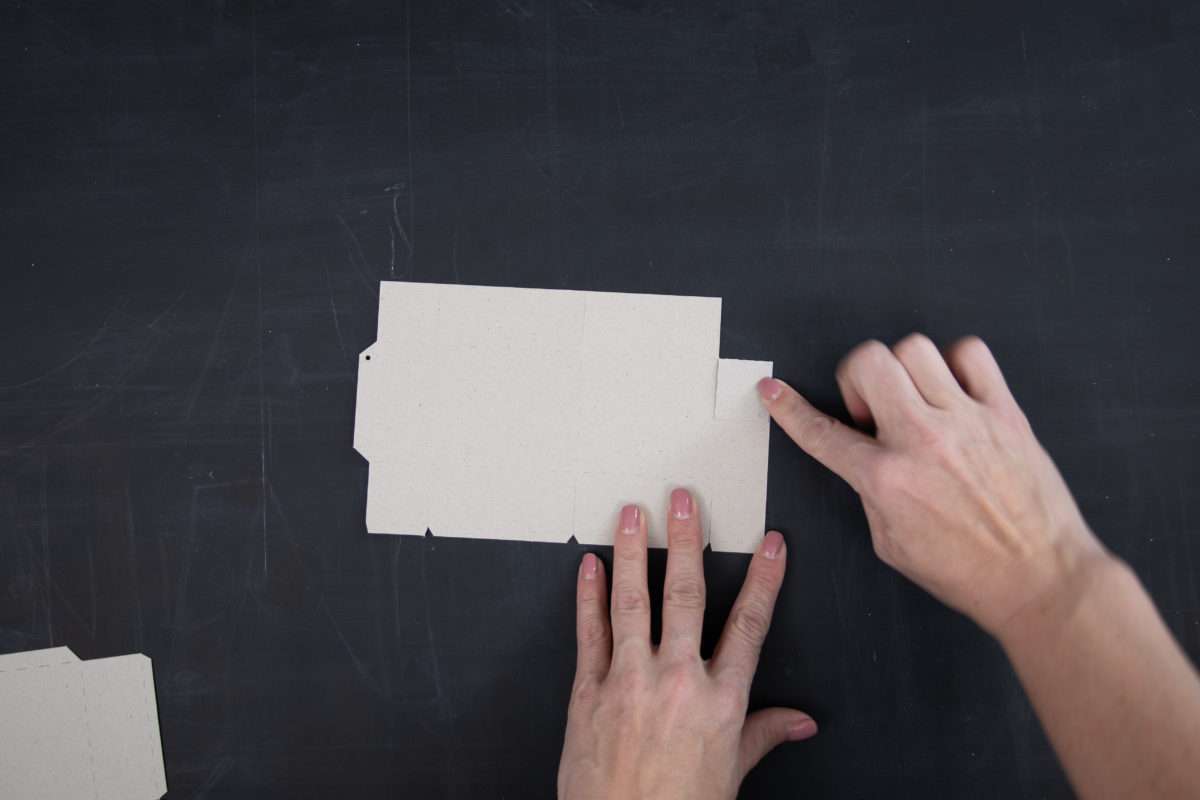
6. Take the long pieces and fold on the crease lines and glue down the tabs that don’t have fold lines on the top.
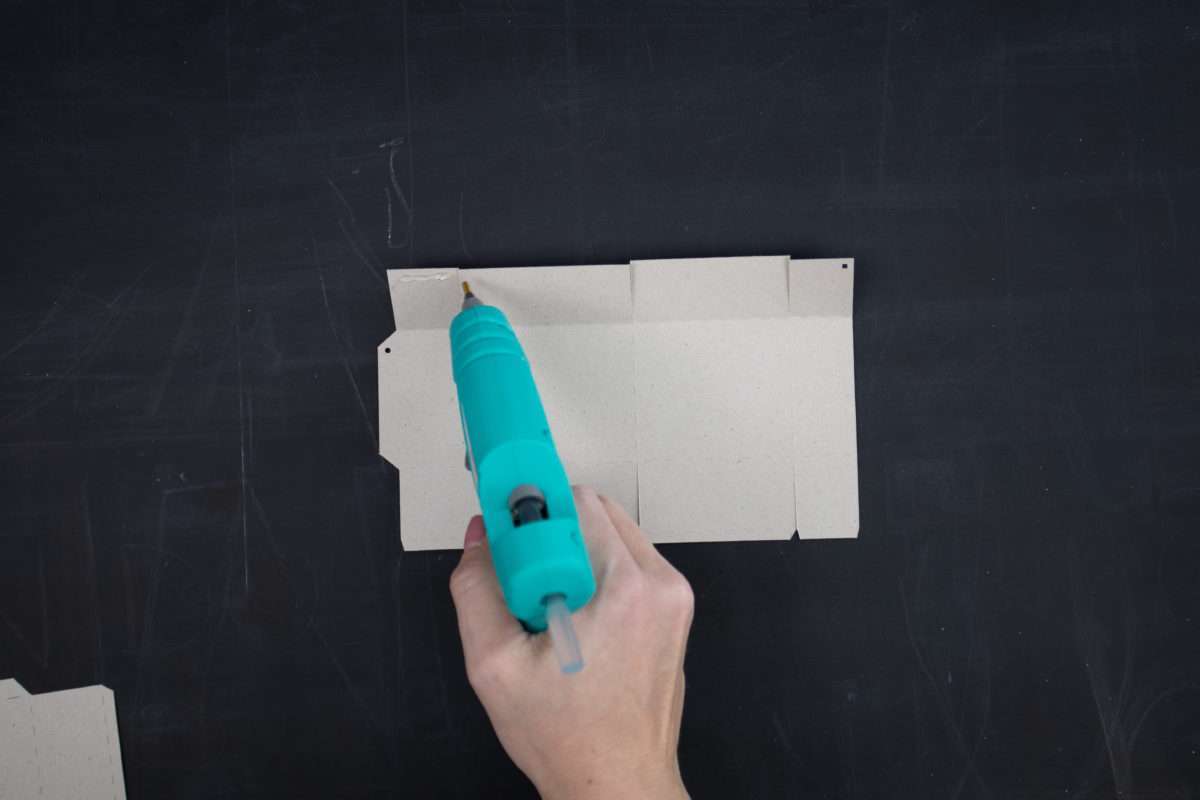
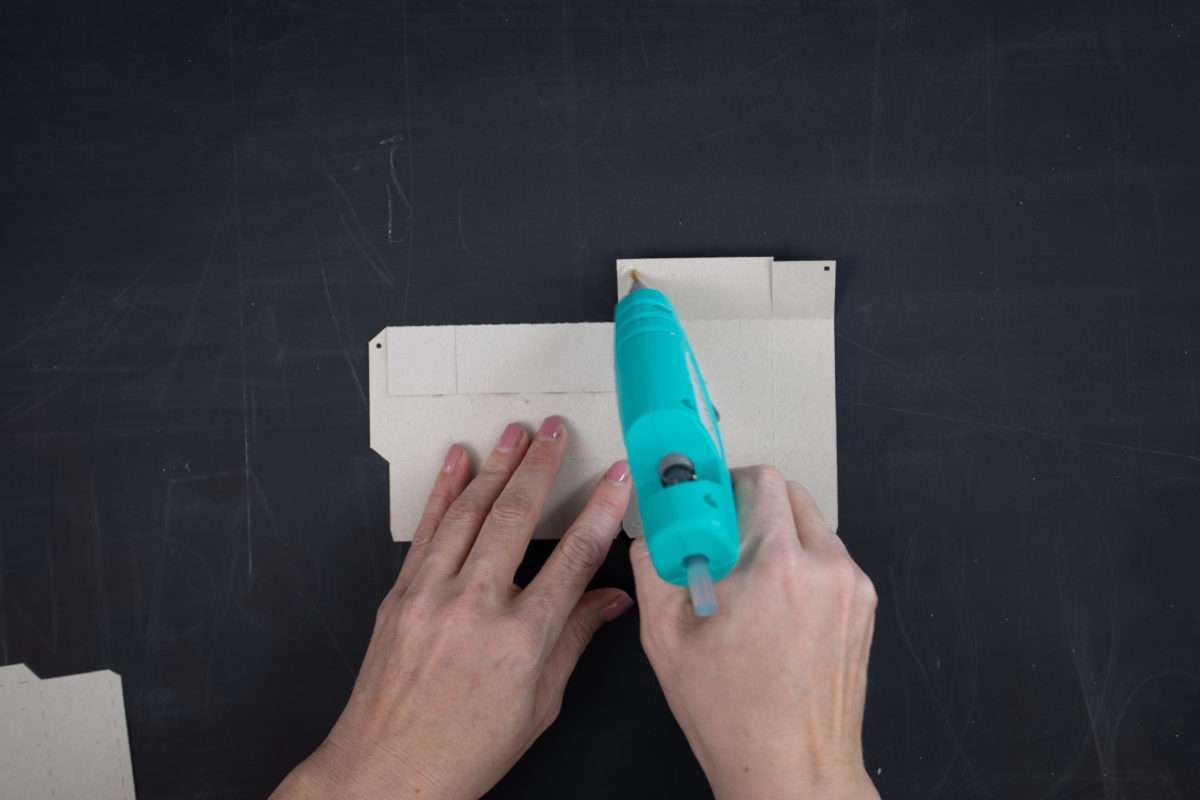
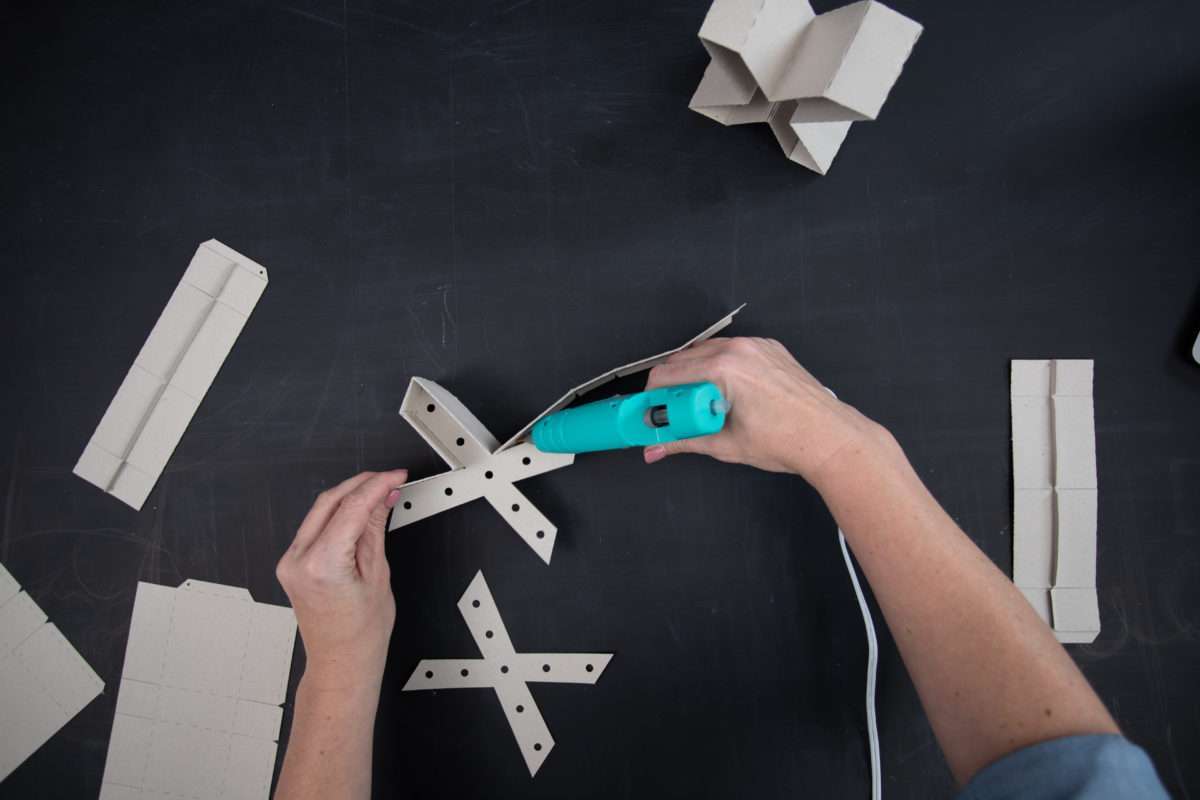
7. When one side is glued down, glue down the opposite side tabs and then fold back the top edge crease lines.
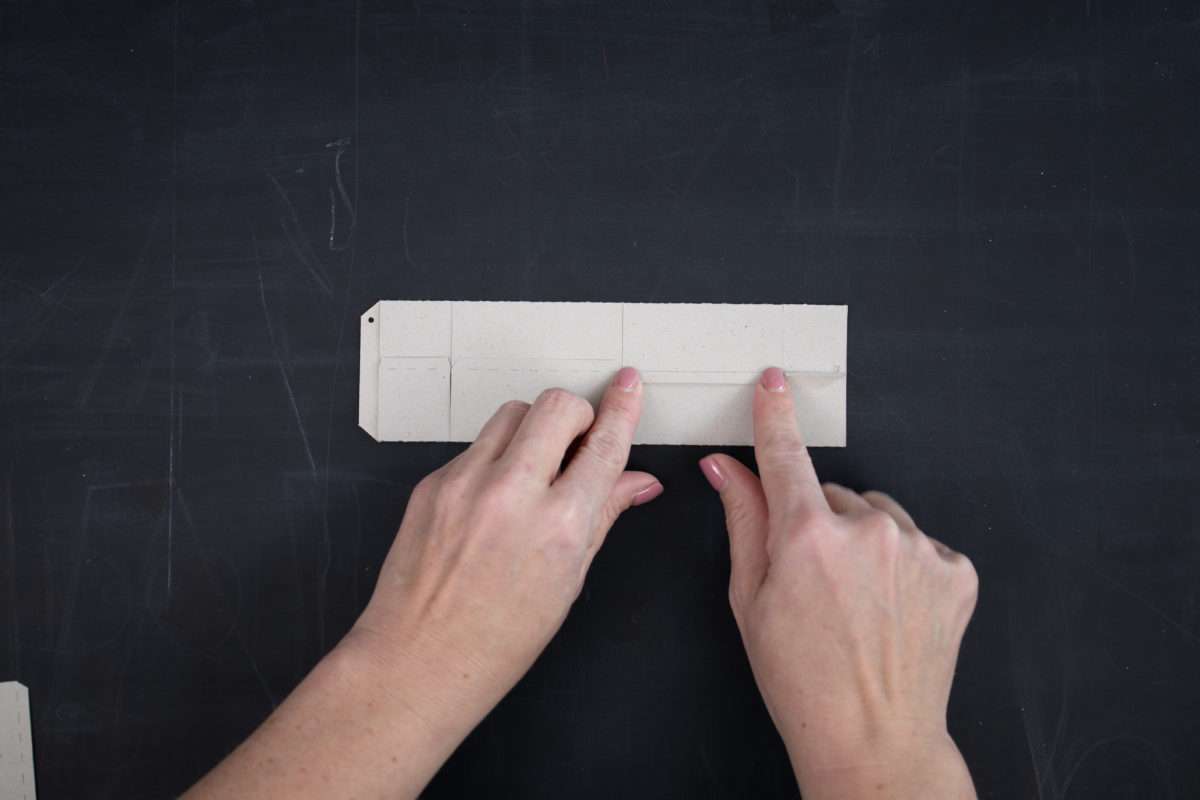
8. Now glue to the letter by following the corresponding symbols on each long piece. Starting with the V section of the letter. Then working your way around the letter until it is completely surrounded.


9. Take the second letter piece and glue it to the back side of the marquee letter for a finished product.
Heart Garland
Step One: Prepare the Design
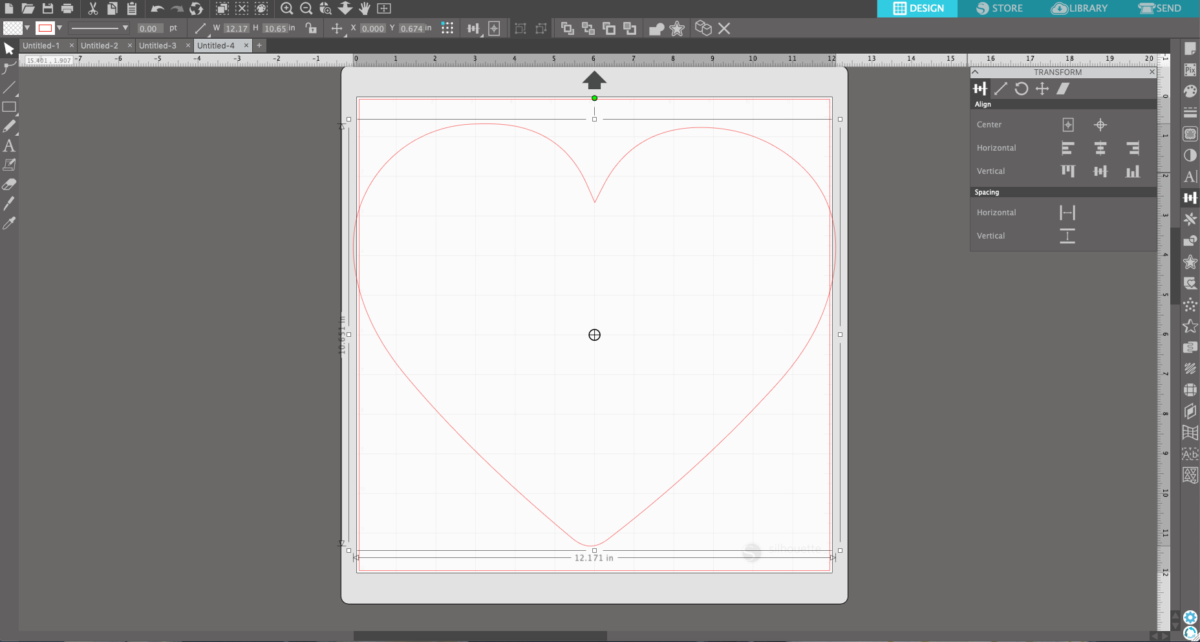
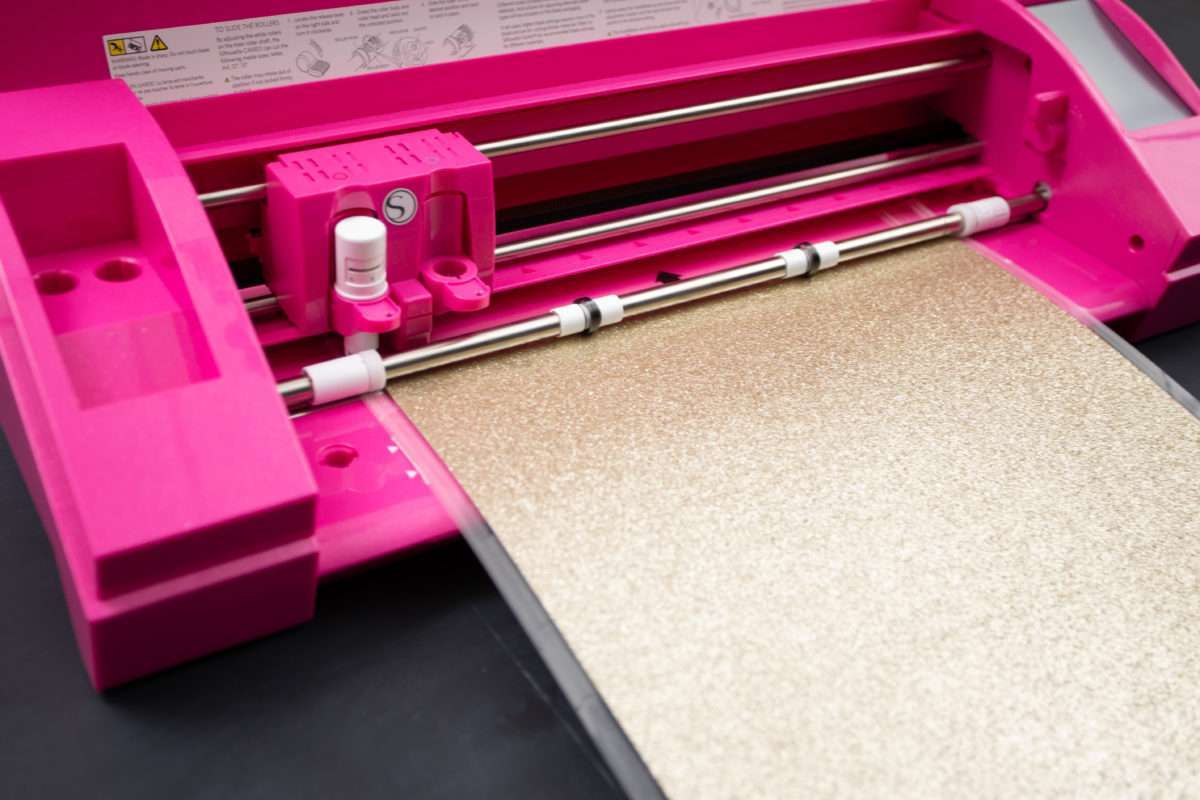
1. Open the heart design (Design ID #229292) in Silhouette Studio® and scale to size by using the square scale handles.
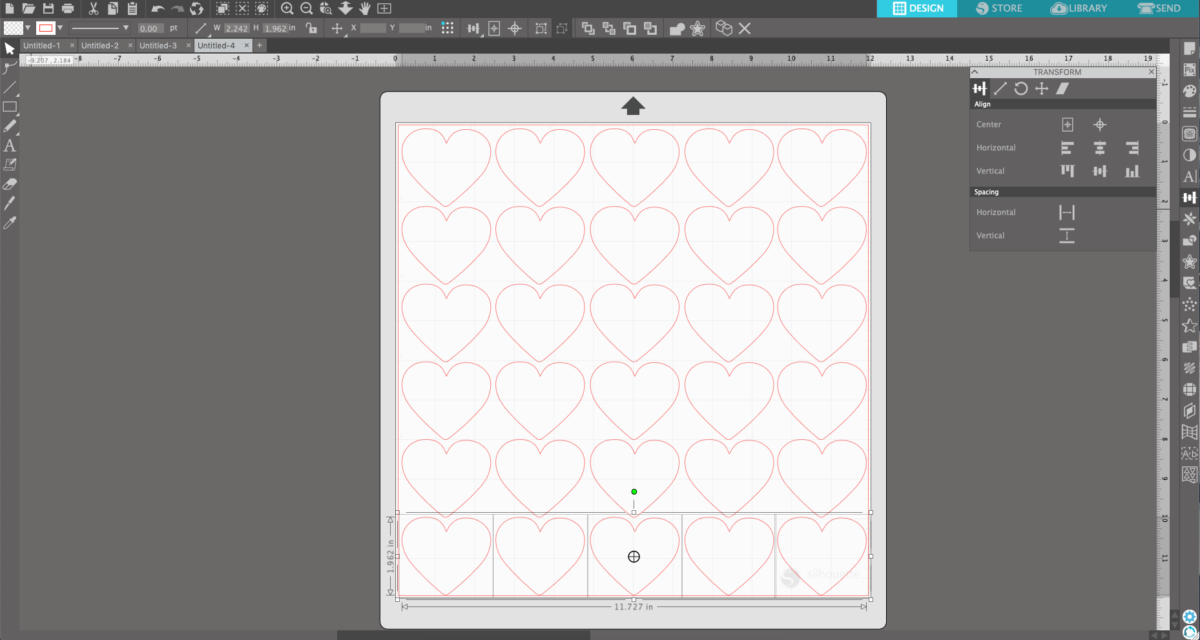
2. Now duplicate the heart by right clicking the heart and choosing duplicate from the drop-down menu.

3. Repeat until you have as many hearts as you want to fit on a page. We had a 12 x 12 sheet of cardstock, so we did 6 rows of 5 hearts.
4. Send to your cutting machine and adjust the cut settings based on the paper you are using. We used heavy coverstock and glitter cardstock and cut accordingly.
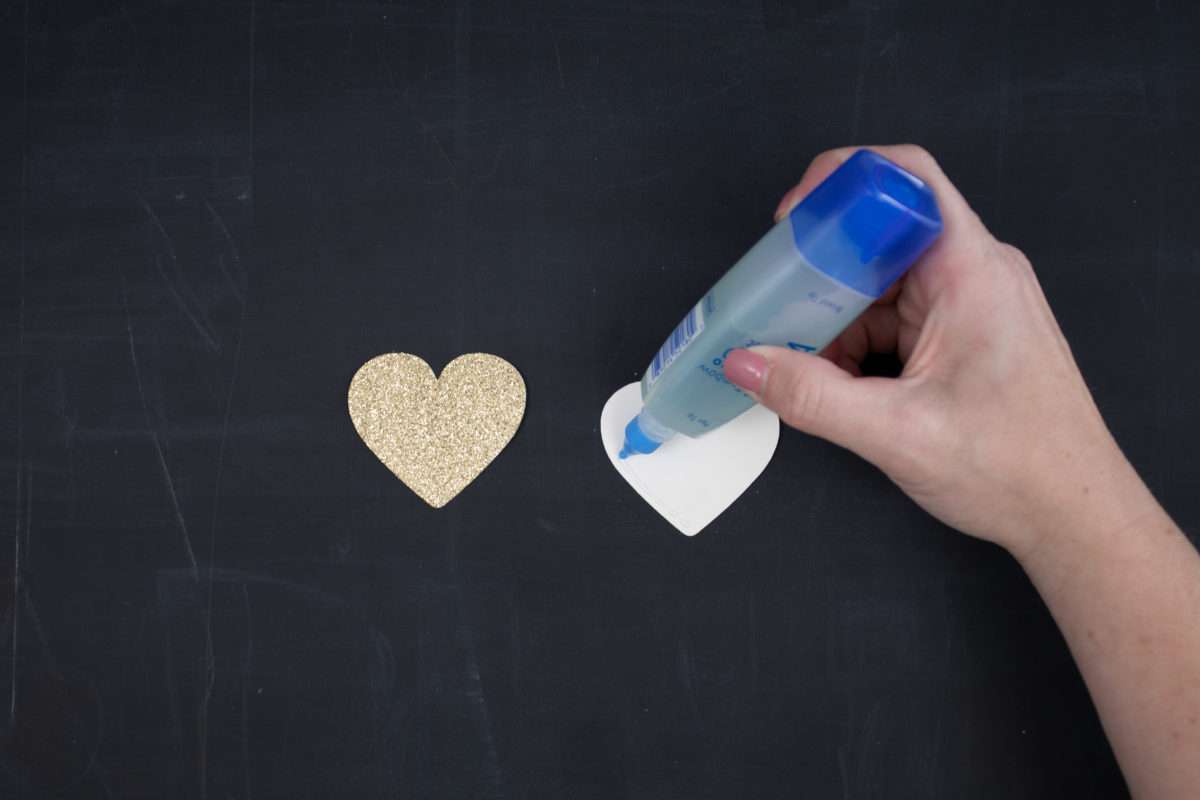
Step Two: Glue the Hearts

1. Take two hearts and glue them wrong sides together.


Step Three: Prepare and Sew the Hearts
1. When all of your hearts are cut and glued, arrange them into your pattern and send them through your sewing machine.
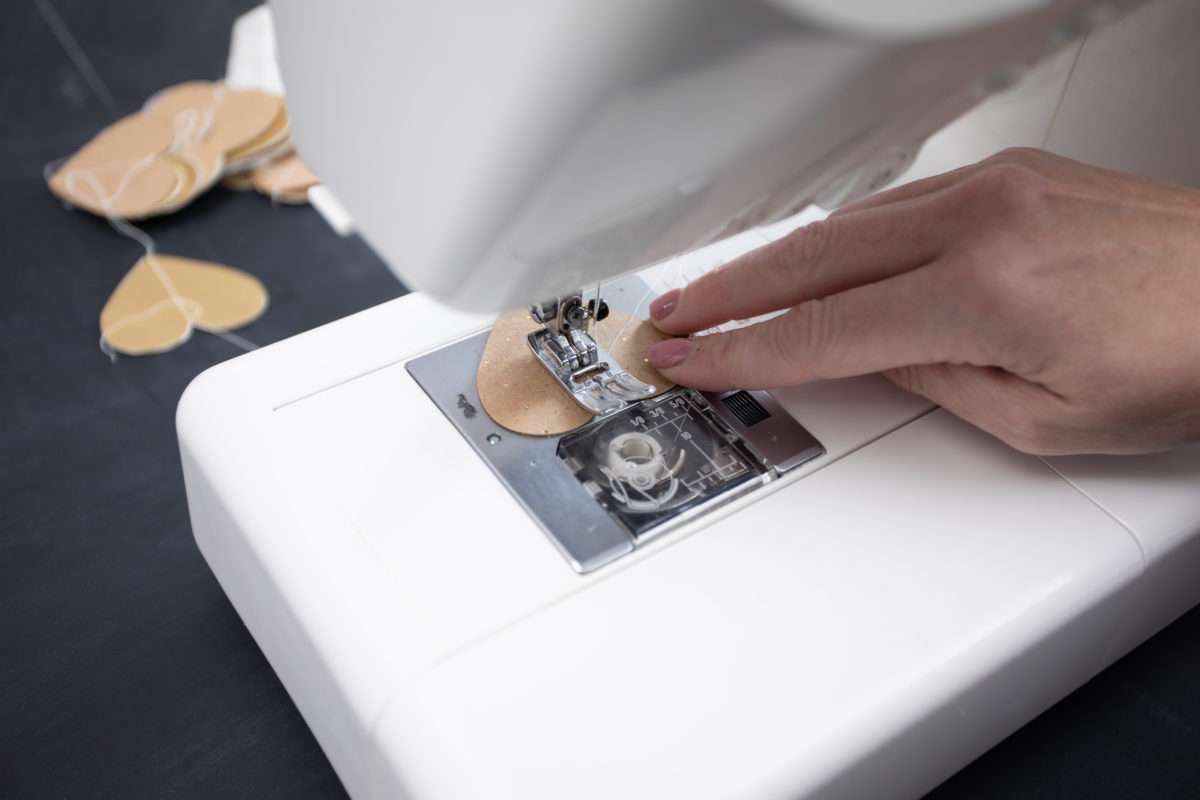
2. You can hang them vertically or horizontally or mix and match.

And now you are ready for cupid! Decorate a mantle, a table top, or your front door with these fun designs. Where are you going to display your Valentine decor? Let us know if the comments below.
 Free Class - Father's Day Apron Set
  Free Class - Custom Graduation Tumbler