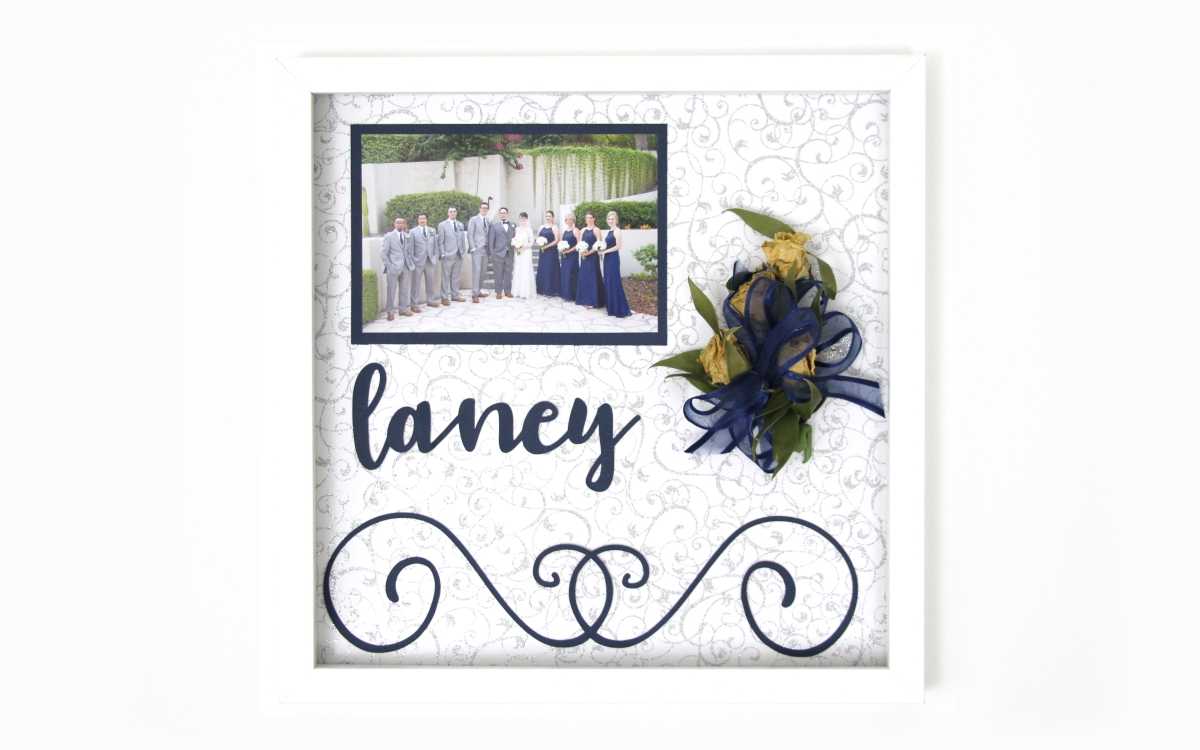
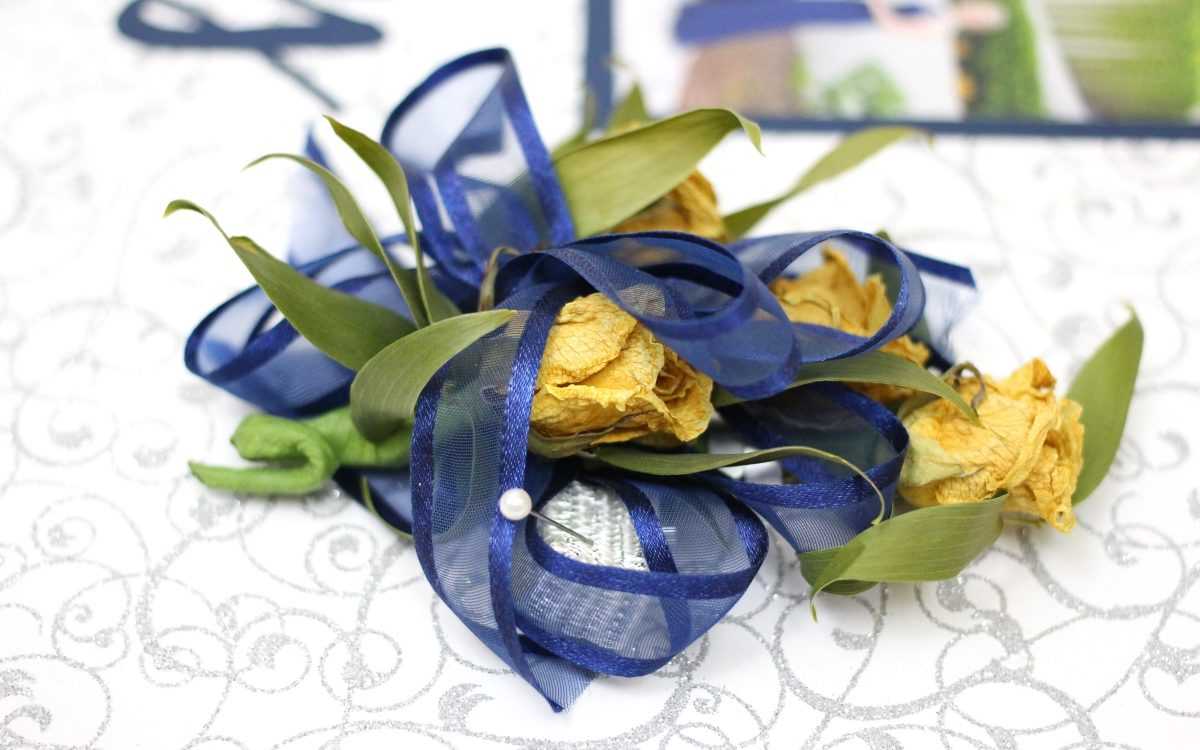
I have been saving a corsage from our wedding for 3 years, and I finally got around to making a wedding shadow box, just in time for our anniversary. My wedding bouquet wasn’t something I wanted to keep, and the fluffy white flowers didn’t look that pretty all dried up, but I saved this corsage from one of our mothers. Honestly, I am not sure who it belonged to, but I am happy to have it.
Supplies Needed:
- Silhouette CAMEO®, Silhouette Portrait®, or Silhouette Curio™
- Silhouette Cutting Mat
- Silhouette Cutting Blade
- Silhouette Studio®
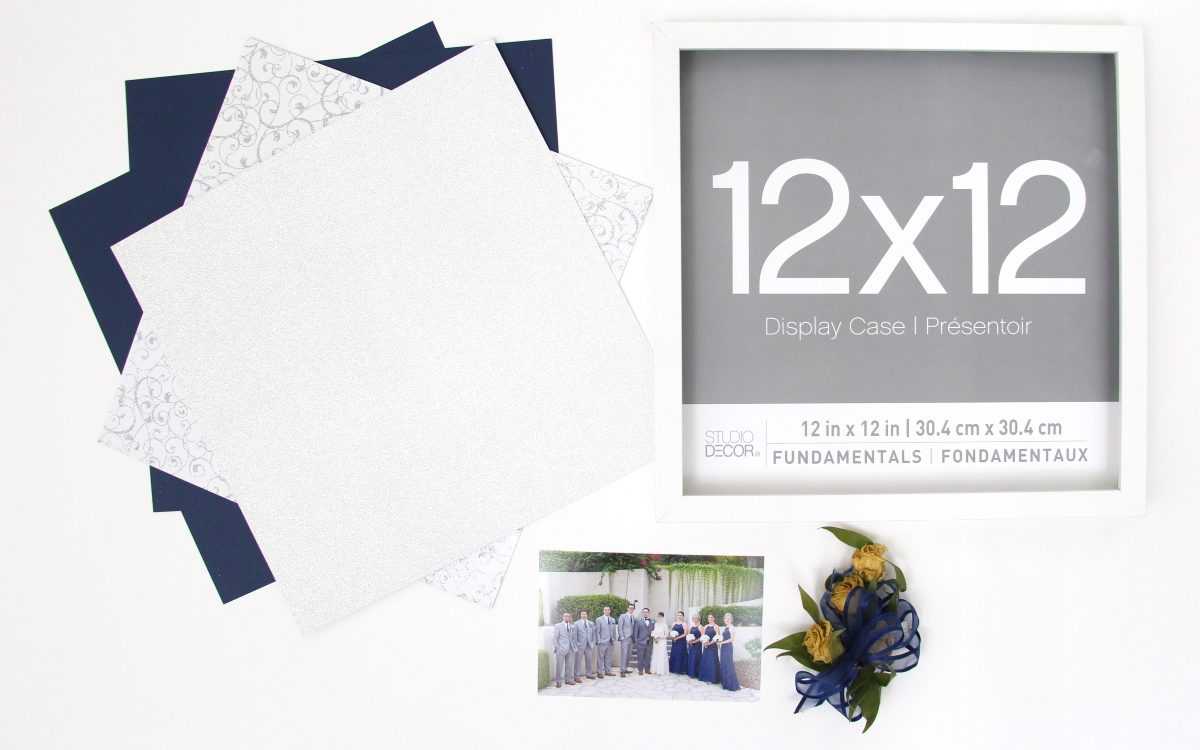
- Colored Cardstock
- Corsage (or other wedding memorabilia)
- Photo
- Shadow Box
- Design ID# 271670
Step One: Creating Your Designs
- I started by deciding how I wanted my shadow box to be laid out. I made placeholders for the photo and corsage in Silhouette Studio® by inserting a rectangle that was the size of my item. This made it easy to size my other pieces since my shadow box was the size of my cutting mat (12 inches by 12 inches). That helped me avoid cutting something the wrong size.
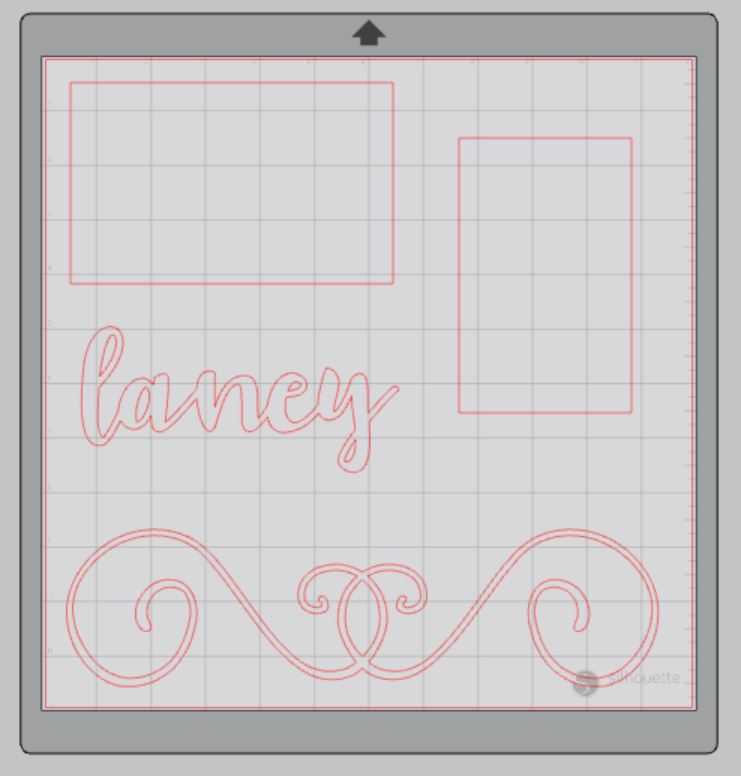
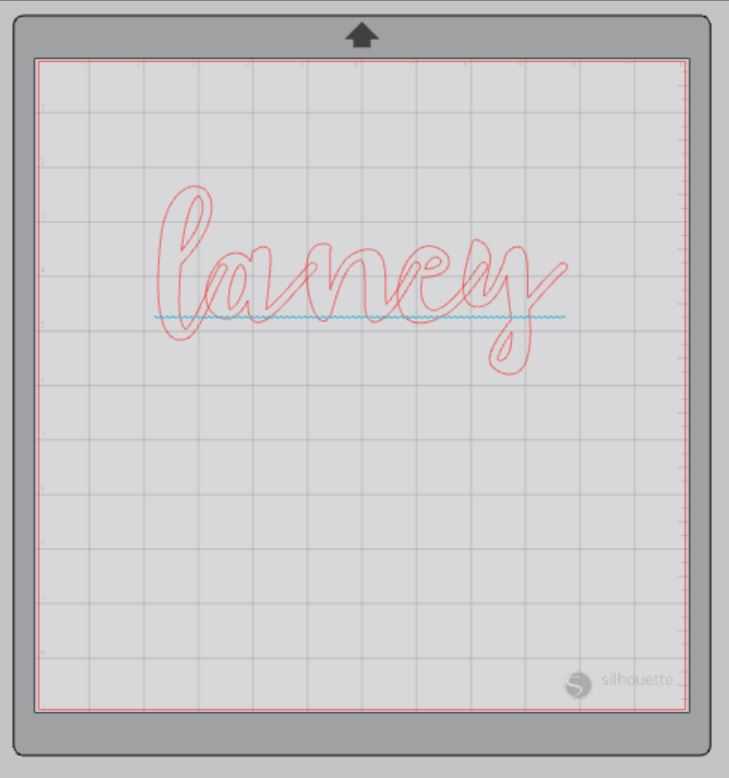
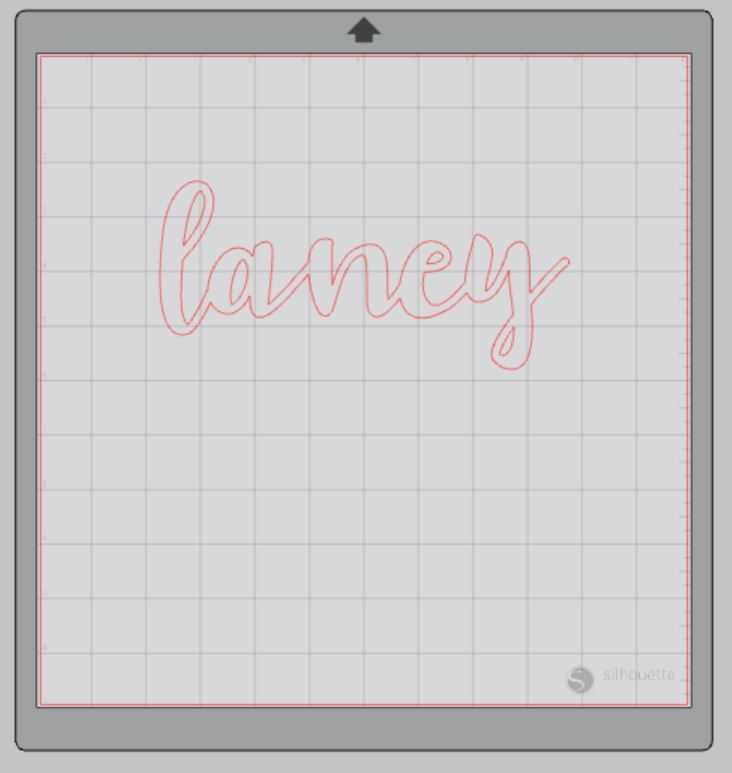
- Next, I cut out our name using the Hello Friend Brush Script Font and navy cardstock. This was the first time I used the weld tool. The cursive letters aren’t attached when you first type them. But if you select your word, right-click, and select “weld,” then the letters connect like the finished product here. It was so easy; I am wondering why I was so intimidated by it.
- I also cut out a swirl flourish as an accent. I found this one under the Recent Downloads folder in my Silhouette Studio® library. (It is not available for purchase. It was a free design that was included with the purchase of a Silhouette machine.) You may already have this design like I did. If you don’t, you may have to download a different design.
- I loaded my colored cardstock into my CAMEO, followed the prompts to adjust my ratchet blade for the textured cardstock I used, and hit Send to cut my items. Always double-check that you have selected the correct media; I almost sent this to cut with the adhesive vinyl settings that I had selected from my last project.
- Once the machine was finished, I selected Unload and removed my cutting mat from the machine.
- Use caution when removing the cardstock from the cutting mat; the paper may curl slightly depending on how sticky your mat is.

- Weed the designs from the sheet of paper. This means removing your design and the center of any of the loopy letters.
Step Two: Assembling Your Shadow Box
- To give the photo some dimension, I mounted our wedding party photo on the same navy cardstock.
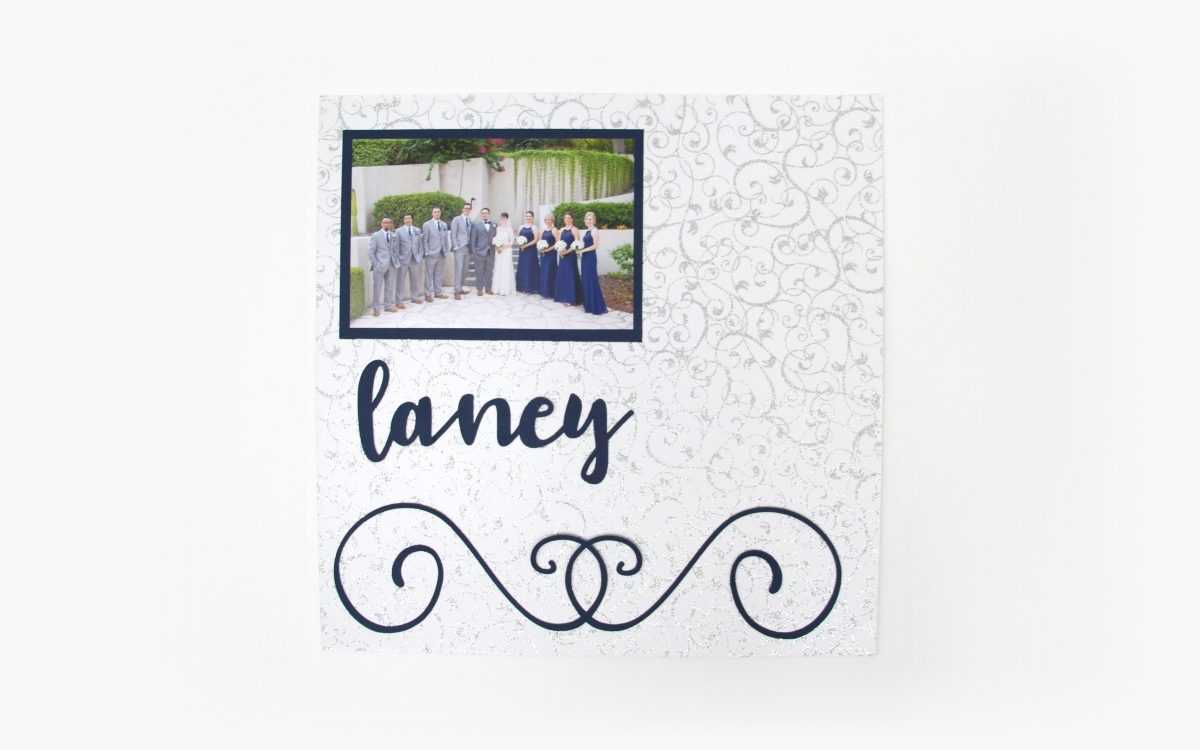
- Lastly, I secured everything to white cardstock with silver swirls using a combination of glue, tape, and some pretty pearl pins for the corsage.
Our shadow box has found a home among my cake stand collection and near our wedding card birdcage. It is the perfect way to display a photo and some flowers from our wedding.
What items would you put in a shadow box for yourself or someone you love?
 Free Class - Father's Day Apron Set
  Free Class - Custom Graduation Tumbler