
Hi there! Kelly here. Have you seen the fun dingbat fonts in the Silhouette Design Store? I want to share some of the fun ways you can use these special font sets. Don’t let the higher price point scare you off. You’re actually getting at least 26 coordinating designs with a single dingbat font purchase.

What are dingbat fonts? They are fonts where each letter is assigned a special character so instead of seeing A, B, C, etc. as you type, you’ll see an image like a tree, a phrase, an animal, etc.
This tutorial will show you how you can use dingbat fonts as designs you can cut, sketch, and Print & Cut or even use with a Mint stamp maker or the Curio!
Supplies Needed:
- Silhouette CAMEO® or Silhouette Portrait® or Silhouette Curio™
- Silhouette Studio®
- Merry Dingbats Font (Design ID #228634)
- Tag Dingbats Font (Design ID #221457)
- 5.75 Round Box (Design ID #26128)
- Cardstock
- Ribbon
- Wrapping paper
- Silhouette Metallic Vinyl in red and silver
Step One: Choose a Dingbat Font
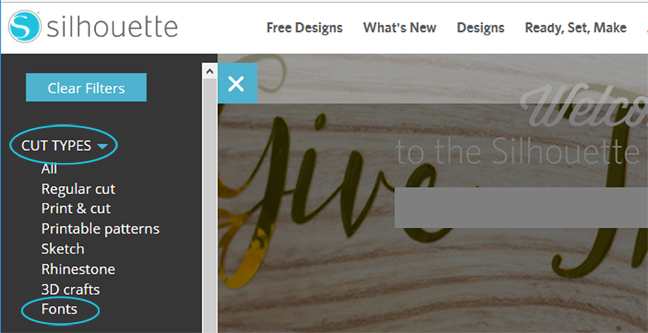
You can find fonts in various ways using the search box in the Silhouette Design Store, but perhaps the quickest way to find fonts is to use the filters.
- Click on the Filters button in the upper-left corner when you are in the Design Store and choose Cut Types > Fonts.
- Type “Dingbats” into the search bar and start the search.
- This will bring up a quite a large mix of dingbat fonts from various artists that you can purchase. Once you add the font to your cart and check out, it will load into your library as a font.
Tip: If a font doesn’t seem to load immediately or if you want to access it in other programs, you may need to exit out of Silhouette Studio® and then re-enter for it to install properly.
- I’ve chosen the Merry Dingbats font and the Tag Dingbats font.
Step Two: Choose a Character from the Dingbat Font
To choose a character from a dingbat font, you’ll need your Text Tool in Silhouette Studio®.
- Select your Text Tool from the A icon on the left side of the screen. (See image below.)
- Click down on your work page to set the cursor.
- Choose the Text Style panel among the other panels along the right side of the screen.
With Designer Edition:
If you have Designer Edition or higher, you can access glyphs directly from the Text Style panel’s middle tab for glyphs.
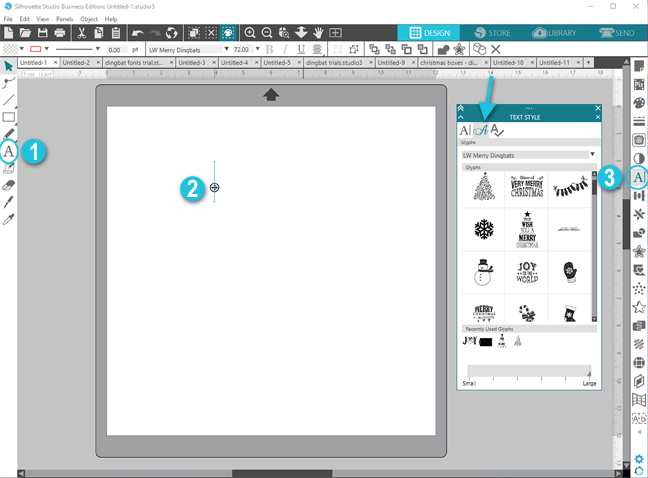
- Scroll to find a dingbat font with the dropdown arrow at the top.
- As you hover over the characters/glyphs, you’ll see a larger preview.
- Tip: Set your scale at the bottom to “Large” to see larger thumbnails.
- As you click these characters, they will be added to your page where your cursor has been placed. They also fill the area at the bottom of the panel for “Recently Used Glyphs”.
- Repeat with a new cursor for each character, or click on several in a row. We’ll be separating them later.
With Basic Edition:
If you have the Basic Edition of Silhouette Studio, you can still access all the characters, but you don’t get an easy preview from the glyph panel.
- Choose a dingbat font in the first tab of the Text Style panel.
- Start typing letters to see what characters they create.
- Make note of the letter(s) you want to use.

Tip: To see all the characters at once in a large preview, you can make your own! Type A–Z with the text tool, click away to exit text-edit mode, click once to select, fill them with a color, and change the font to any dingbat font to see the whole collection change with each different font. (You can also copy and paste individual characters from this preview collection you’ve created.)
Step Three: Convert the Character into a Design
There are a lot of ways to convert a character into a design to use as a cut file, a Print & Cut design, a stamp, a sketch design, an etch design, etc. I’m going to cover the very basics. You can enlarge the design if you want because this is a vector file and won’t lose any quality as you resize it.
Let’s use letter “J” from the Merry Dingbats Font as an example of the process you would use to separate and recolor a design.
- Ungroup the character. The text naturally comes grouped (even single letters), so ungrouping it will give you a better idea of actual size displayed with the bounding box and will prepare the design for further manipulation.
- Fill it with color using the color fill options in the Fill Panel or in the Quick Access Toolbar. This is optional, though.
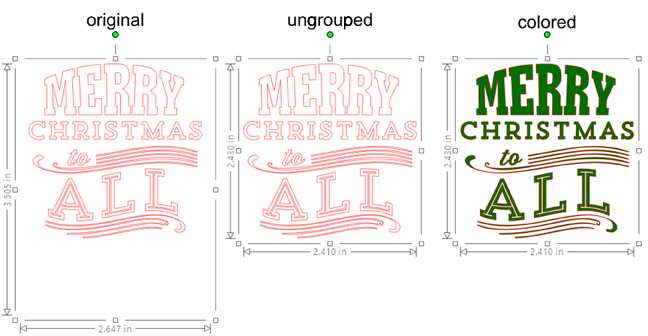
With some designs, you could be done right now and cut the design from vinyl or paper! But we’re going to go a little further.
- Release the compound path to access all the individual pieces of this design (Right click > release compound path). This allows you to recolor individual pieces so that you can do a Print & Cut design or move individual pieces away to be cut from various colors of paper, vinyl, etc.
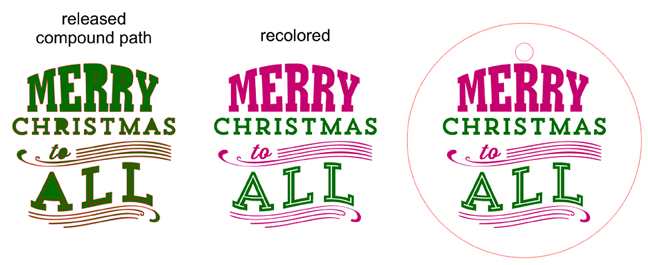
If you understand compound paths, you can select the correct pieces to convert parts back into compound paths, or if you’re just going to cut or Print & Cut, then you can work with grouping and fill colors. You can find out more about compound paths in this video about the Modify tools.
Step Four: Cut It!
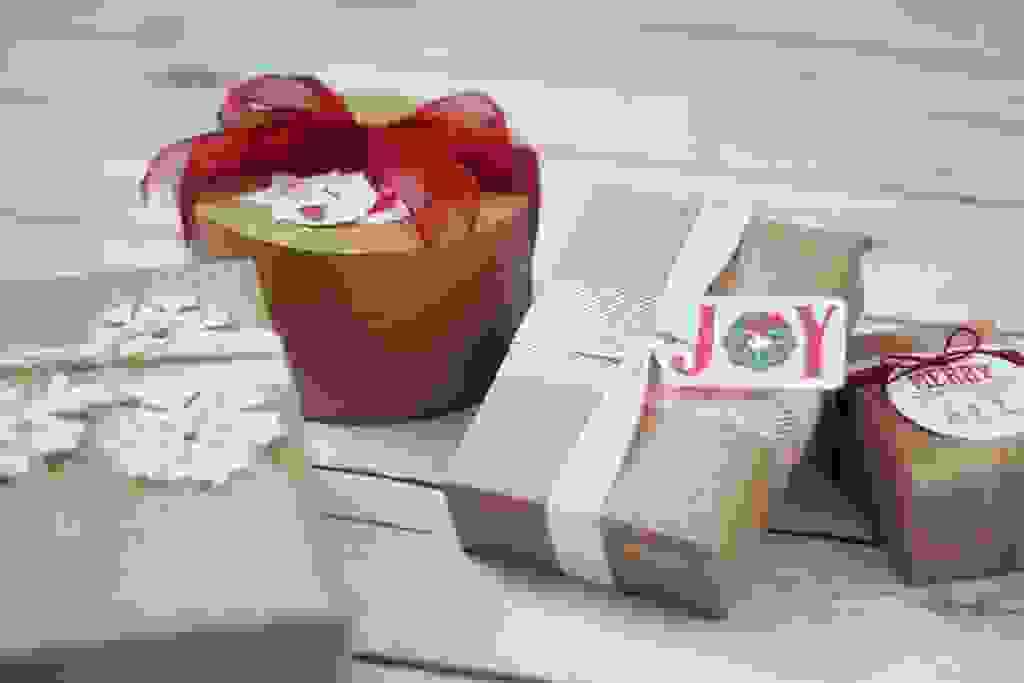
- To make this design a Print & Cut file, I added it to a tag, then made sure I selected “Cut Edge” in the Send panel so that the pieces inside the tag would not cut.
- Don’t forget to turn registration marks on if you are doing a Print & Cut. You can watch our video on Print & Cut here.
I went through the same process with several characters in the Merry Dingbats font and added most of them to tag shapes from the Tag Dingbats font.


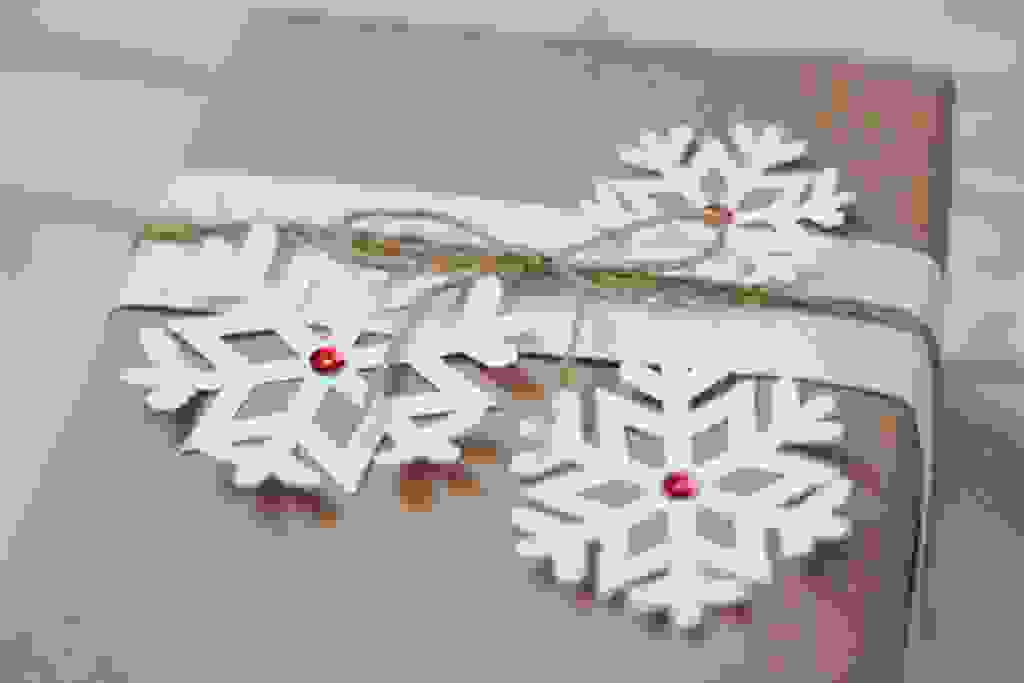
I cut the snowflakes from white paper that started out as the letter “D” from the Merry Dingbats Font, so no registration marks were necessary.
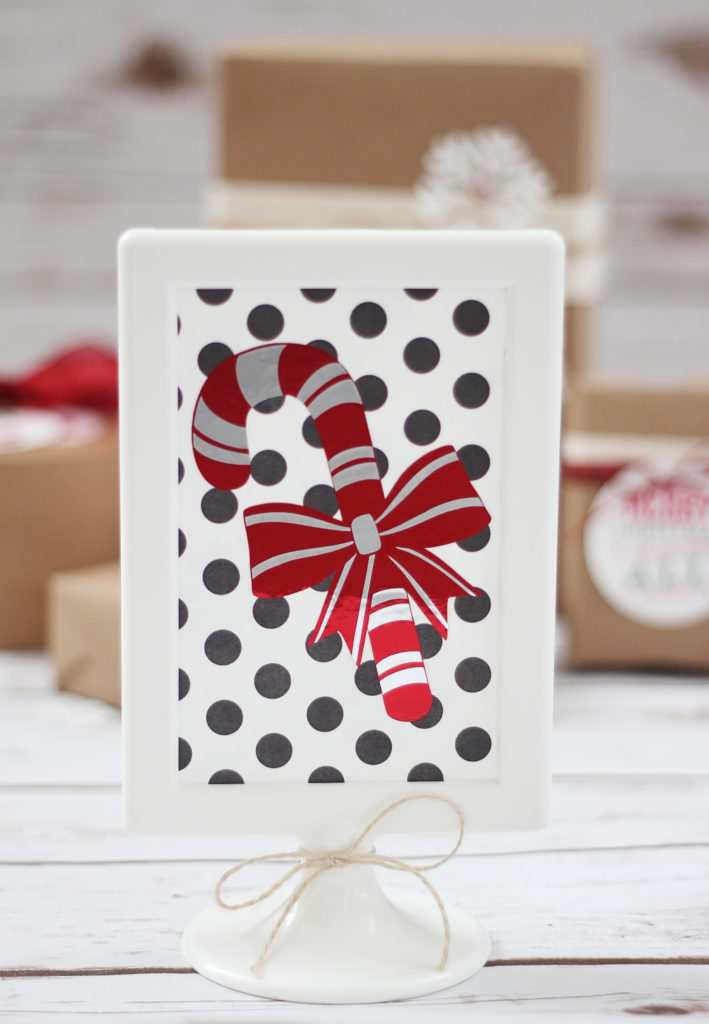
I cut this candy cane in two colors of vinyl from the letter “K” from the Merry Dingbats Font.
I love having a whole collection of related designs that go so well with each other, and I don’t have to purchase every design individually.
Once you know how to ungroup and release the compound path to separate the pieces, you can use these characters like any other design in Silhouette Studio®. Use these dingbat characters to cut vinyl with your CAMEO, emboss foil with your Curio, or create a quick stamp with your Mint! (The dingbat fonts sets are fonts, so they work in other software programs that use text as well.)
That’s how to use dingbat fonts in Silhouette Studio®! What are some of your favorite dingbat font sets?
 Free Class - Father's Day Apron Set
  Free Class - Custom Graduation Tumbler
Nasze Naturalne
September 3, 2025
Your authentic voice really shines through in everything you create and share
Naszenaturalne
September 2, 2025
Really love your style
Kelly Wayment
June 28, 2024
You can use it with vinyl as long as it is smooth and flat to allow the static charge to hold on to it. Rolled vinyl that wants to go back to its rolled shape will not necessarily work well, and it would need to be trimmed to fit the ES mat cutting area.
Kelly Wayment
June 28, 2024
Yes, you can use the heat pen while using the ES mat. 🙂
Yurii
March 2, 2024
Hello. May it be used with heat pen?
Thanks
Jerome
February 24, 2024
Hi, works this with the normal vinyl foils or only with printer papter etc?