
Create a dimensional background for a scrapbook layout using a special “cut and bend” design! Keep reading this tutorial to see how you can make your own!
Supplies Needed:
- Silhouette CAMEO®
- Silhouette Studio®
- Silhouette Cutting Mat
- Silhouette Cutting Blade
- Scrapbook Paper and Embellishments
- Light Blue Cardstock
- Paper Trimmer
- Scissors
- 3-by-4-inch photo
- Adhesives (foam, sticky tape)
- Design ID #277804
Step One: Prepare, Cut, and Bend the Design
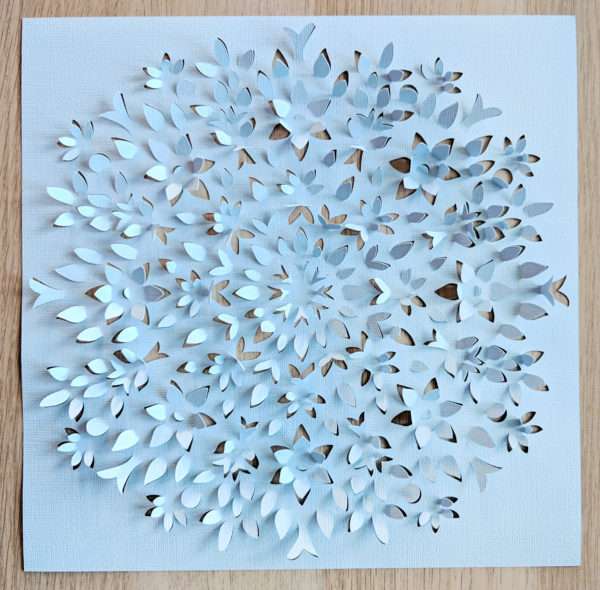
1. Open the Cut and Bend Doily Background design (Design ID #277804) in Silhouette Studio®.

2. Size the design as desired. I made mine 11.005 inches square.

3. Change the settings to fit the materials. I used a Ratchet Blade with American Crafts Cardstock, Textured – Heavy (80lb), the Blade Depth set to 6, Speed of 4, and Force of 30. I also recommend using a “used” mat, one that isn’t super sticky or else the delicate pieces will tear. Send the design to your machine to cut!

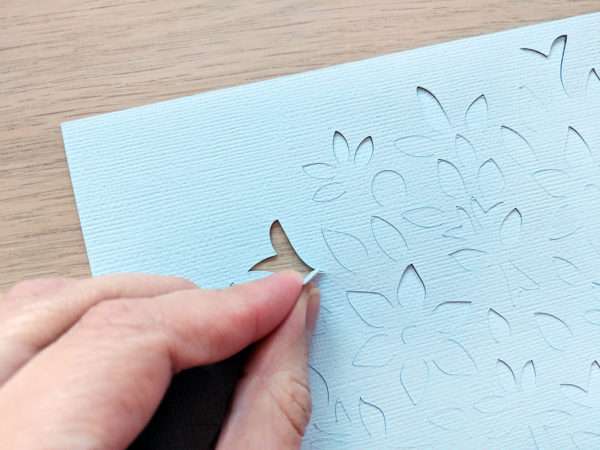
4. Carefully peel the cardstock off of the sticky mat.

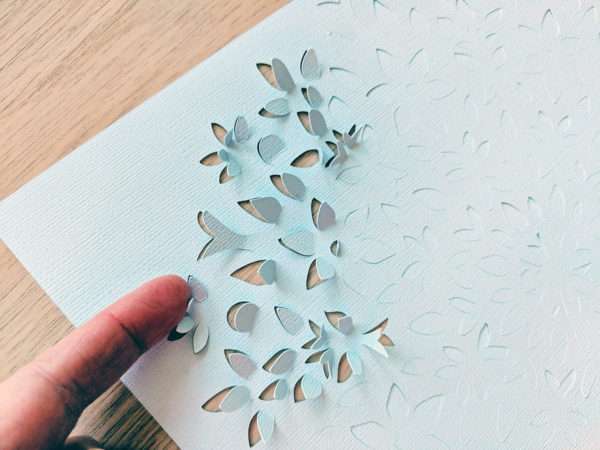
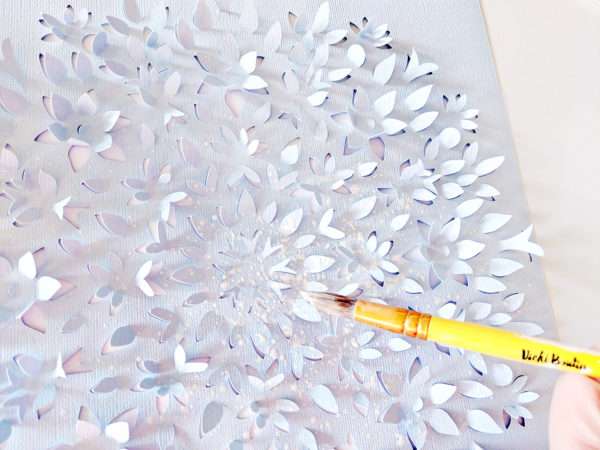
5. Use your fingers to bend back all of the pieces.
Step Two: Create the Scrapbook Layout
1. Splash watered down white acrylic paint as well as watercolors across the background.
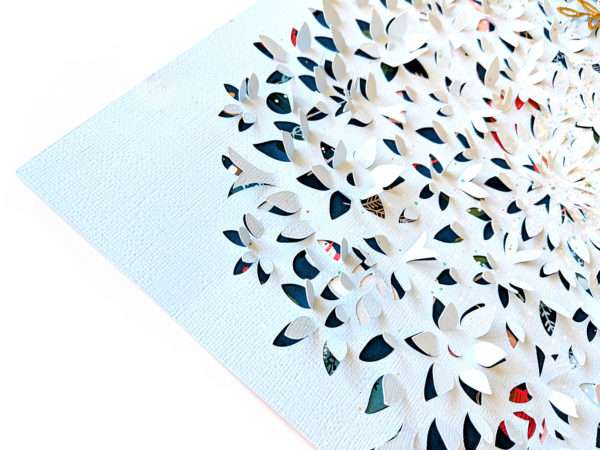
2. Find a patterned paper to back the design with then adhere the cardstock to the top left corner so the top and left edges are aligned with the patterned paper.
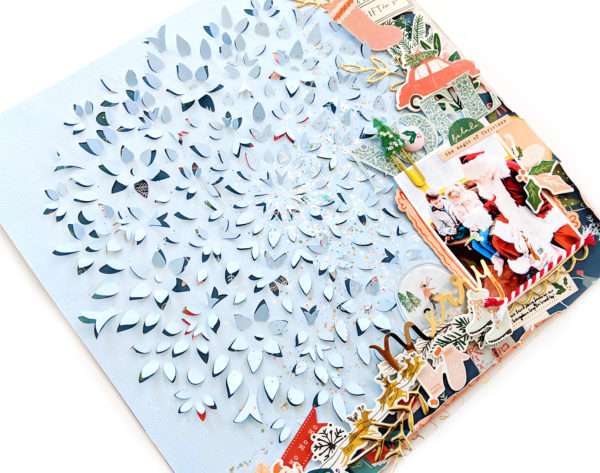
3. Wrinkle and tear the right and bottom edges and back those edges with another patterned paper.
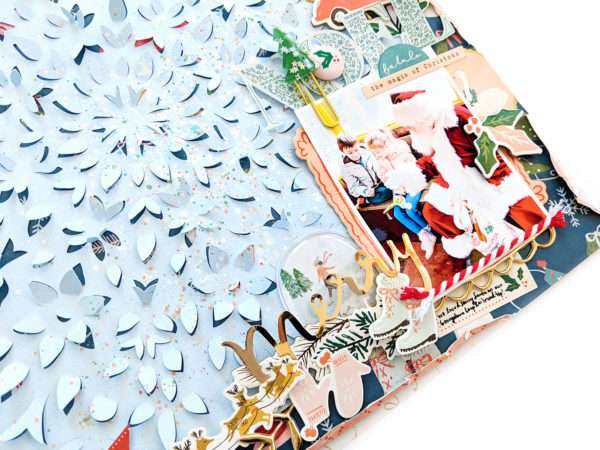
4. Add a photo to the corner then decorate with all kinds of embellishments along the paper seam edges. Vary the kind of adhesive you use to create fun layers of dimension.

5. Write journaling on a sticker and tuck it under the photo.
6. Finish embellishing the page until you are happy with the way it looks!
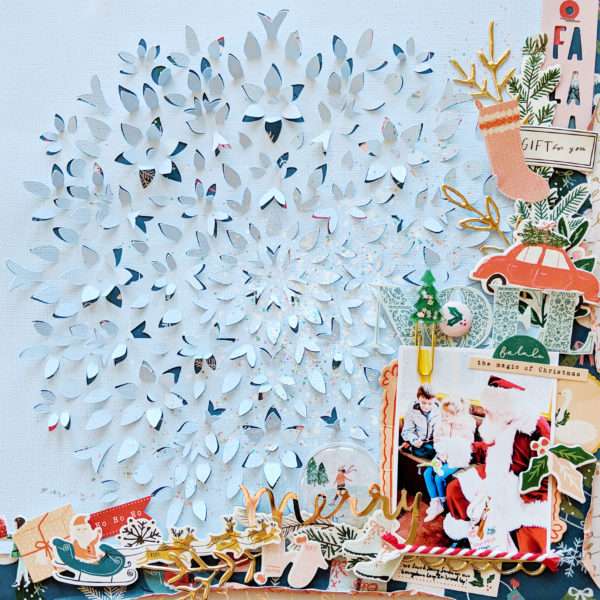
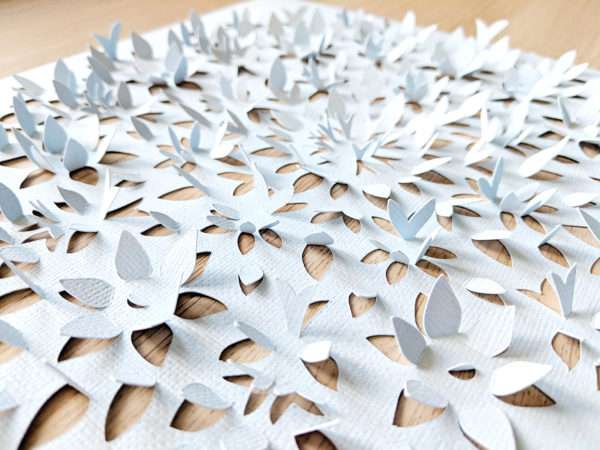
I love how the background is so dimensional and you can see the patterned paper peeking through! This would also be a fun piece of home decor. After cutting and bending the background, add the design inside a shadowbox frame!