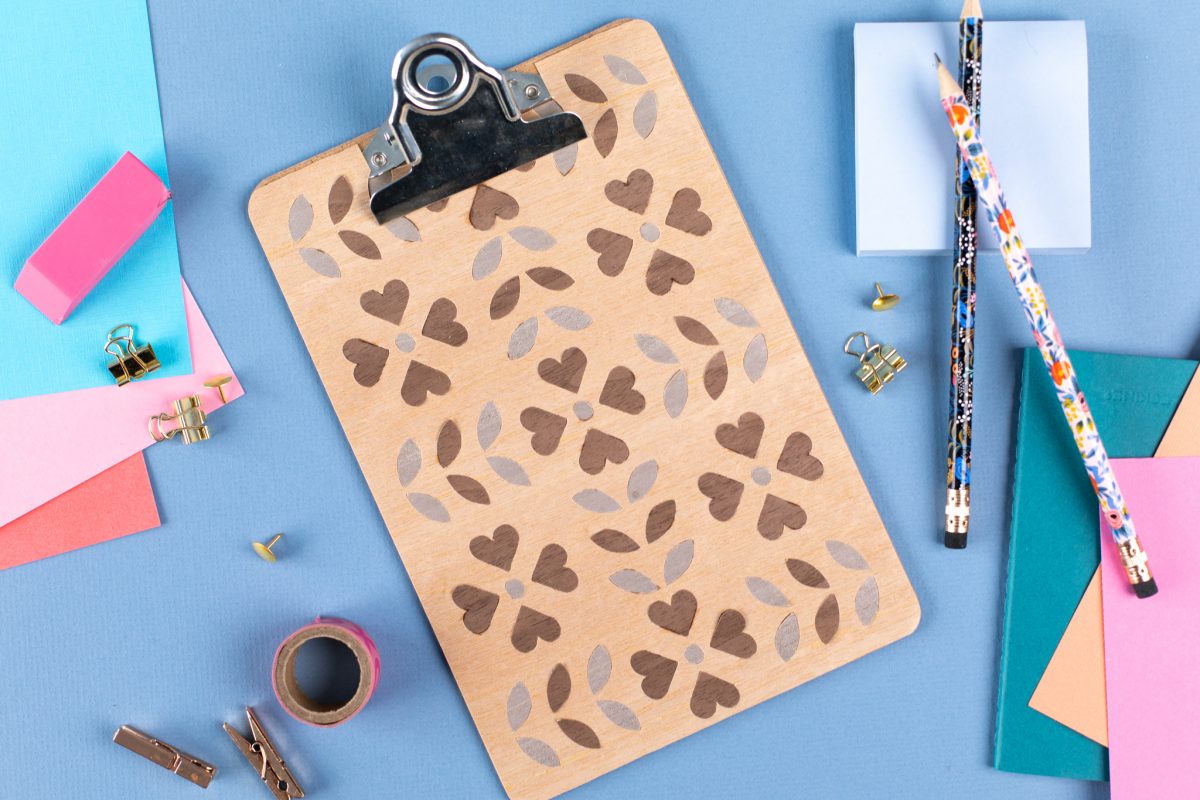
Have you ever worked with wood sheets? They are now offered in a larger size with stronger adhesive, and there are so many application options! We wanted to jazz up a basic clipboard and are thrilled with the results!
Supplies Needed:
- Silhouette Cameo® or Silhouette Portrait®
- Silhouette Cutting Mat
- Silhouette Cutting Blade
- Wood Sheets
- Clipboard
- Super Glue, optional
- Design ID #251065 for Folk Art Background by Paige Evans
Step One: Format the Design
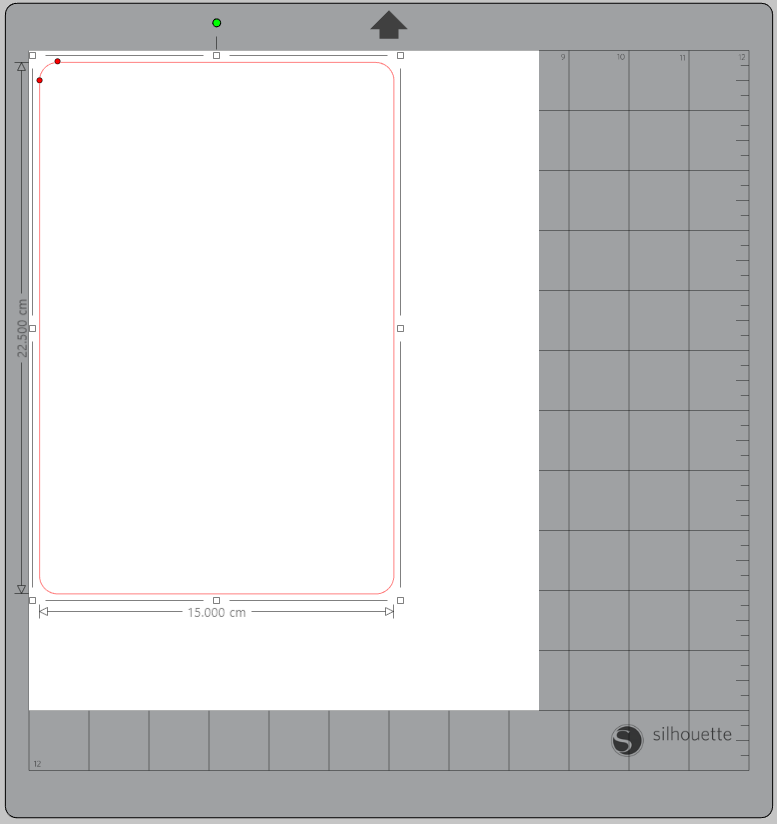
1. First, measure your clipboard. The new wood sheets come in size 8.5 x 11 inches, which is so great for larger-scale projects! Our clipboard measured 15 cm wide and 22.5 cm tall. We used the Drawing Tools to create a rounded rectangle with those exact same dimensions. Do the same for whatever size clipboard you’re using!
2. Now insert the design into Silhouette Studio®. We only need a portion of the pattern, so we’re going to Ungroup the design with a right-click, and only keep the portion we want on our clipboard.
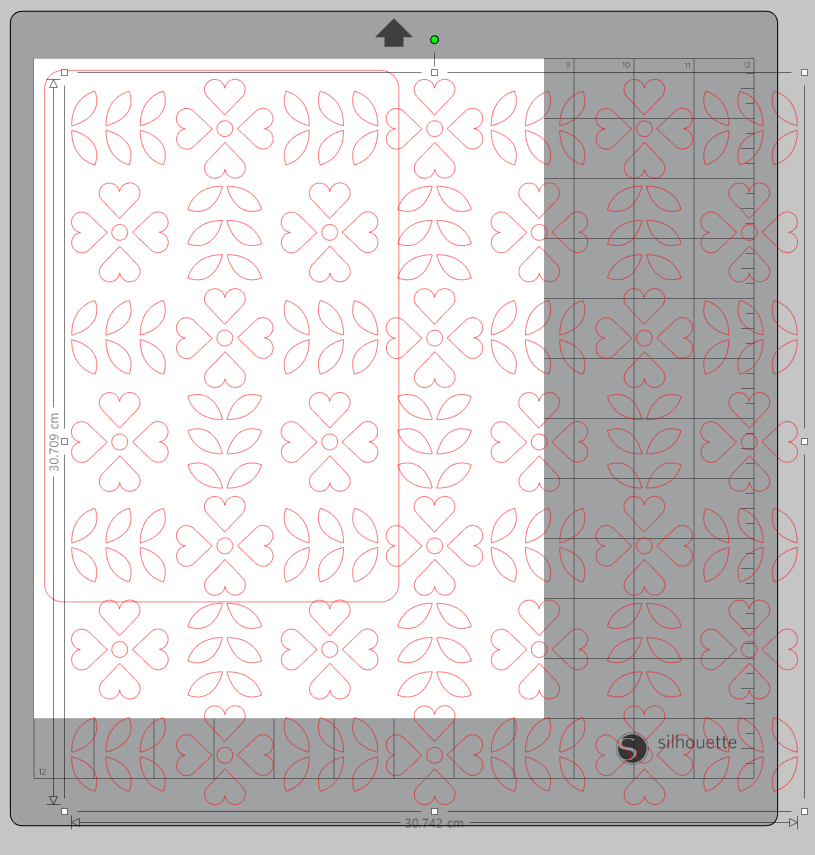
You can see how we have separated the pieces we want on our design from the other pieces. You can delete the extras.
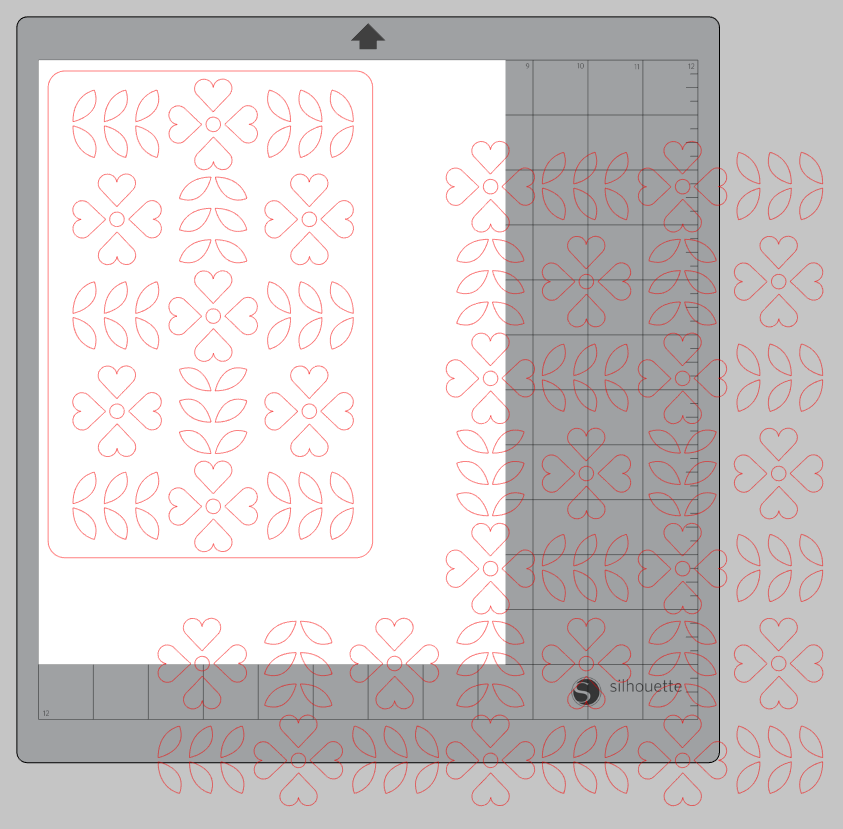
3. Group the remaining design and then use the align tools to center the design and the rounded rectangle your drew earlier.
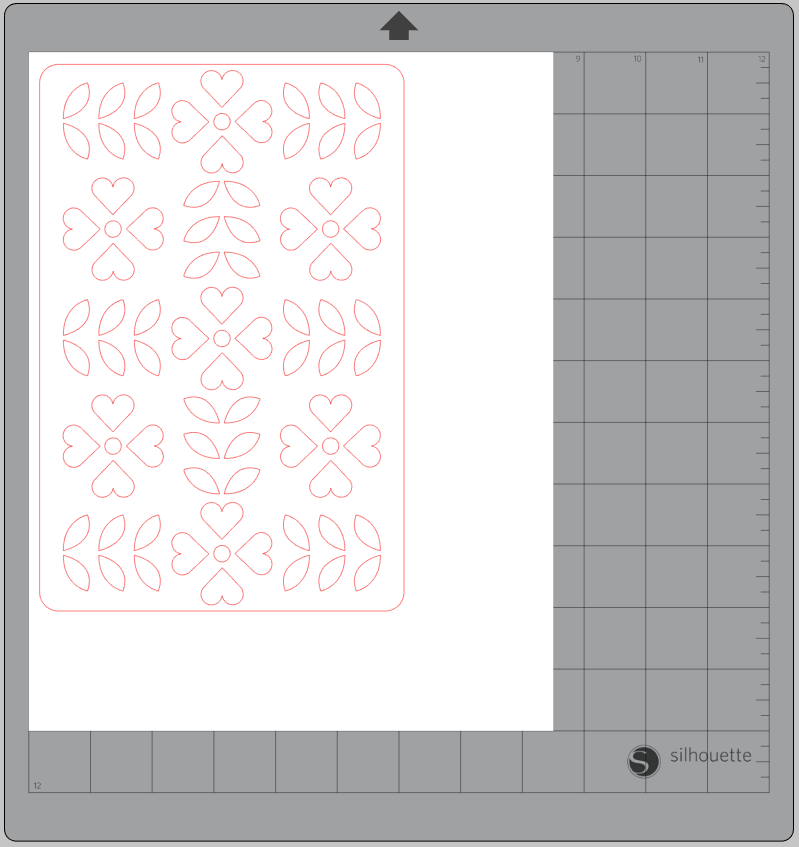
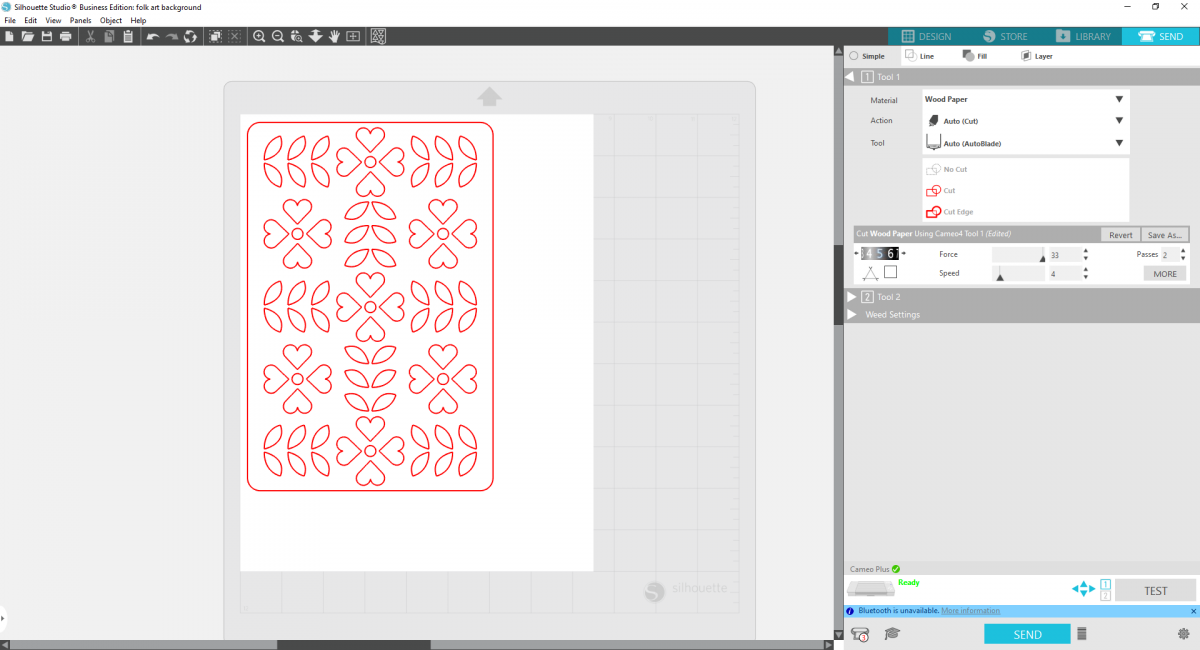
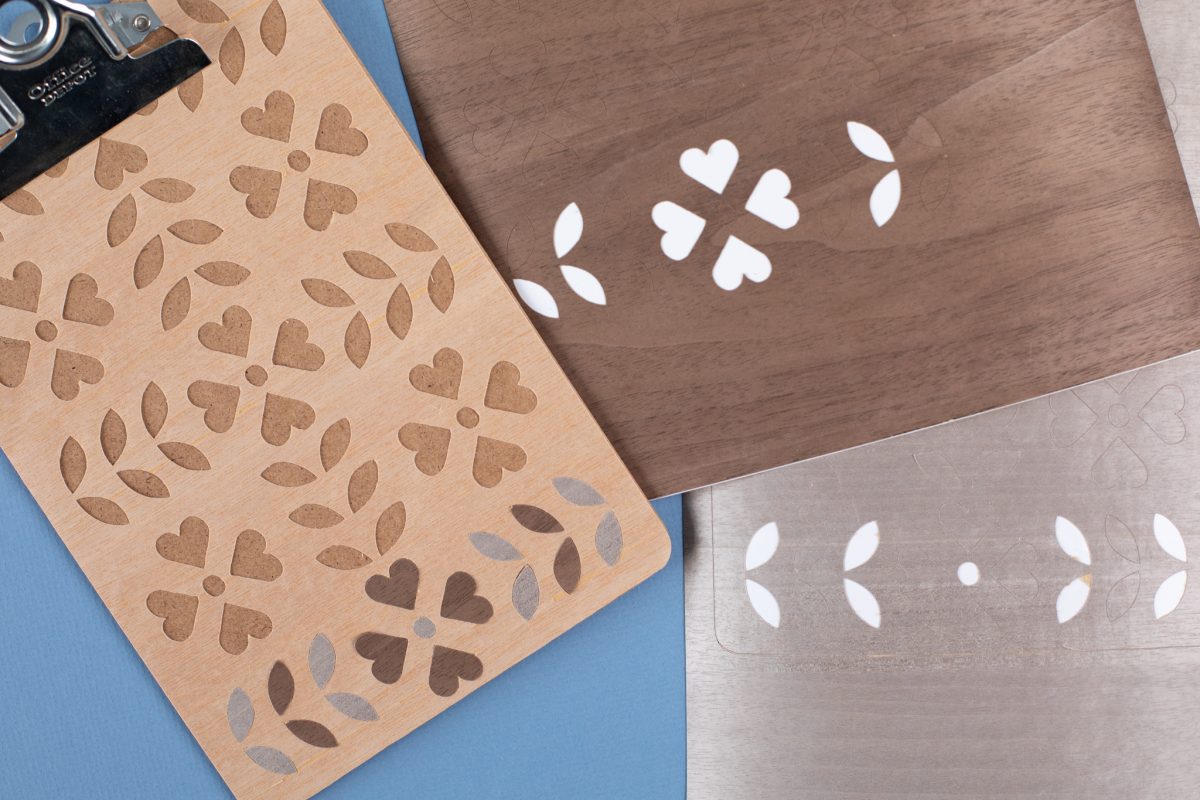
4. Now you’re ready to cut! Cut this design out of each of the three types of wood sheets (dark, light, and gray).
Step Two: Assemble Your Wood Design
1. Once your sheets are all cut, begin by applying the outline of the heart design on the lightest shade of wood onto your clipboard. You can hand-cut around the hardware of your clipboard to make it fit perfectly.
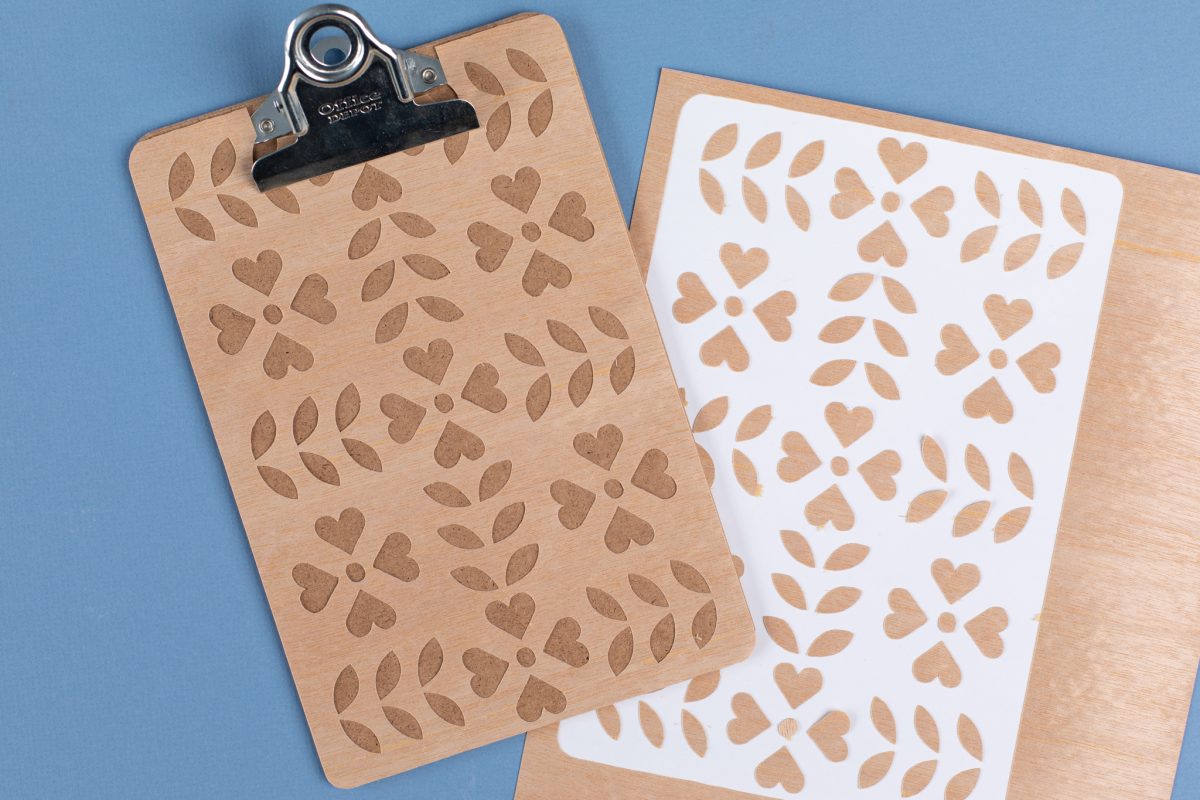
2. Now apply the hearts and leaves to the clipboard, filling in the spaces of your template in whatever pattern you like!
3. Continue until you’ve covered your entire clipboard so everything is filled and even! You’re beautiful clipboard is ready for use!