Hi everyone! Missy here. Spring is in full bloom at my house. I live in South Florida and it’s perpetually green, but late spring brings the added anticipation of glorious summer fruit. Today’s tutorial is inspired by Spring, and features a Silhouette Studio® software review of pattern-making. The possibilities are endless with patterns! The patterned paper we’re making today can be used in so many ways! Use it for scrapbooking, decoupage, envelope lining, wrapping paper, a paper gift box, gift tags, and so much more. The shapes I’ve chosen for this tutorial are cut files that you can color in Silhouette Studio®. They are really cute orange and orange blossom shapes.
You Will Need:
- Silhouette Studio®
- Paper
- Color printer
- Design of your choice (I chose Citrus and Oranges Garland Flourish)
Let’s get started!
Step One: Open and Color Design
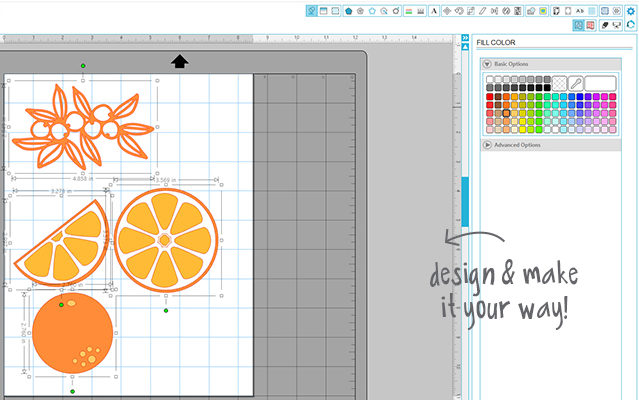
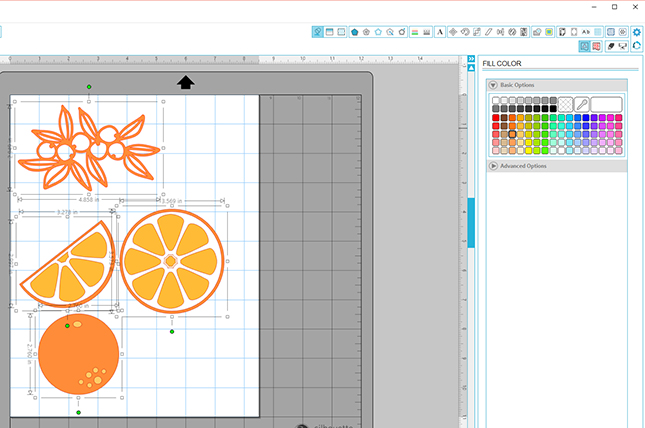
(1) Open the designs, Citrus (#9760) and Orange Garland Flourish (#80940) in Silhouette Studio®.
(2) Change page settings to fit your personal printer.
My printer takes 8.5 x 11″ paper, so I’ll reduce my project to that size in the Design Page Settings menu.
To edit the shapes:
(1) Click to select the shape, then in the Object menu click Ungroup (Control + Shift + G on a PC).
(3) Select the lemon and hit the delete key. It’s all about the oranges today!
There are two ways you can select shapes to color:
(1) Click on them individually
OR
(2) Use a shortcut (on a PC, Shift + Click) to select multiple shapes that will be filled with the same color.
You may need to move some shapes around to successfully fill with color (especially shapes that are white).
You can change the shape colors by selecting different colors from the Fill Color panel. Three of the fruits are broken down into smaller shapes because we ungrouped them.
Arrange the shapes by:
(1) Clicking and dragging the mouse over all of the orange slice shapes.
(2) Grouping the shapes together (Control + G on the PC).
Repeat this grouping action for the other two orange shapes.
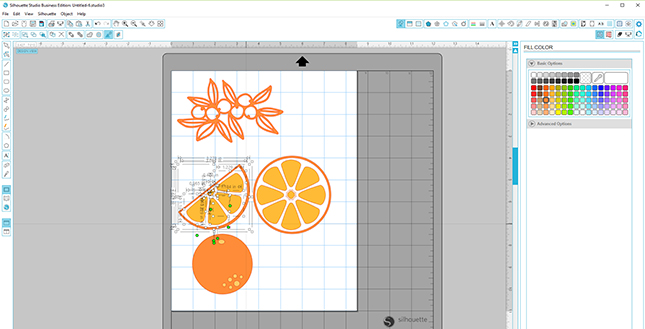
The orange blossoms are only one shape, so you’re all set. Whew.
Now you’re ready to manipulate these four orange objects into a pattern.
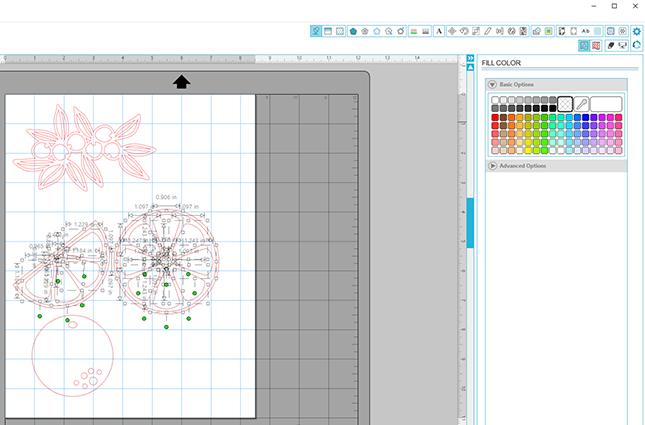
Step Two: Resize, Rotate, and Replicate
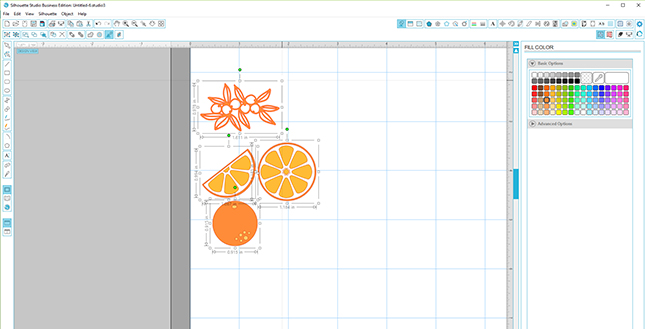
The next step is to re-size the shapes into something more pattern-worthy.
(1) Select all and click on the bounding box around the objects to scale down to a size that’s an inch or two. (It’s okay if it looks different than mine.)
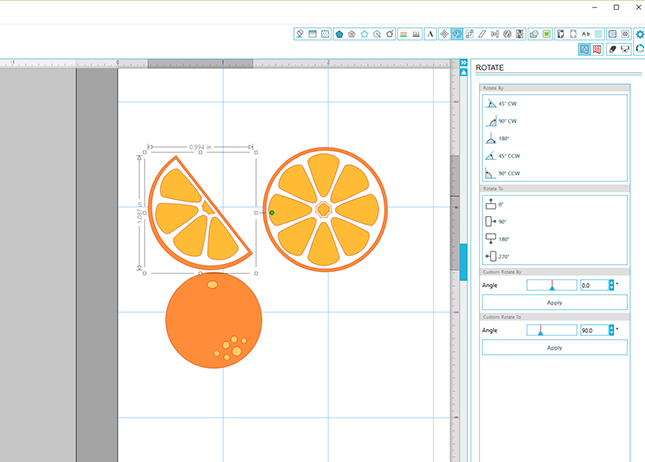
If you’re not happy with the direction of a shape (and I’m not), adjusting it is simple.
(2) Click on the object and open the Rotate menu to make adjustments.
NOTE: I’ve rotated the orange slice by 90 degrees here.
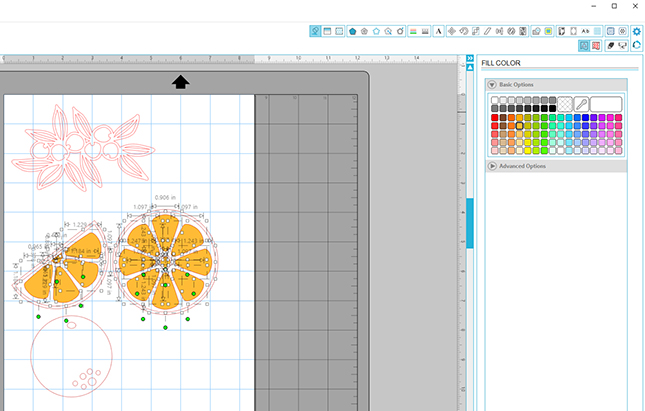
(3) Group the three orange and slice shapes into a row that will be repeated across the page.
Remember, we group them by selecting all three shapes and hitting Control + G (for PC users).
(4) Replicate this group of oranges several times by selecting the Duplicate button.
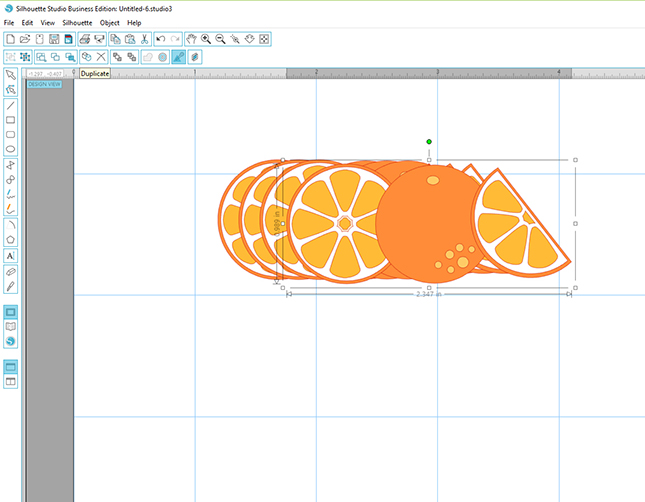
Likewise, duplicate the orange blossom shape several times.

Step Three: Align Horizontally and Vertically
Here’s my alignment trick. Are you ready? This will eliminate the need to measure spacing:
(1) Place an orange on the left side of the page, roughly where you want it.
(2) Move the item that goes all the way to the right nearly where you need it to go.
(3) Select all the objects.
(4) Open the Align Window and—are you ready for the magic?
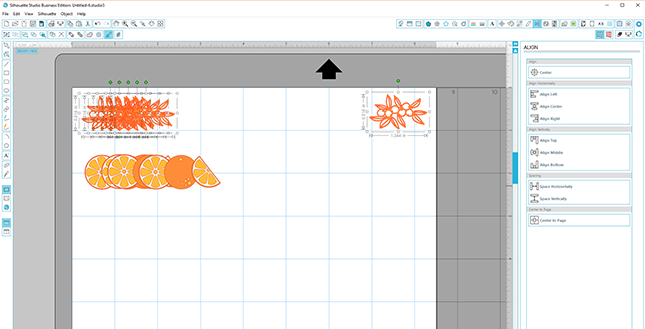
(5) Select “Space Horizontally” in the Align menu.
If you select Align Top, all objects will be aligned vertically too! Now that you have an evenly spaced row of orange blossoms, repeat this step for the orange and slices.
For an automatic vertical alignment, repeat this process but select “Space Vertically” in the Align Panel.
To check your alignment:
(1) Click “Align left.”
All your rows should line up.
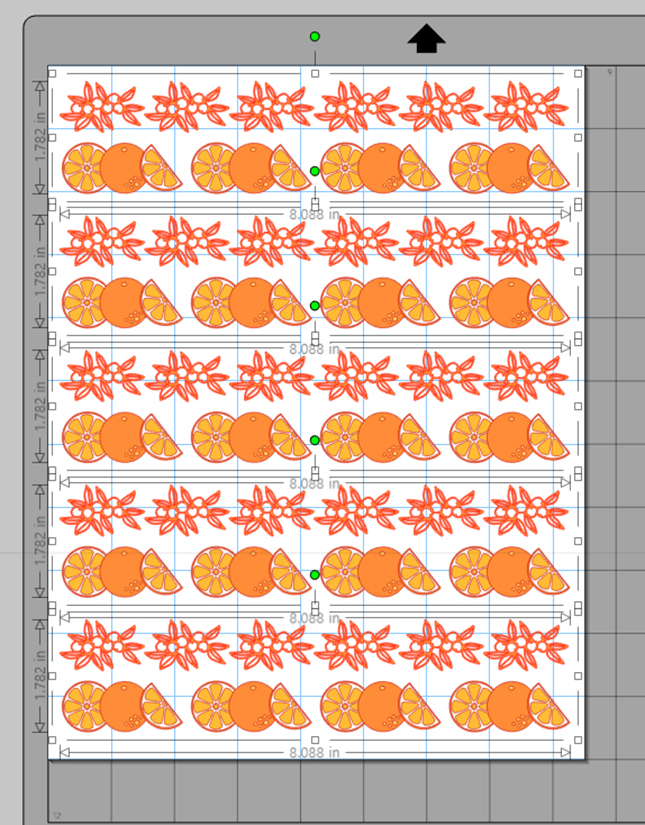
You’re now a pattern-making superstar. Drop the mic. Walk off the stage.
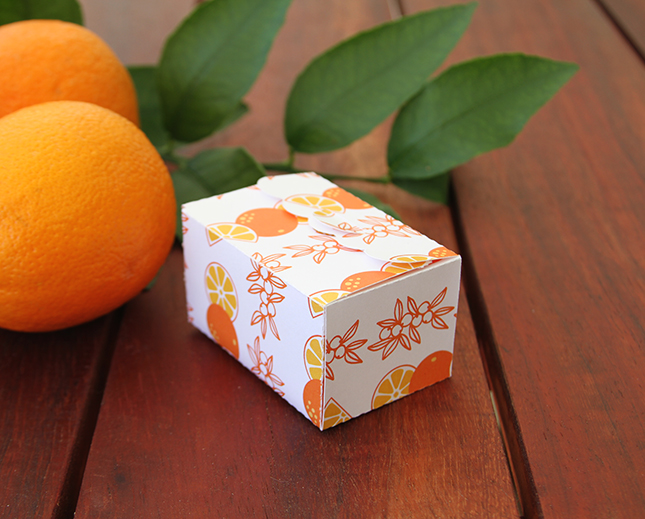
SILHOUETTE PRO TIP:
I printed this on cardstock and cut it into a gift box. This is shape #45680 – 3D Scalloped Expanding Box Rectangle, for small gifts. With a ready-made box, you can forget about wrapping. (I can never find that darn transparent tape anyway.)
BONUS—Use your own drawings or hand-lettering scanned as a JPEG and make your own print patterns in Silhouette Studio®! Remember how I mentioned earlier that I do my own hand-lettering?

I drew mangoes and blooms, lettered the word mango, and made some crazy patterns for this decoupage-on-wood box.
What can you think of for patterned paper?
Tag me on social media if you try it. I’d love to see patterns you create!
Nasze Naturalne
September 3, 2025
Your authentic voice really shines through in everything you create and share
Naszenaturalne
September 2, 2025
Really love your style
Kelly Wayment
June 28, 2024
You can use it with vinyl as long as it is smooth and flat to allow the static charge to hold on to it. Rolled vinyl that wants to go back to its rolled shape will not necessarily work well, and it would need to be trimmed to fit the ES mat cutting area.
Kelly Wayment
June 28, 2024
Yes, you can use the heat pen while using the ES mat. 🙂
Yurii
March 2, 2024
Hello. May it be used with heat pen?
Thanks
Jerome
February 24, 2024
Hi, works this with the normal vinyl foils or only with printer papter etc?