
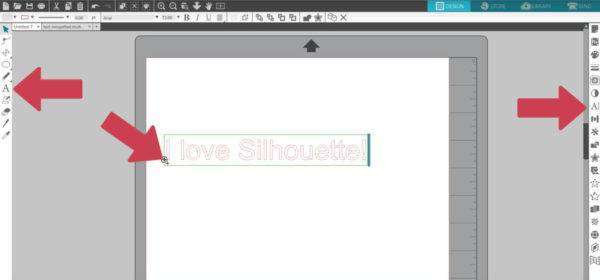
As you may have learned in our tutorial for “Basic Design and Text Tools in Silhouette Studio®,” creating text is as simple as choosing the Text tool on the left, placing a cursor on the page, and typing the text.
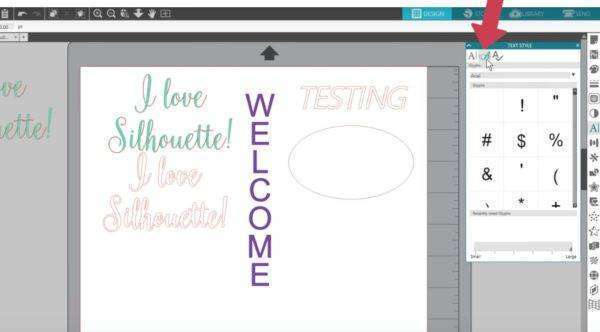
Open the Text Style panel or use the Quick-access Toolbar to choose from any font that is installed on your computer.
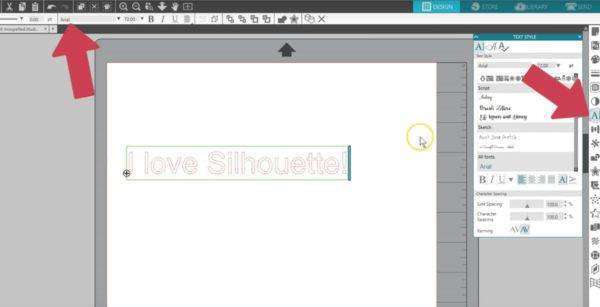
Adjusting the size is as simple as choosing a preset or typing the desired size into the input box.
You can change text properties when text is highlighted in Text Editing mode or when the text is selected as an object. To enter the Text Editing mode, double-click the text.
If you want to change just a few characters within the text box, you’ll need to highlight those while you are in the Text Editing mode.
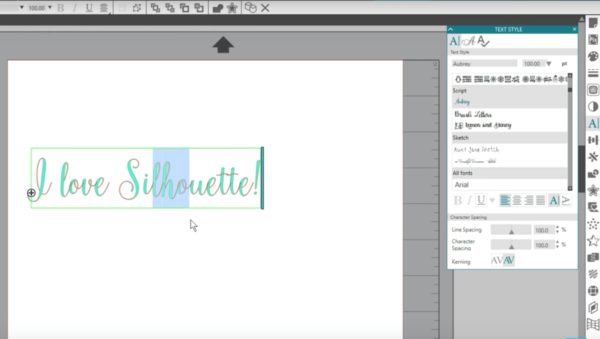
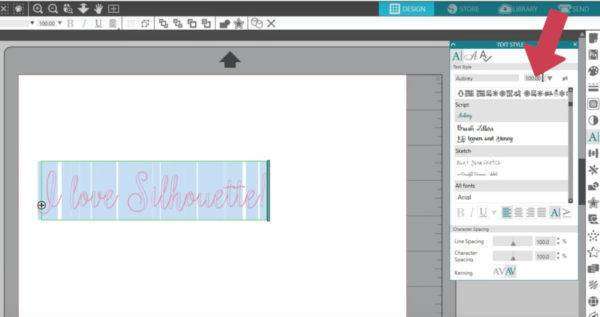
Let’s go a little deeper. When in the Text Editing mode with the green box and flashing cursor, you can use this slider bar on the right to create line breaks in your text.
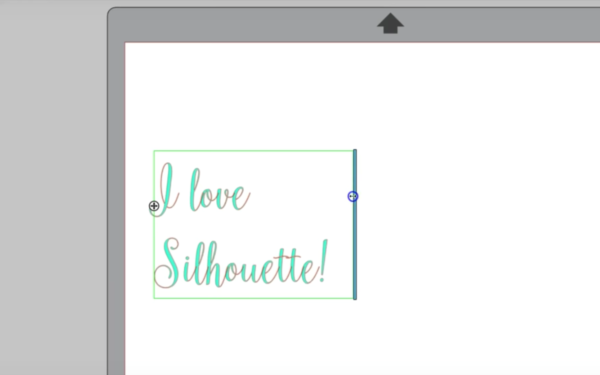
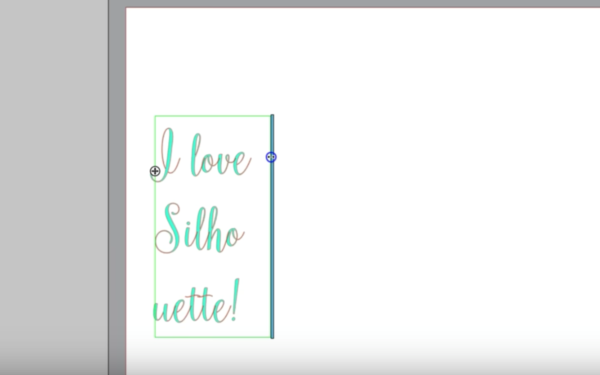
It will first break between words, but as you continue to shrink that available space, it will move individual letters down to the next line.
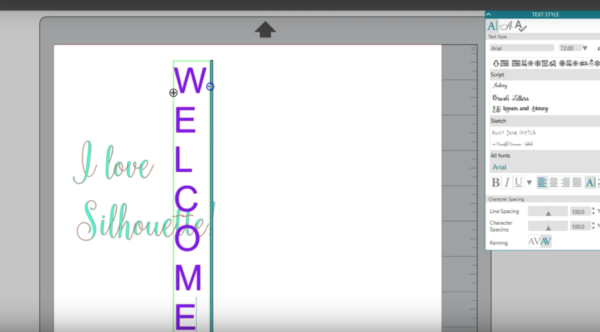
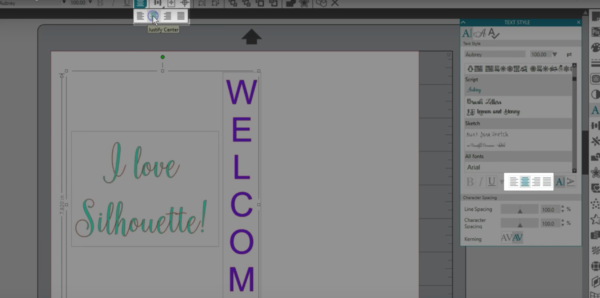
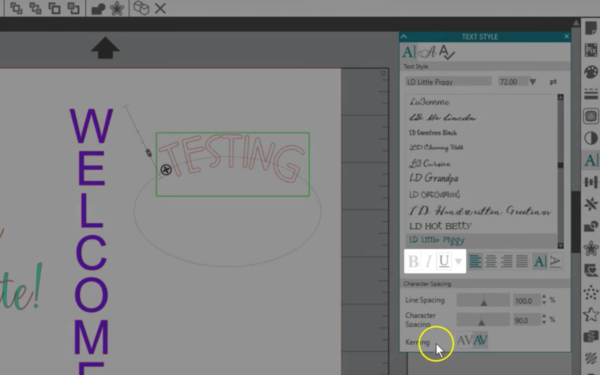
Let’s say you want to make a welcome sign and you want your text to type vertically. Choosing the vertical option will rotate it so it types down the side.

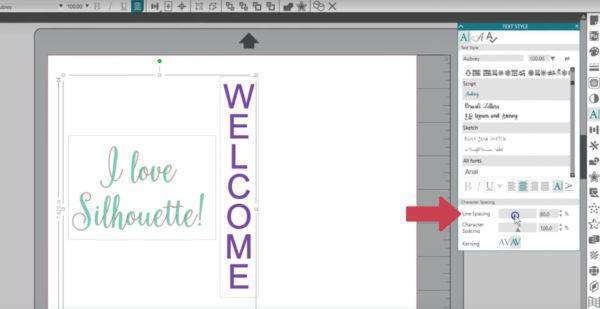
To get each letter on its own line, drag the slider to move those letters down.
Change your justification with these options in the Text Style panel or in the Quick-access Toolbar drop-down menu.
Line Spacing adjusts the spacing between the lines.
Character Spacing adjusts the spacing between letters. Keep in mind this affects the spacing for the entire text box, even if you have just a few letters highlighted.
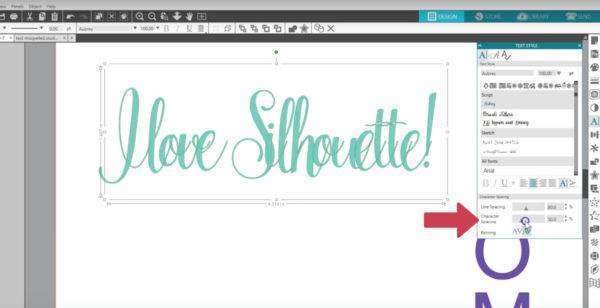
Character spacing is really helpful for certain script fonts that may not overlap as you expect, or when working with text on a path. You can find out more about text to path with our tutorial on “How to Curve Text.”
There are two more parts of the Text Style panel we should mention. Kerning is on by default, and you can turn it off in this panel. Kerning adjusts the spacing between letters in your font so they look and fit better together. With most fonts, you won’t see a difference, so we recommend leaving it on.

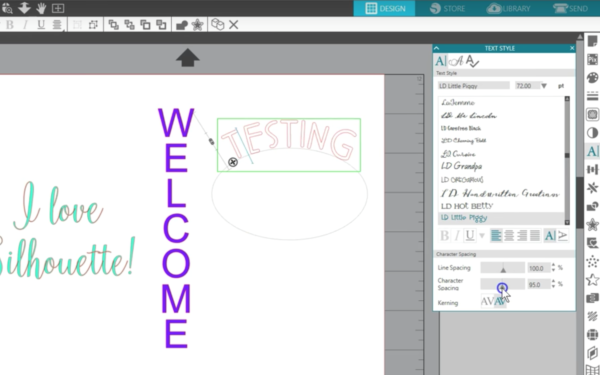
Bold, Italic, Underline, and other options will be available depending on the particular font.
Most fonts do not have these options and will be grayed out, but if you have a font that you know has extra characters available, check here with this drop-down arrow.

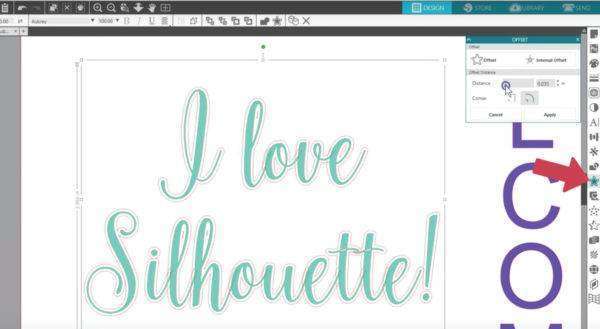
If you want to create a faux bold, you can use your Offset Tool.
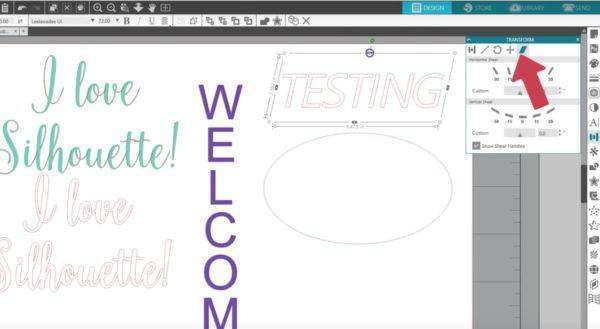
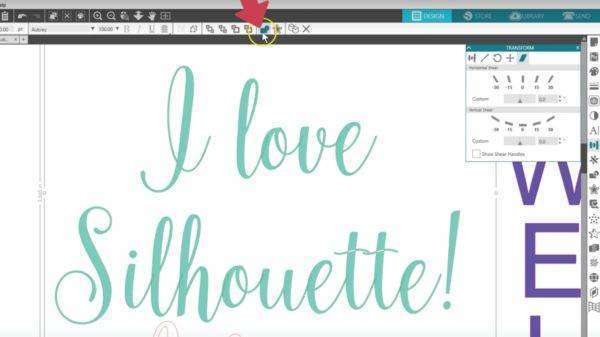
If you want to force your text into italics, users that have Silhouette Studio® Designer Edition and higher can go to the Transform panel and use the Sheer tab.
The ability to edit text as text ends as soon as you ungroup it, use any Modify tools on it (like welding), or if you convert it to a path. Saving a copy of your text off to the side before making any of these kinds of changes will keep your original text intact.
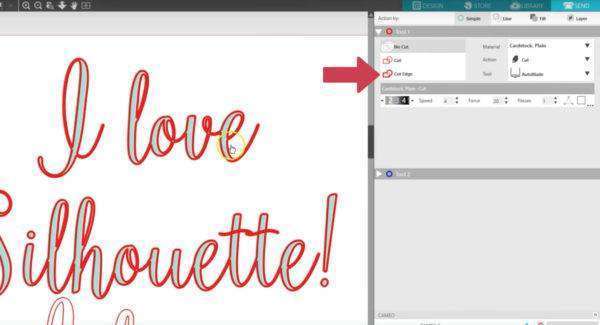
To keep overlapped letters from cutting into each other, you have two choices. The first is to use the Weld function, but keep in mind that using this option causes the text to loose its text properties, like the font name, the font size, and the ability to change what it says.
The second way is in the Send panel. Choose the Cut Edge option. That’s an autoweld that cuts around the outside edge of your letters and ignores overlapped areas. Your text stays editable when using this option.
Back in the Text Style panel, those with Designer Edition or higher have the tab for Glyphs. You can find special characters for your installed fonts and easily add them here. Check out our tutorials for “Using Glyphs in Silhouette Studio®” for more information on that Designer Edition and higher feature.
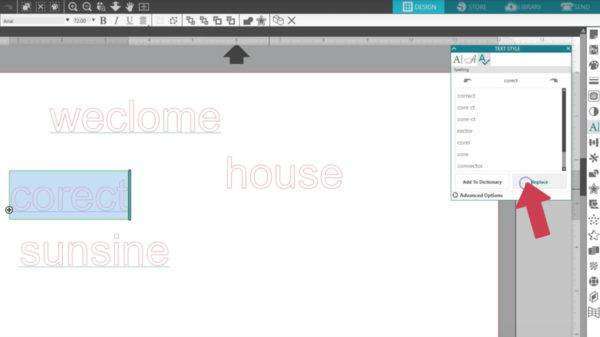
The last tab in the Text Style panel is a Spell Checker.
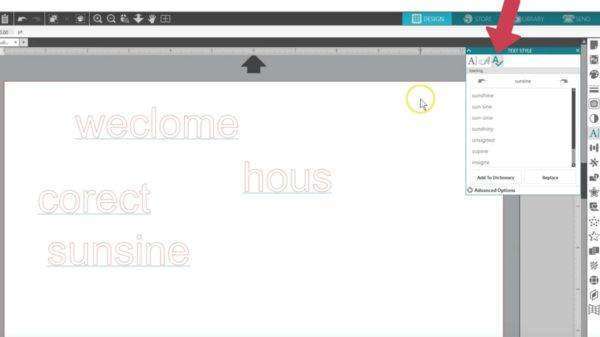
If you have misspelled words on your page, indicated by a little blue underline on those words, you can right click to see suggestions, go to Spelling to see more suggestions in the Spelling Panel,

or go straight to the Spelling panel and use the arrows to cycle through flagged words on the page.
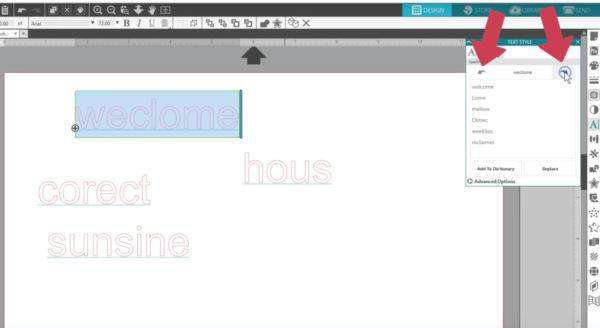
Highlight the suggestion and click Replace to fix that word.
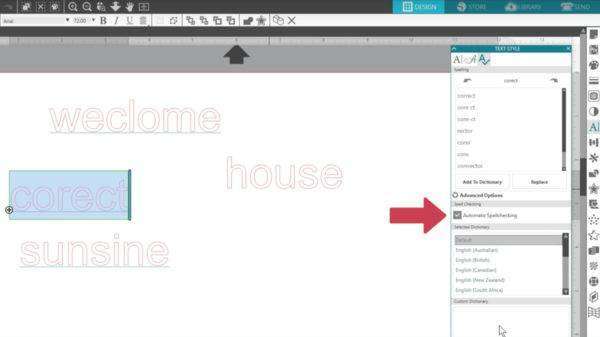
Advanced Options lets you turn off the automatic spell check, select from some alternate dictionaries, and add new words to a custom dictionary.
Here’s a tip on copying and pasting text. If you copy text from another program, you can paste it into Silhouette Studio®, either with or without starting a text cursor first.
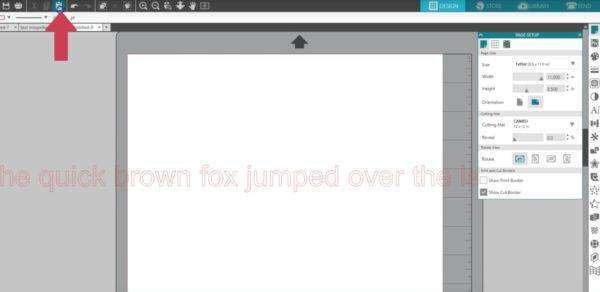
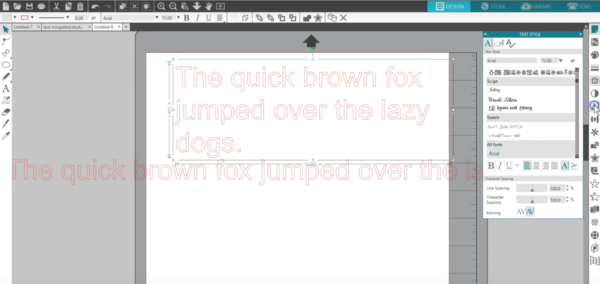
It doesn’t keep the font when copying, so you need to adjust that after the text is on your work page.

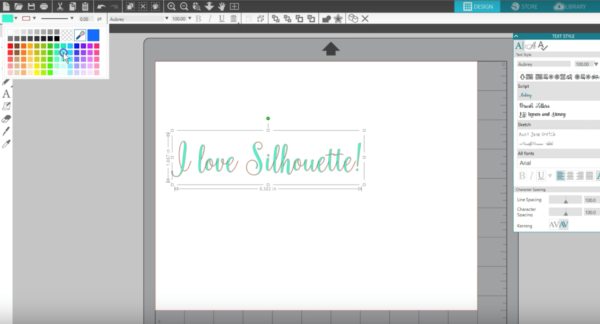
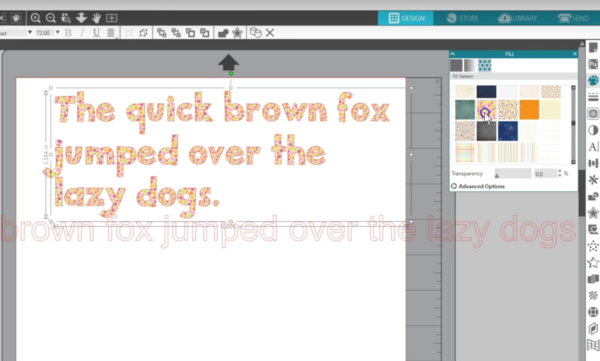
One last thing about working with text in Silhouette Studio®. If you fill your text with a pattern, the pattern fills each letter at a different scale.
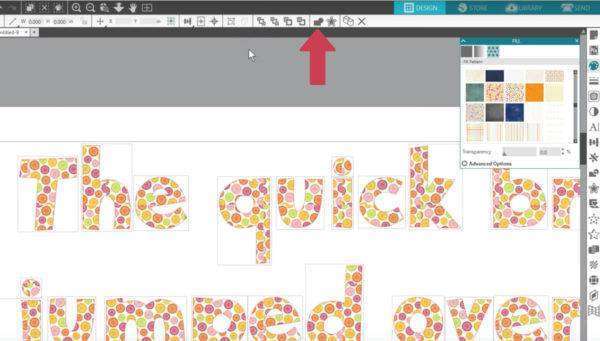
To get the pattern to look uniform across the letters, simply Weld the text first. Just make sure you’ve got your text the way you want it before welding it together because after you weld it, it cannot be changed and you’ll have to start over.
Hopefully this tutorial will help you get well on your way to working with text in Silhouette Studio®!
Mary Ann Cooper
November 9, 2018
I cannot get this machine to cut the vinyl without tearing it. I have adjusted the blade. changed the setting. Where is a book or manual that helps me with this section?
Kelly Wayment
November 13, 2018
Sorry you’re having trouble, Mary Ann! There is a post with a lot of troubleshooting tips here (scroll to the sections on “The cut is ragged or torn in certain parts” and “Basic troubleshooting for cut condition issues”. http://www.silhouette101.com/archives/troubleshooting
I personally cut most adhesive vinyl on blade 2, speed 8, force 9 so you might want to try that. Also try a new blade if you haven’t already done so. If you continue to have trouble, please contact the Silhouette Support team via live chat at https://www.silhouetteamerica.com/contact and they can troubleshoot with you. Good luck!
Mary
November 14, 2018
I am a newbie here and the first time I tried to type text, using the steps in the tutorial, all I got on my page was a grey circular area in which a green box showed up and lengthened when I typed but no text appeared. Nothing I have tried has changed that. No matter which type I choose,still no text.
Kelly Wayment
November 19, 2018
Hi Mary. That’s not normal behavior, so I suggest contacting Silhouette Support if it is still behaving that way and they will troubleshoot with you. It could have something to do with antialiasing settings or your graphics card driver, but they can help you with that.
Adele Pullano
December 3, 2018
Hi not sure if i’m in the right place but i’m really struggling to make my text stretch (i’m wanting to have a Star Wars kind of text where the top line looks slightly more stretched and I think it is slightly smaller) but I am not sure at all how to do this. Any help welcomed, Thanks, Adele
Kelly Wayment
December 14, 2018
Adele, the way to do that right now is with point editing (any edition) or by using the Warp tool (Designer Edition and higher). Here’s more about the Warp tool: https://www.youtube.com/watch?v=RCASxLfuO8Q and here’s more about Point Editing: https://www.youtube.com/watch?v=pkoaAMktc8M&list=PL6euVBZ4QfhyiAZbAFRyJTCUObBBZVX7x&index=43
In an upcoming version of Silhouette Studio, there will be a text warp function to quickly alter your text like you described, but it’s still in beta testing.