
Today we have a very simple project that is perfect for beginners who are looking to learn more about their machines, heat transfer, and fonts. You’ll see just how easy it is to personalize any fabric accessory with heat transfer!
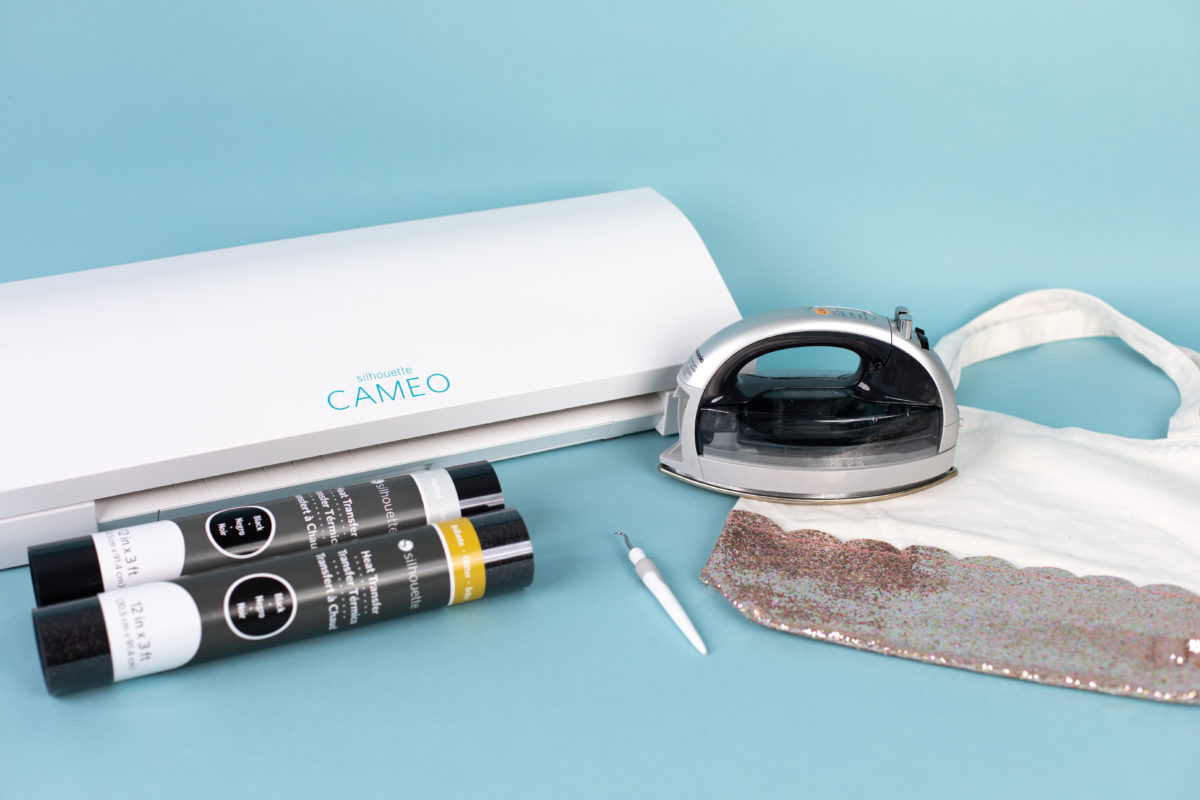
Supplies Needed:
- Silhouette CAMEO®
- Silhouette Studio®
- Silhouette Cutting Mat
- Silhouette Cutting Blade
- Silhouette Hook Tool
- Silhouette Heat Transfer – Smooth Black
- Silhouette Heat Transfer – Glitter Black
- Tote Bag
- Design ID #286044
- Design ID #226089
Step One: Create Your Design
1. Open Silhouette Studio® and select the Text Style panel from the right-hand side. Choose the font Fresh Start font (Design ID #286044). Learn how to install fonts from the Silhouette Design Store® here.
2. Select the Font tool from left-hand tool bar and type your phrase on the design space. For more information on using the font tool, click here.
3. We put the text in three separate text boxes to make doing the layout a little easier.

4. Select each line and scale it to the size you need to fit your tote.
5. When all the lines are resized, select all the lines, and then open the Transform Panel (the icon is located on the right-hand side toolbar) and align all the lines together by selecting Horizontal – Centered.
6. Now open the star (Design ID #226089) and resize it using the corner scale handles. Duplicate the design and it place around your phrase. Adjust the angle with the green circle handle at the top of the design.

Step Two: Send to Machine
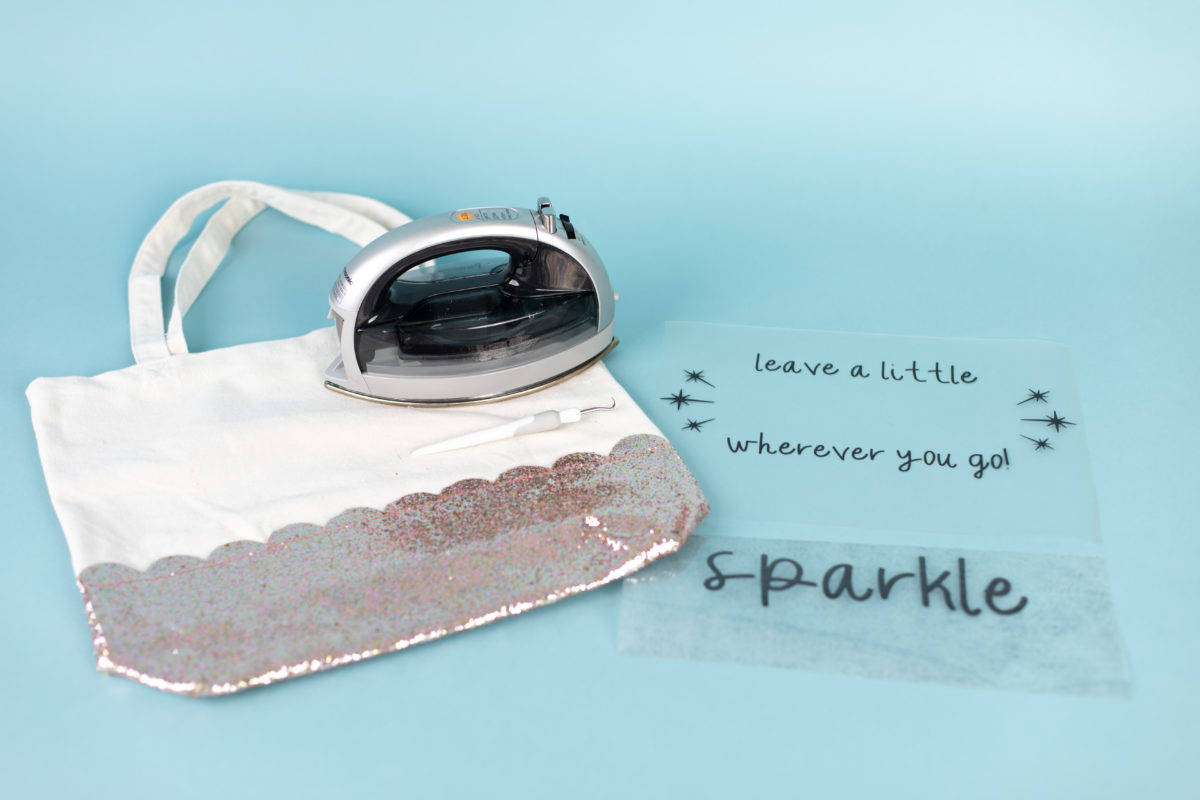
1. We cut the phrase using two different kinds of heat transfer. We cut everything but the word “sparkle” out of smooth heat transfer.
2. Select and move the “sparkle” away from the design area and to the gray holding area.

3. Now send the cut job to your Silhouette machine using the cut settings for “Heat Transfer, Smooth.” Remember to send the design mirrored so that when you transfer the vinyl the phrase won’t be backward.
4. Now remove that design from the cut field and place the “sparkle” back into the cut field. Mirror your design and send it to your machine using “Heat Transfer, Glitter” as your material.
Step Three: Weed and Iron Design
1. Weed the material with your hook tool. Make sure to get the remaining heat transfer inside the looped letters.
2. Place the heat transfer onto your tote and cover it with cloth. Press a hot iron onto the design and iron the design in place for 45 to 60 seconds.
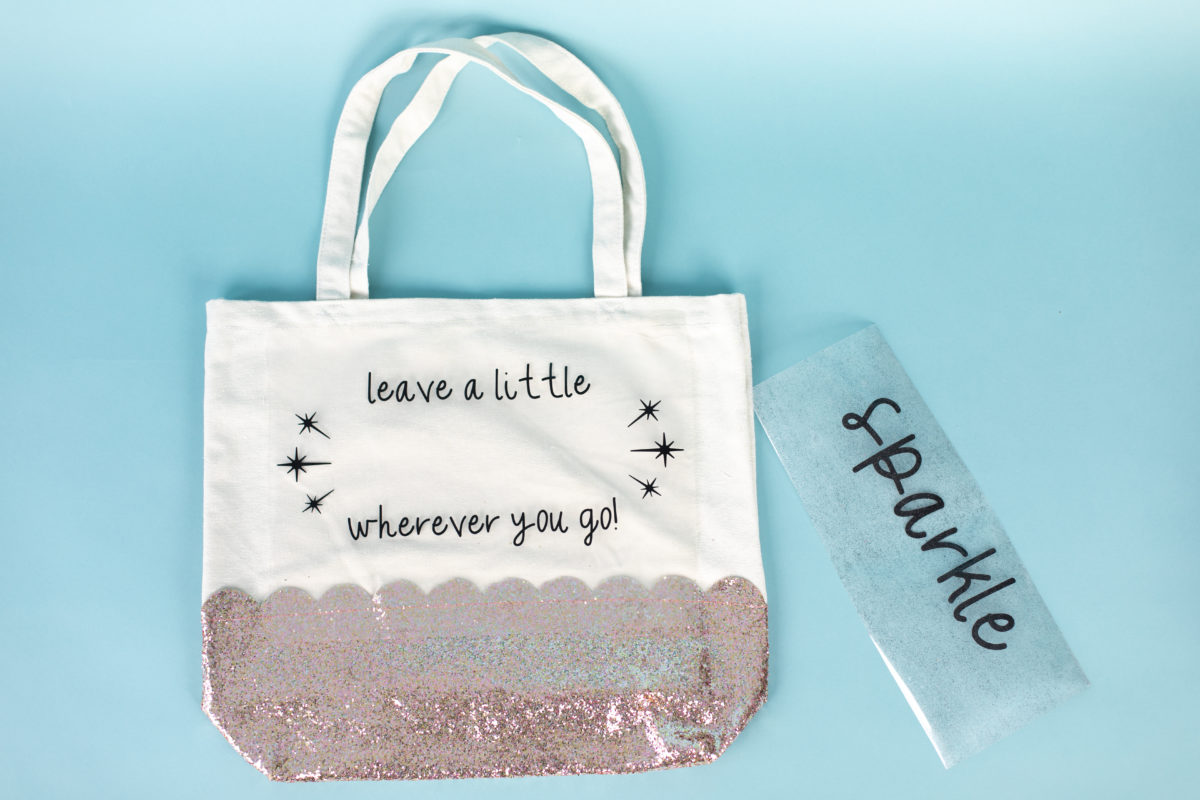
4. Repeat the same step with the glitter vinyl.

And now with this glitter tote, you too can leave a little sparkle wherever you go! We hope you have a blast customizing your own tote bag.
Kelly Wayment
June 28, 2024
You can use it with vinyl as long as it is smooth and flat to allow the static charge to hold on to it. Rolled vinyl that wants to go back to its rolled shape will not necessarily work well, and it would need to be trimmed to fit the ES mat cutting area.
Kelly Wayment
June 28, 2024
Yes, you can use the heat pen while using the ES mat. 🙂
Yurii
March 2, 2024
Hello. May it be used with heat pen?
Thanks
Jerome
February 24, 2024
Hi, works this with the normal vinyl foils or only with printer papter etc?
Kelly Wayment
February 16, 2024
Once you’ve pushed the mat up against the rollers, just press the “Load” arrow button (bottom right on the display). Does a regular sticky mat load into the machine for you?
Michelle a goodall
January 24, 2024
Hello! I just got my new electrostatic mat and have watched every video i can find on it. However, what i can t find is why it wont feed into my cameo 5/ it slides right up the rollers but wont go any further. and yes- iam pushing the into button. help!