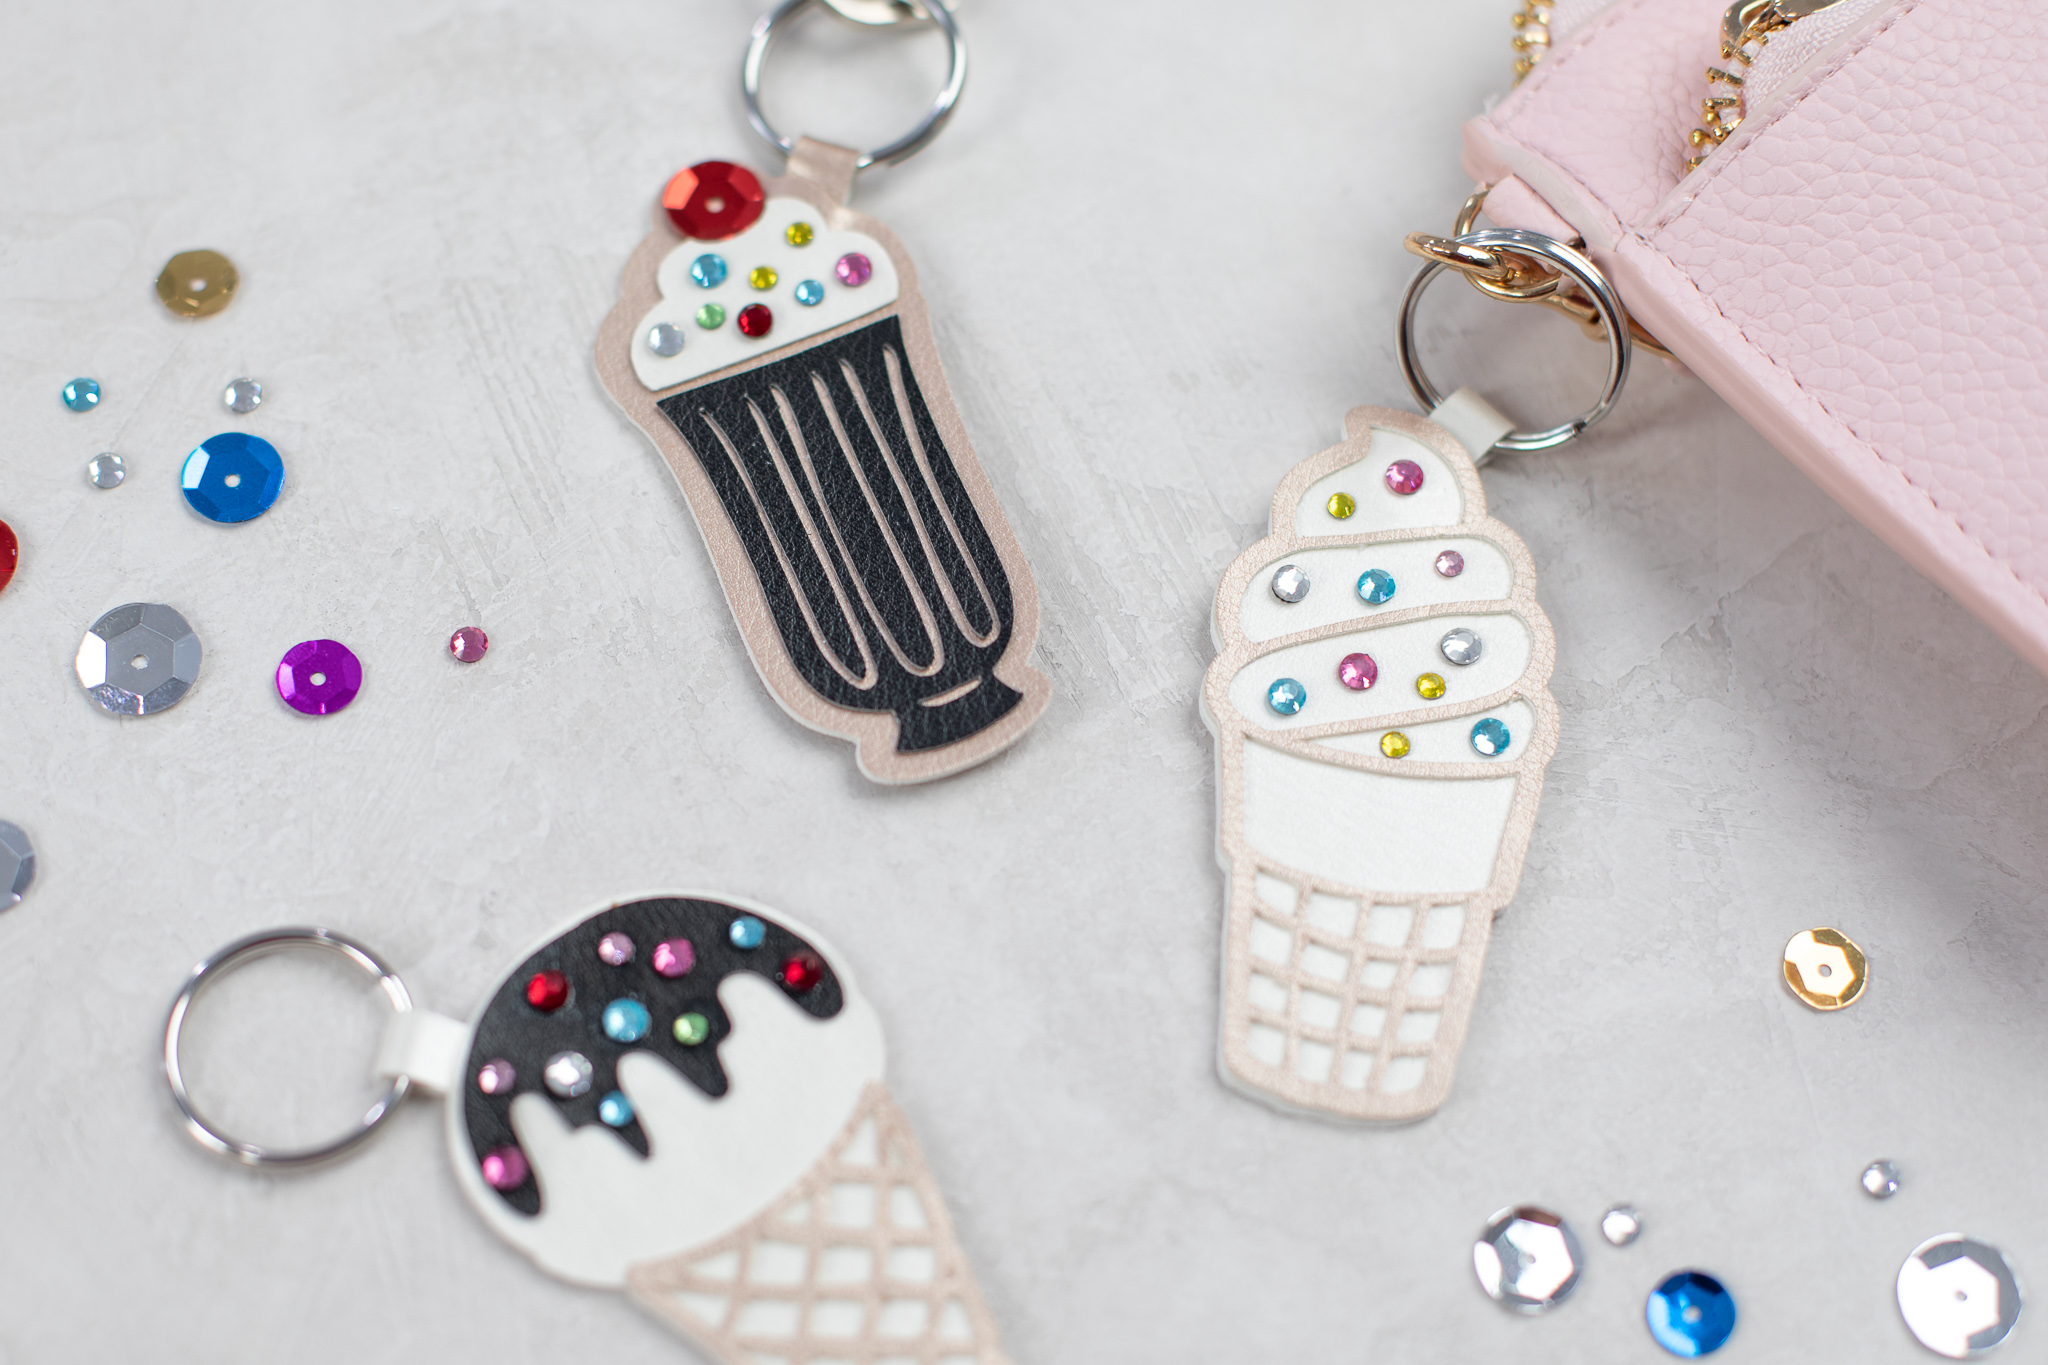
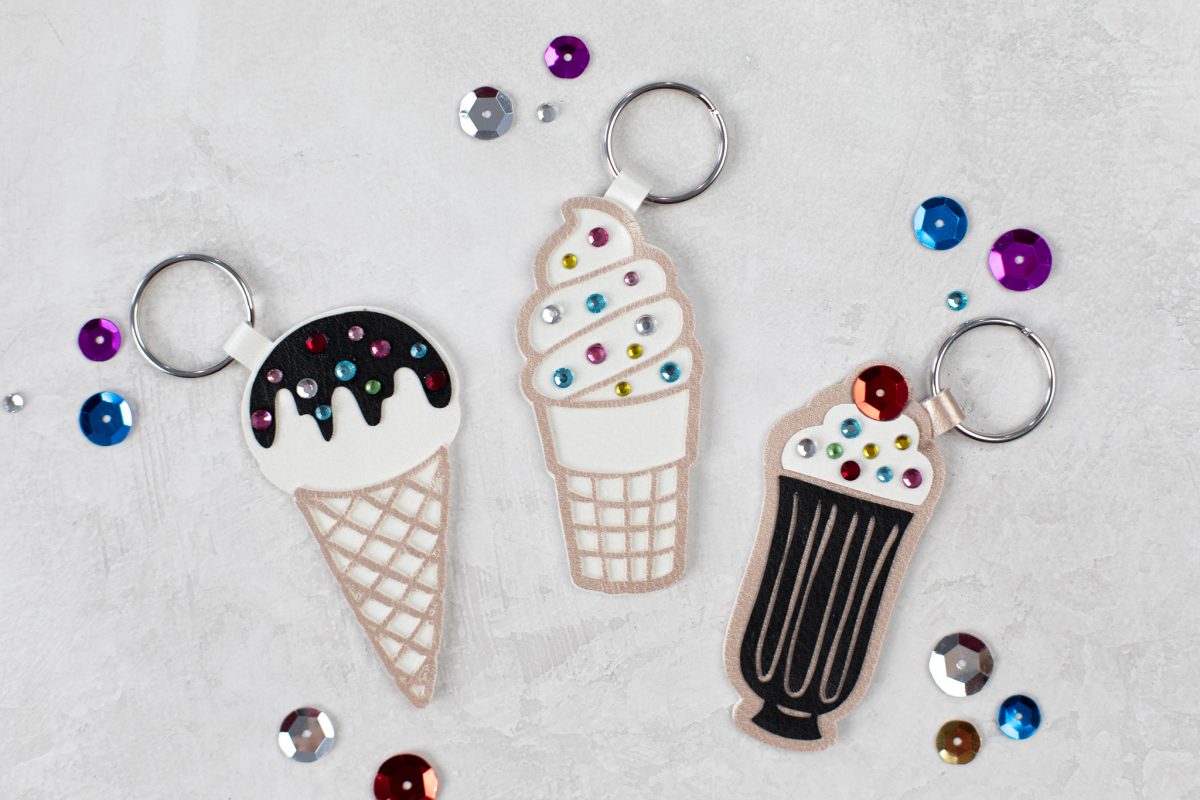
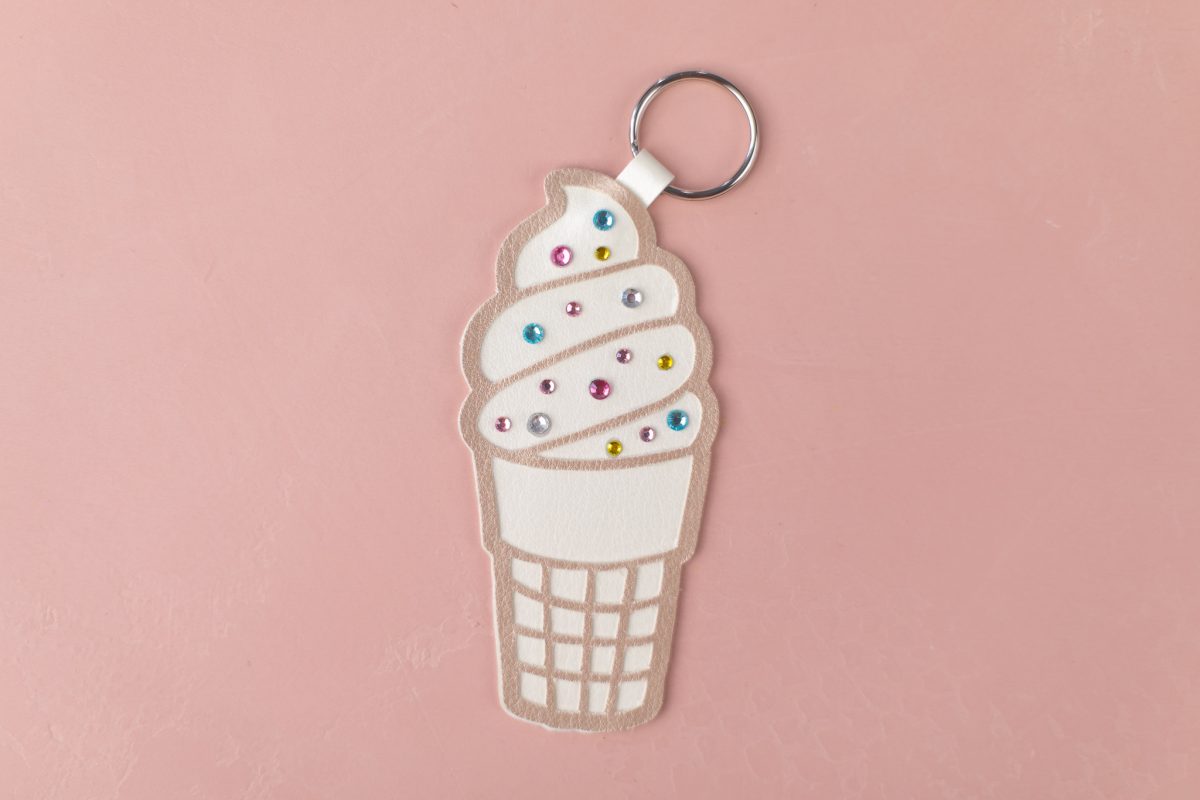
Add a little sparkle to your keys or your purse with these fun Ice Cream Key Chains! Made of Silhouette Leatherette, these little charms are a sew-free project and can customize your everyday essentials.
Supplies Needed:
- Silhouette CAMEO® or Silhouette Portrait®
- Silhouette Studio®
- Silhouette Cutting Mat
- Silhouette Cutting Blade
- Silhouette Leatherette
- Super Glue
- Key rings
- Rhinestones and sequins
- Design ID #275141
Step One: Preparing the Ice Cream Designs
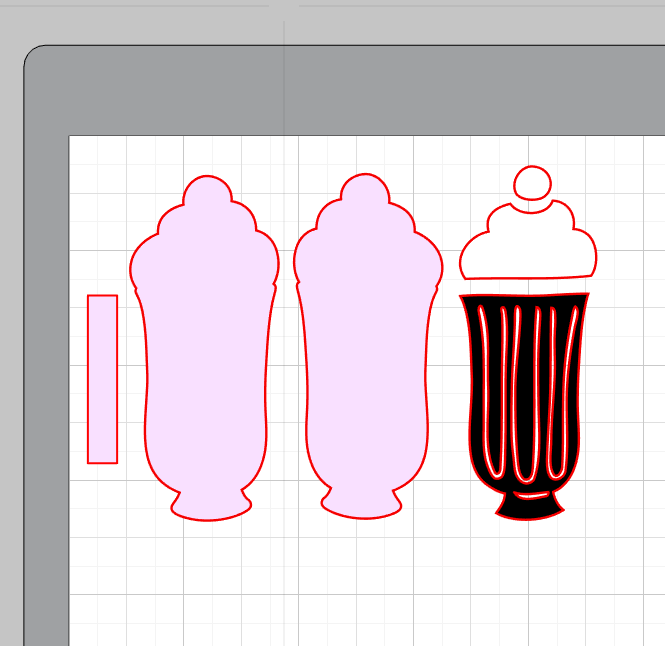
1. Insert Design ID #275141 into Silhouette Studio® and ungroup the design by right-clicking on the image and selecting Ungroup from the drop-down menu.
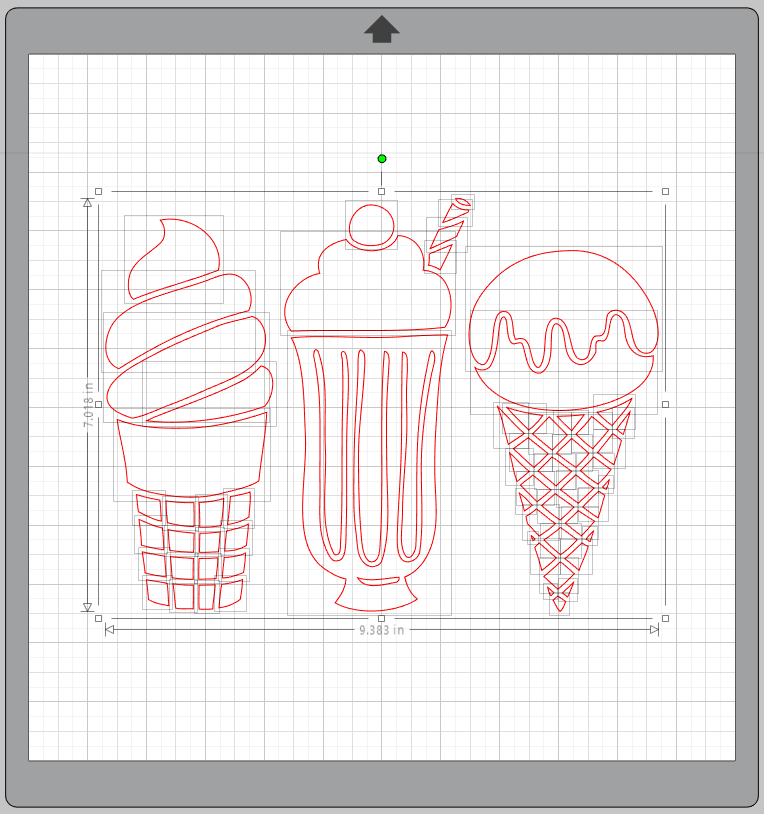
2. Delete the straw pieces from the middle design. Then select each ice cream cone individually and select Offset in the Offset panel on the right. This will create an outline around each ice cream treat.
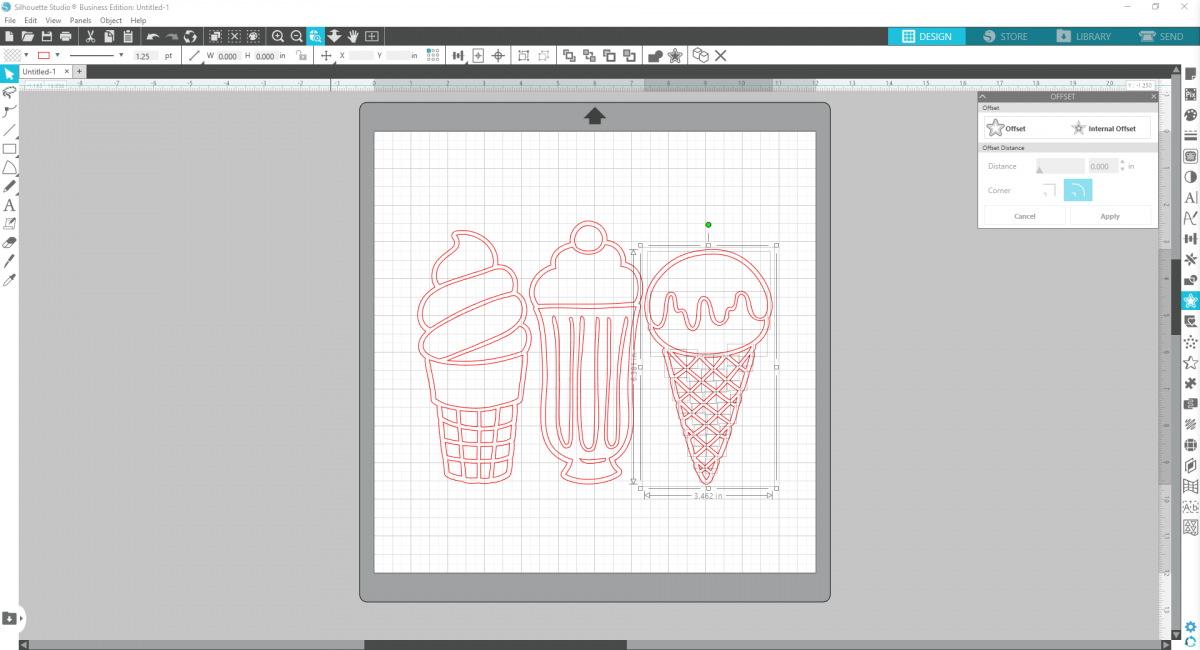
3. For the first cone, make a duplicate of the outline created by the offset. Then make another duplicate and flip that image horizontally.
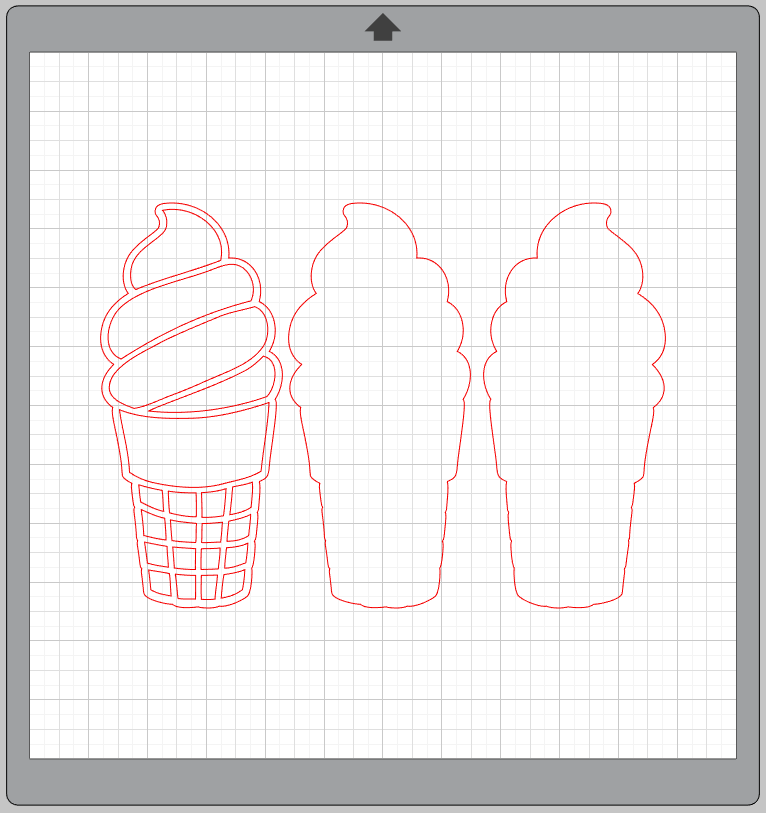
4. Resize all the ice cream cones to be 3 inches tall or however large you’d like your design to be. Then with the drawing tools create a rectangle with the dimensions .25 inches by 1.5 inches.

5. Cut out the two blank ice cream cones and rectangle out of the cream leatherette material , and the detailed cone with the gold leatherette. Cut using the appropriate cut settings.
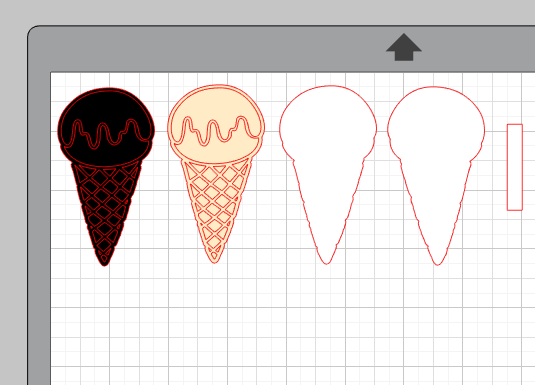
6. For the second ice cream cone, follow the same sets: Duplicate the offset shape twice, flip one horizontally, and then duplicate the detailed cone again. Make another .25 inch-by-1.5-inch rectangle. Size all the cones to 3 inches tall.
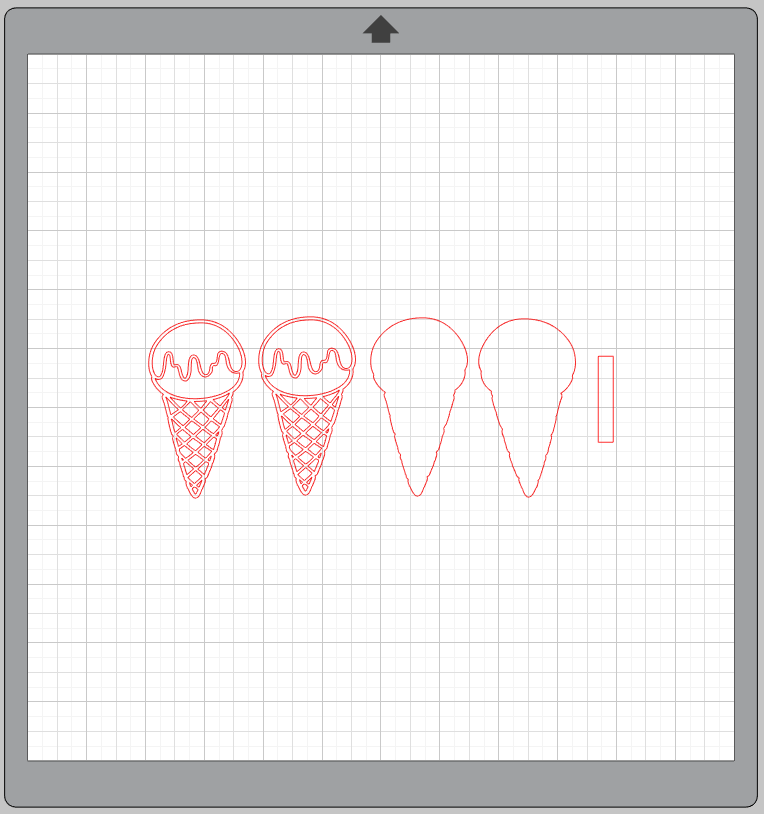
7. Cut 1 detailed cone in black leather, one in gold leather, and the remaining pieces in cream.
8. For the Milkshake, duplicate the offset shape and flip it horizontally.
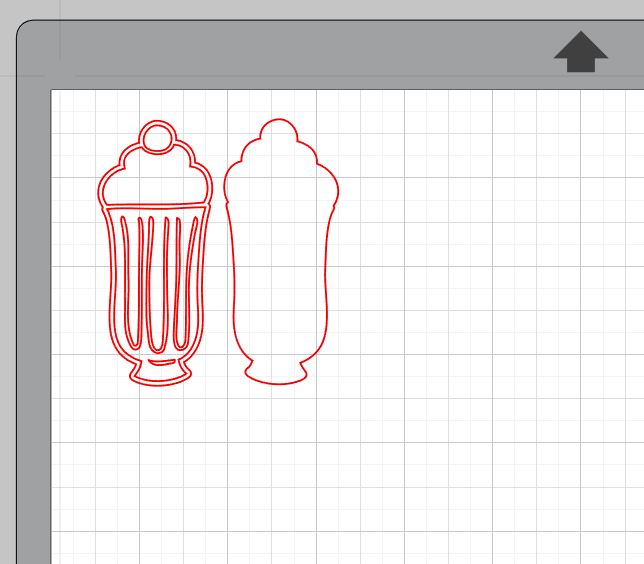
9. Then separate the pieces of the milkshake. Make the two offset designs gold, the cup black, and the whip cream and cherry white. Cut another .25 inch-by-1.5-inch rectangle out of gold. Cut out with appropriate settings and leatherette colors.
Step Two: Assembling Your Key Chains
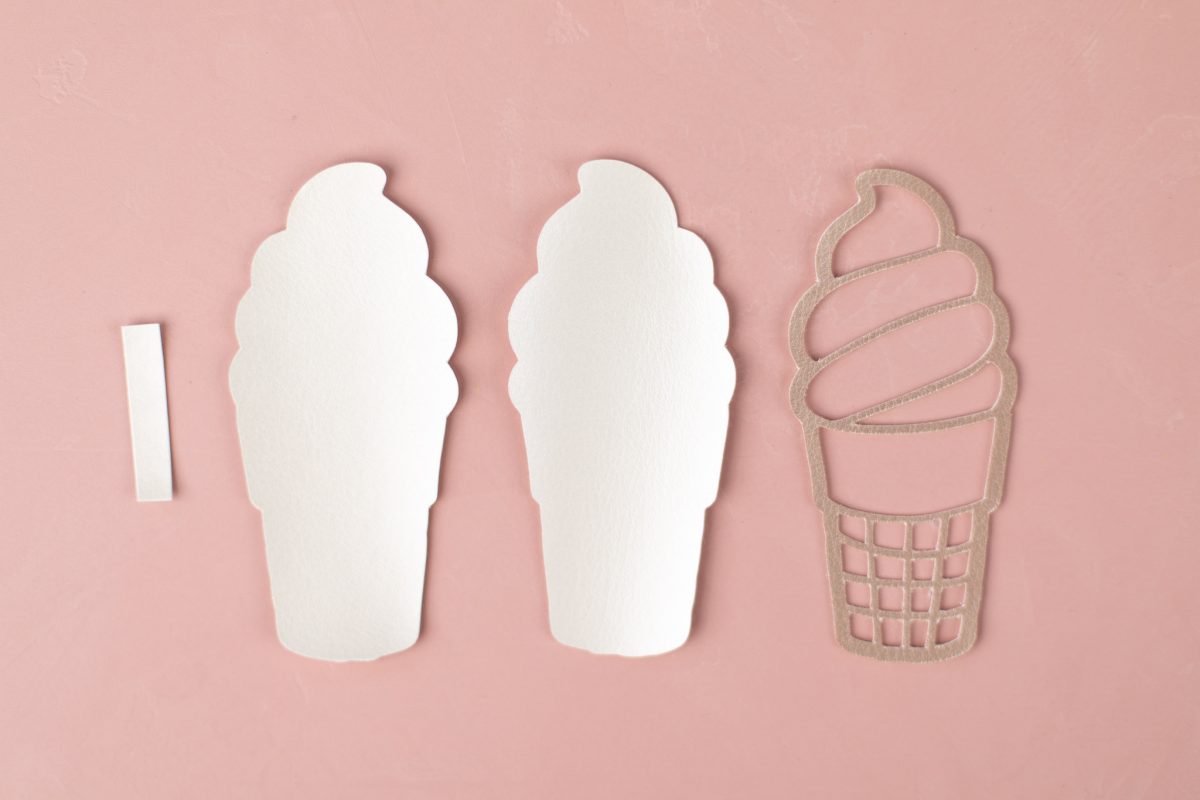
1. Fold the rectangle piece in half and glue to secure to create a small loop. Then glue the loop to the back piece of the ice cream cone. Glue the cone design to the front piece of the ice cream cone.
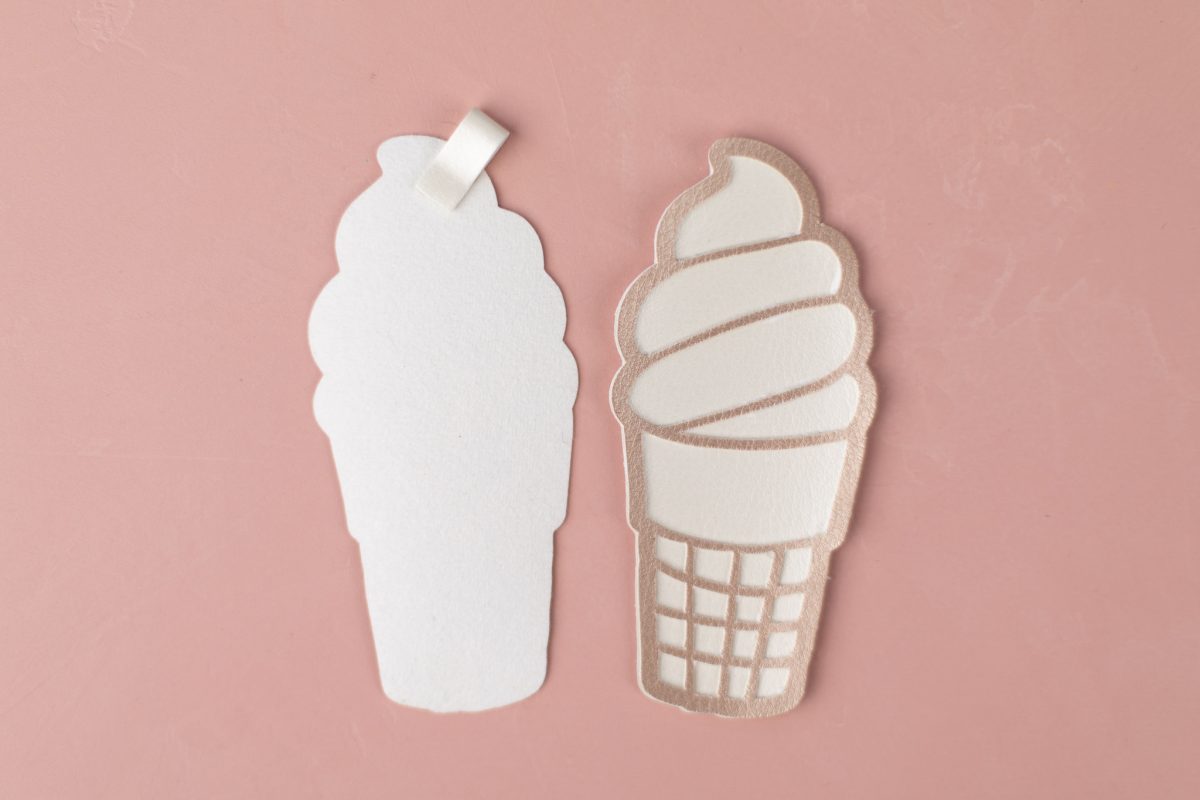
2. Glue the back and front of the ice cream cone together so the loop is sandwiched in between them
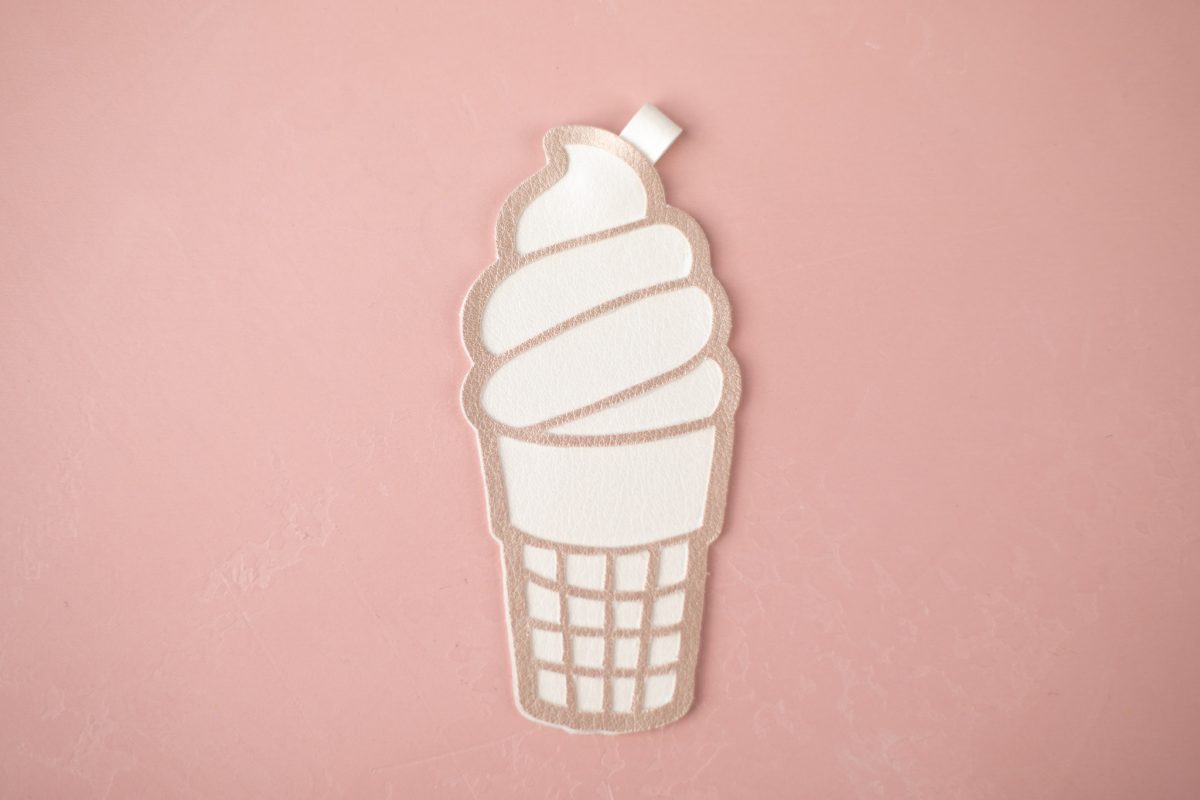
3. Slip a key ring through the loop and adorn the ice cream cone with rhinestones. Follow the same guidelines for the other two designs.
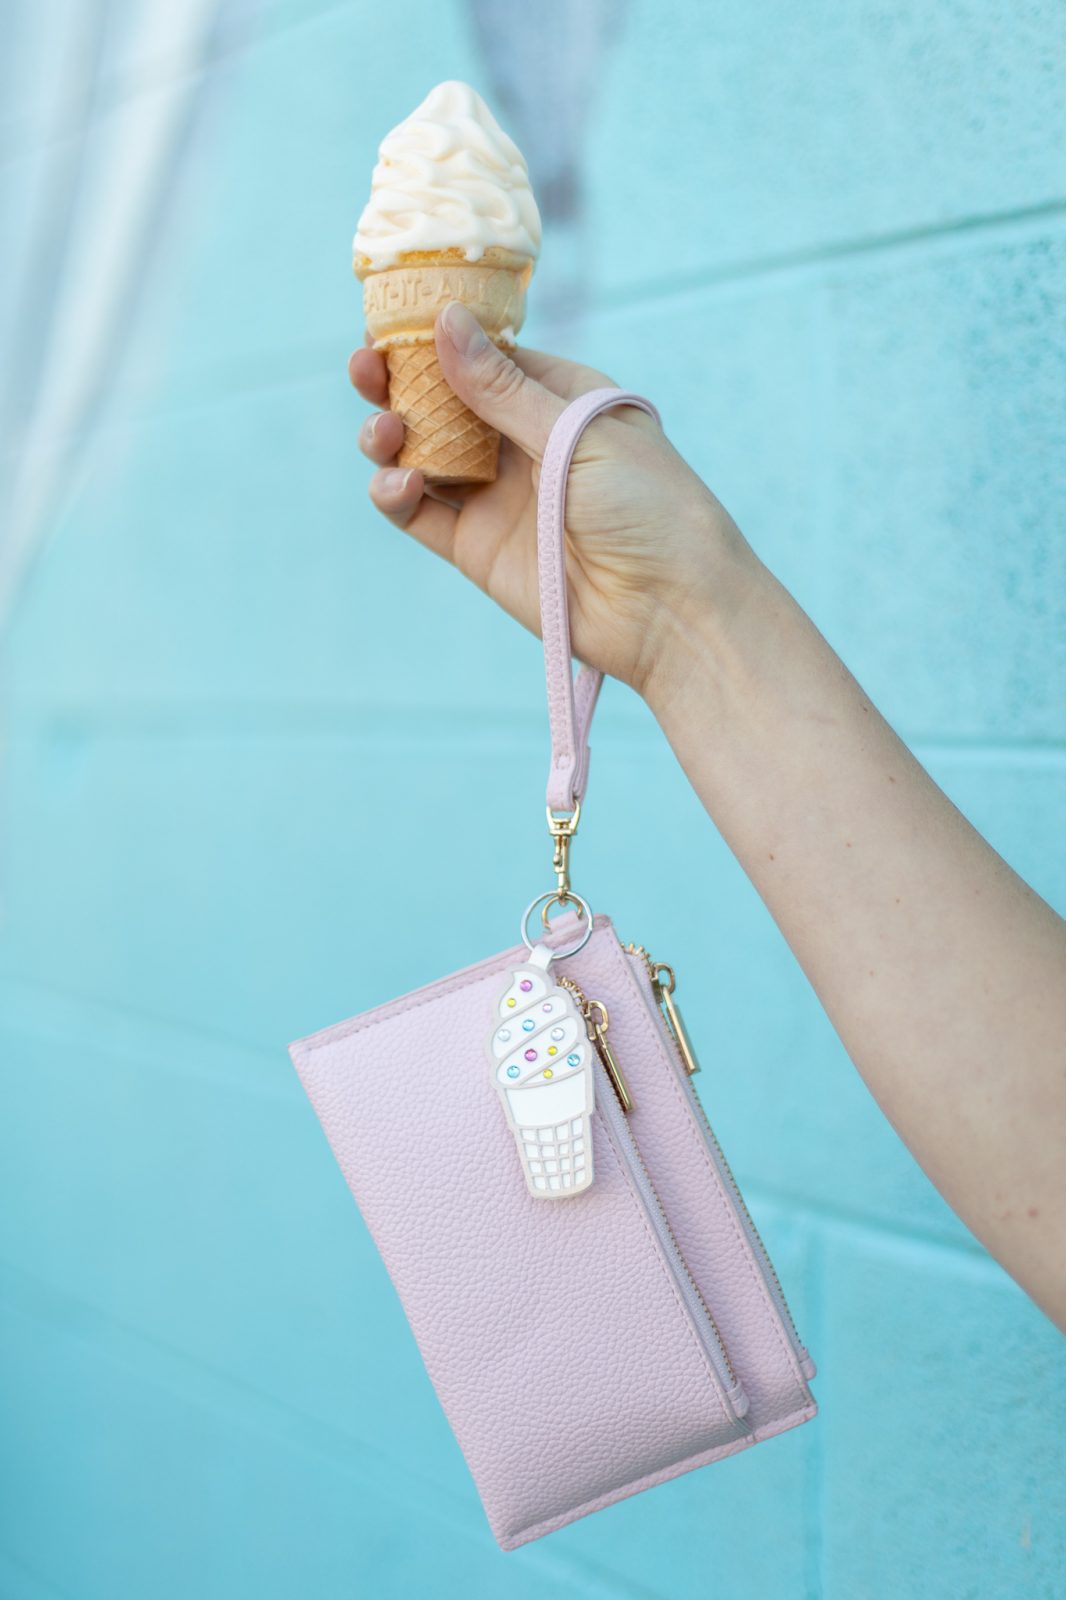
4. Use on your car keys or as an adornment for your purse!
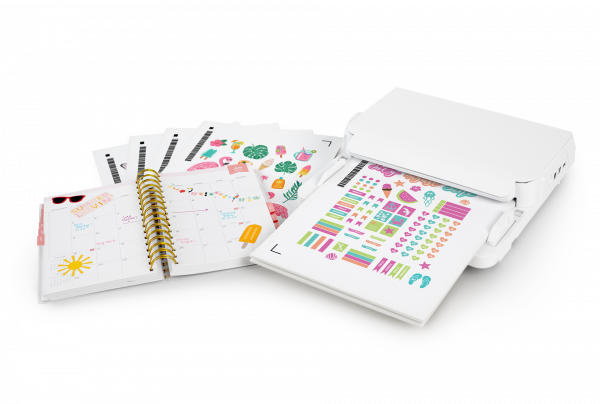 Everything you need to know about the New Auto Sheet Feeder
 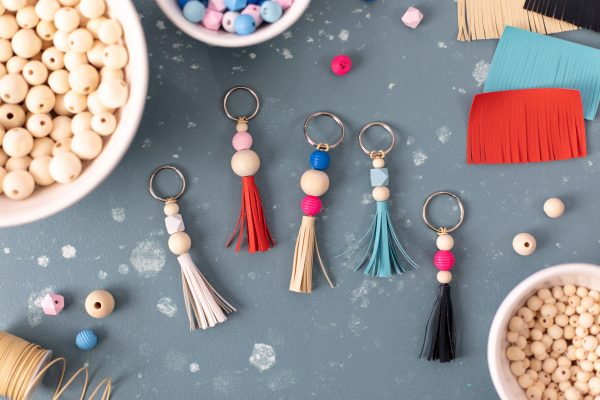 Leatherette Tassel Key Chain
Kelly Wayment
June 28, 2024
You can use it with vinyl as long as it is smooth and flat to allow the static charge to hold on to it. Rolled vinyl that wants to go back to its rolled shape will not necessarily work well, and it would need to be trimmed to fit the ES mat cutting area.
Kelly Wayment
June 28, 2024
Yes, you can use the heat pen while using the ES mat. 🙂
Yurii
March 2, 2024
Hello. May it be used with heat pen?
Thanks
Jerome
February 24, 2024
Hi, works this with the normal vinyl foils or only with printer papter etc?
Kelly Wayment
February 16, 2024
Once you’ve pushed the mat up against the rollers, just press the “Load” arrow button (bottom right on the display). Does a regular sticky mat load into the machine for you?
Michelle a goodall
January 24, 2024
Hello! I just got my new electrostatic mat and have watched every video i can find on it. However, what i can t find is why it wont feed into my cameo 5/ it slides right up the rollers but wont go any further. and yes- iam pushing the into button. help!