
Have you used the tiling feature in Silhouette Studio® Business Edition? When you want to create a large scale design, the tiling feature helps you get the size without the the headache. Today we are going to show you how to use this awesome feature.
Supplies Needed:
- Silhouette Cameo® or Silhouette Portrait®
- Silhouette Studio®
- Silhouette Cutting Mat
- Silhouette Cutting Blade
- Silhouette Hook Tool
- Silhouette Scraper Tool
- Silhouette Vinyl – Black
- Silhouette Transfer Tape
- Design ID #288401
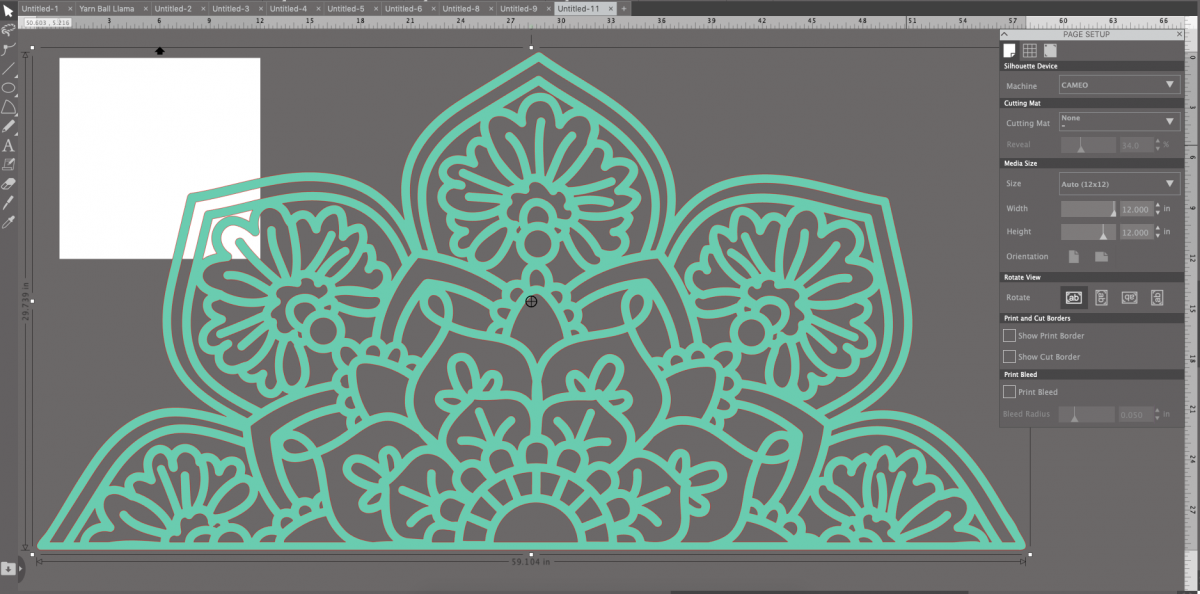
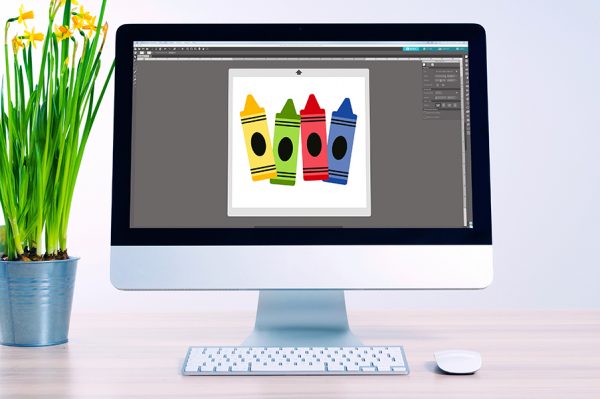
Step One: Design in Silhouette Studio®
1. First open the design in Silhouette Studio®, and then using the scale handles, click and drag to size. We made ours approximately 3 feet high by 5 feet wide.
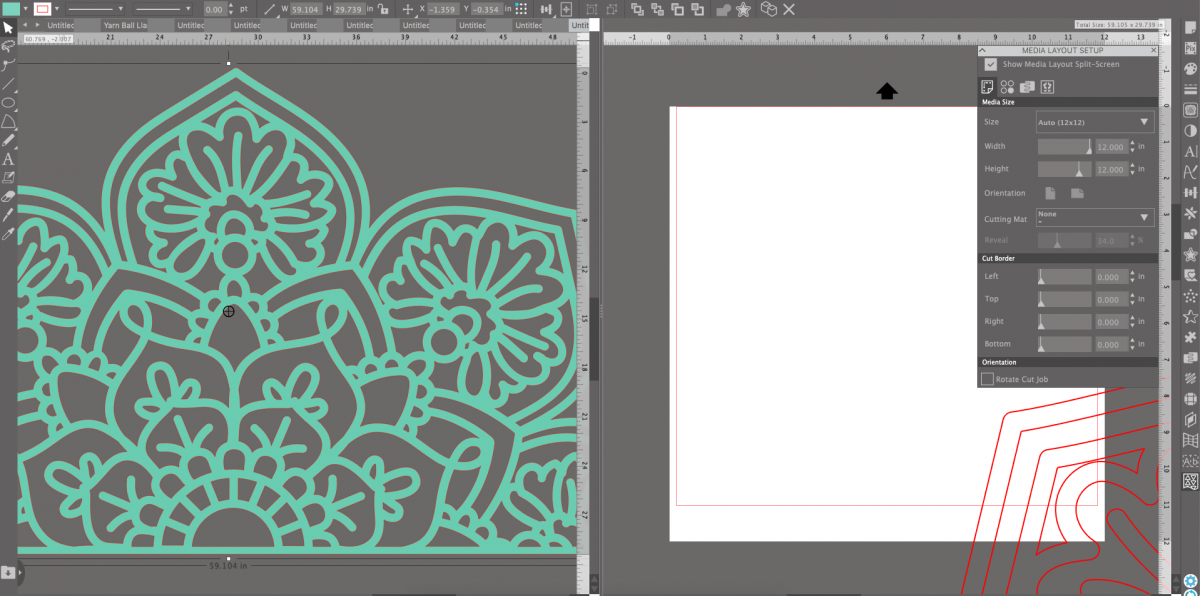
2. Open up the Media Layout Set Up Menu. (The icon is located at the bottom of the Silhouette Tools bar on the right-hand side. It looks like a square with and uneven bottom and a few triangles are within the square.)
3. Check the Show Media Layout Split Screen Option at the top of the menu window.
4. Check Tiling Active box.
5. The default will automatically separate the design into tiles.
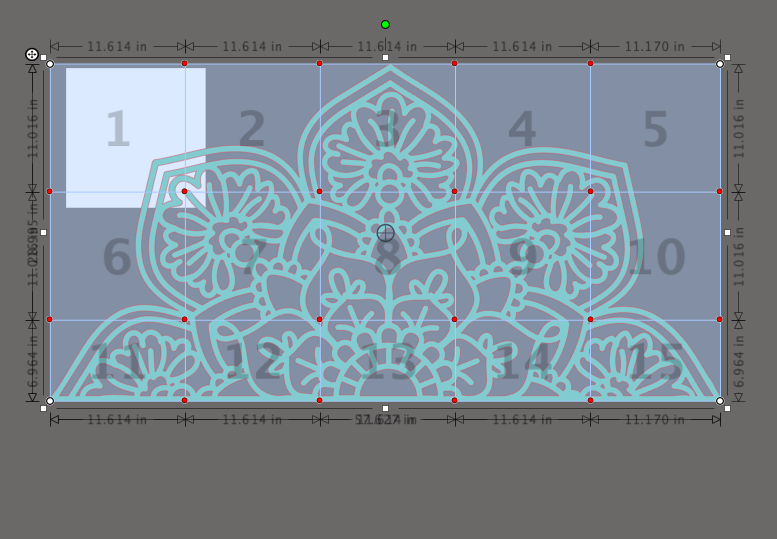
6. The Silhouette Studio® split screen will appear like the images below.
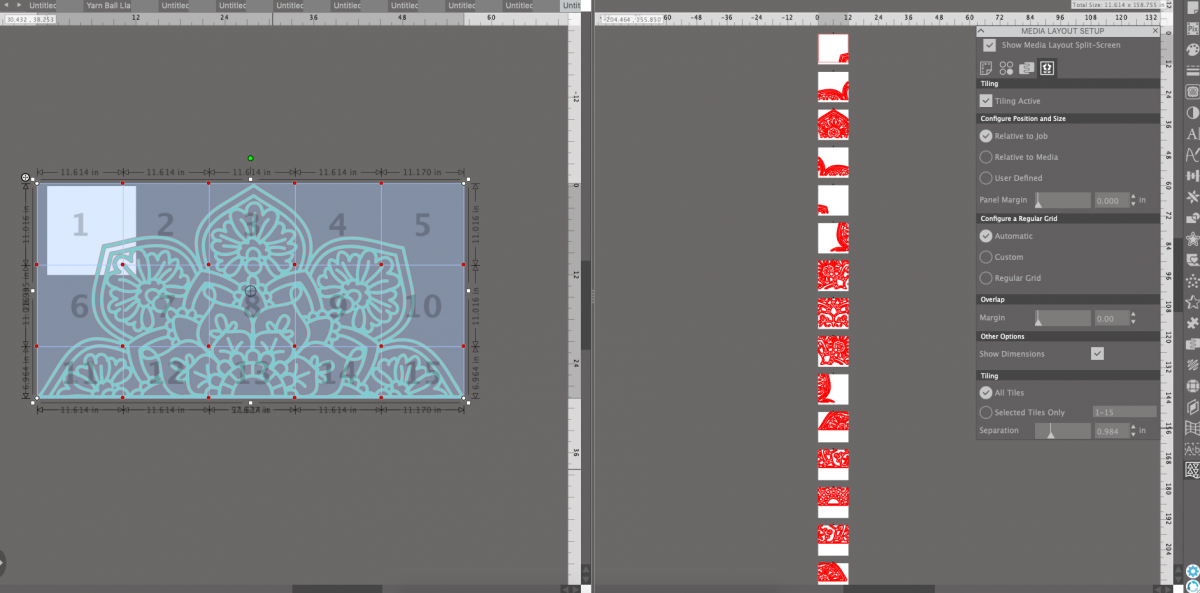
With this design it will cut 15 different sections.
Step Two: Send to Machine
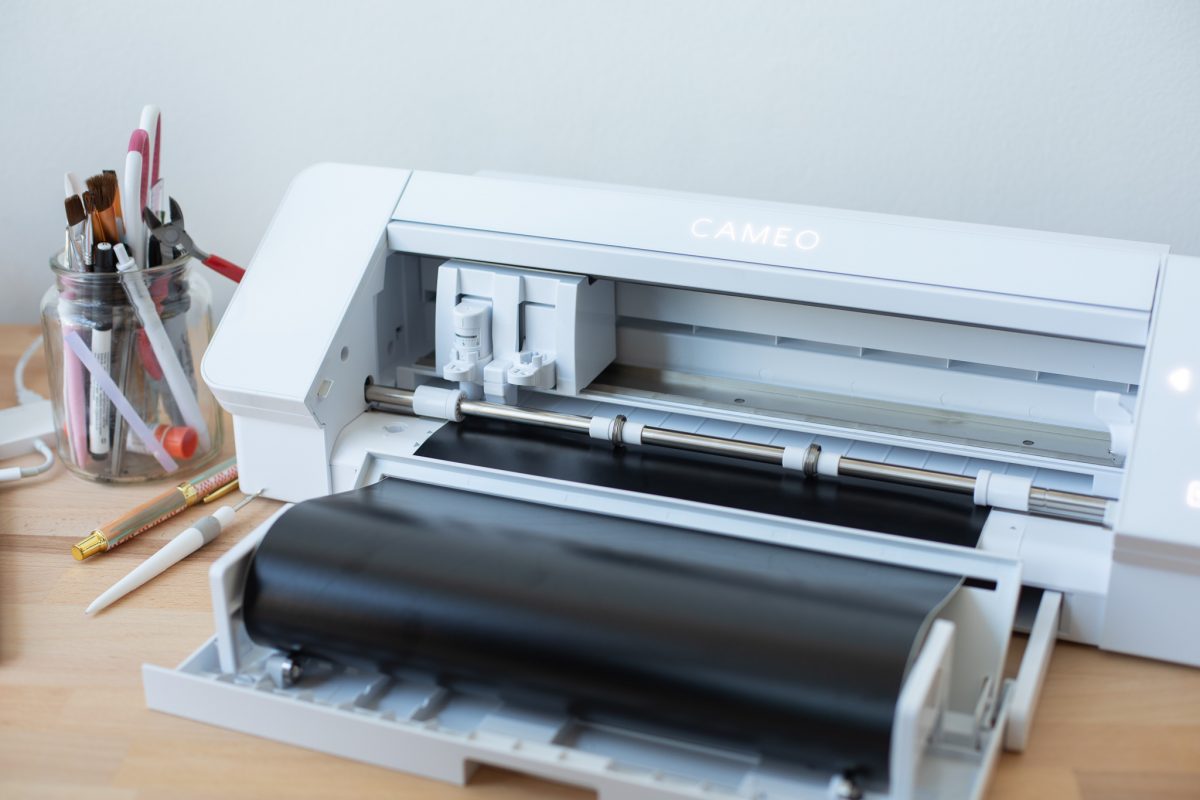
1. With your design ready to go, send to your machine. With this large scale vinyl it’s a great opportunity to use the roll feeder and cut without a mat.
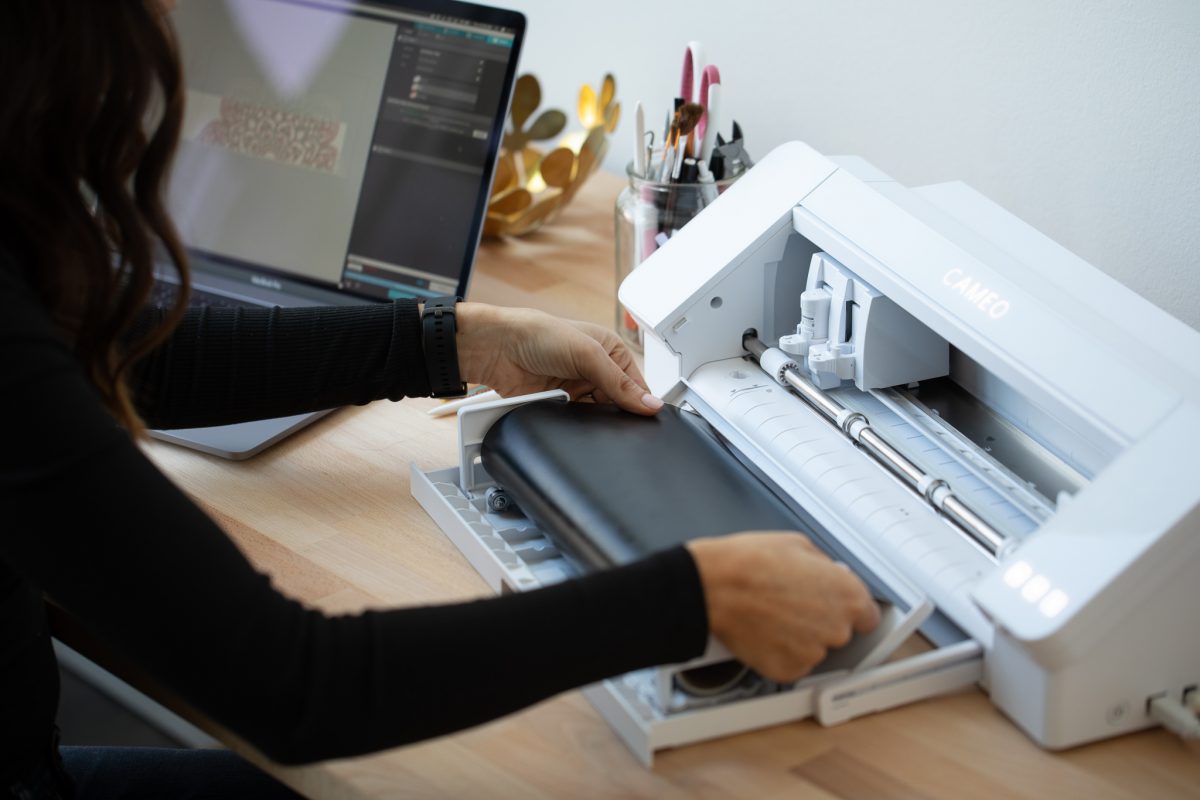
2. If you’re using the Cameo 4 with the built-in roll feeder, simply load the vinyl into the feeder and hit send.
3. When the design has been cut, weed away the excess vinyl and apply the transfer tape.

Step Three: Apply Design to Wall
1. It is best to find a level line and mark it out before applying the vinyl. We started by applying the bottom center vinyl or tile number 13 and worked our way out and up.
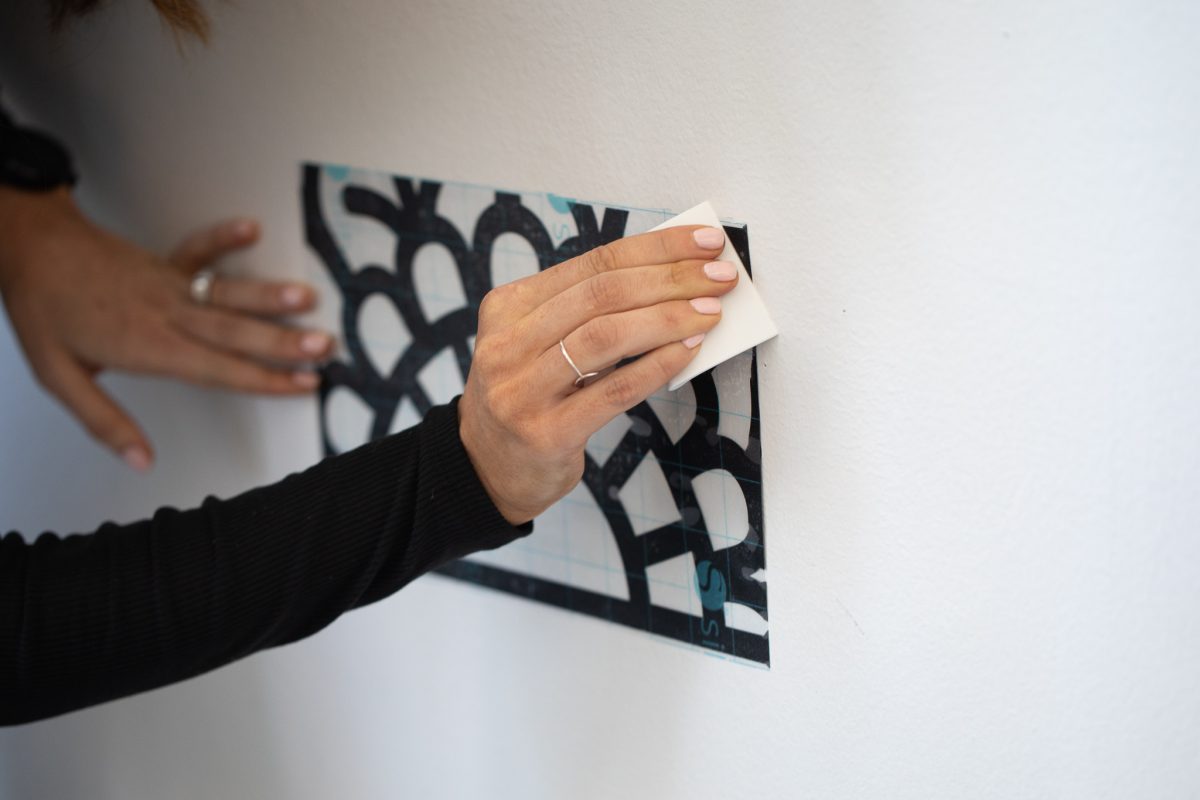
2. Apply the vinyl with the transfer tape onto the wall and then rub the design onto the wall to create a firm seal.

3. Carefully remove the transfer tape.

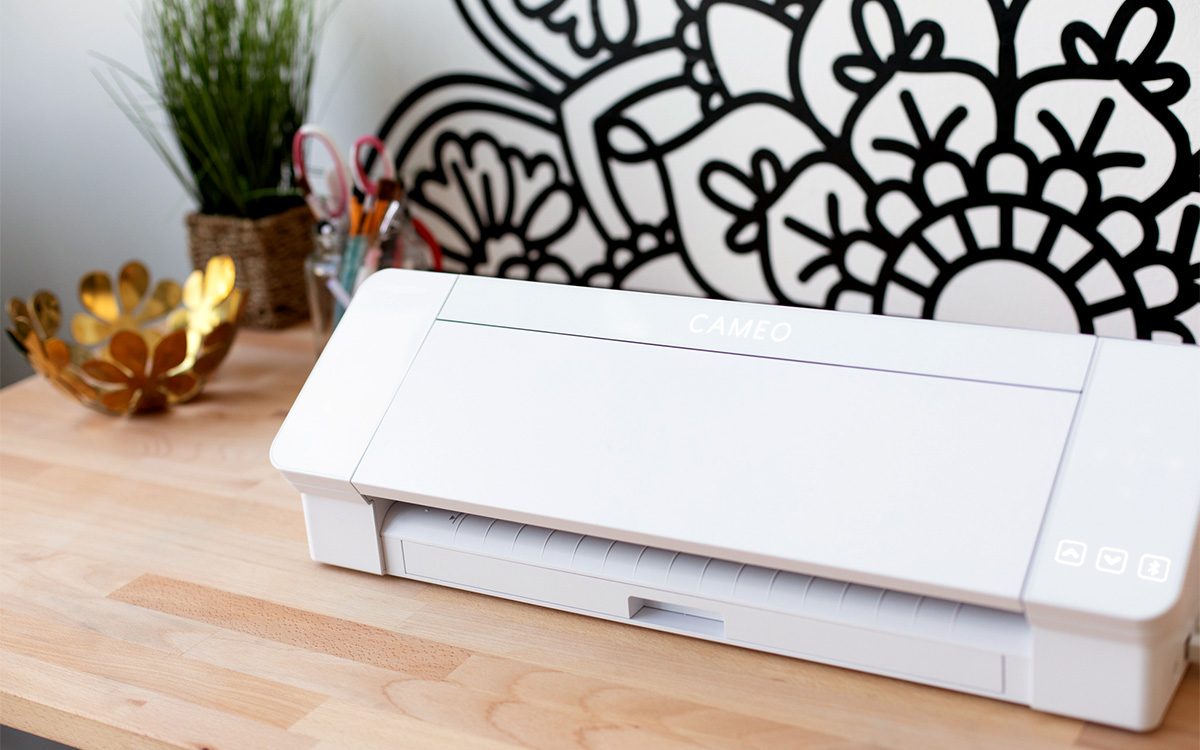
And now step back and enjoy! This is such a fun way to add a huge wow statement to any room. How will you use the tiling feature. We would love to know in the comments.
 Everything to Know About Silhouette Studio® Upgrades
 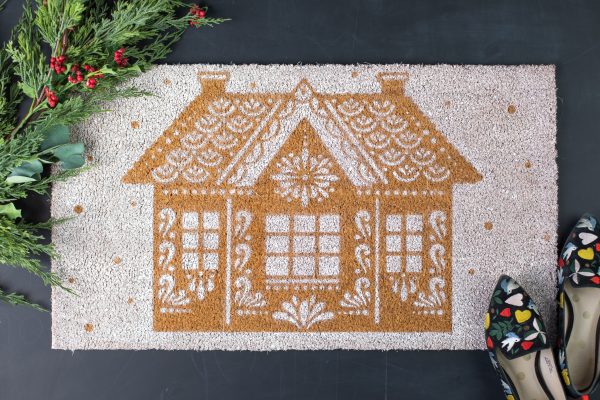 Gingerbread House Doormat
Kelly Wayment
June 28, 2024
You can use it with vinyl as long as it is smooth and flat to allow the static charge to hold on to it. Rolled vinyl that wants to go back to its rolled shape will not necessarily work well, and it would need to be trimmed to fit the ES mat cutting area.
Kelly Wayment
June 28, 2024
Yes, you can use the heat pen while using the ES mat. 🙂
Yurii
March 2, 2024
Hello. May it be used with heat pen?
Thanks
Jerome
February 24, 2024
Hi, works this with the normal vinyl foils or only with printer papter etc?
Kelly Wayment
February 16, 2024
Once you’ve pushed the mat up against the rollers, just press the “Load” arrow button (bottom right on the display). Does a regular sticky mat load into the machine for you?
Michelle a goodall
January 24, 2024
Hello! I just got my new electrostatic mat and have watched every video i can find on it. However, what i can t find is why it wont feed into my cameo 5/ it slides right up the rollers but wont go any further. and yes- iam pushing the into button. help!