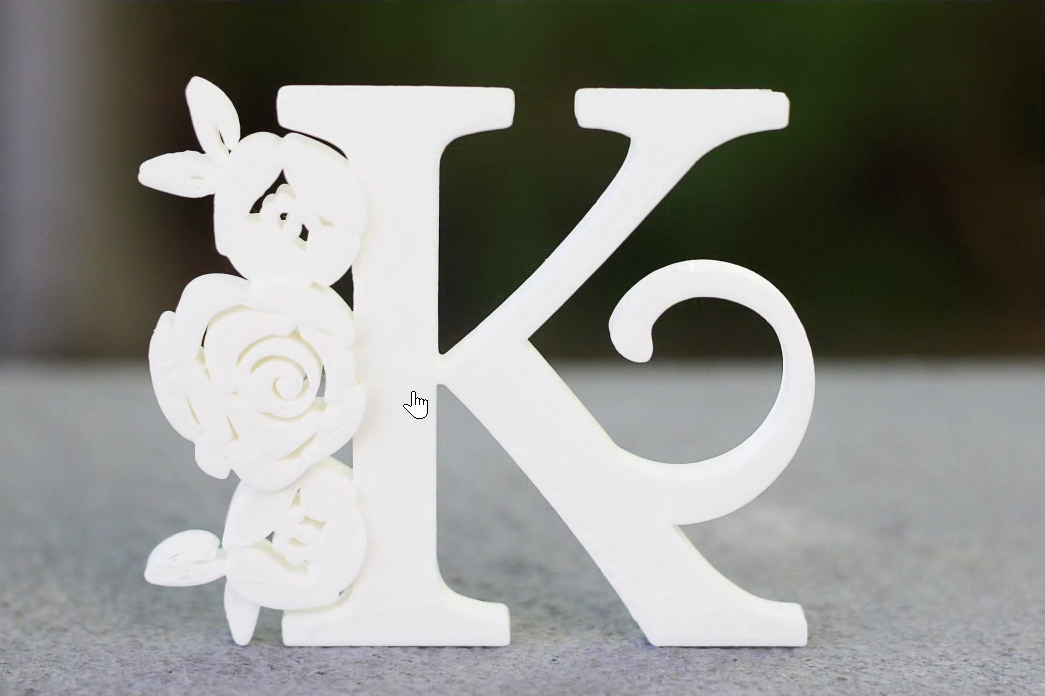
[Design used = Floral Monogram K #188866]
The Alignment Tool is a handy new feature for all users in Silhouette 3D v 1.2.
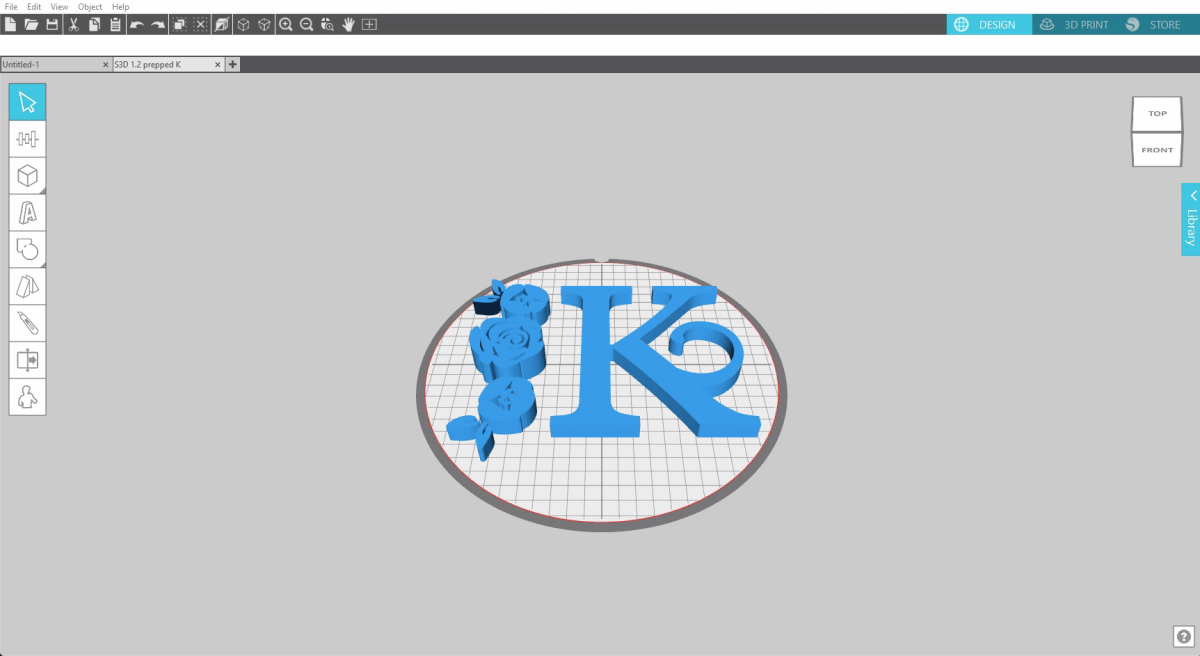
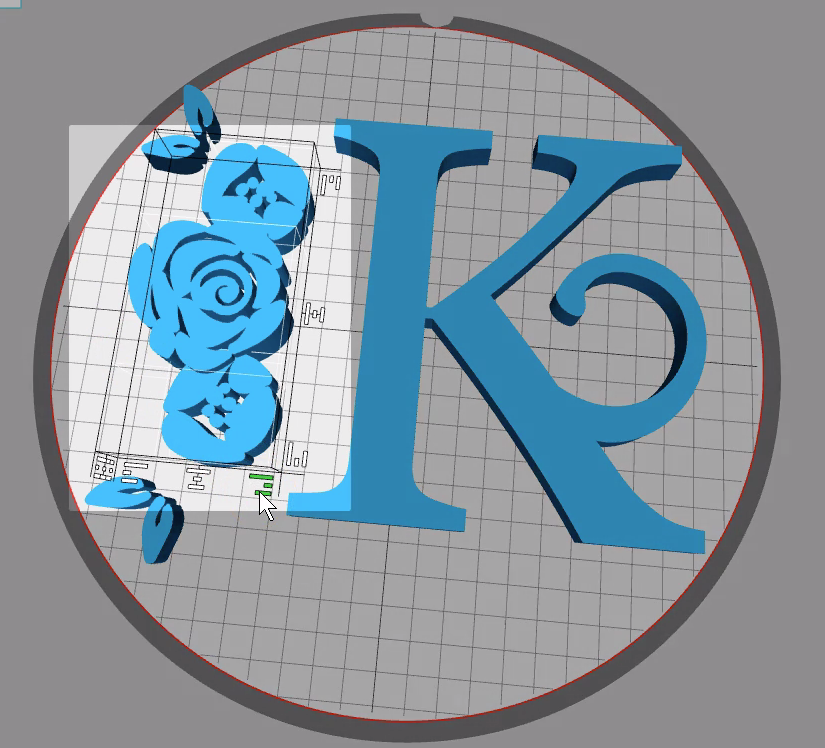
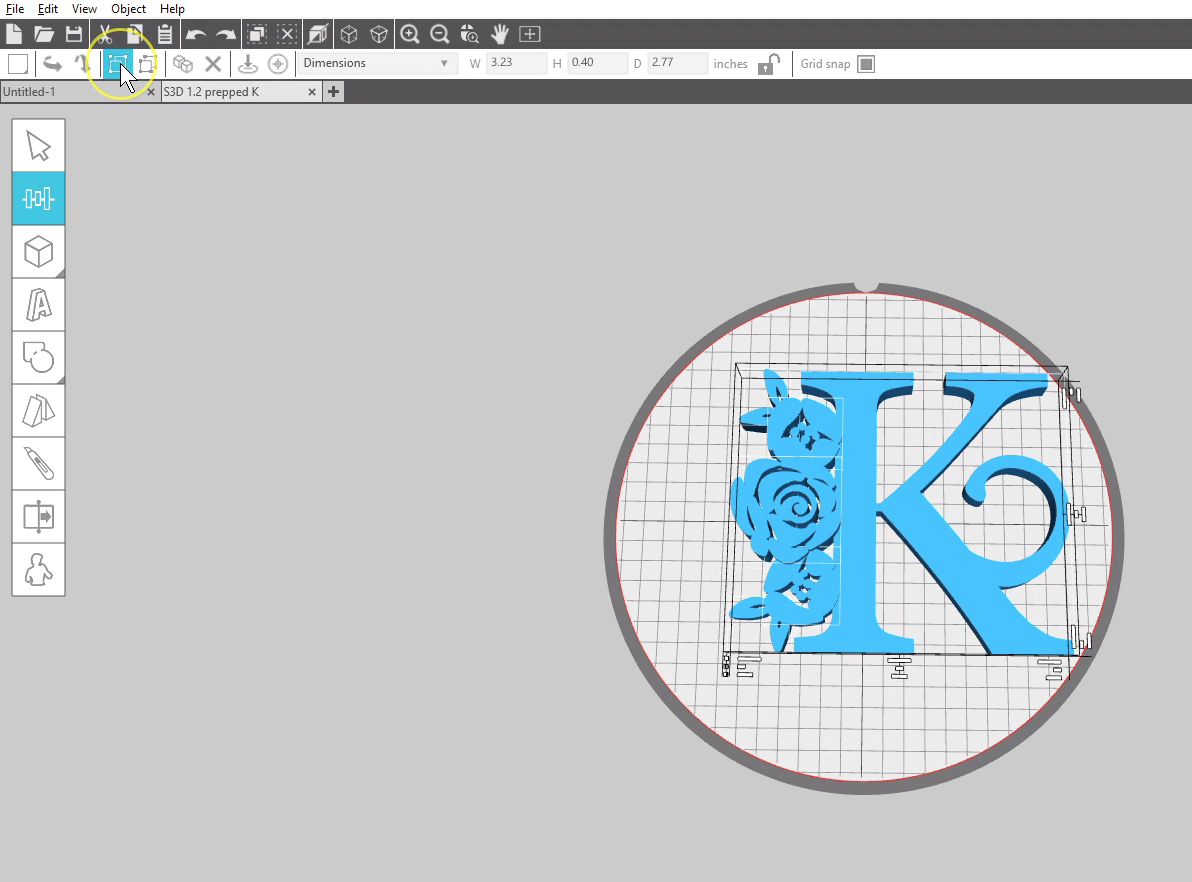
Let me show you how it works with this design I’ve already opened and prepared with the elements adjusted to different heights.
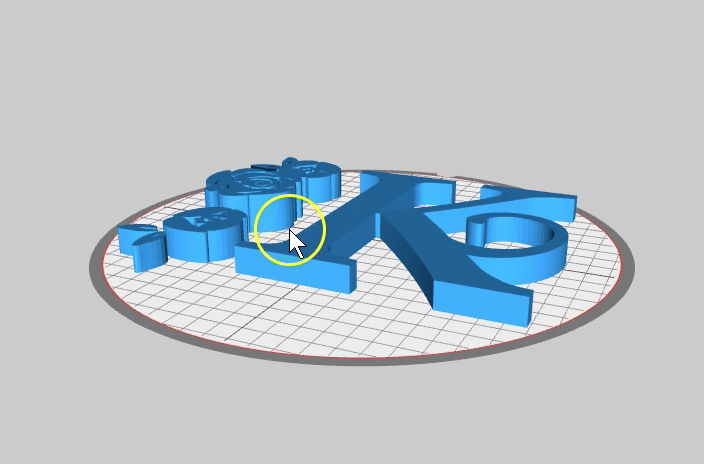
I’ll move these roses closer together, then select them all by dragging a selection box.
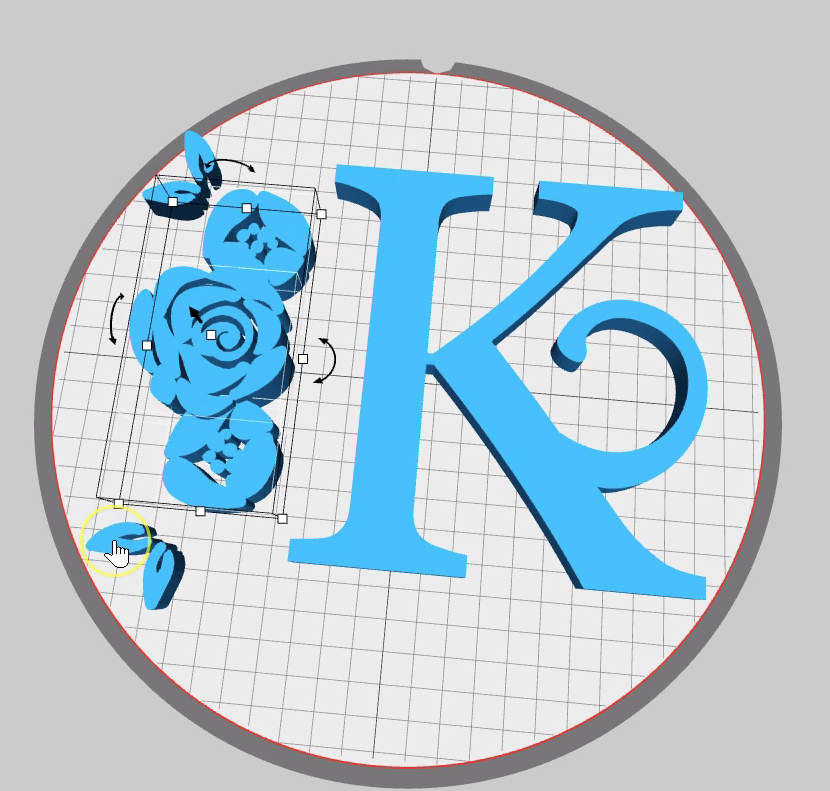
Now that I have multiple pieces selected, I can open my Align tool, and alignment options will show around my selection.
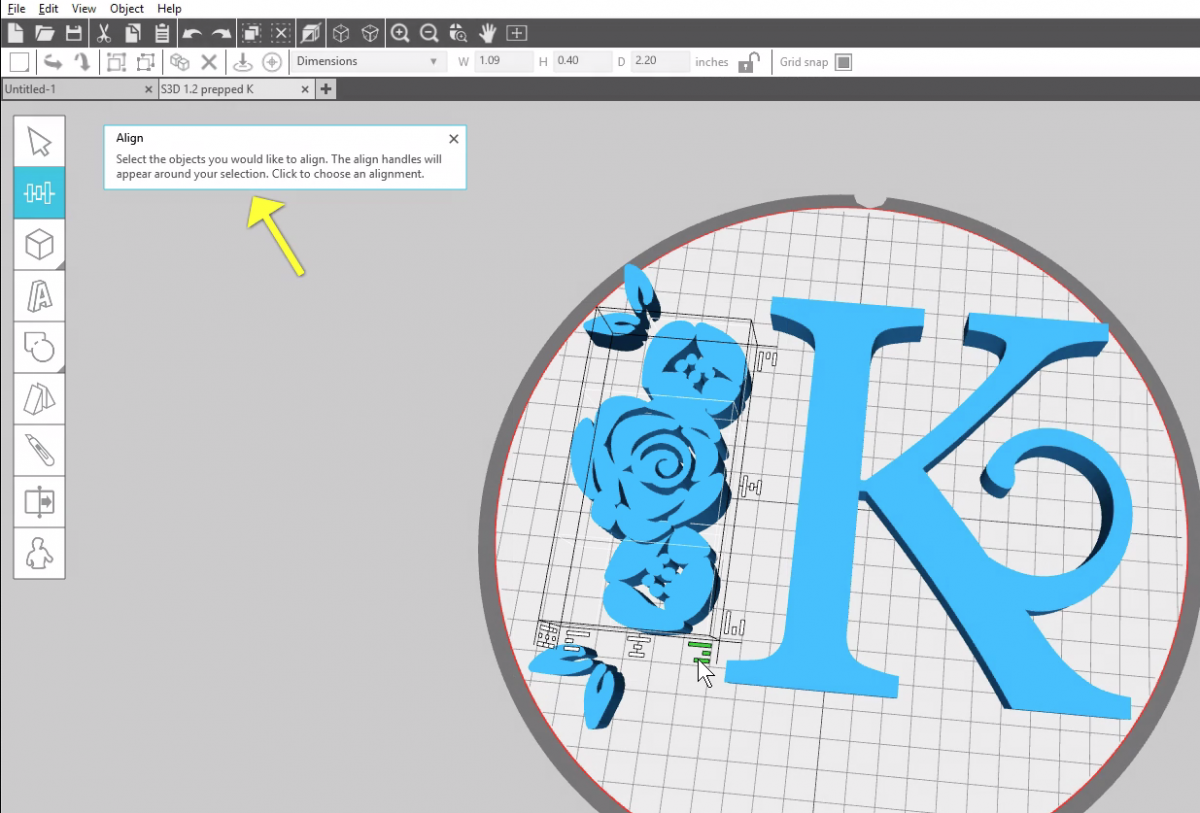
A tool tip pops open to help with all the new tools in v 1.2.
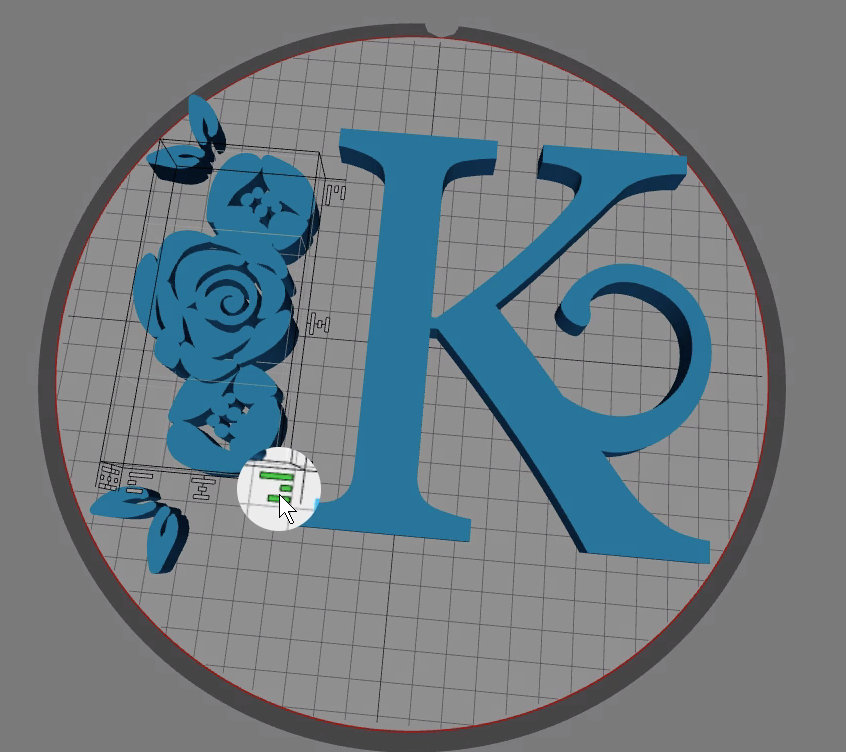
I want to right-align these roses, so I’ll click the right align choice. Notice how the right edges line up together.
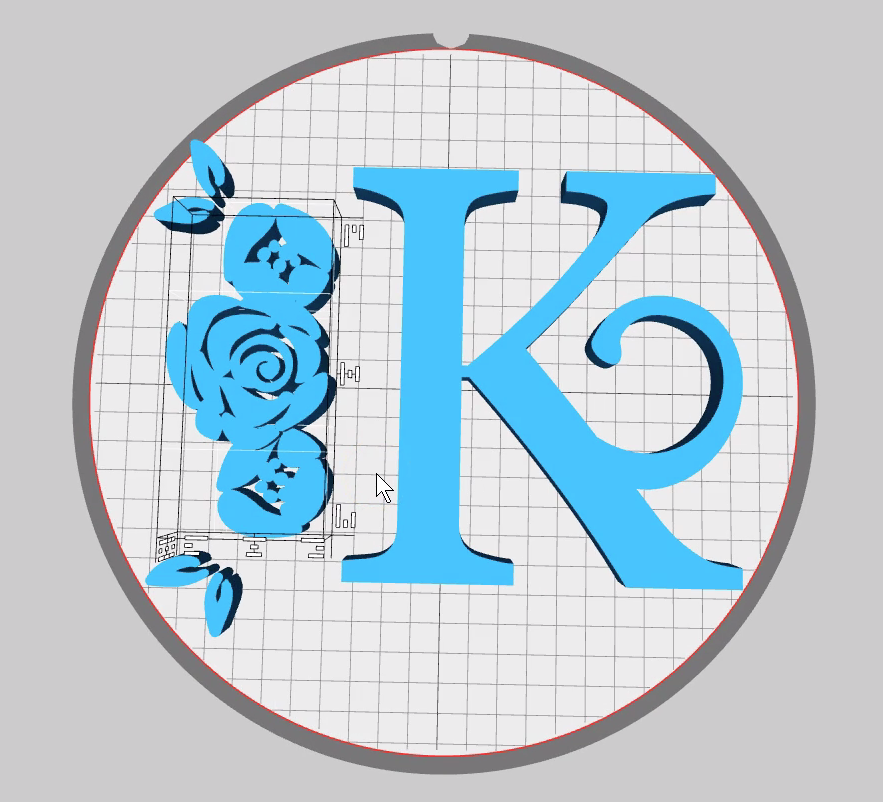
I can further adjust these elements to make it look nice, and use my Align tools as often as necessary.
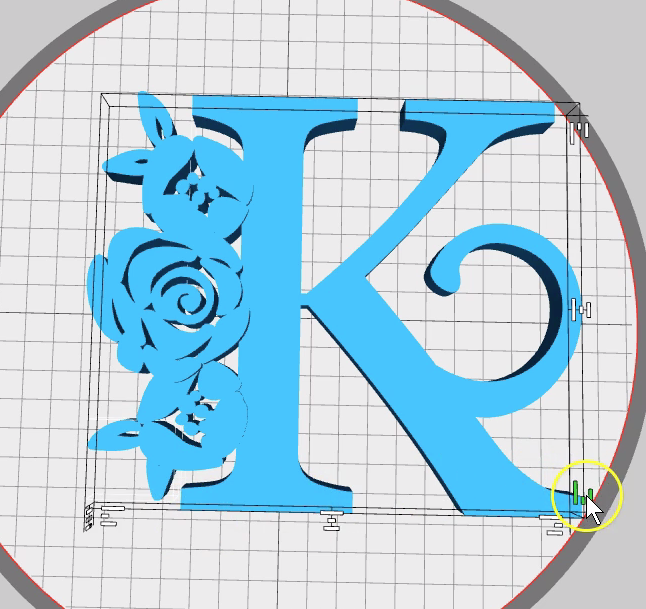
I’ll finish off by positioning the leaves and use my Align tool again to make sure the bottom leaf is lined up with the base of the letter so it can stand up after printing flat in this position.
Hold the Shift key while clicking multiple shapes to select them at the same time.
Zoom in as necessary to make sure the pieces overlap enough.
Make sure to select and Group or Weld the whole set once it’s finished so the pieces will fuse together and print as one object.
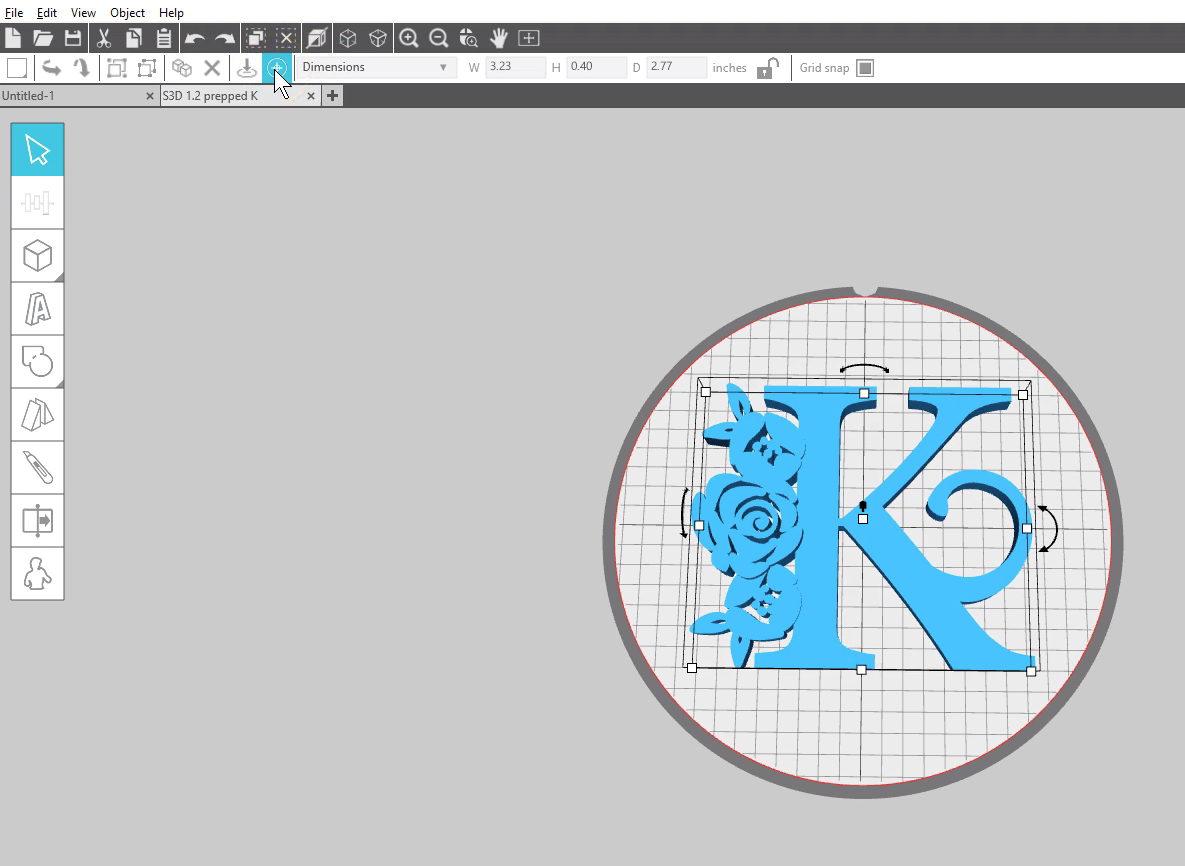
I’ll center the grouped piece, and now it’s ready to print.
You can see how the alignment tools can help your design process when creating 3D projects.