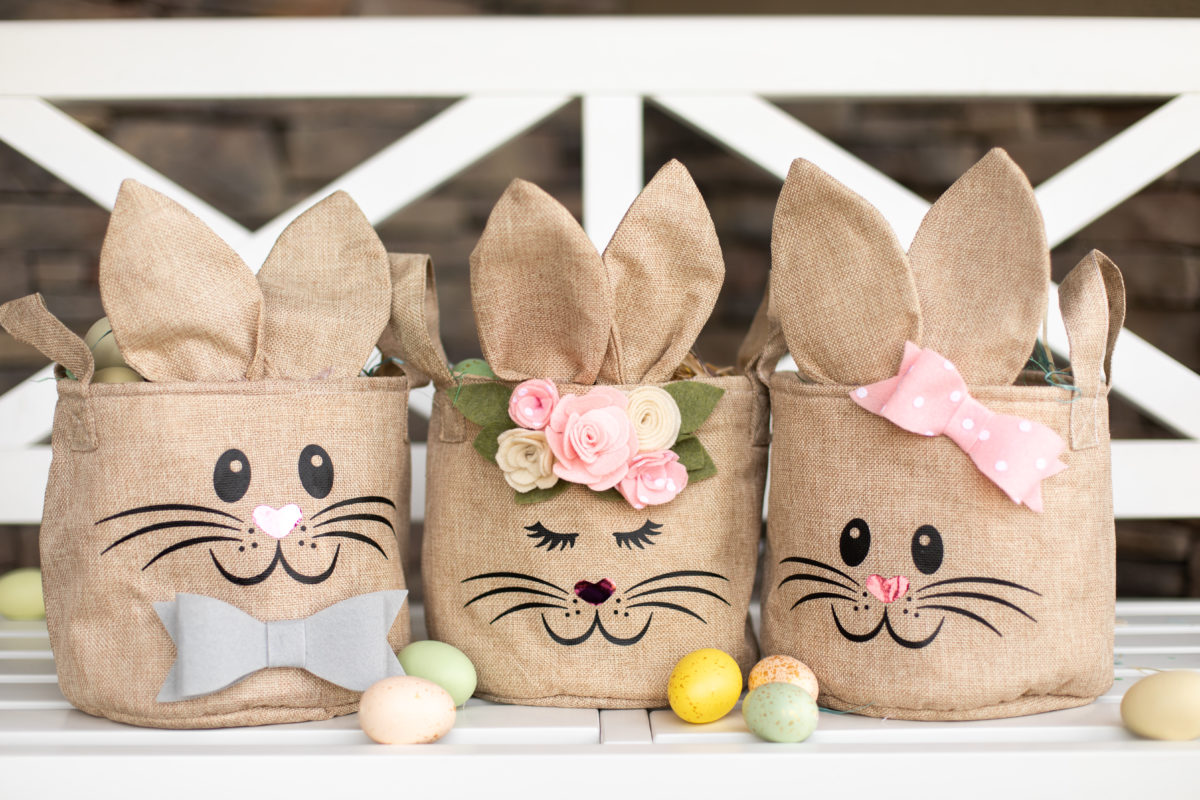
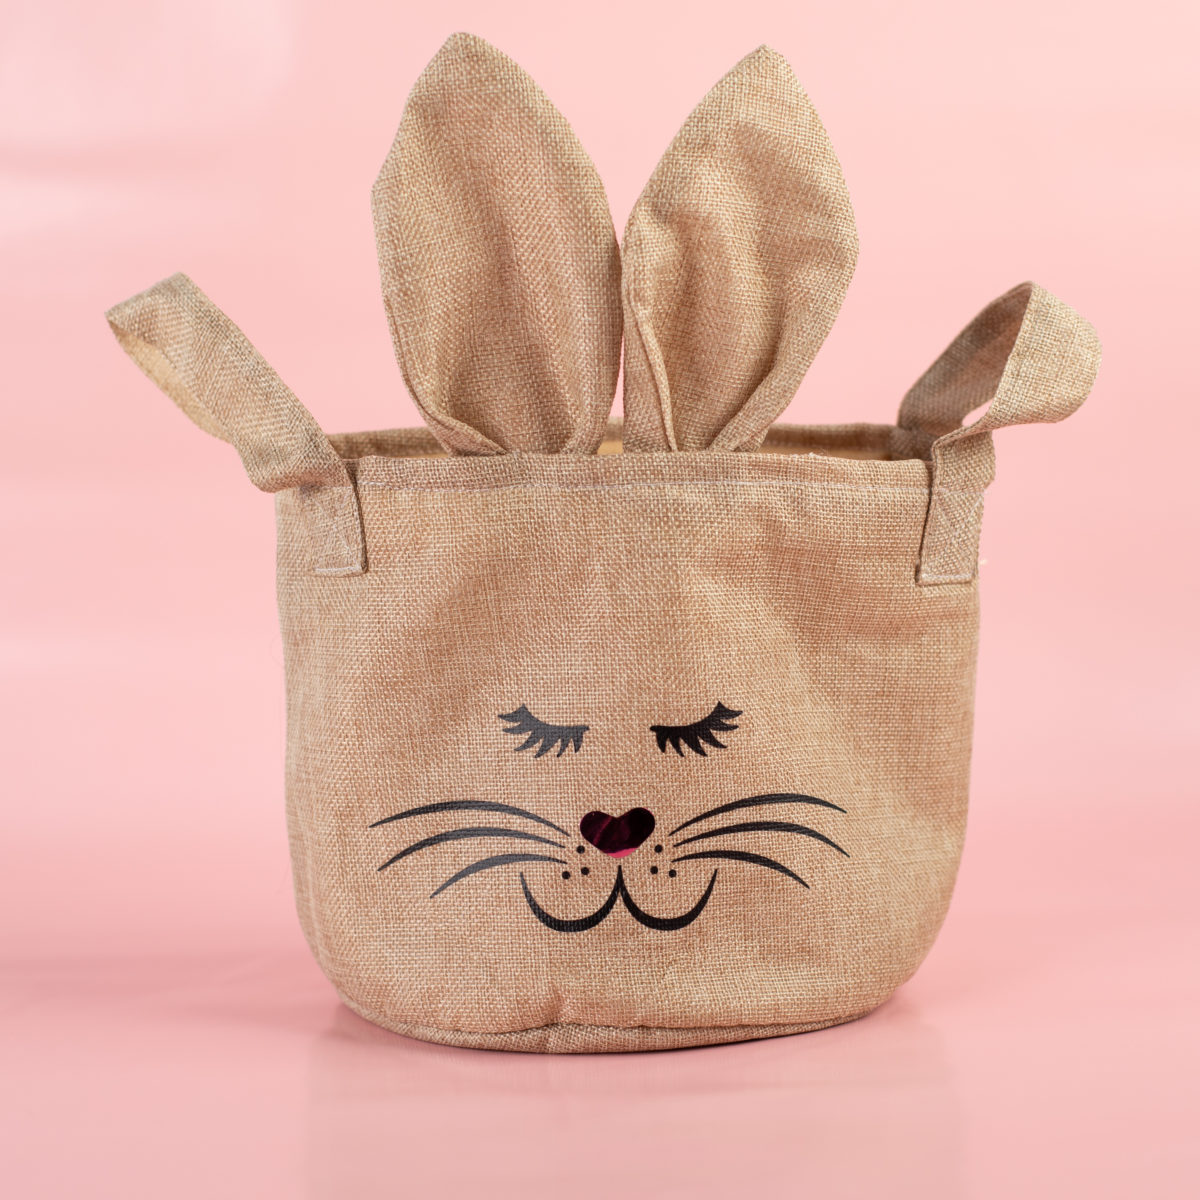
Easter is around the corner, and we wanted to make some custom bunny baskets that are perfect for stashing all the spring goodies and hunted eggs.
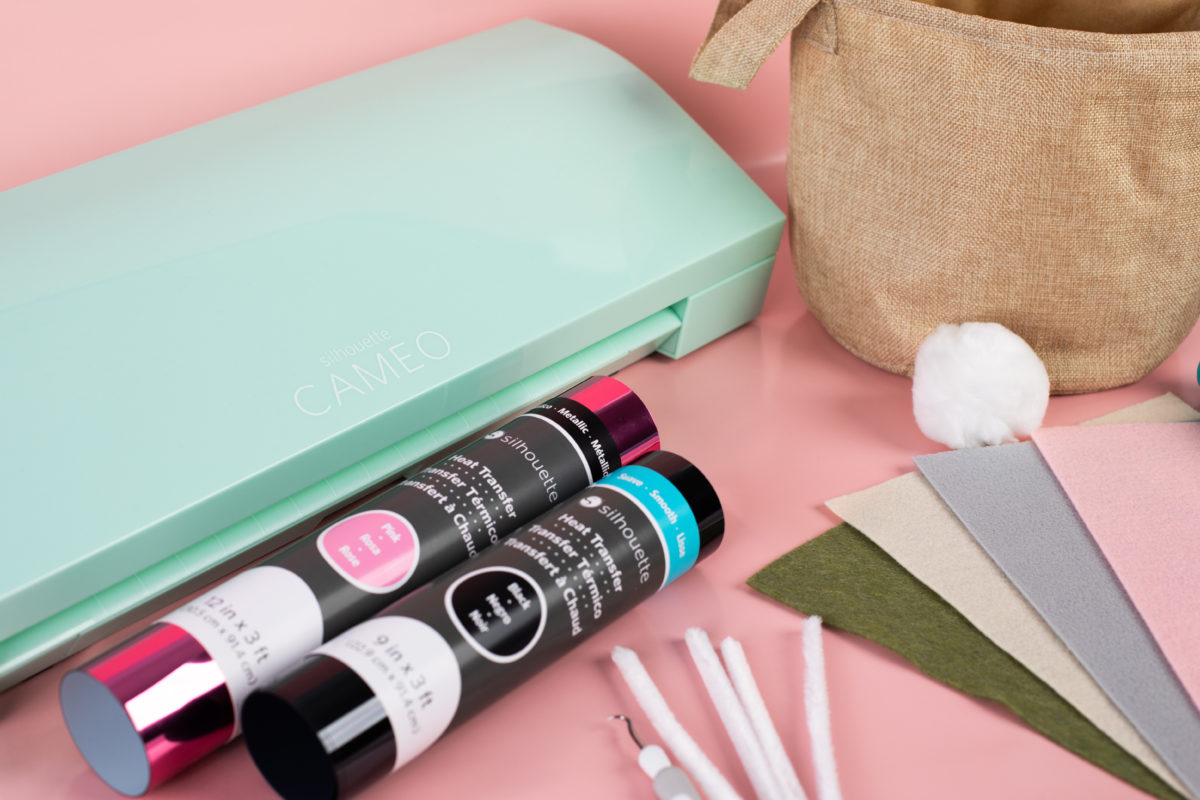
Supplies Needed:
- Silhouette CAMEO®
- Silhouette Studio®
- Silhouette Cutting Mat
- Silhouette Cutting Blade
- Silhouette Deep Cut Blade
- Silhouette Fabric Stabilizer
- Silhouette Hook Tool
- Silhouette Heat Transfer – Smooth Black
- Silhouette Heat Transfer – Metallic Pink
- Iron
- Glue Gun
- Basket and corresponding fabric
- Pipe Cleaner
- Pom Pom
- Felt – Kunin Friendly
- Design ID #184795
- Design ID #256549
- Design ID #193690
- Design ID #241018
- Design ID #224556
Step One: Create Bunny Faces
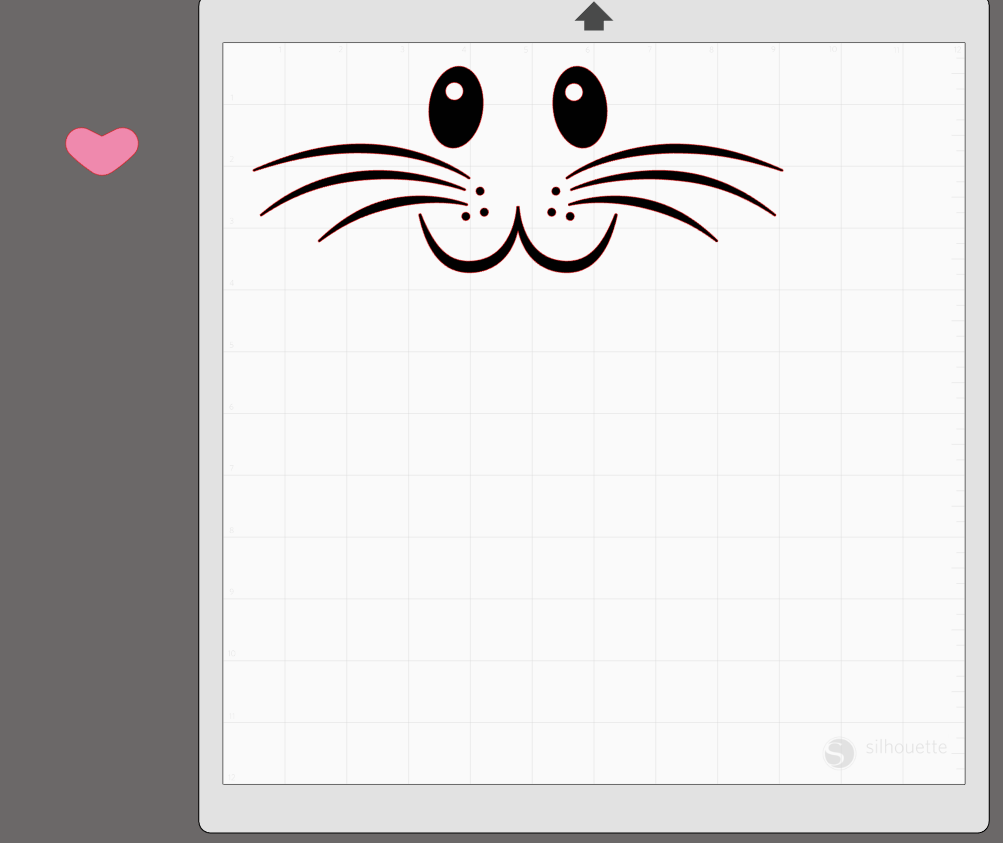
1. Open the Easter Bunny Face design (Design ID #256549) in Silhouette Studio®.
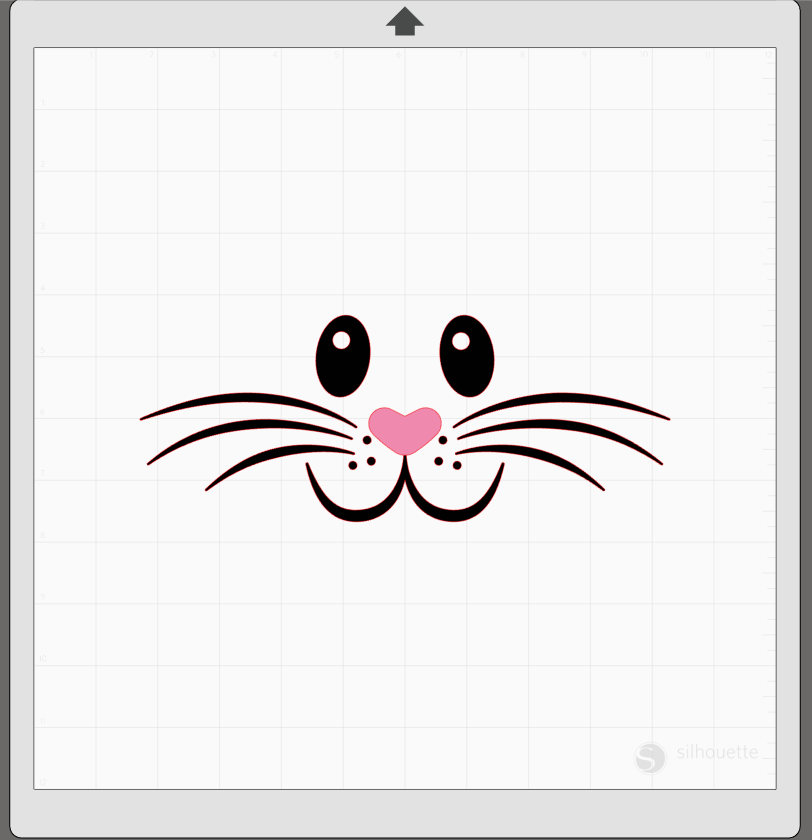
2. Ungroup the design.
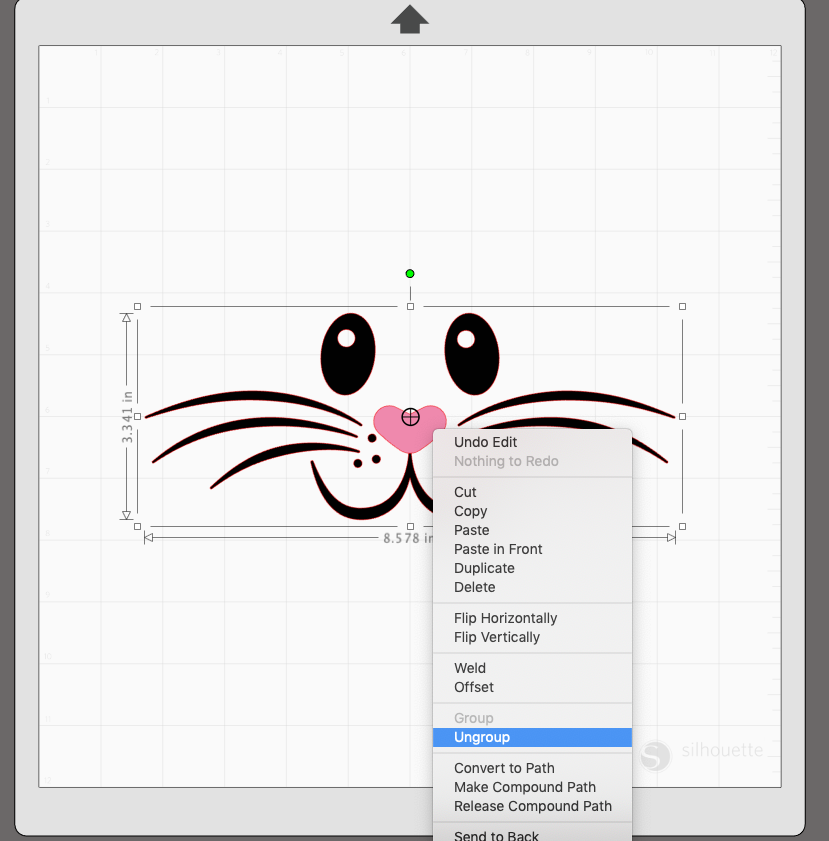
3. Remove the heart nose from the cut field by dragging it into the gray holding area.
4. Send the design to your machine and cut with the corresponding heat transfer materials.
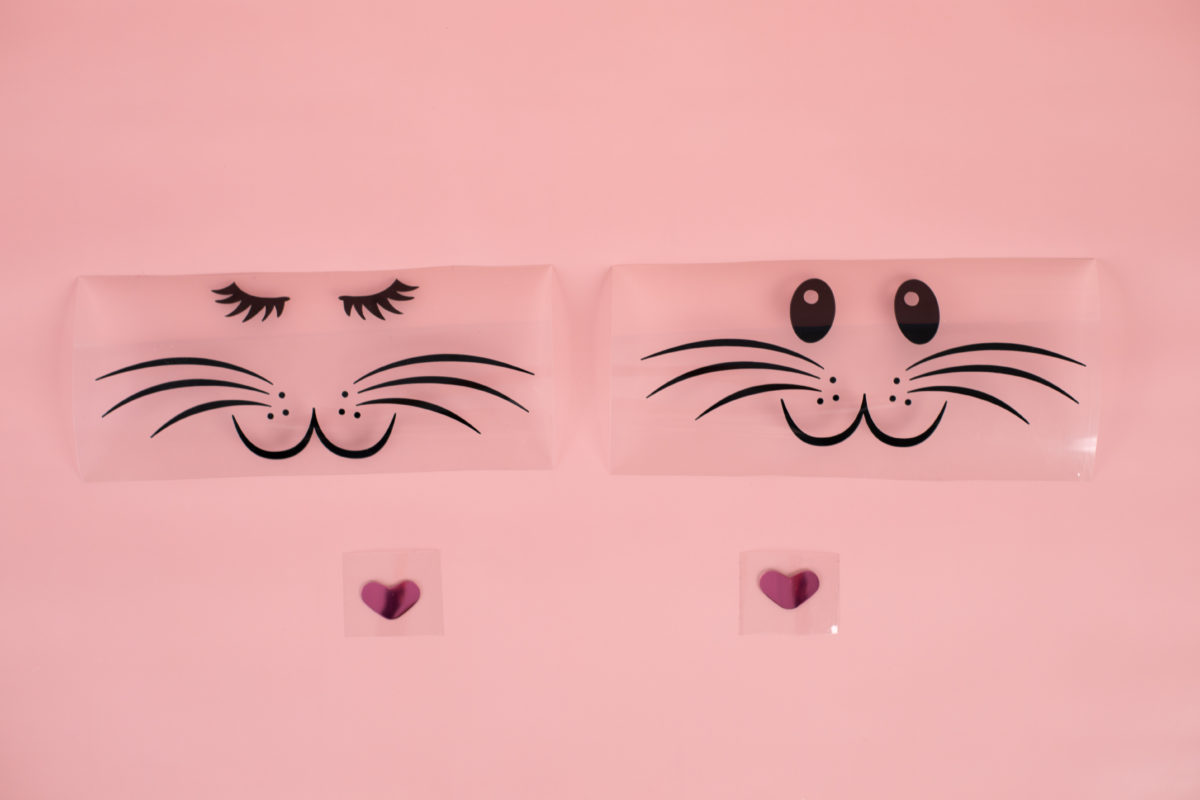
5. Weed the excess heat transfer and place it on top of the basket.
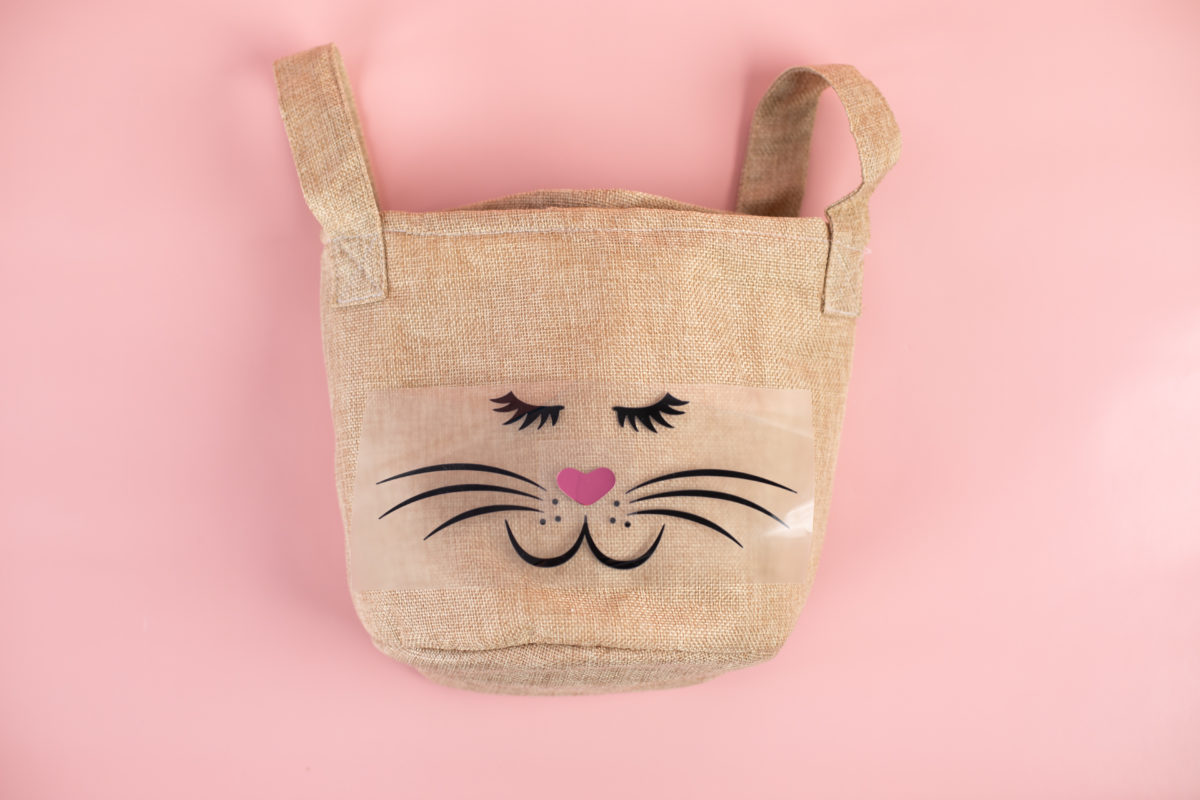
6. Cover the heat transfer with a cloth and place a hot iron over material and firmly press down.
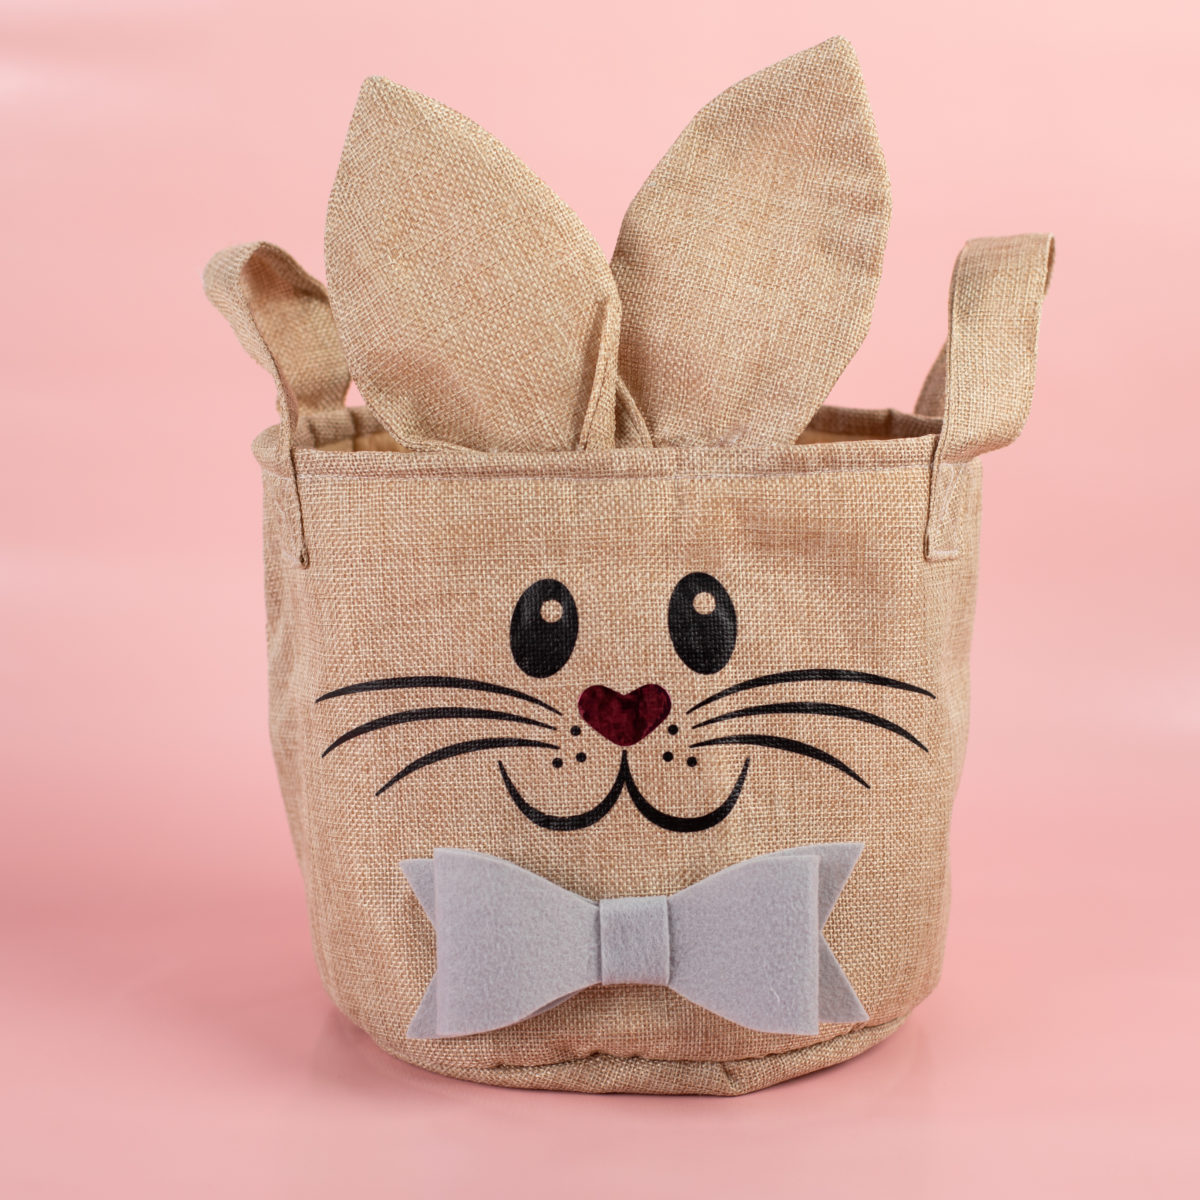
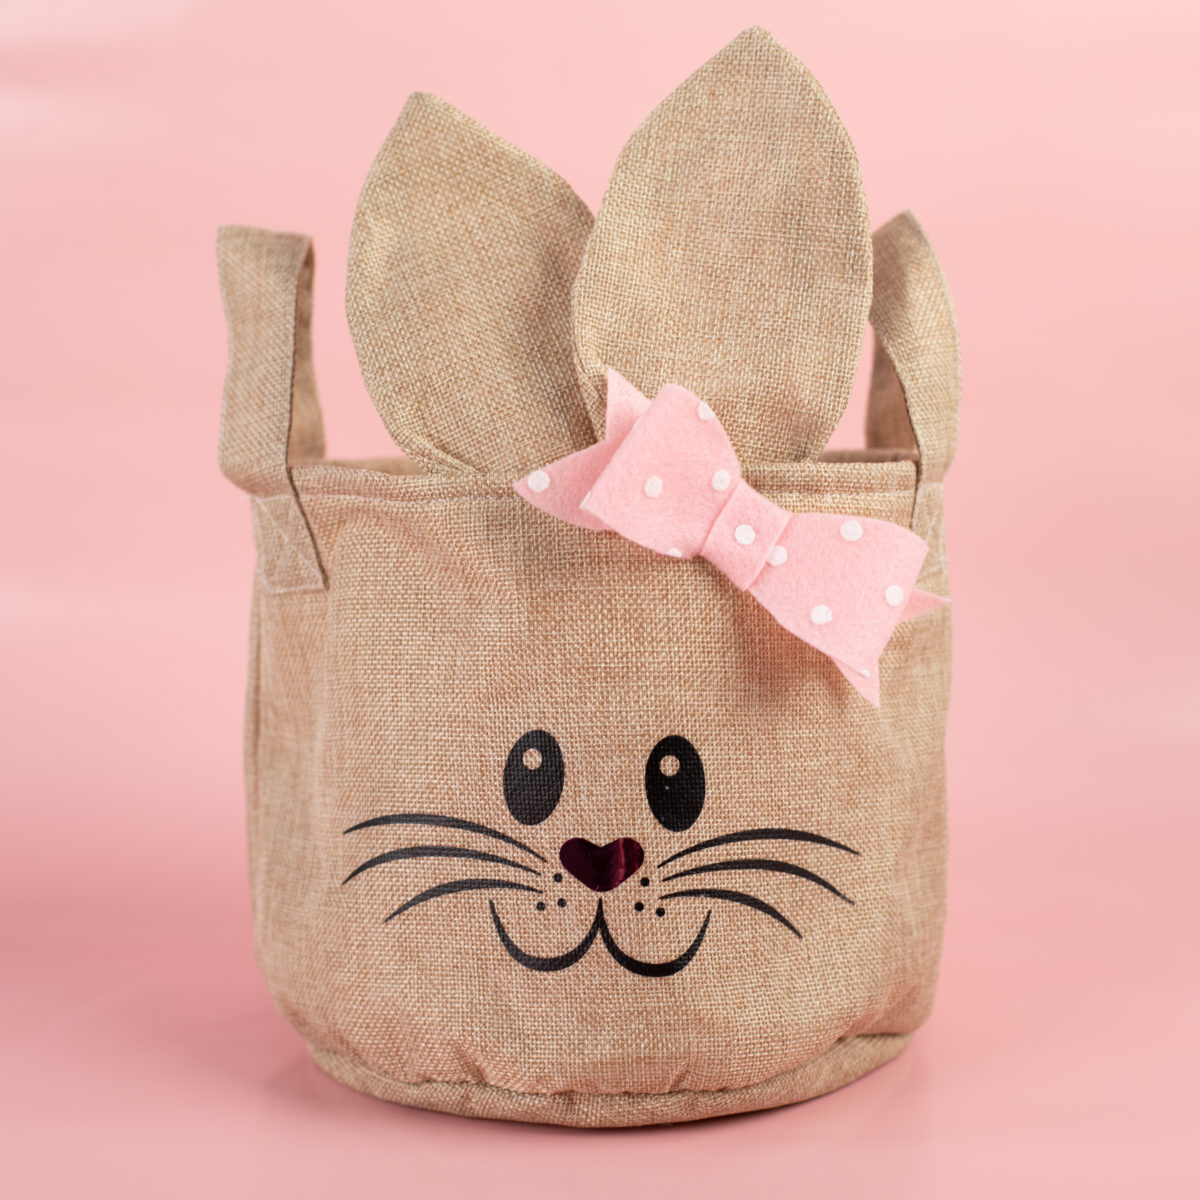
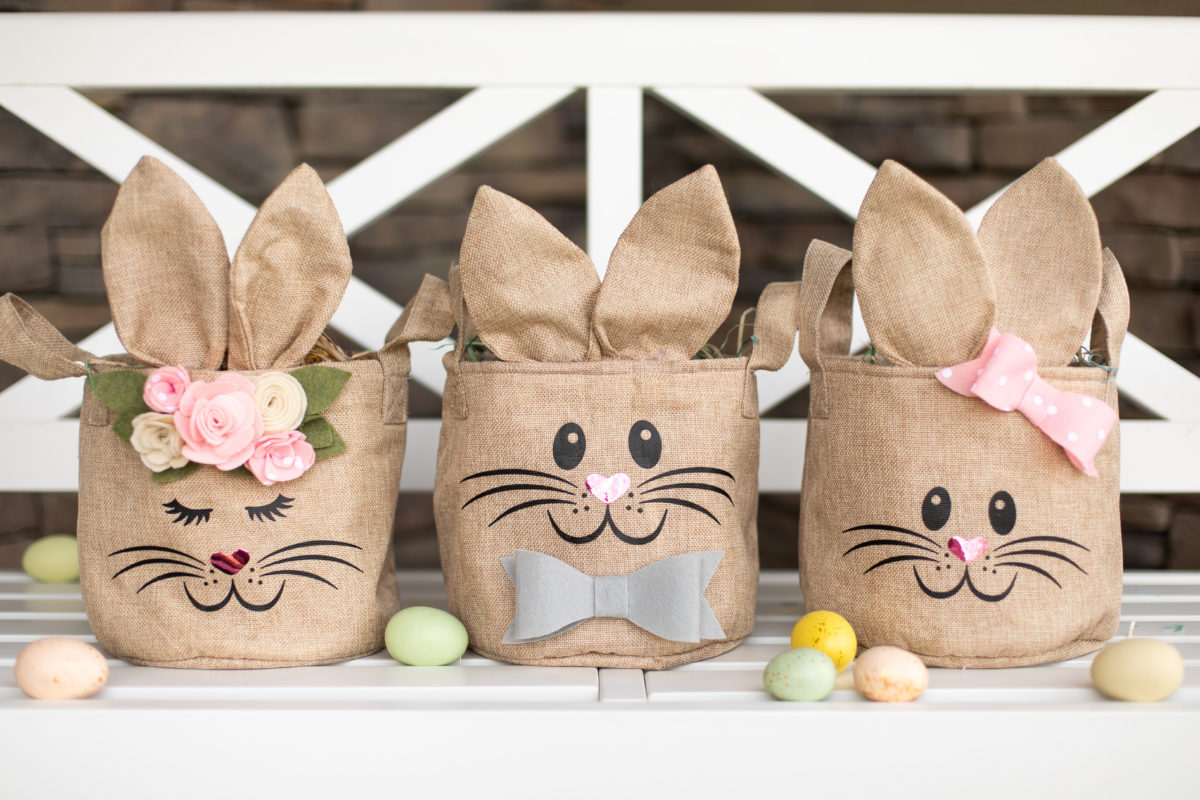
Note: We left room above the eyes of one basket for the flower crown, and on the other basket we raised the face up on the basket so we could place a bow tie underneath.
Step Two: Design Bunny Ears
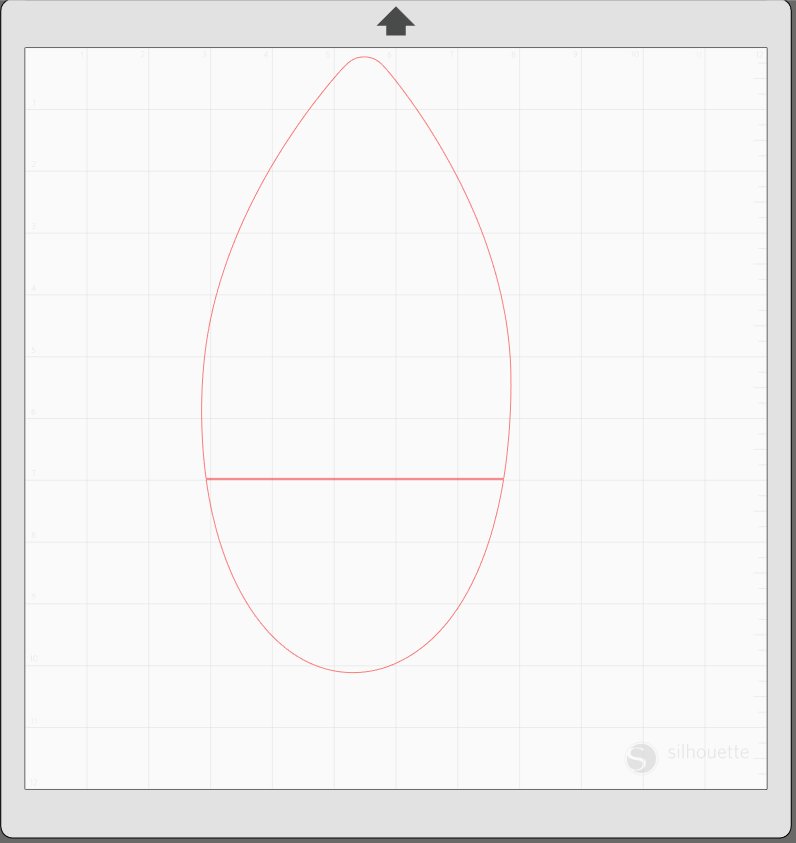
1. Open the Leaf design (Design ID #193690) in Silhouette Studio®.
2. Select the Offset tool from the icon located on the right-hand side menu.
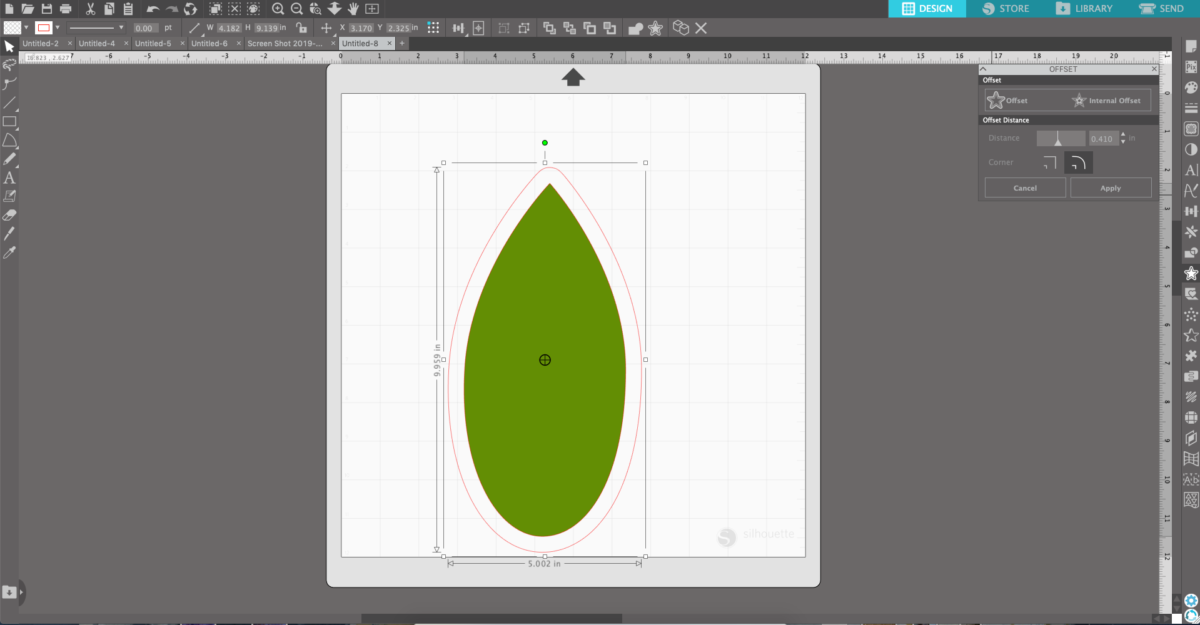
3. When you have the desired size, click on the original leaf image and delete it.
4. Now select the Knife tool from the left-hand side toolbar and slice the leaf about 1/4 of the way from the bottom.
5. We filled the design (now an ear shape) with brown for visual purposes; this step is not required.
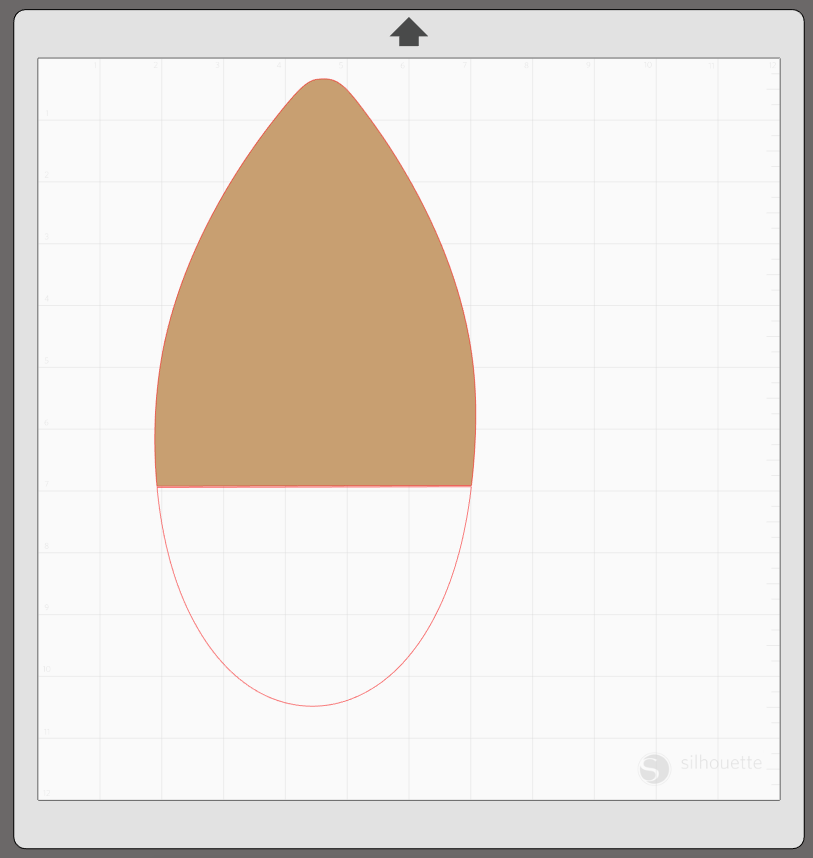
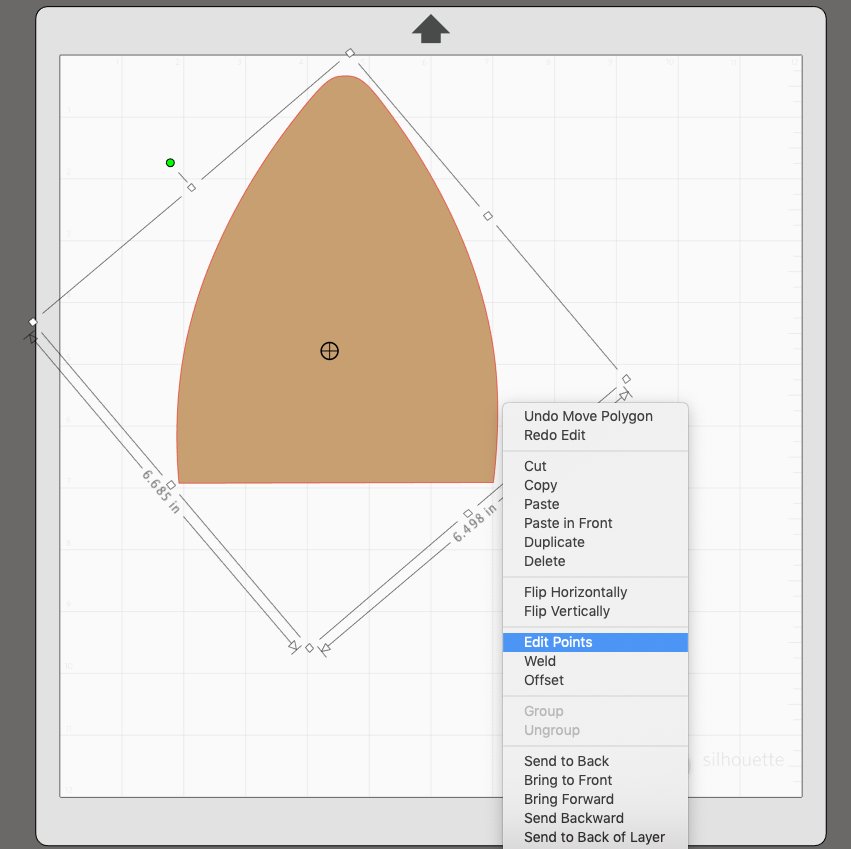
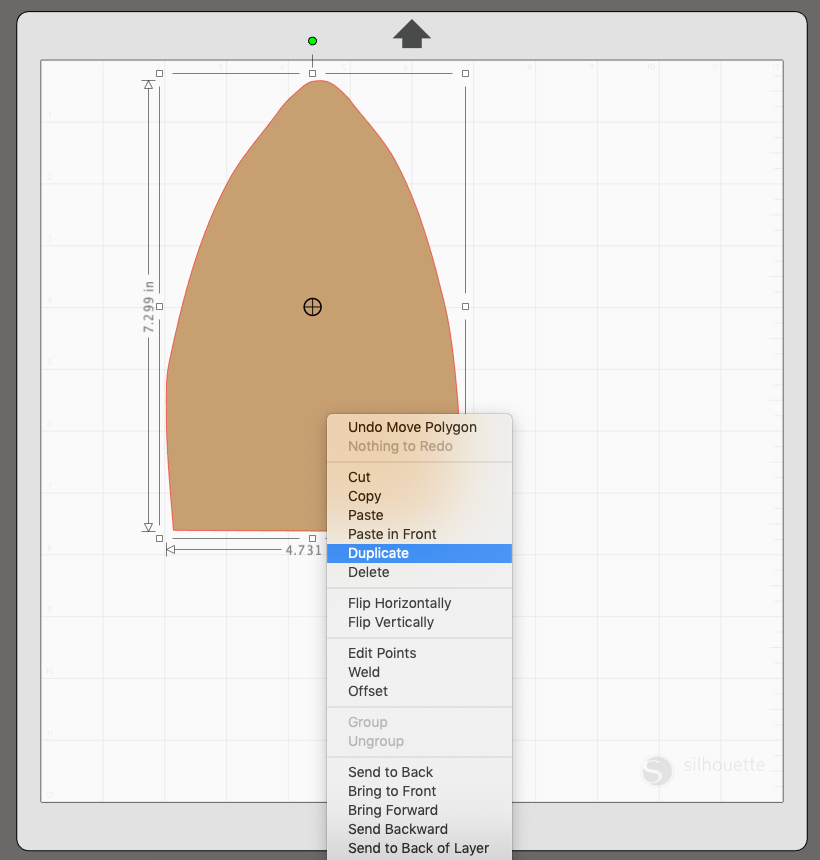
6. Delete the bottom cut section, select the remaining design, and choose Edit Points from the drop-down menu.
7. Adjust the points by elongating the design and pinching in the bottom to make the design look more like bunny ears.
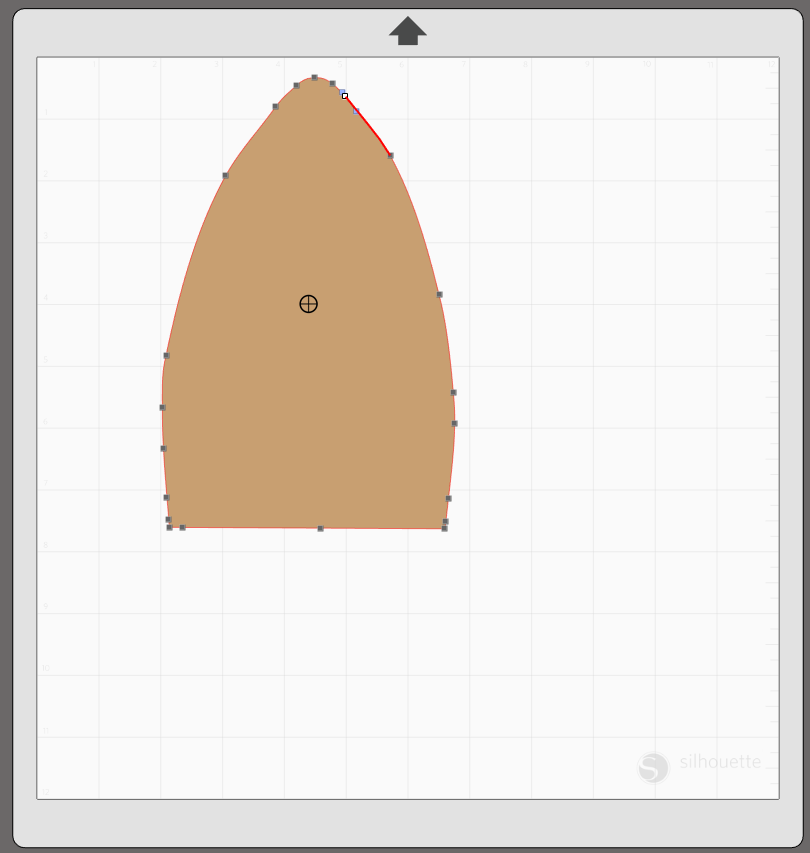
8. Now duplicate the design.
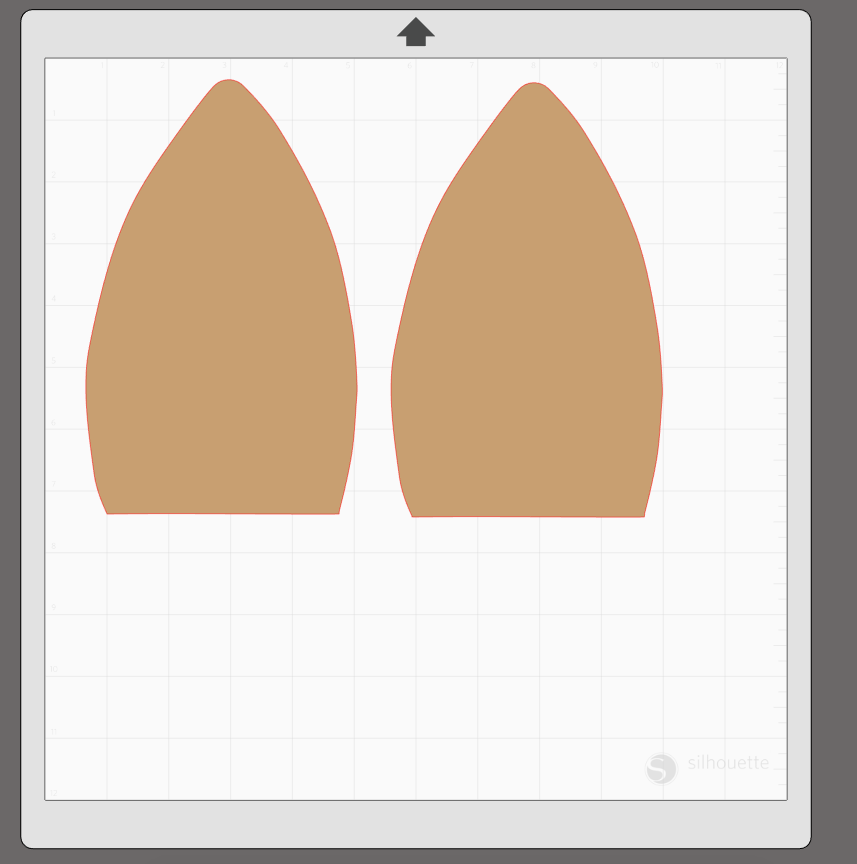
9. Before placing the fabric on your cut mat and sending to machine place fabric stabilizer onto your fabric. As is shown in this post here.
Step Three: Prepare Ears
1. For each ear, you will need to cut the design above twice. When you have four pieces cut you will begin the assembly.
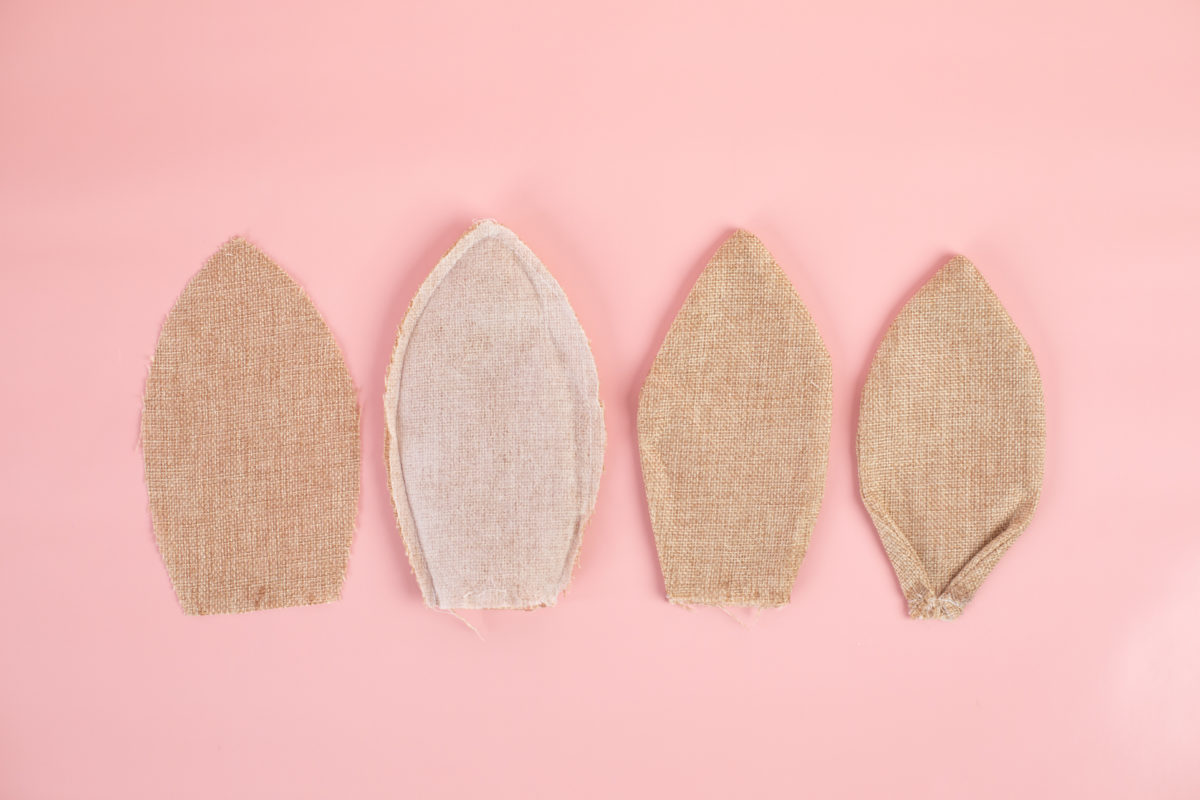
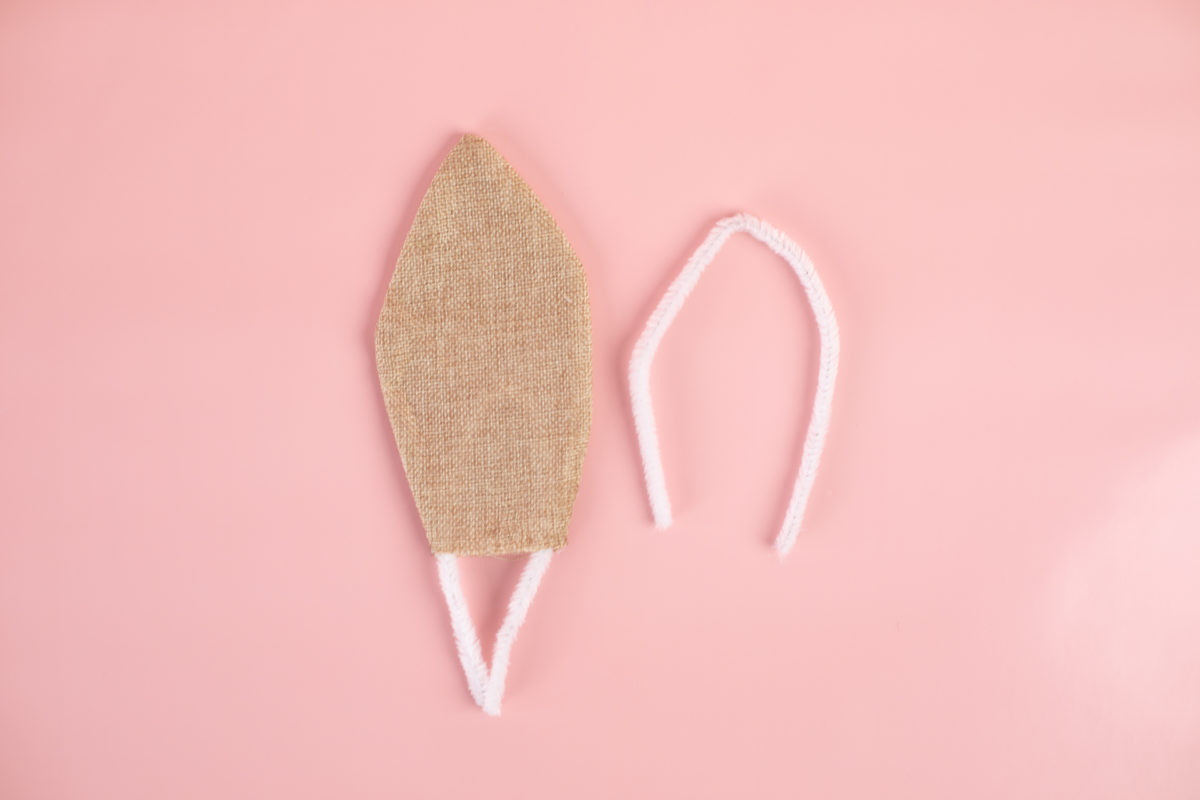
2. The image above shows the steps left to right. First, place the two pieces together with the right sides of the fabric facing each other. Next sew along the edge with 1/4-inch seam allowance. Then turn the ear right side out. Before the final step, you will insert a pipe cleaner as shown below. And then the final step is to fold the bottom edges in and sew across the bottom opening.
3. Once the ears are sewn simply glue to the inside of your basket.
Step Four: Assemble Felt
1. Cut the bow and flower designs (Design IDs #241018 and #224556) using the Friendly line of Kunin Felt. This felt is stiff so it doesn’t need any fabric stabilizer.
2. We cut the felt using Silhouette’s Deep Cut Blade, using the following settings: Blade 20/11, Speed 3, Force 33, Passes 2.
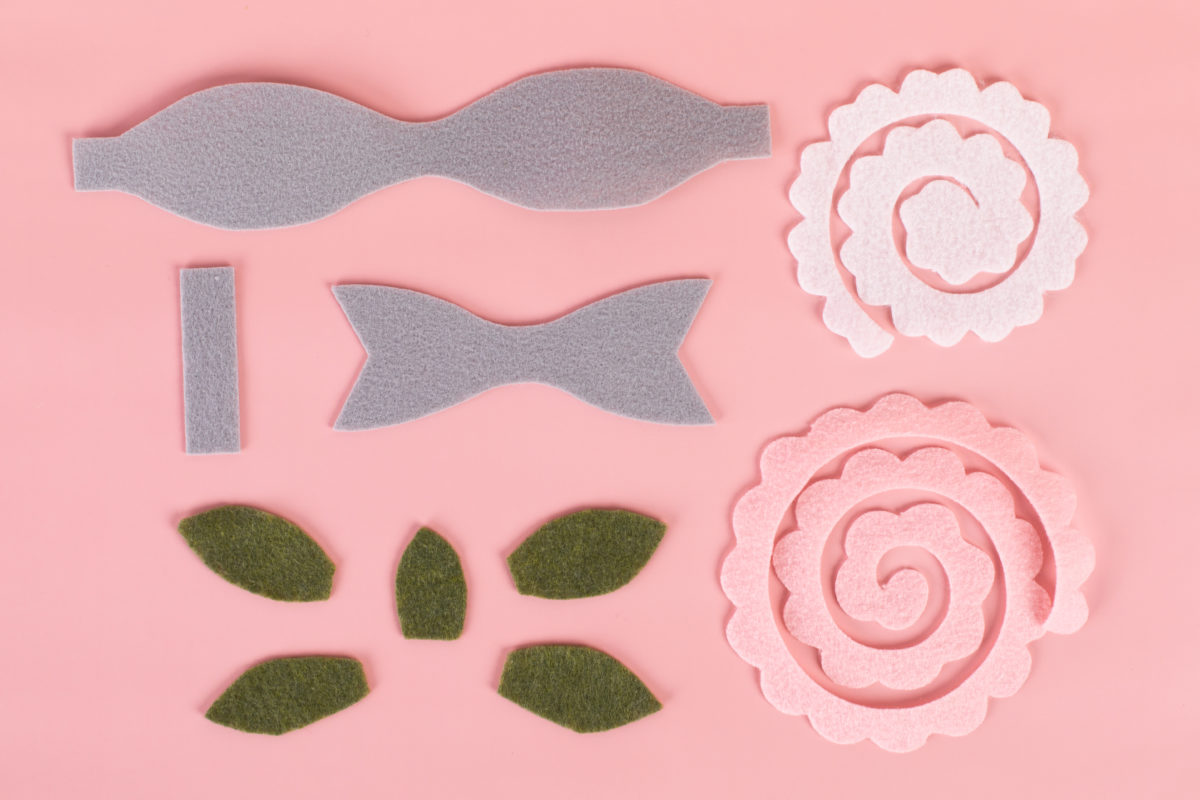
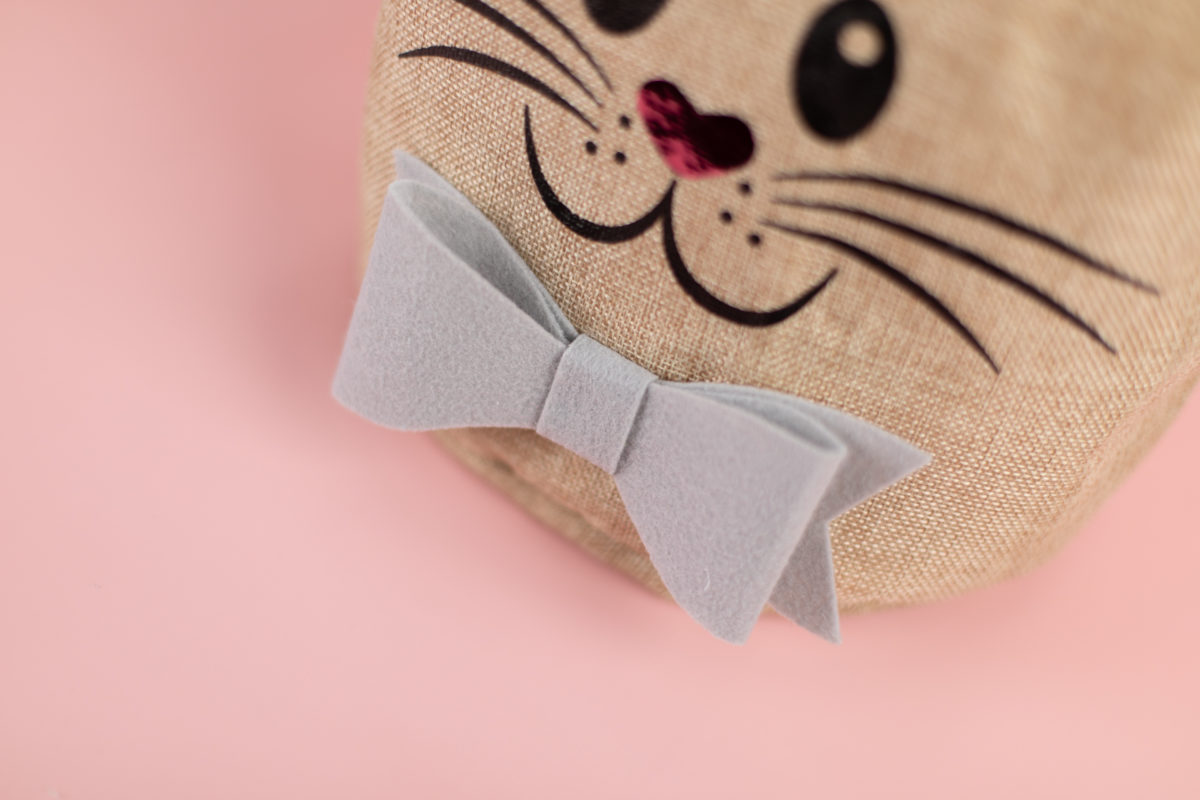
3. When all the designs are cut, begin the assembly. Follow the steps for the bow assembly as seen here.
4. And the assembly for rolling the felt flowers is the same process as we used here for our darling paper flowers.
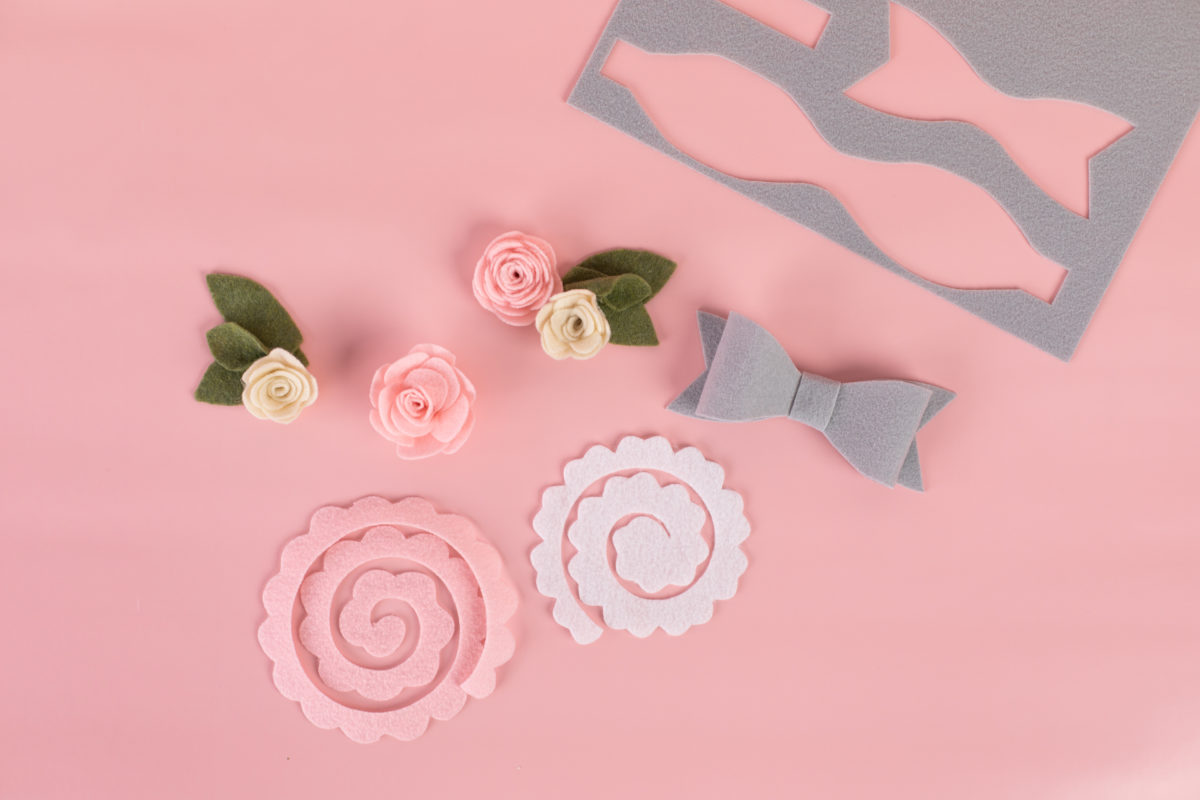
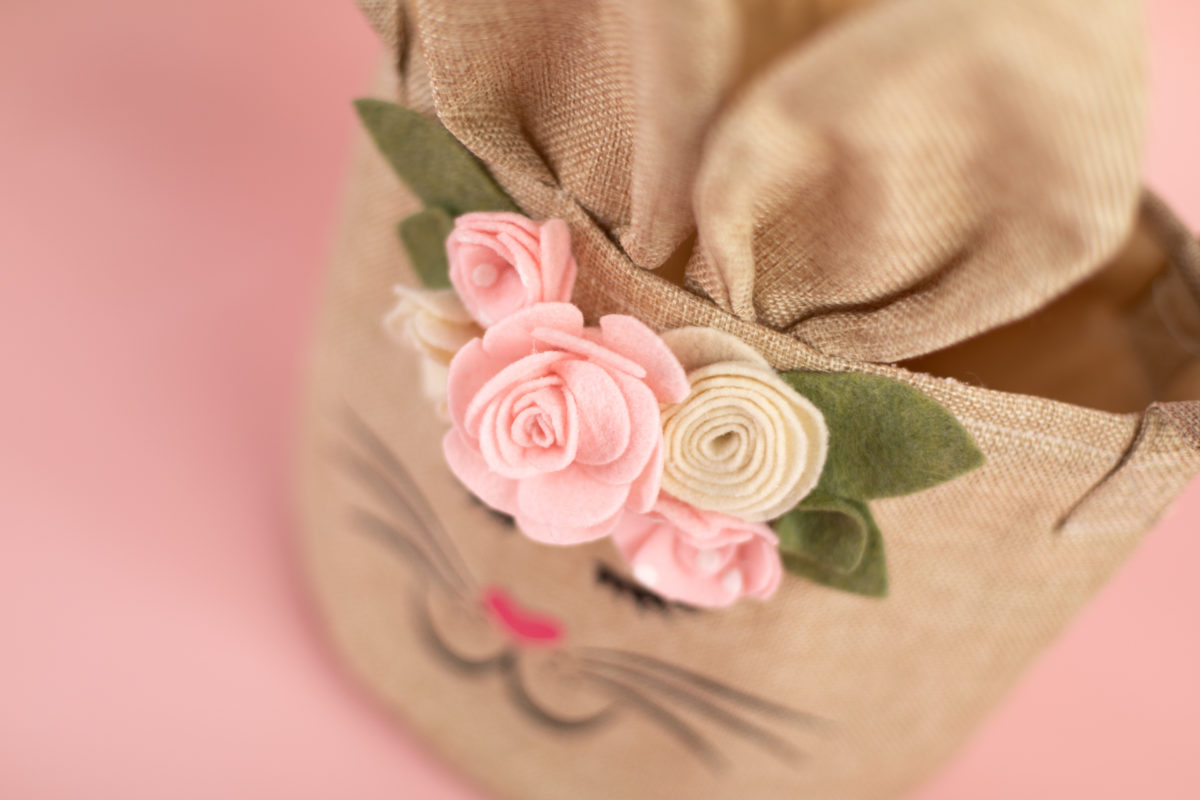
5. When all the accessories are assembled, glue the flower crown to the basket above the eyes and below the ears.
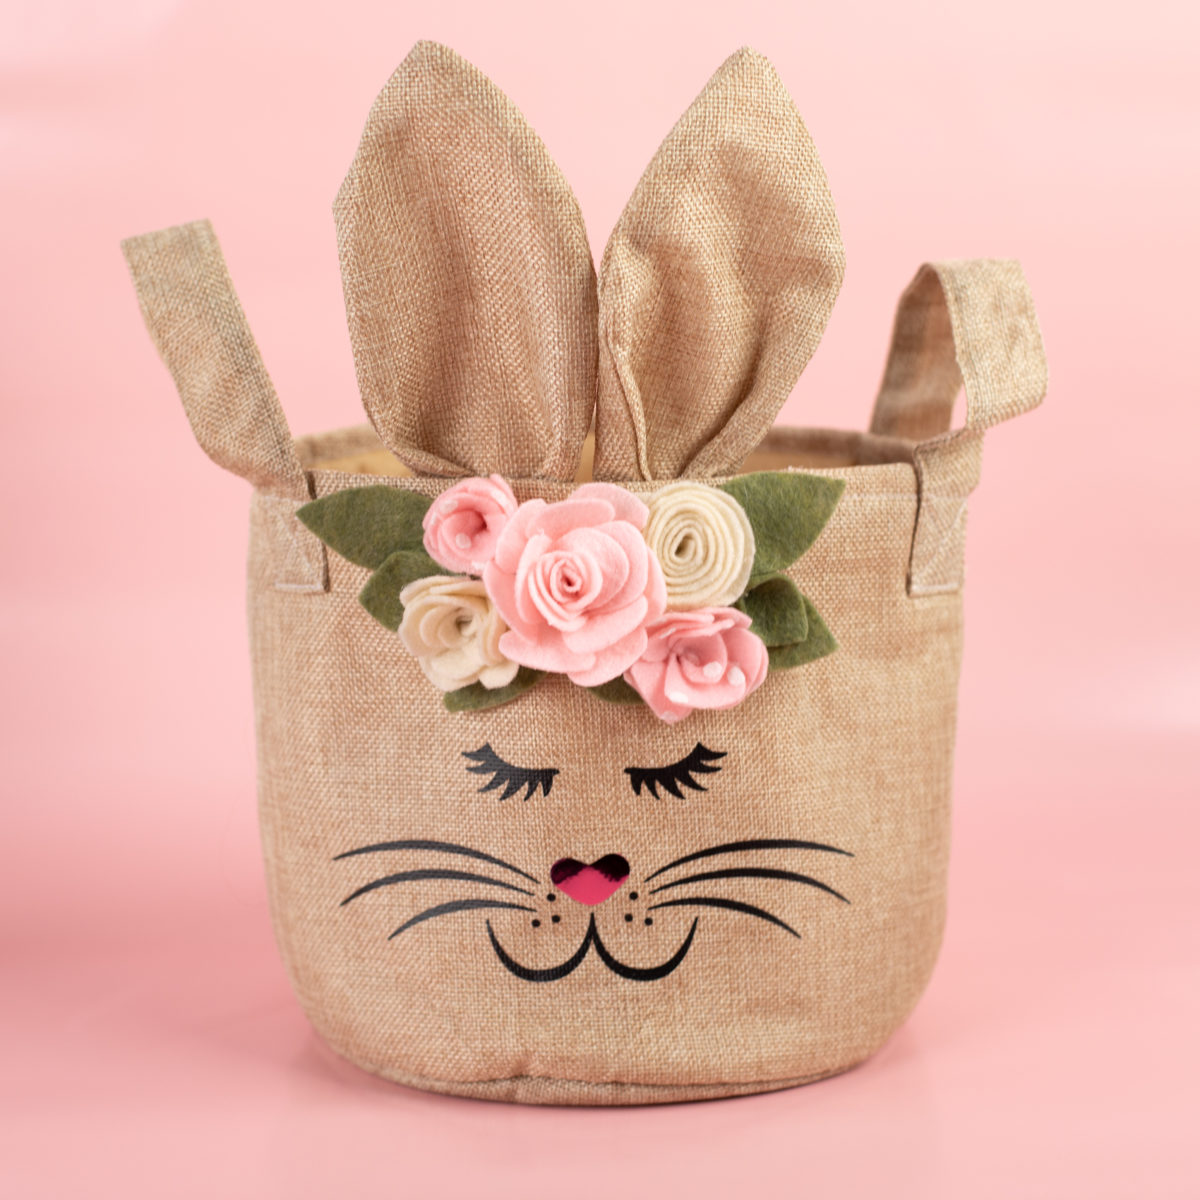
6. For the bow tie, glue it below the face.
7. If you want to use the bow tie as a hair bow, assemble it the exact same way and just place above the eyes!
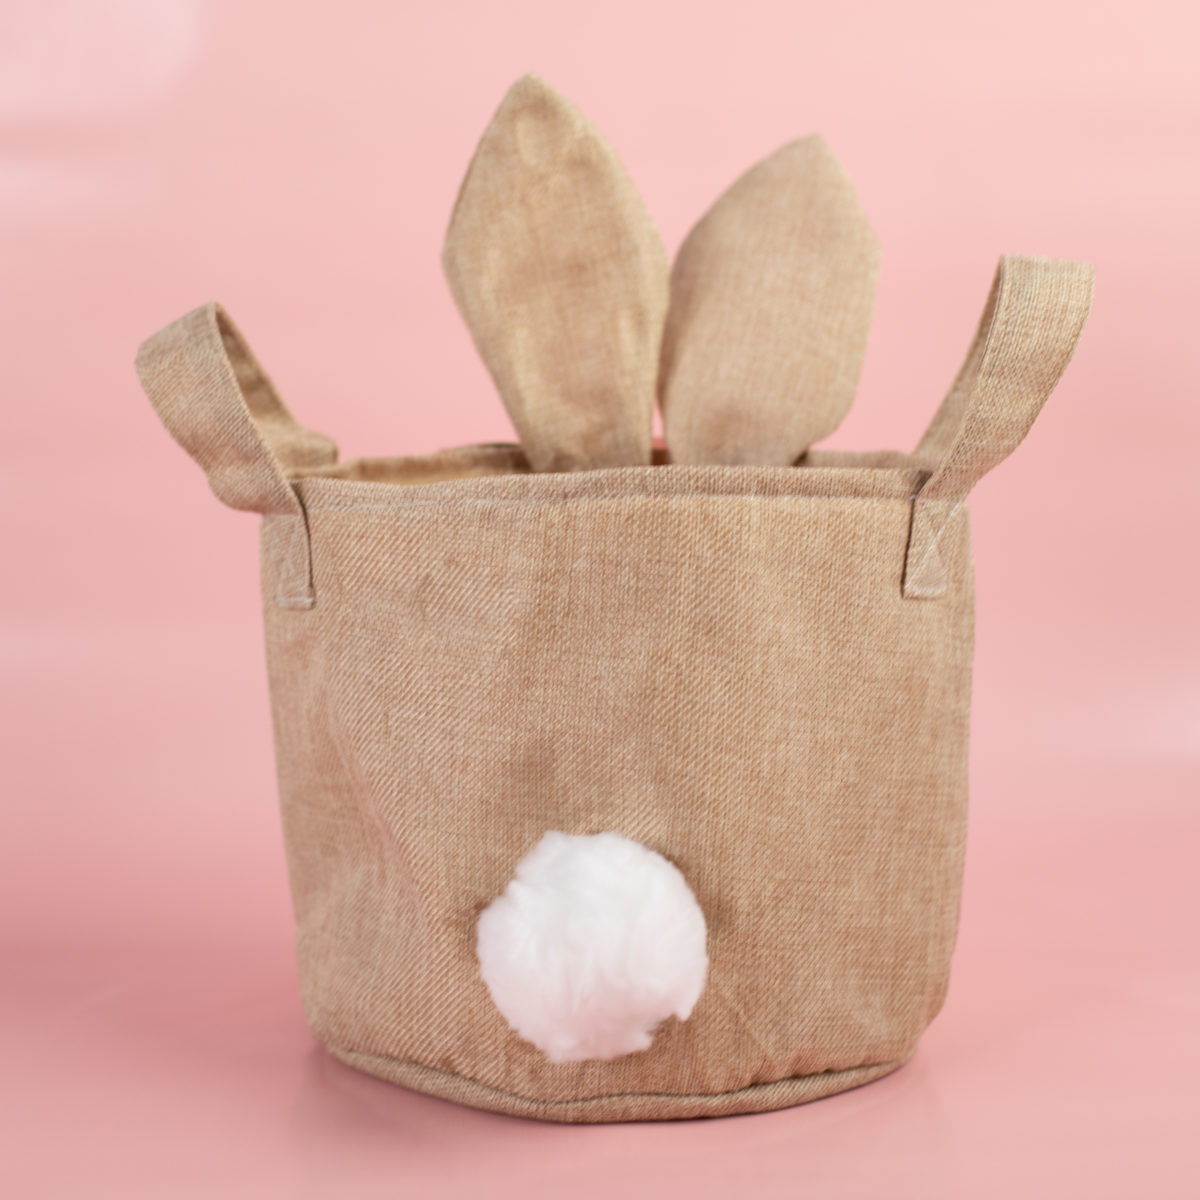
8. For some extra charm, glue on a pom pom onto the back of your basket.
And have a Hoppy Easter!
We can’t wait to see these little guys stuffed with dyed eggs, marshmallow chicks, and all the chocolate they can hold. We would love to see how you decorate your Easter basket. For added customization, you can add names to these cute bags so there is no fighting over whose chocolate bunny is whose!