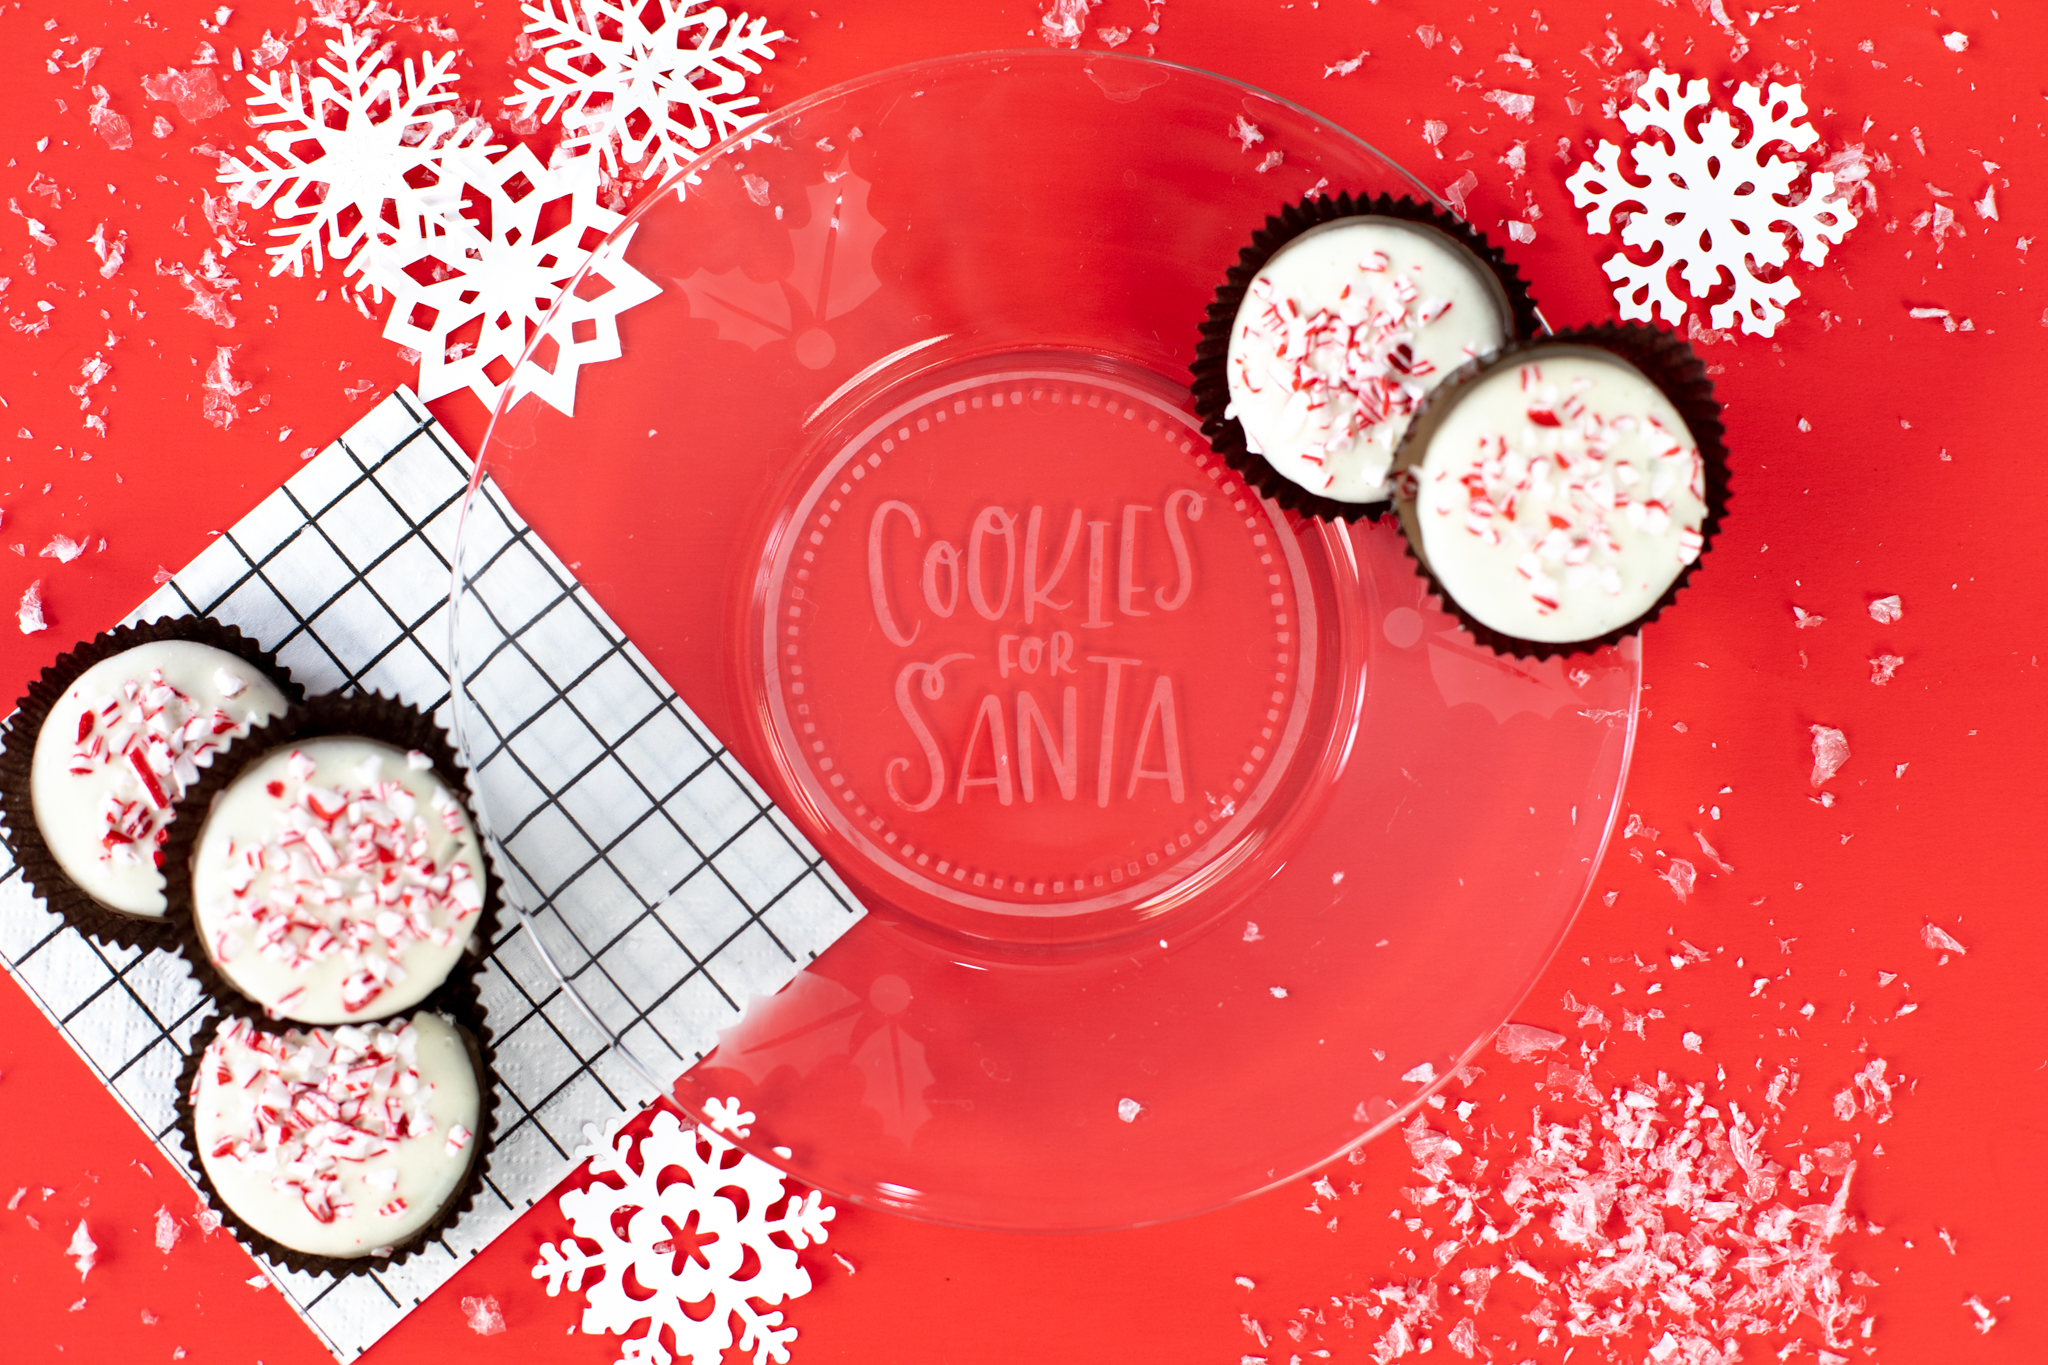
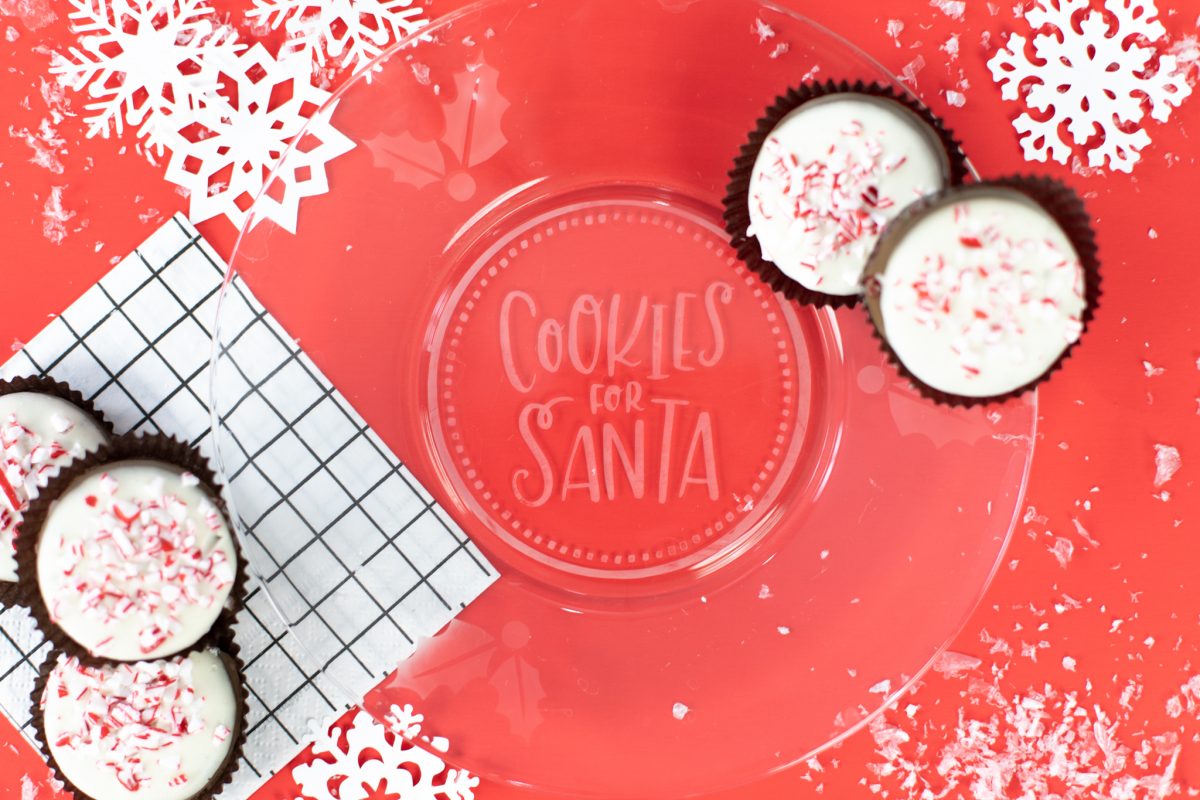
If you’re planning on leaving some goodies out for Santa on Christmas Eve, why not make a special plate that you can use year after year? We used out Glass Etching Starter Kit to customize a glass plate for the holidays. You’ll look forward to piling it up with cookies each Christmas!
Supplies Needed:
- Silhouette Cameo®, Silhouette Portrait®, or Silhouette Curio™
- Silhouette Studio®
- Silhouette Cutting Mat
- Silhouette Cutting Blade
- Glass Etching Starter Kit
- Gloves
- Glass Plate
- Paper Towels
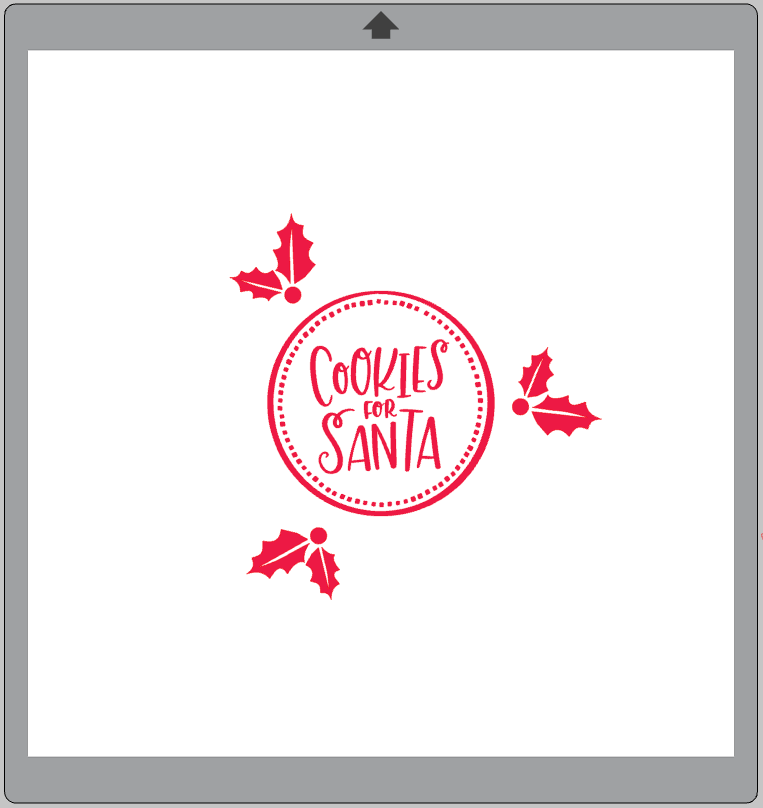
- Design ID #308784 by Lilium Pixel SVG for Cookies for Santa and #32700 by Echo Park for Holly & Berries
Step One: Format the Design
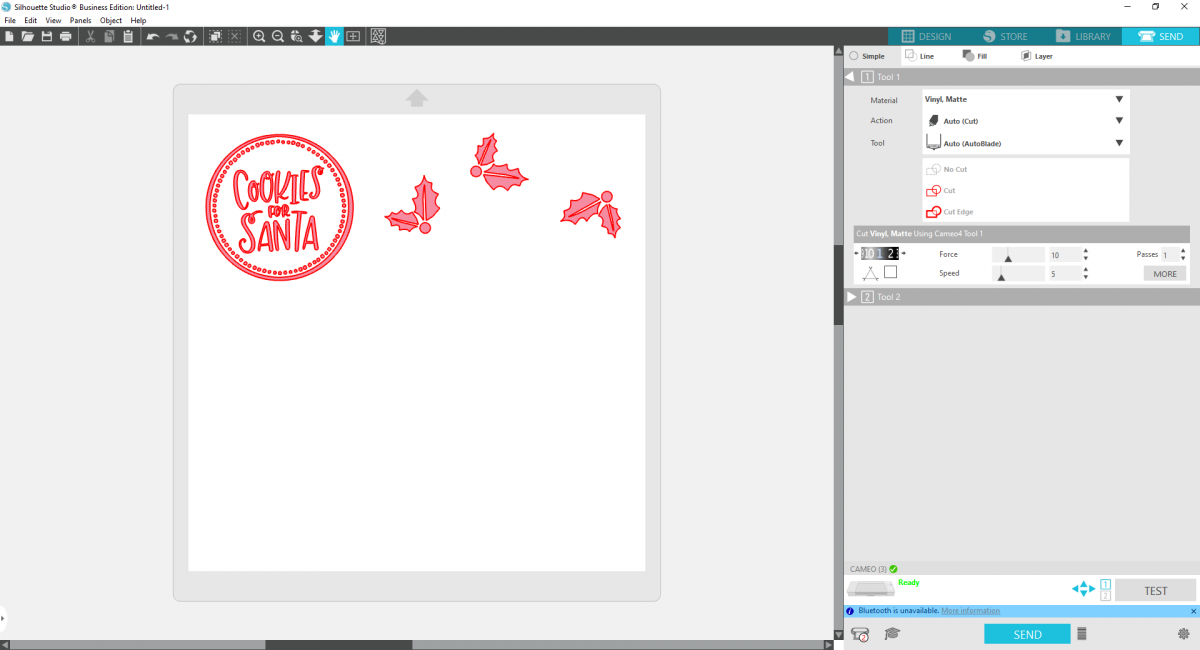
1. Insert your design into Silhouette Studio®. Size the design appropriately for your plate size.
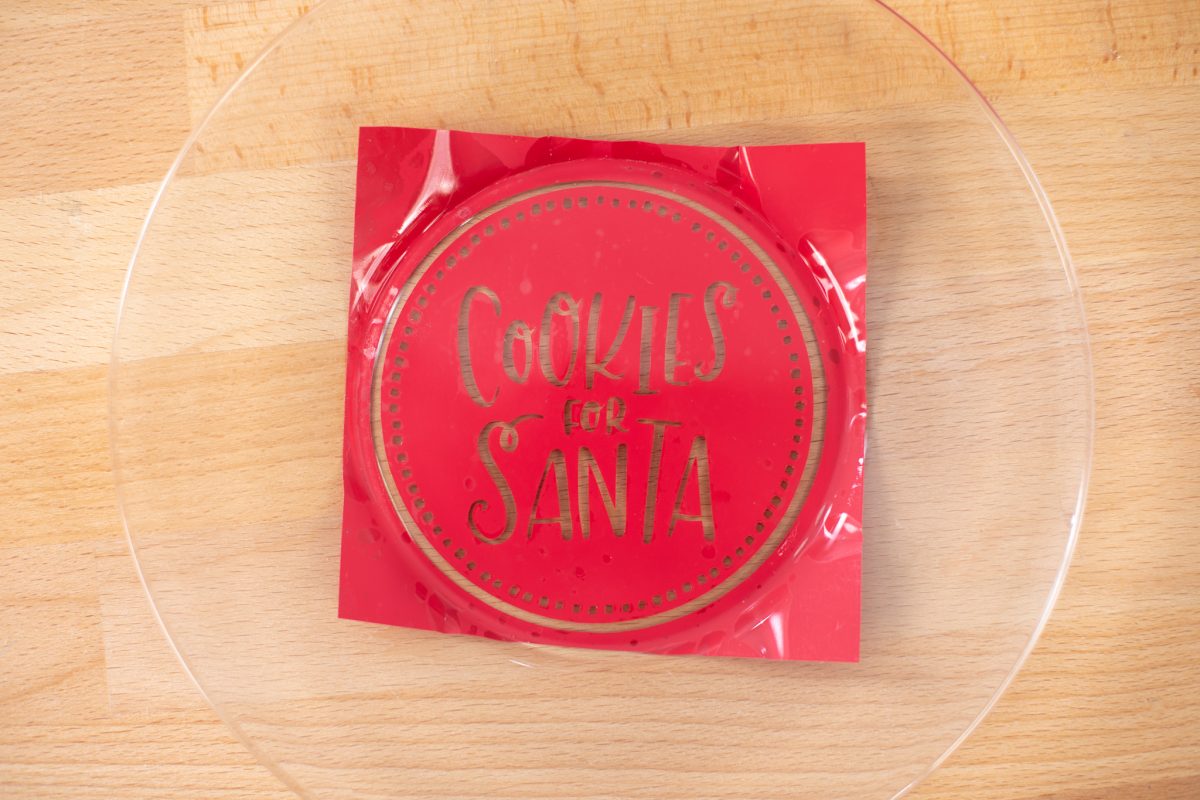
2. Cut out your design on the stencil vinyl. You can also use any strong vinyl that works well for stencil applications. I’m using matte red vinyl so that it’s easier to see here. Once you’ve arranged your design in Silhouette Studio®, you can also separate the design so you have more negative space around each aspect. I applied the Cookies for Santa portion first and then applied each holly sprig individually.
3. With the Silhouette hook tool, carefully remove the design from the vinyl so that you are creating a stencil with the negative space. This can be a bit tricky because it is different from what you would normally do with vinyl. So shift your thinking a little bit and make sure you remove the actual design. **I’m using red vinyl here so it’s easier to see. If you are using Stencil Vinyl, that vinyl will be clear.

4. Apply the transfer tape over your design and use the scraper tool to remove any bubbles. Lift the transfer tape with the design on it and make sure all the pieces of the stencil adhere to the transfer tape. Remove the vinyl backing.
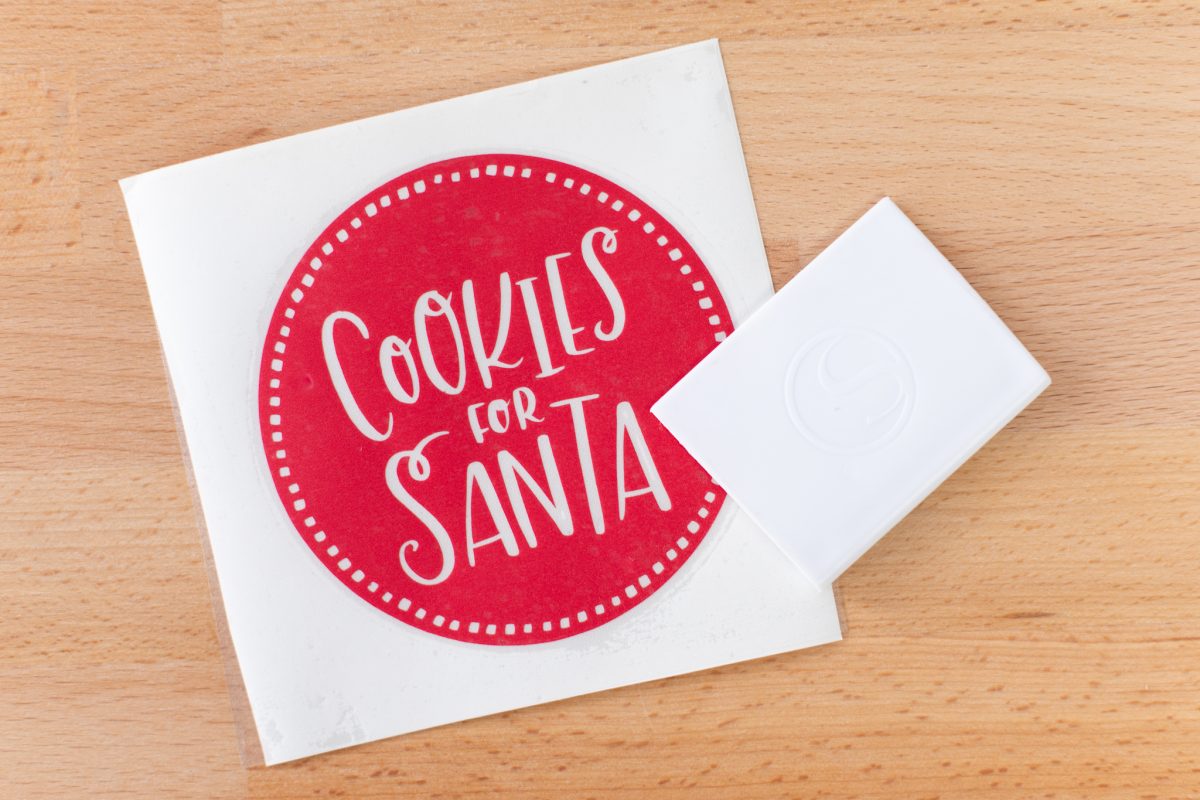
5. Apply the adhesive side of the vinyl to clean, dry glass. Smooth the vinyl over the glass with the scraper tool to remove any bubbles. Do the same process for the holly berry pieces as well.
6. Once the vinyl is really secure, peel away the transfer tape. Make sure all the pieces of the stencil remain on the glass.
Step Two: Apply the Glass Etching Cream
1. Using the scraper tool, apply a thick and even layer of etching cream to the exposed glass. Let the cream set for 30 to 60 seconds. Wear protective gloves when working with the glass etching cream and take care to not get the etching cream any place you don’t want etched! Below you can see the etching cream on one of the holly berries. I like to do each section individually to avoid any mistakes!
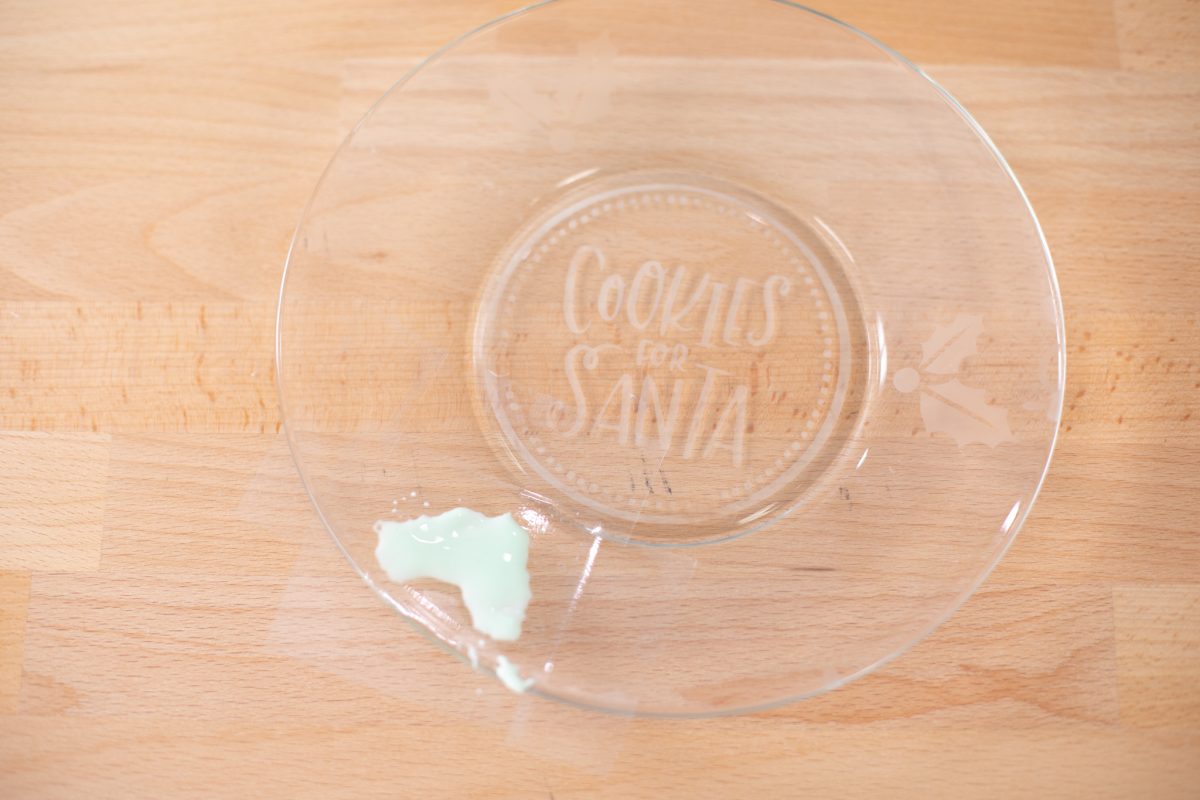
2. After you let the cream set, carefully scrape the remaining cream back into the bottle. Wipe any residual etching cream away with a paper towel and wash the glass thoroughly.
3. Peel the vinyl off the surface of the glass. Clean the glass so it will be ready to load up with cookies!
 Free Class - Foiled Gift Tags with the Heat Pen
  Winter Branch Décor