
I’ll be the first to admit that learning to emboss with Curio can be a little intimidating. Just like everything else, it’s a process of trial and error. Lucky for you, I’ve done the dirty work to bring you my tips and tricks for a successful emboss every time.
The Basics:
When you connect Curio to your computer the design page should automatically change to Curio’s 8.5 in x 6 in size. You can then change to the embossing mat by selecting Cutting Mat>Curio(emboss).

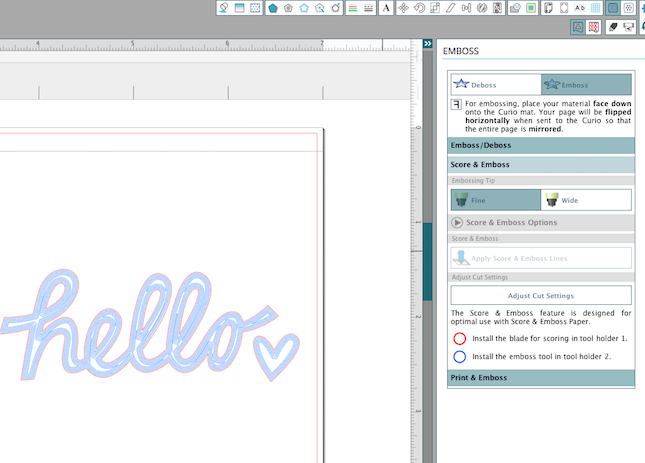
Once you have your design set up how you want it, you can go to the emboss/deboss window by clicking on the little blue swirl in the top right-hand side of your page. This is where you will select your settings. You can either choose to deboss (indented) or emboss (raised), and from there you can choose to print and emboss or score and emboss as well as select from several different filters.

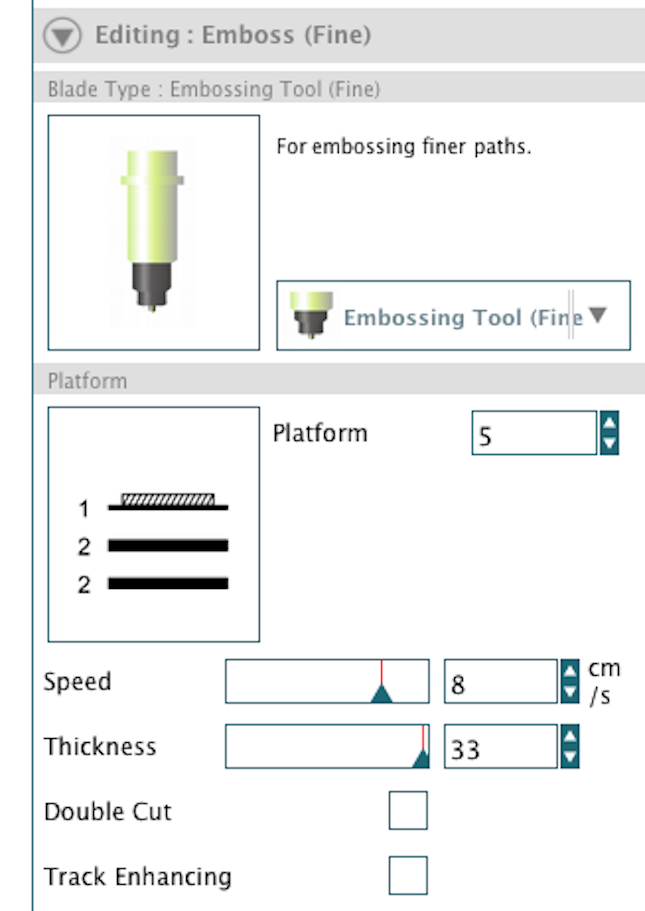
One trick I’ve learned with Curio embossing is to always keep your media elevated to 5 mm because this is when Curio releases the most pressure. There are a few materials that suggest a platform of 6 mm, however, after trying them at both 5 mm and 6 mm, I found that 5 produces better results. This means you should typically be using platforms 2+2+1.
Score & Emboss:
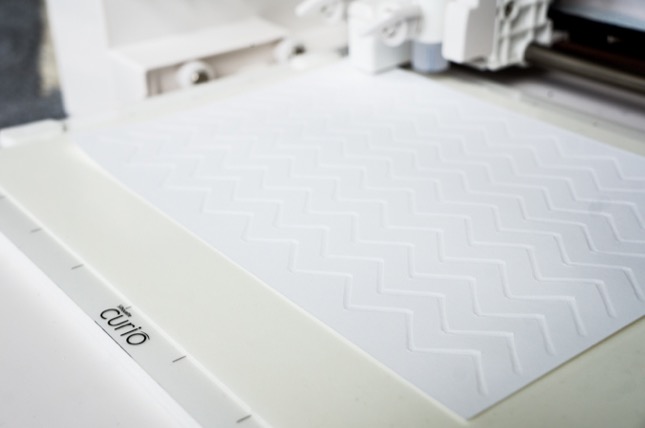
Silhouette’s score and emboss paper is my favorite media to work with when embossing. The results are satisfying and it utilizes the dual carriage which is always fun!
Keep in mind if you’re embossing your design will automatically be mirrored. Load your paper into Curio and go to the emboss menu in Silhouette Studio®. Choose the score & emboss option, apply score and emboss lines and it will then prompt you to load the ratchet blade into tool holder one (blue) and either the wide or fine embossing tool into tool holder two (red). Adjust your cut settings to the suggested settings for score and emboss paper and watch Curio work its magic. It will first score the red lines then emboss the lines that appear in blue. I used the double cut feature and my design came out perfectly embossed.
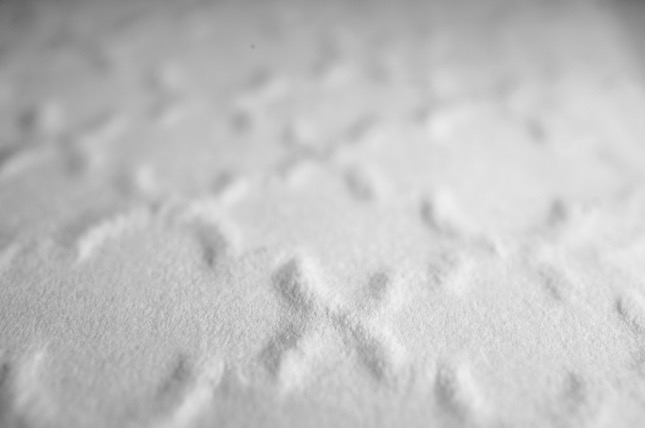
It’s not the easiest thing to photograph but the embossing comes out really beautiful!
Vellum:
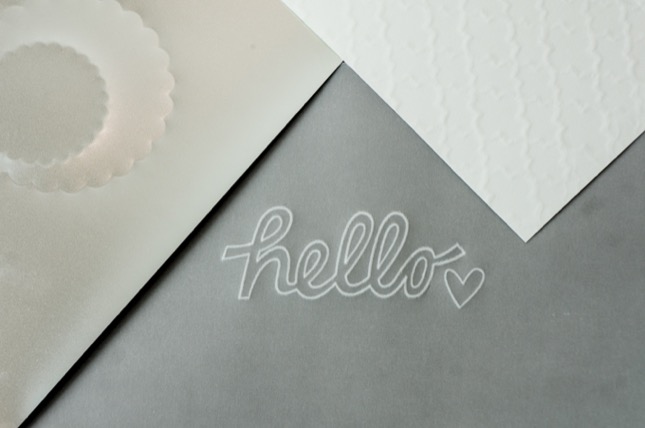
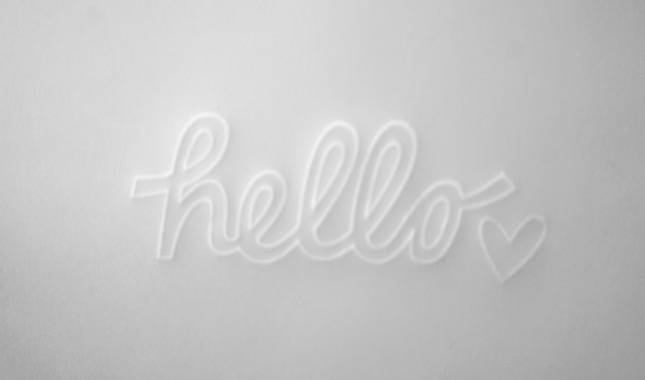
I LOVE the way embossing on vellum turns out! It looks so professional and there are so many creative possibilities with vellum!
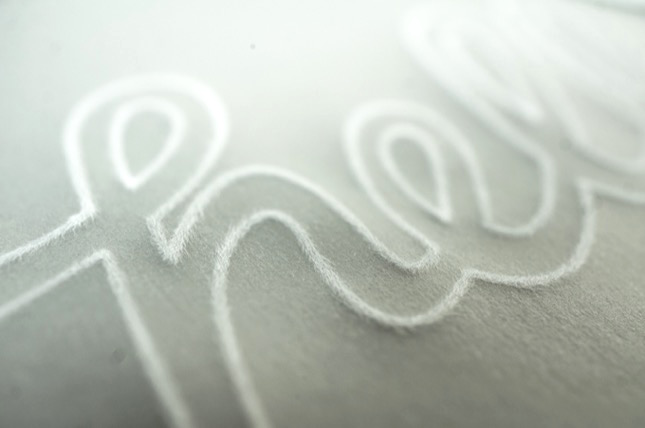
The main difference in using vellum instead of score and emboss paper is that you won’t need the ratchet blade for scoring. Once you have your design selected you can choose one of the embossing effects or just select “none”. Click “adjust cut settings”, change your material to vellum and load your paper into Curio. Double check that you have the right embossing tool selected in the cut menu and send the design to Curio. Some materials require a “double cut” to get a good emboss but vellum tends to rip after the first pass so be sure that the double cut box is not selected.
If you’ve been reluctant to try the embossing feature on Curio, give it a try! It’s a bit of a learning curve but once you play around with it you’ll be hooked!
Nasze Naturalne
September 3, 2025
Your authentic voice really shines through in everything you create and share
Naszenaturalne
September 2, 2025
Really love your style
Kelly Wayment
June 28, 2024
You can use it with vinyl as long as it is smooth and flat to allow the static charge to hold on to it. Rolled vinyl that wants to go back to its rolled shape will not necessarily work well, and it would need to be trimmed to fit the ES mat cutting area.
Kelly Wayment
June 28, 2024
Yes, you can use the heat pen while using the ES mat. 🙂
Yurii
March 2, 2024
Hello. May it be used with heat pen?
Thanks
Jerome
February 24, 2024
Hi, works this with the normal vinyl foils or only with printer papter etc?