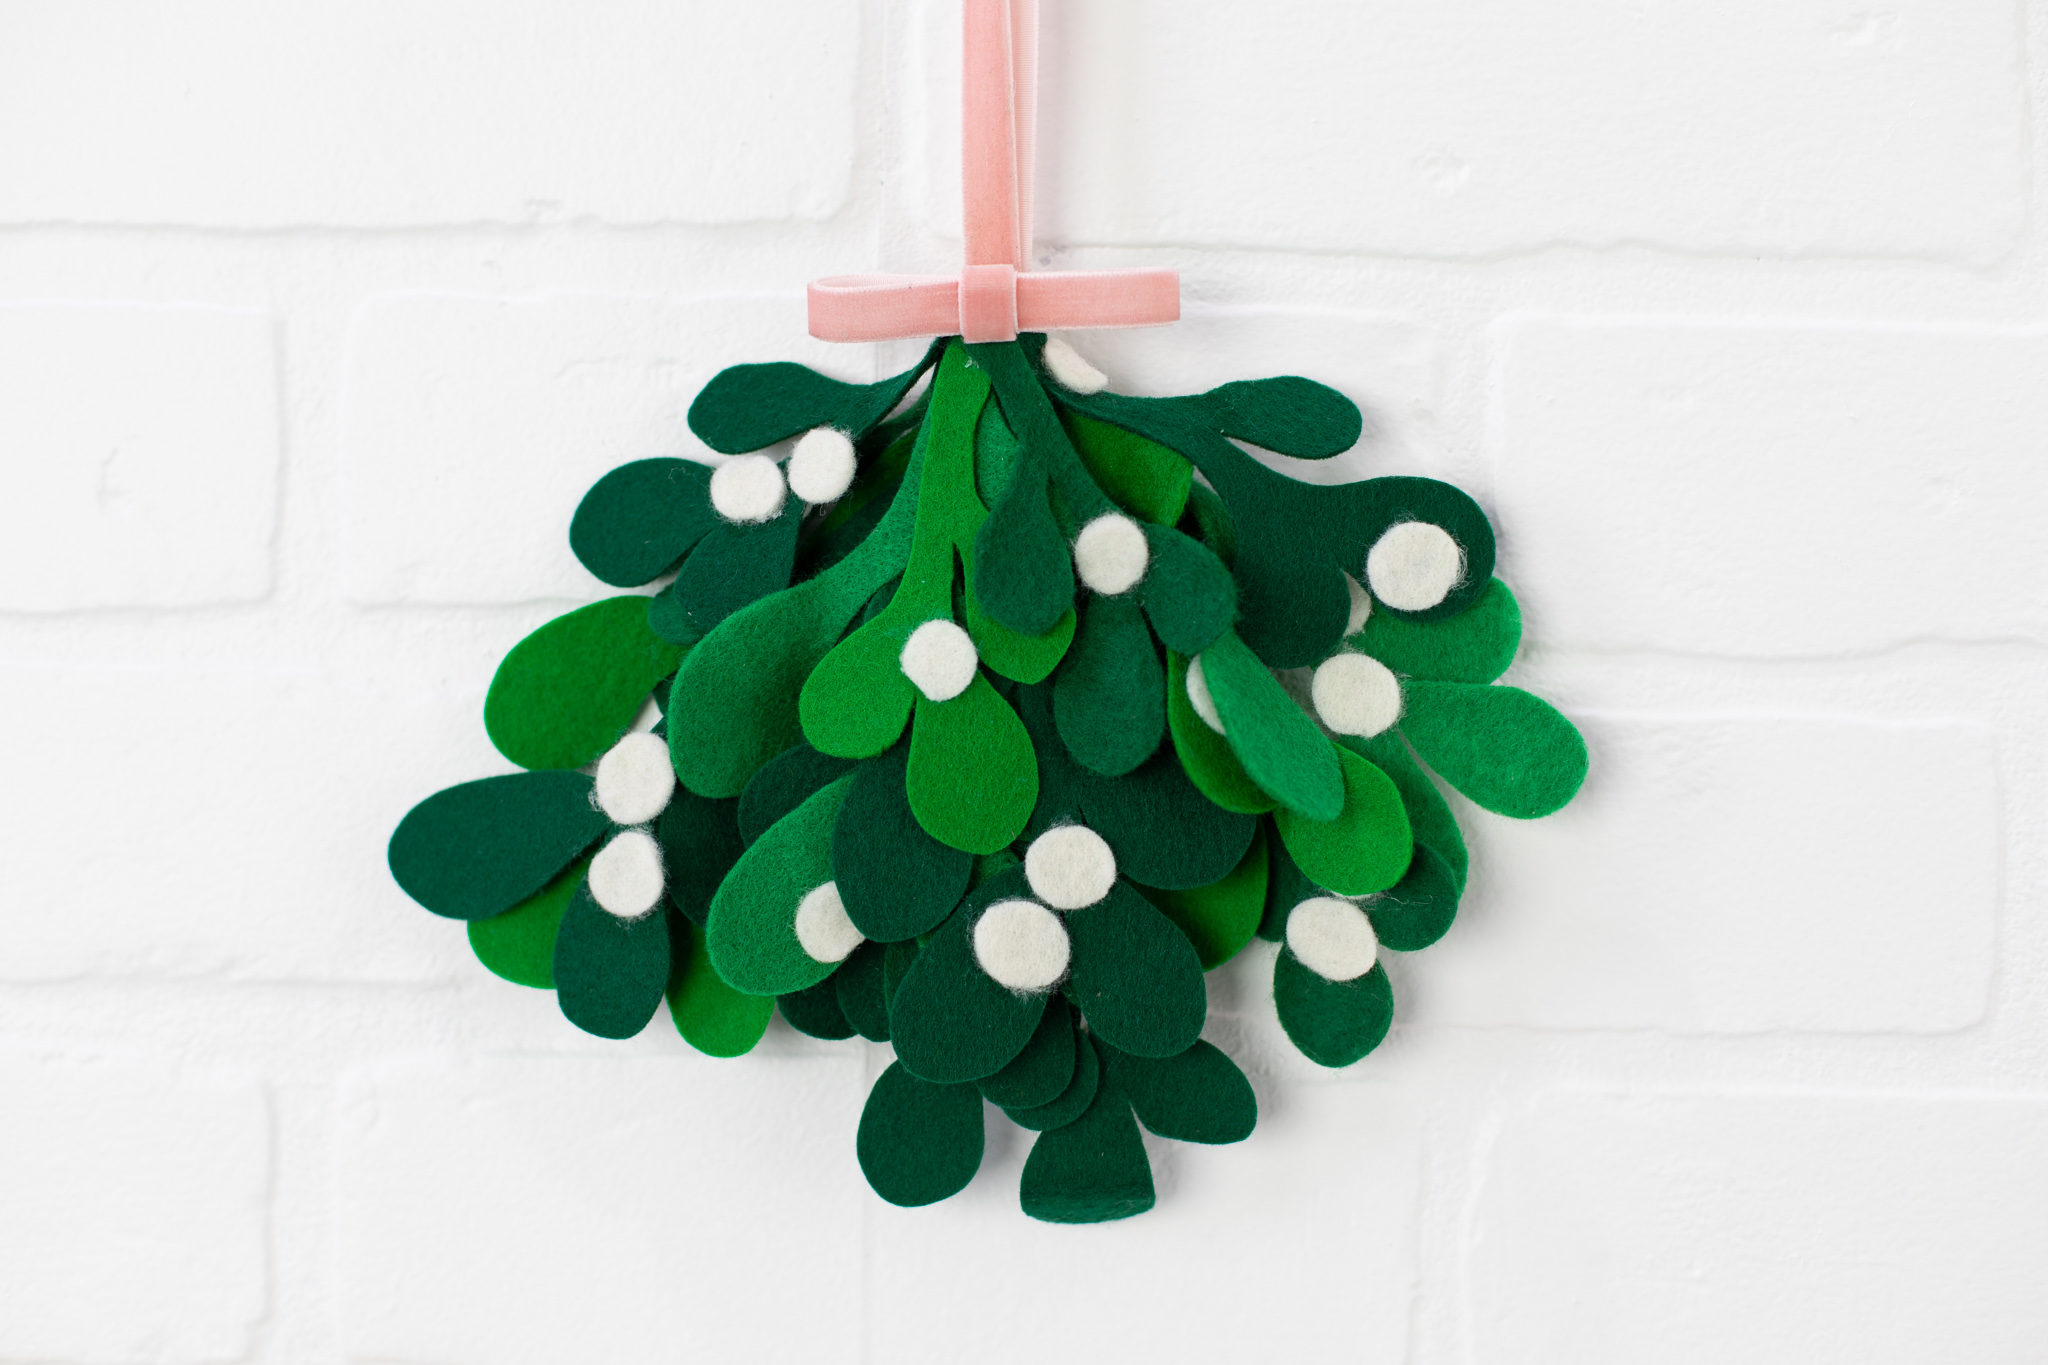
Is mistletoe a tradition in your household? I never really had it growing up, but I think I’m going to start using it this year! And instead of getting the fresh stuff, this DIY Felt Mistletoe can be used year after year! Hang it over a door frame or wherever you need a festive touch or some extra love. 😉
Supplies Needed:
- Silhouette Cameo® 4
- Silhouette Studio®
- Silhouette Cutting Mat—Use a high-tack or extra sticky mat
- Silhouette Rotary Blade for Cameo 4 (Available Now!)
- Felt in shades of green and cream
- Pink velvet ribbon
- Hot glue gun
- Design ID #281462
Step One: Formatting Your Design
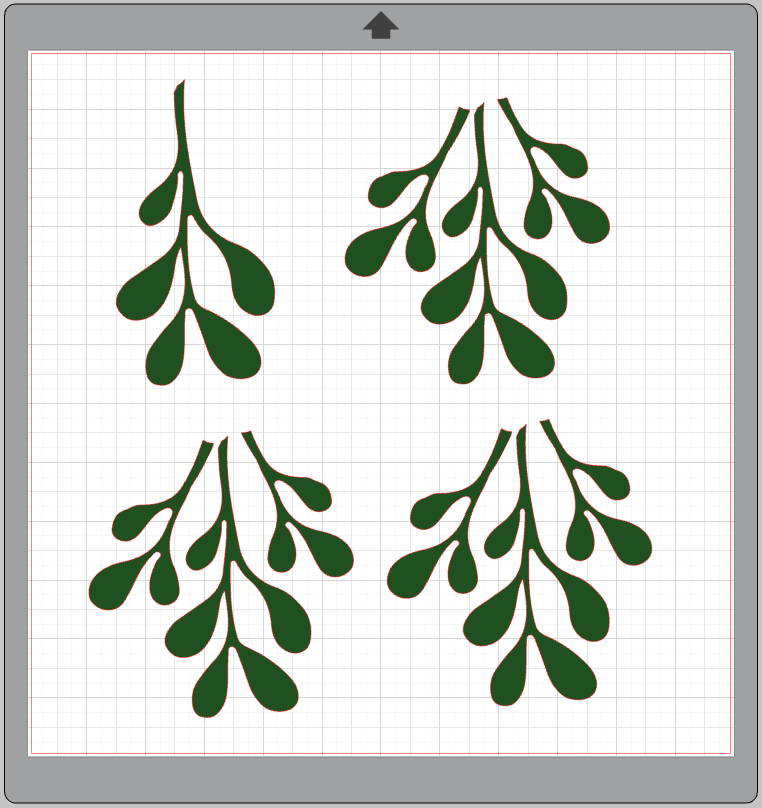
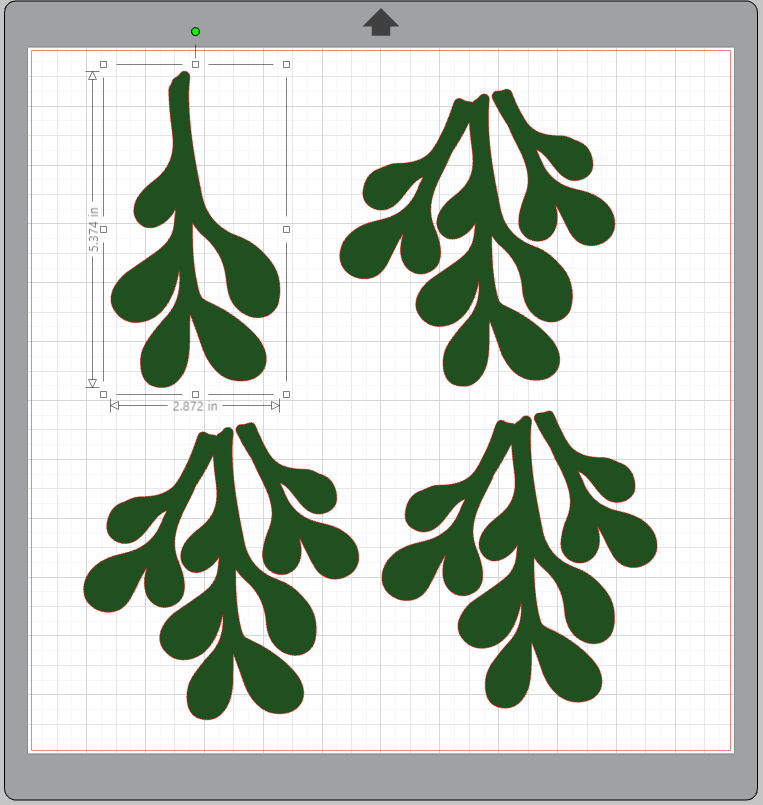
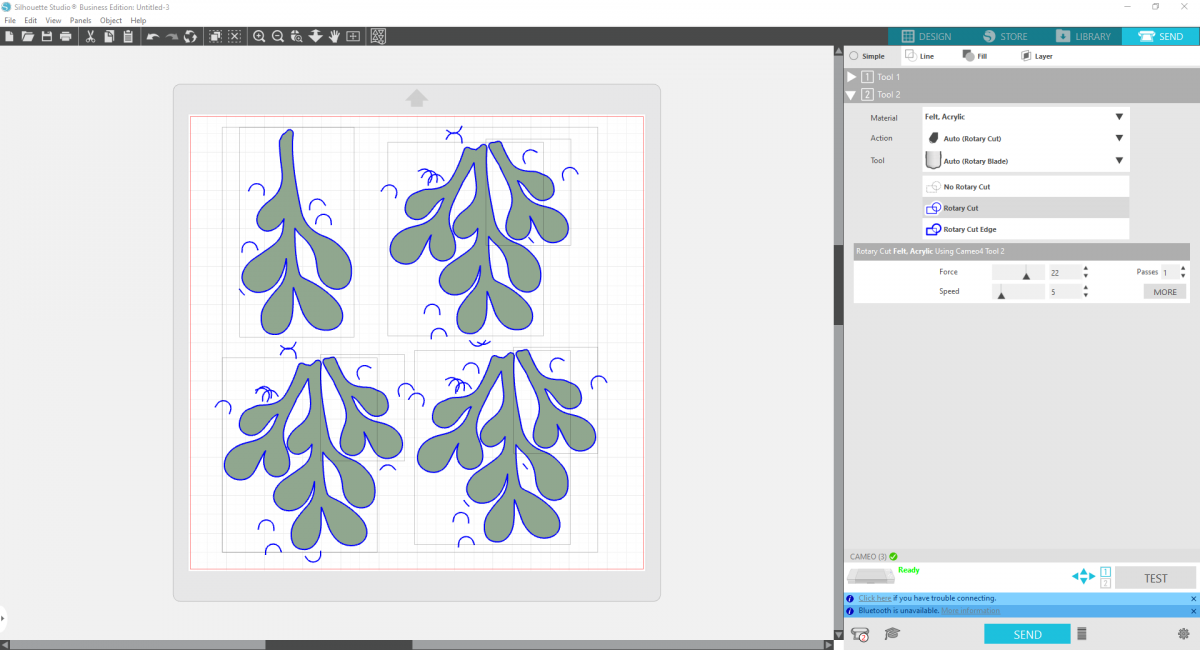
1. Open the mistletoe design file into Silhouette Studio®. Right-click the image, and select “Ungroup.” Set aside the bow components. I chose to add a small velvet bow to my mistletoe, but if you’d like to add the paper bow, you can add that on your own! You should be left with 4 main mistletoe pieces.
2. Highlight all of the mistletoe pieces and open the Offset panel located on the right-hand side toolbar. Select Offset and set the distance to .09 inches. This will create a slightly larger outline to the mistletoe, and doing that will make your felt pieces more stable when you cut them. When I tried to cut the pieces as is without adding the offset, the felt would just tear through as I removed it from the mat because it was too thin in certain areas.
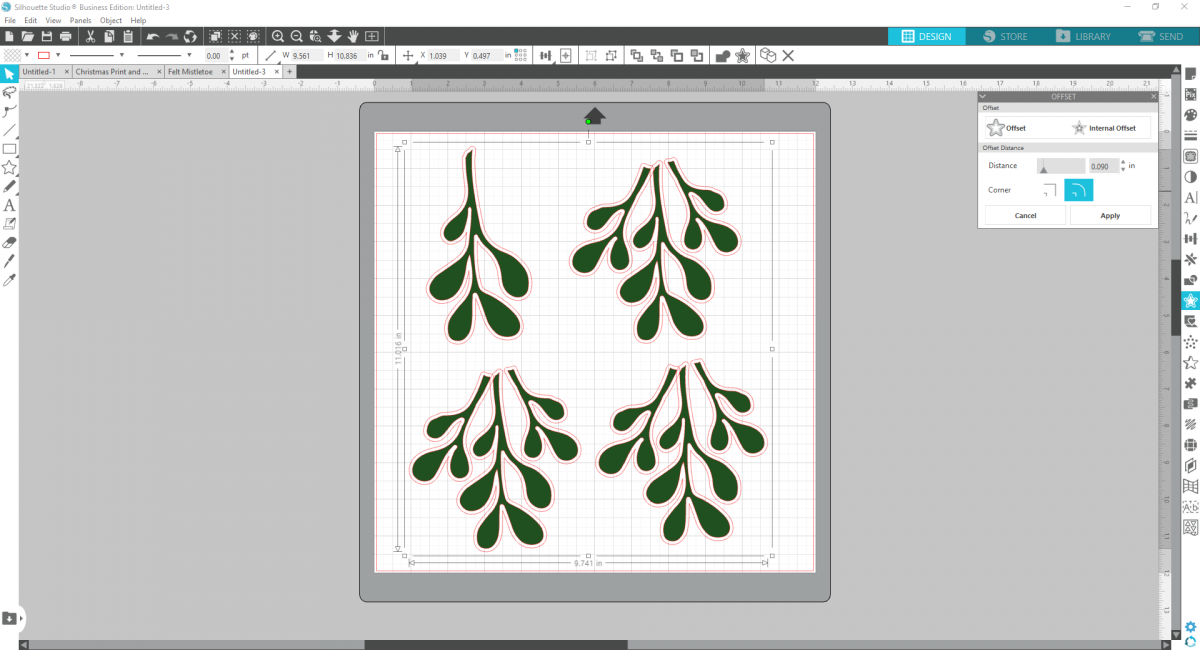
3. Then select each mistletoe piece and its offset, right-click, and select “Weld” to weld the shapes together.
4. Now you’re ready to cut! Line your mat with your felt—I used 3 shades of green. Insert your Rotary Blade into your Tool 2 carriage and select “Felt, Acrylic” for your material. Make sure your tool and action say “Rotary Blade” and “Rotary Cut,” respectively.
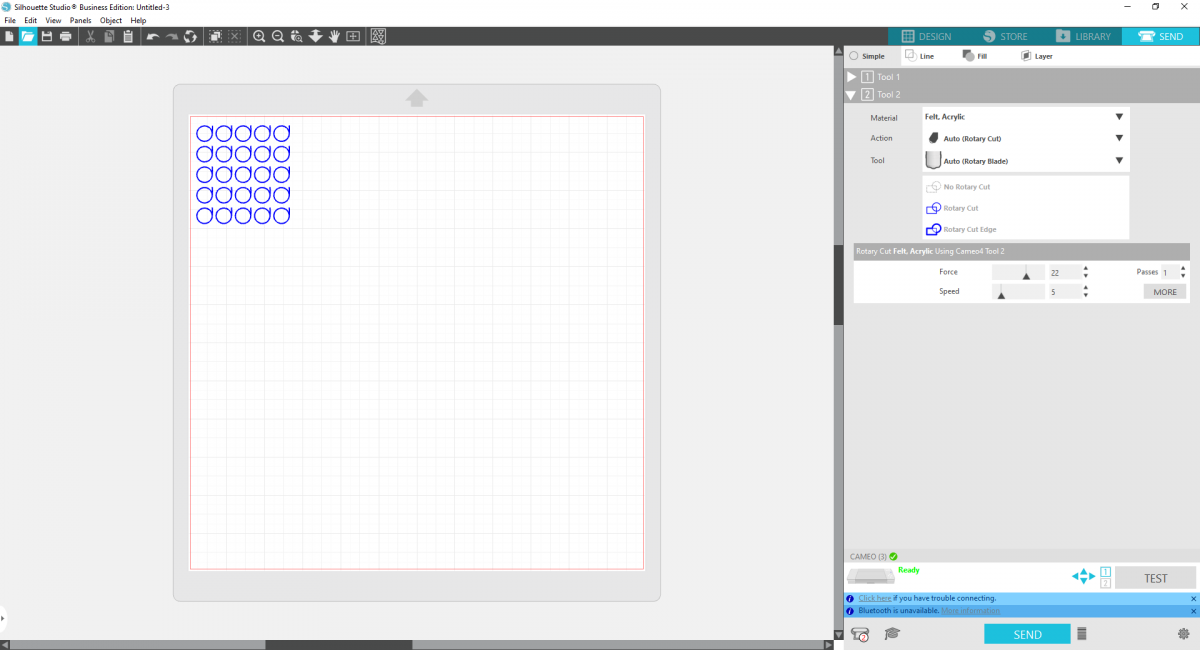
5. Then cut small circles from cream felt for your berries. I used the drawing tools to create a .4-inch wide circle and cut about 25 out of cream felt.
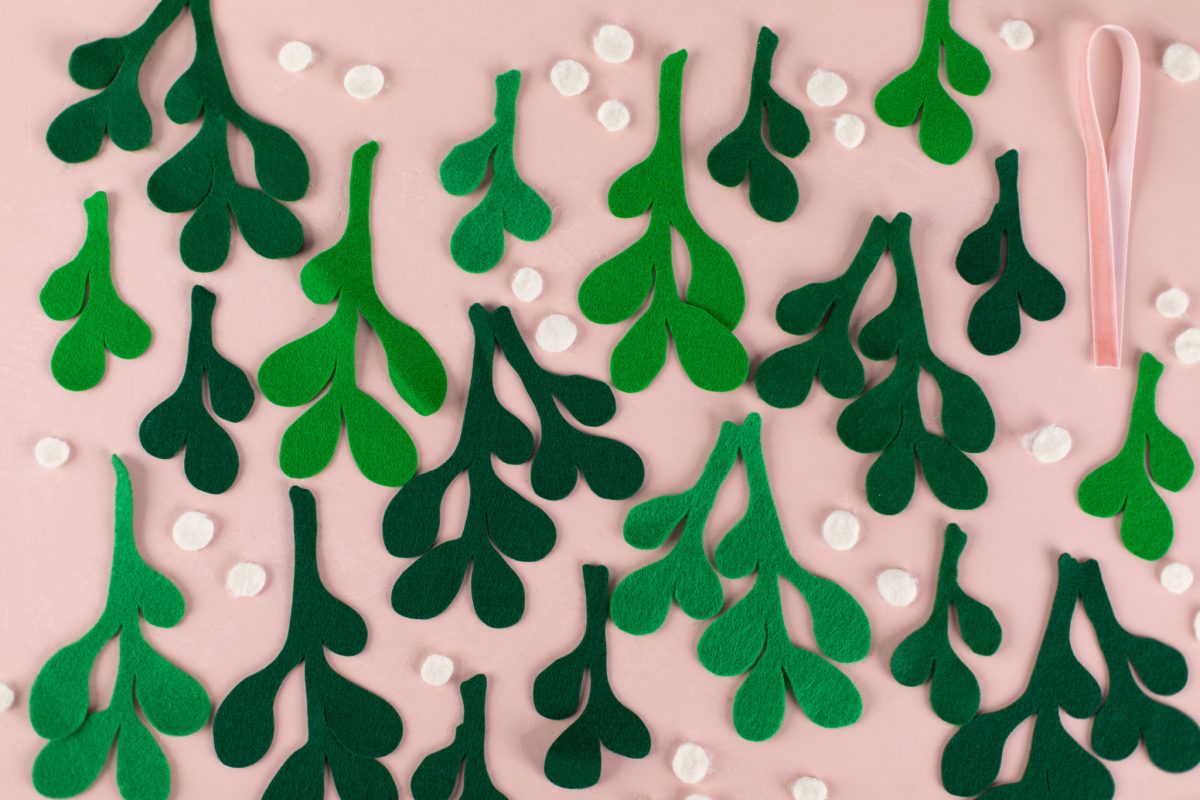
6. I cut out about 4 pieces of felt worth of mistletoe boughs because I wanted my bundle really full.
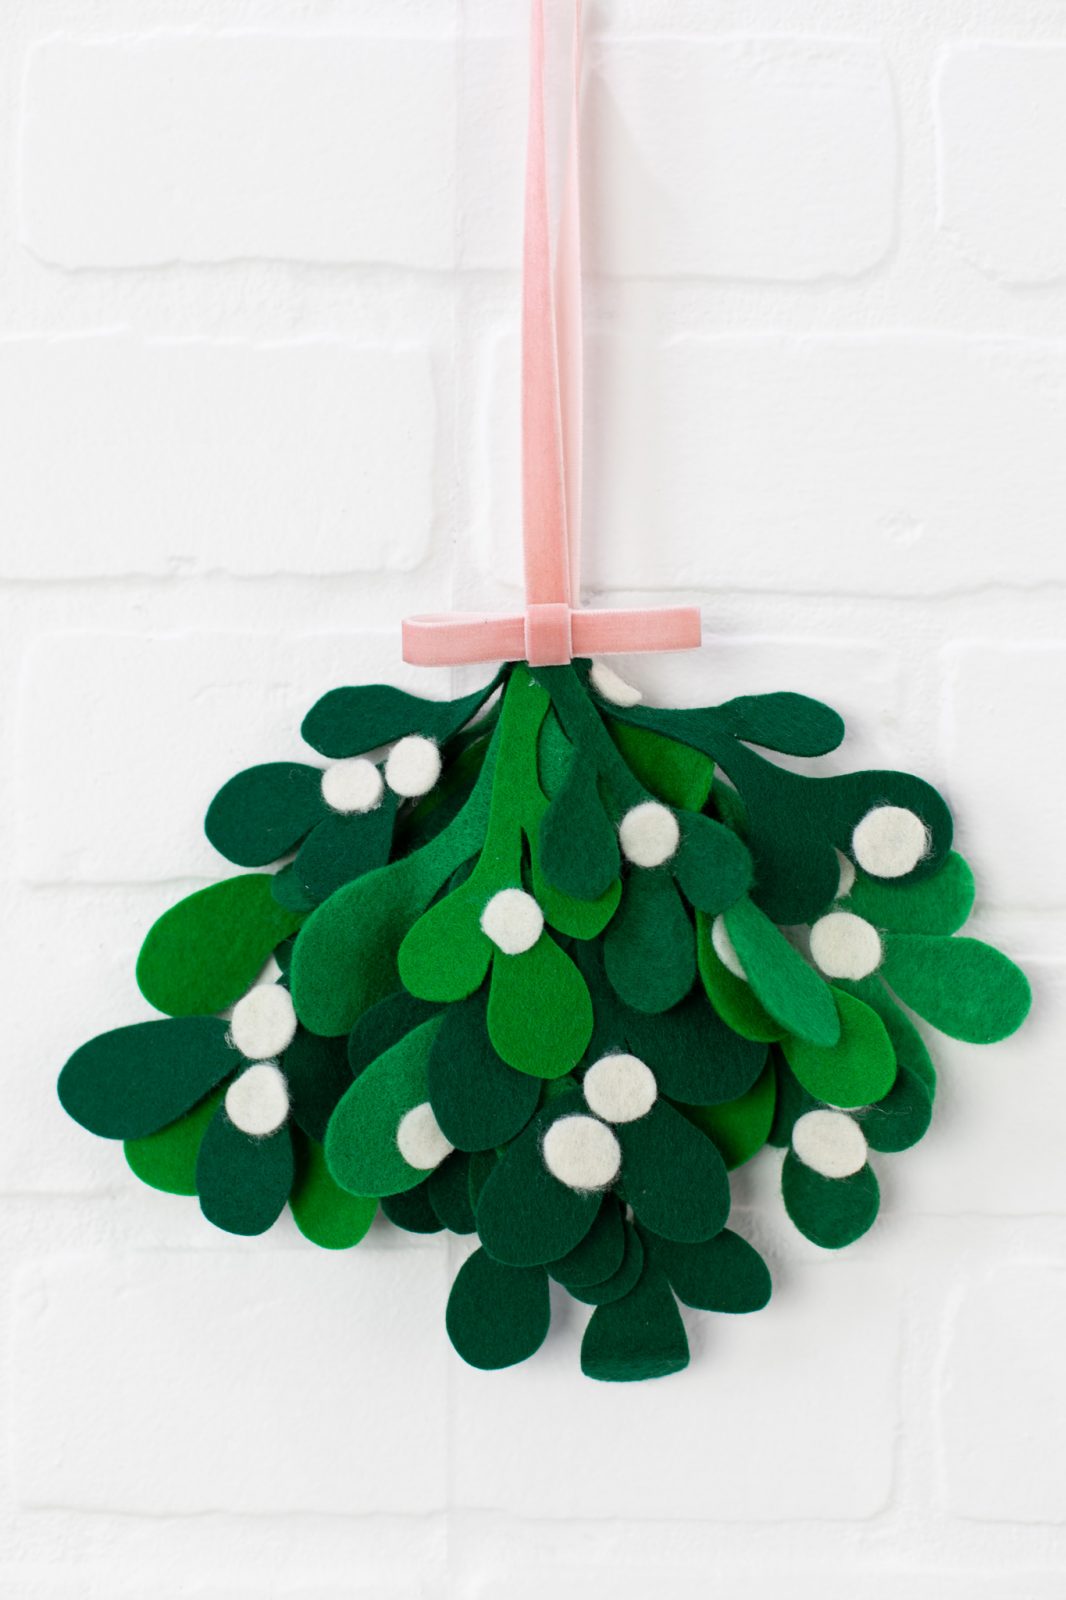
Step Two: Assemble Your Mistletoe
1. Cut a 12-inch piece of thin velvet ribbon and glue the ends together to create a loop. This will be how you hang your mistletoe.
2. Now begin to glue your mistletoe leaves onto the the base of the ribbon. Start with the bigger boughs and wrap the pieces around the ribbon base so it looks even on all sides.
3. Continue gluing on mistletoe pieces until you like the finished look. Then glue on your berries, trying to evenly disperse them.
4. To finish, wrap a small piece of ribbon around the top stems of mistletoe and glue on a bow!
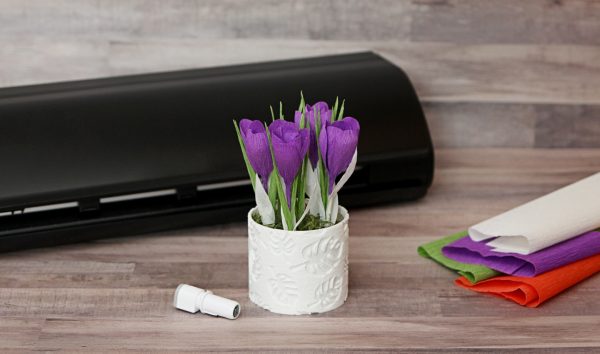 Free Class - Crepe Paper Crocuses
  Free Class - Foiled Gift Tags with the Heat Pen
Nasze Naturalne
September 3, 2025
Your authentic voice really shines through in everything you create and share
Naszenaturalne
September 2, 2025
Really love your style
Kelly Wayment
June 28, 2024
You can use it with vinyl as long as it is smooth and flat to allow the static charge to hold on to it. Rolled vinyl that wants to go back to its rolled shape will not necessarily work well, and it would need to be trimmed to fit the ES mat cutting area.
Kelly Wayment
June 28, 2024
Yes, you can use the heat pen while using the ES mat. 🙂
Yurii
March 2, 2024
Hello. May it be used with heat pen?
Thanks
Jerome
February 24, 2024
Hi, works this with the normal vinyl foils or only with printer papter etc?