| PLEASE NOTE: This tutorial refers to software that is in Beta. Instructions may be out-of-date as changes and improvements are made. |
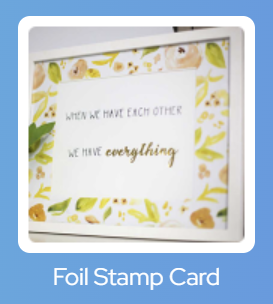
Heat foil is a wonderful way to add shine to your card projects. With a piece of cardstock and the Silhouette Heat Pen kit, it’s easy to create eye-catching, elegant designs. To demonstrate, let’s make this simple gilt card.
Supplies
- Silhouette CAMEO5 series, CAMEO Pro MK-II, CURIO2 or Portrait 4
- Compatible cutting mat
- Silhouette Heat Pen
- Heat Foil
- AutoBlade or Manual Blade (optional)
- Masking tape or Silhouette tape
- Cardstock
- Silhouette Studio® or Silhouette Web
Step One: Create Design
If you are using Silhouette Studio 4.5 or lower, instructions may be incorrect.
Open Silhouette Studio software on your computer. Alternatively, open Silhouette Web in your Chrome browser.
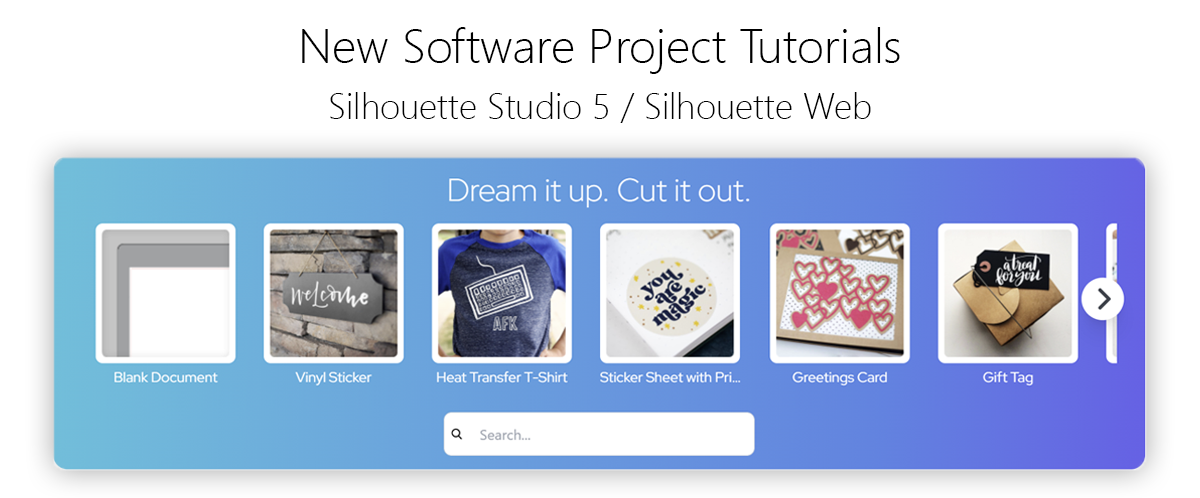
Select the Foil Card project tutorial from the carousel. This will guide you through selecting your compatible machine, mat and media, open the correct design panel for you, and display design tips. Make sure you choose a media size that matches your cardstock.
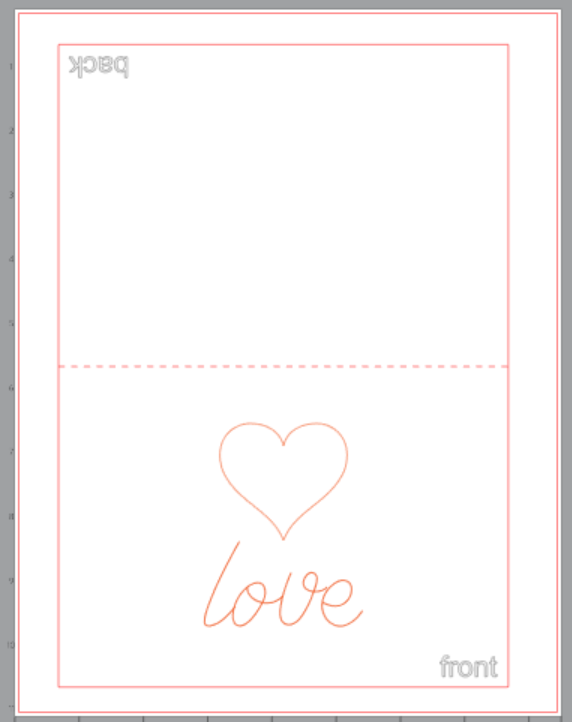
The template file will then display, and you can now create your own foil card design.
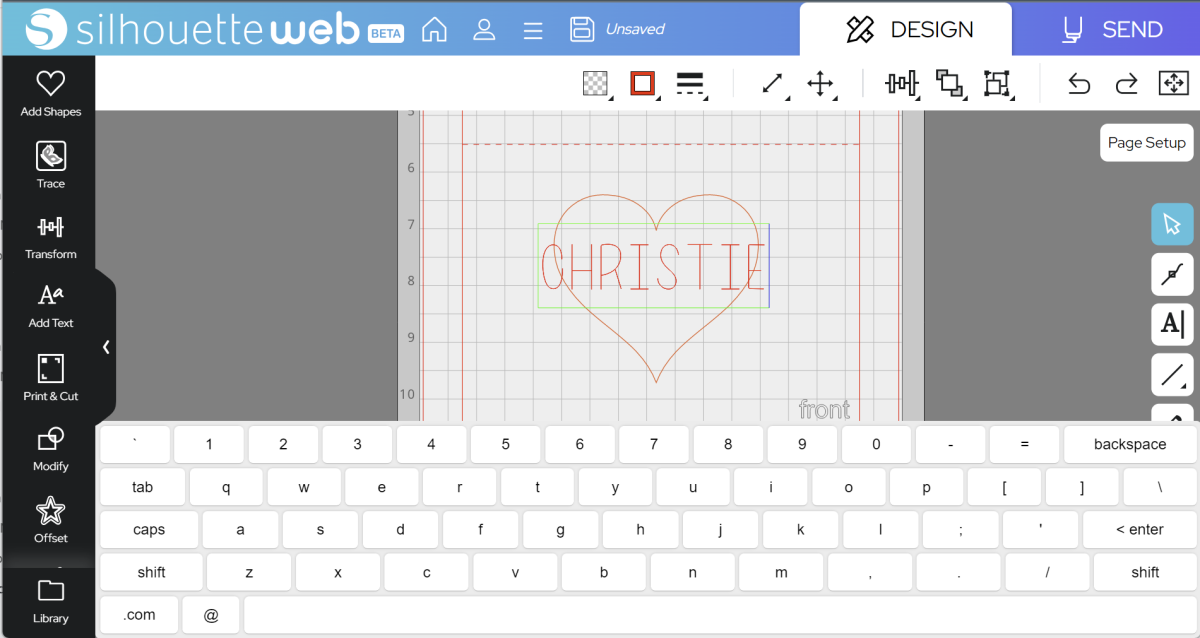
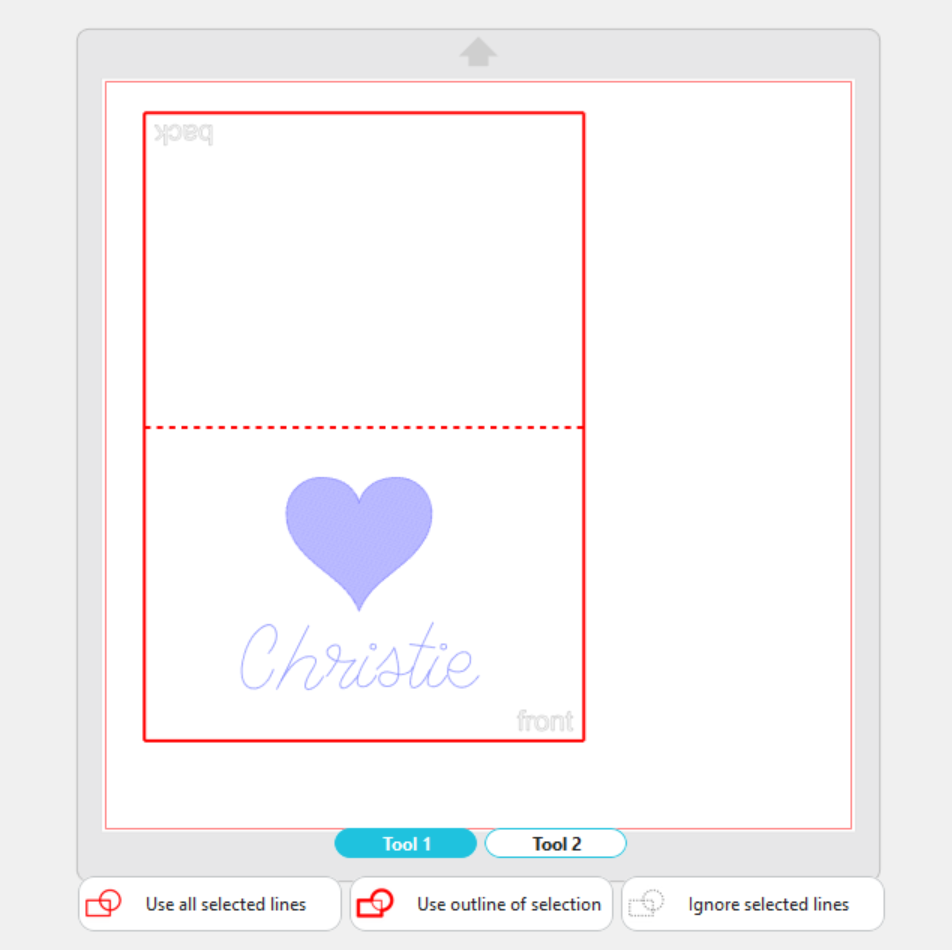
Let’s change the text from “love” to someone’s name.
In Silhouette Web:
1: Select and delete the “love” shape:
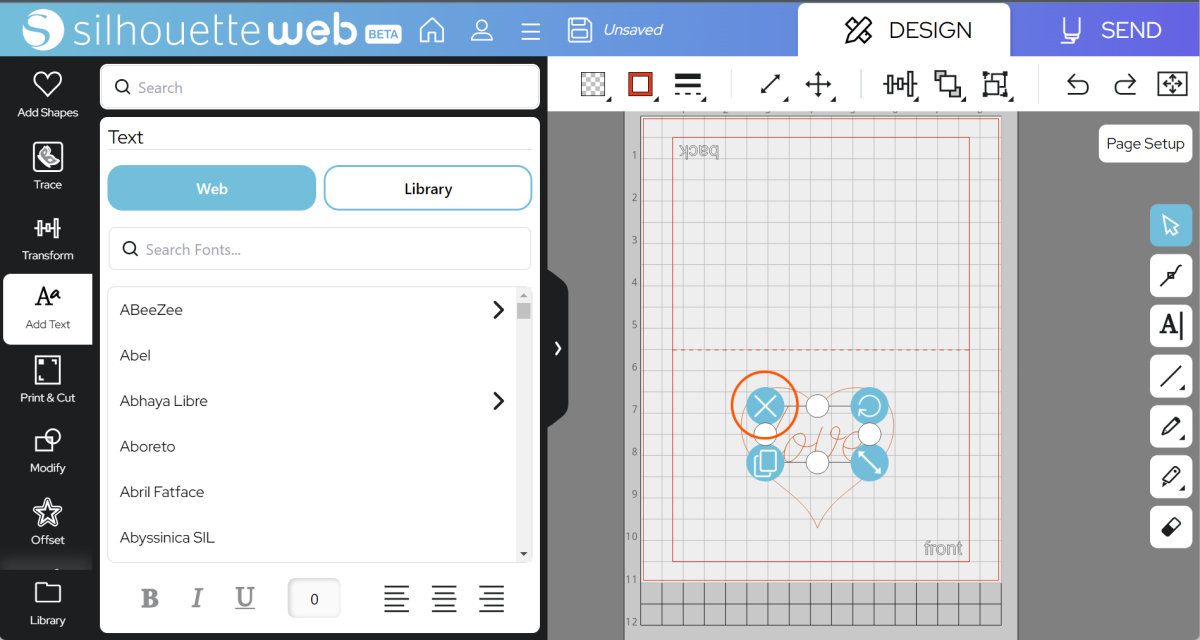
2: Select a Font in the Add Text panel or the Text Tool:
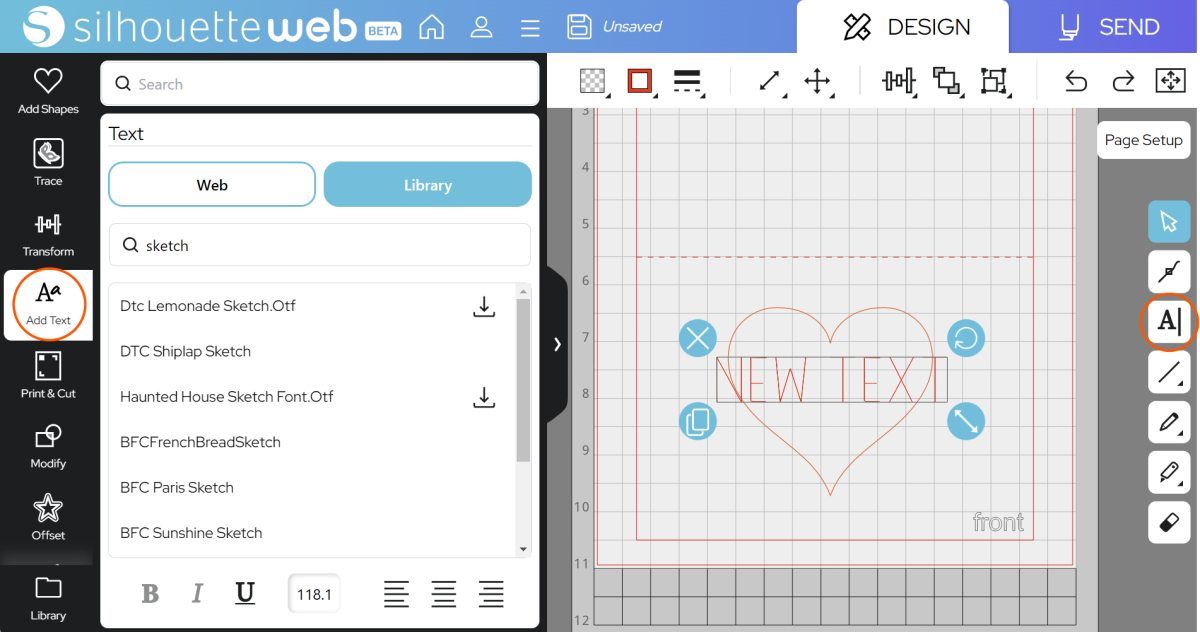
3: Double-click the font box to type new text:
In Silhouette Studio 5:
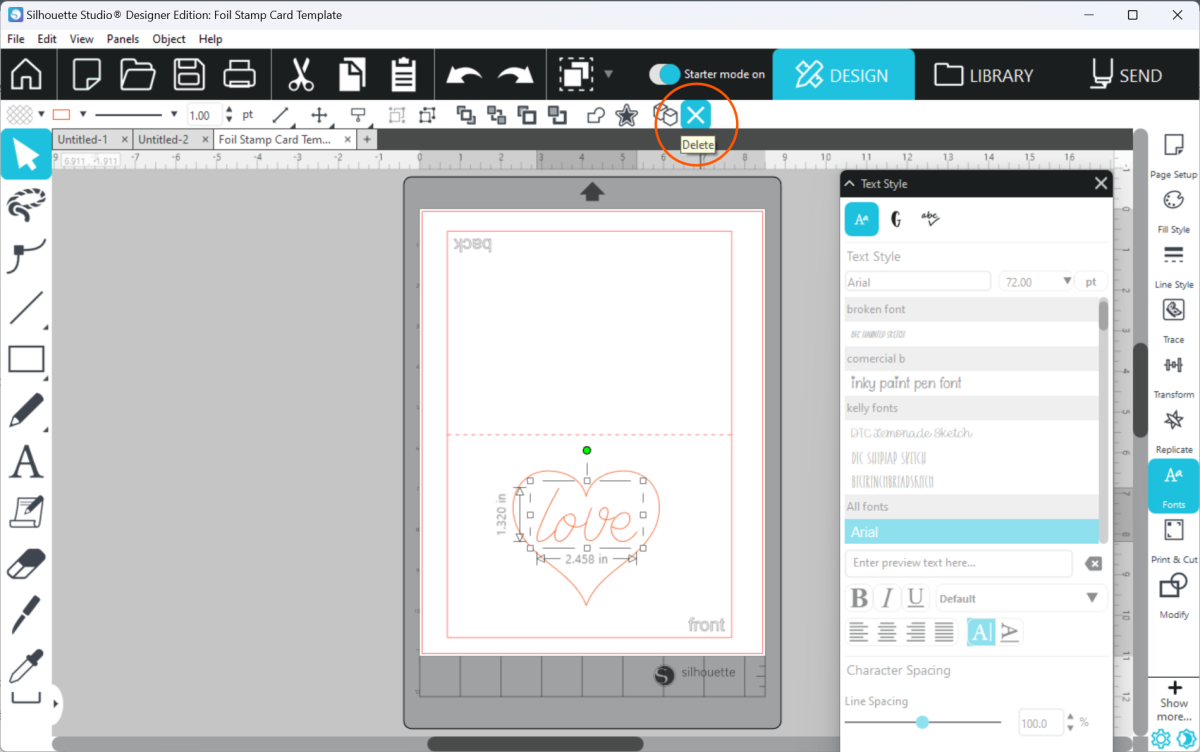
1: Select and delete the “love” shape:
2: Use the Text Tool to create a text box:
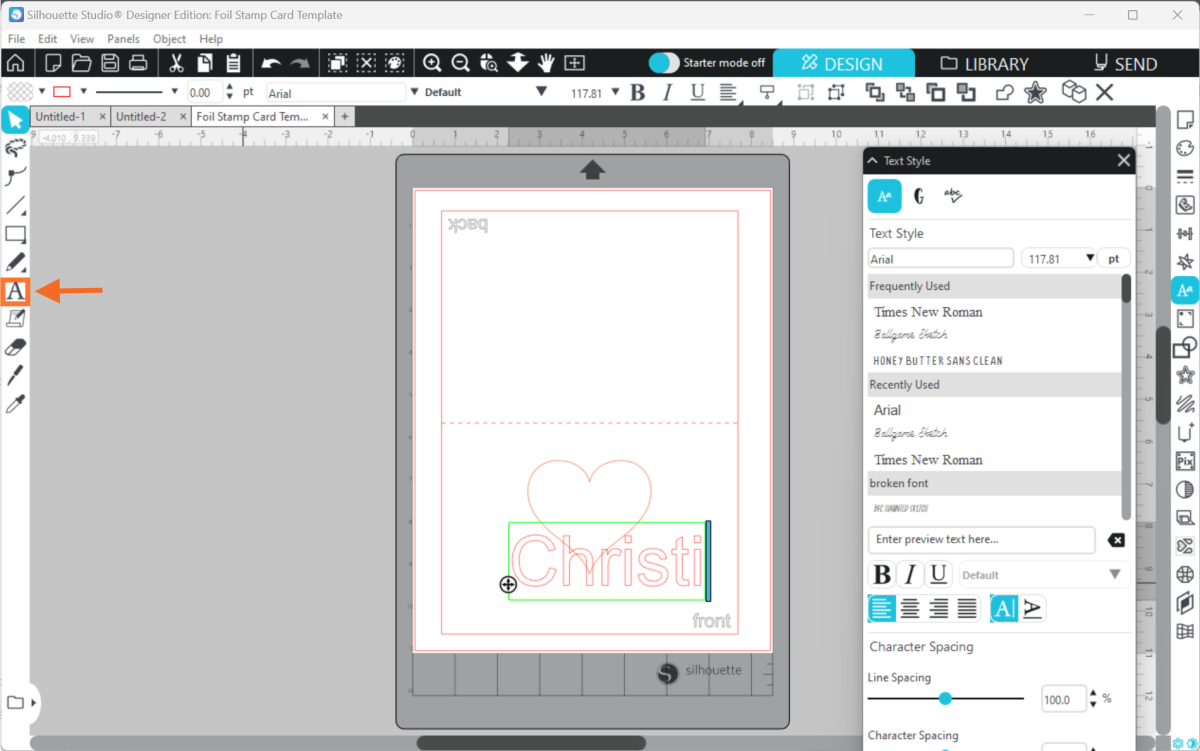
3: Go to the Text Styles panel to choose a font:

Tip: to get a handwritten effect, you can use a sketch font.
Now, let’s move the heart above the text:
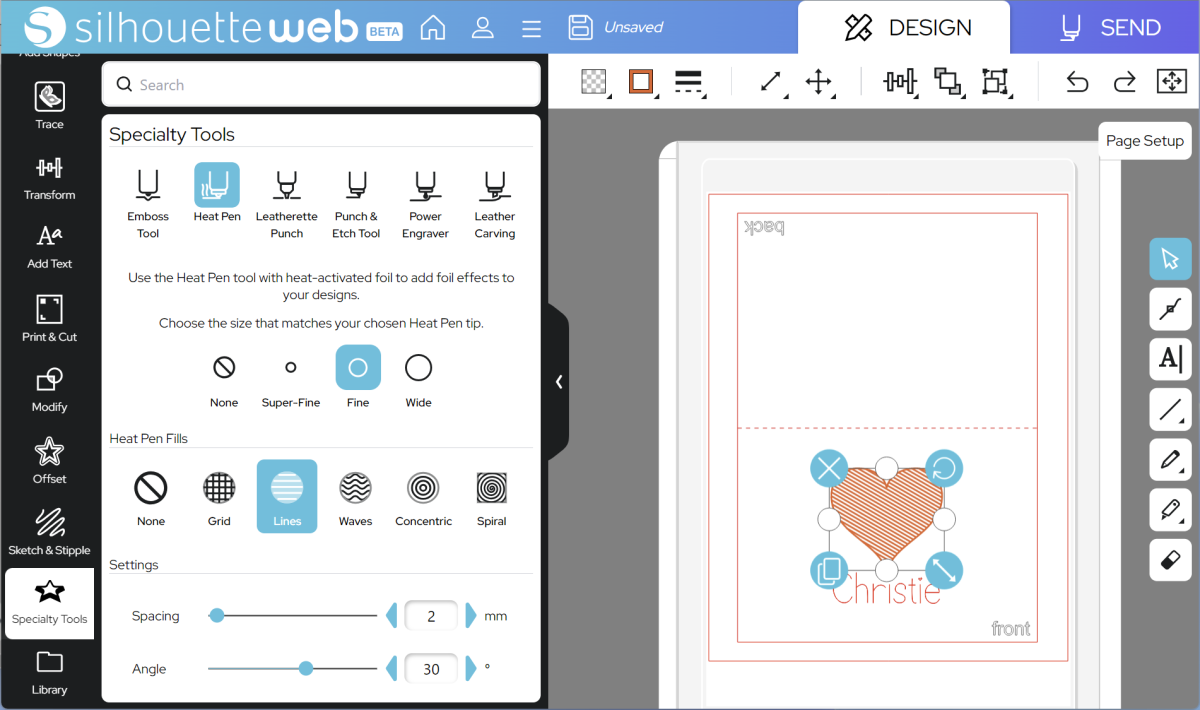
In order for this heart to be solid gold, we will need to use the Specialty Tools panel to choose a Fill.
Go to Specialty Tools. Select the heart, then choose Heat Pen, select your tip size, select a fill style, and then adjust the spacing until you can see no gaps in your heart.
In Silhouette Web:
In Silhouette Studio 5:
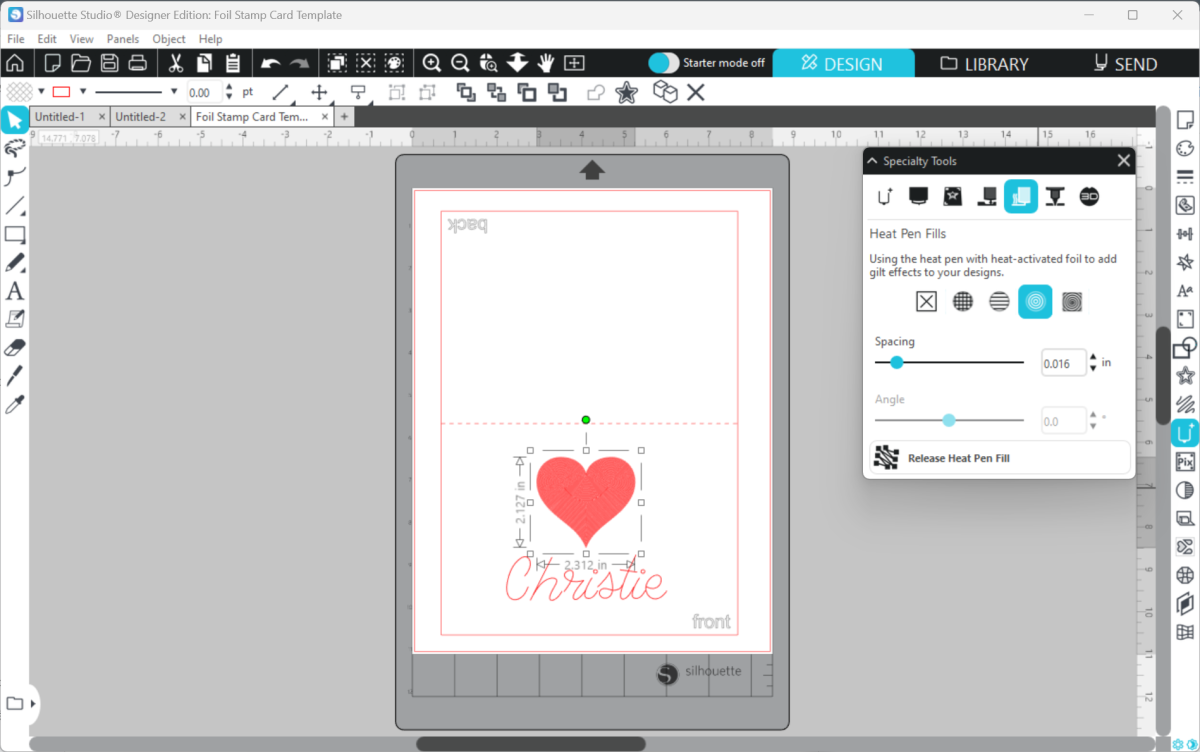
Tip: you can use any fill type to fill a design for the Heat Pen, but the Specialty Tools panel has options tailored specifically to get a good fill result with your chosen Heat Pen nib size.
You can also resize and rotate your card. Make sure your design lines are inside the Cut Border.
Once you are happy with your design location, go to SEND.

Step Two: Prepare to SEND
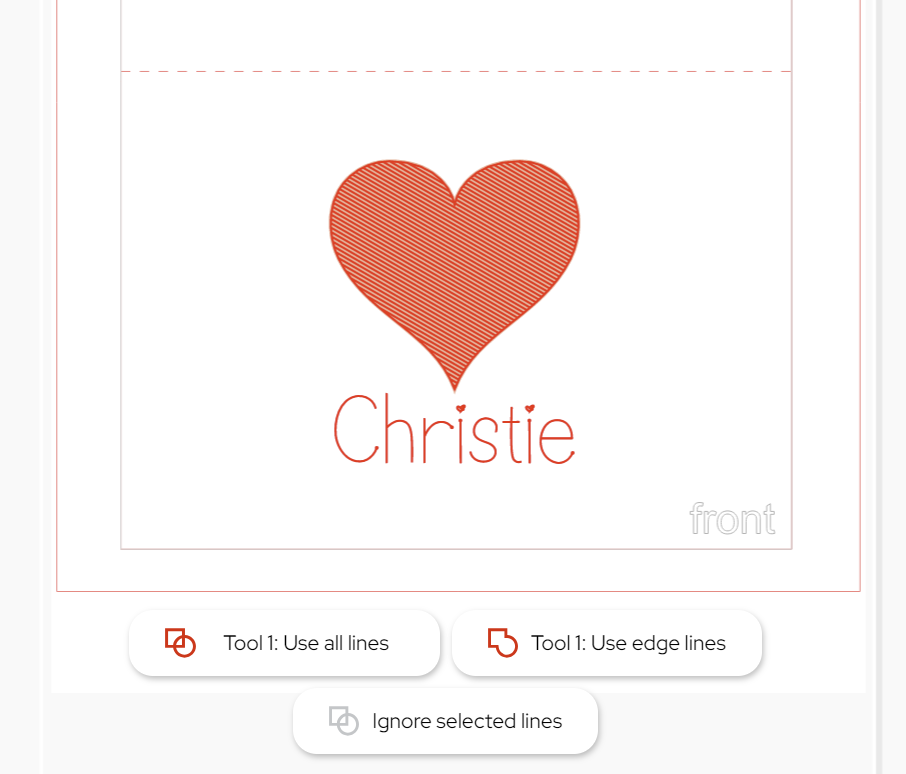
Go to SEND. You will see a preview of your design with the cut lines highlighted. You will need to assign your lines using the Assign Lines buttons.
Start by setting up for Heat Foil. Make sure that none of the card cut lines or marker text is bold: select them and choose “Ignore Selected Lines” to remove them.
Next, make sure that the heat pen lines are assigned to the correct tool holder for your machine.
Silhouette Web, Using Portrait 4
Silhouette Studio, using Cameo 5
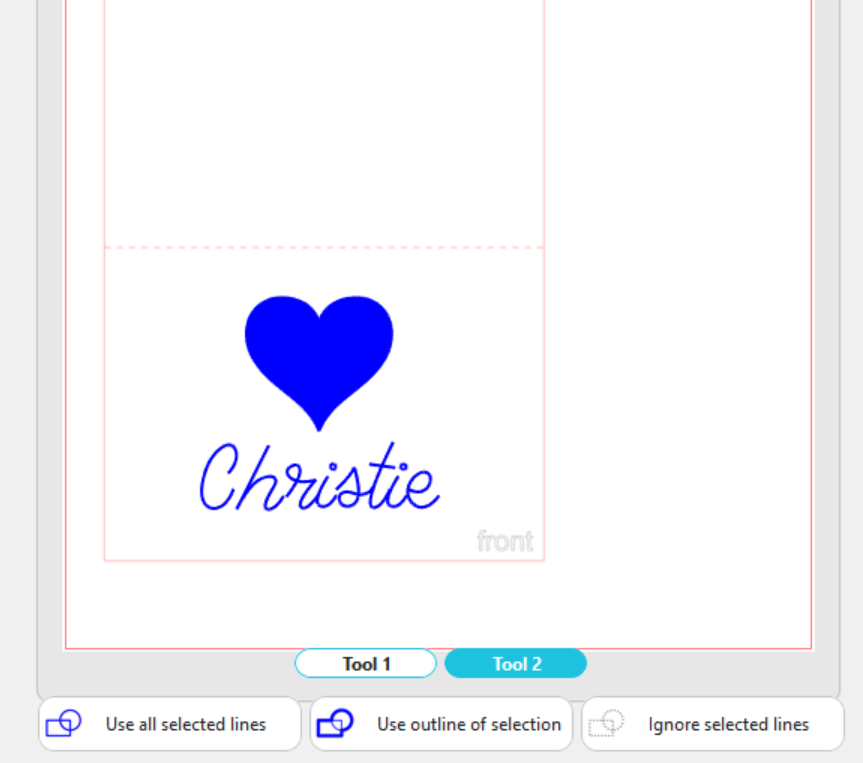
Tip: With Silhouette Studio and the CAMEO 5 or CURIO 2, you can cut your card lines and heat foil at the same time. We recommend using Cut by Line for this, as in Standard mode the Tool 1 operation occurs first and may dislodge or cut through your heat foil.
Now you are ready to send!
In Silhouette Studio 5.0 Guided Mode, and Silhouette Web, there will now be on-screen instructions on how to load your cardstock onto your mat, add foil, heat the heat pen, and send.
The steps will be:
- Connect to your machine
- Choose Cardstock, Plain from the material list (for both Tool Holders)
- Note: it is recommended to always test cut settings with a scrap piece of card, to ensure they work with your particular cardstock.
- Choose the Foil action and the Heat Pen tool
- Load your cardstock onto your cutting mat, matching the mat preview exactly
- Place your heat-activated foil over the areas you wish to foil, shiny side up. Ensure that the foil covers the intended design area completely.
- Tape the foil tightly over the design using Silhouette tape or card-safe masking tape.
- Load the mat into your Silhouette cutting machine
- Follow the instructions to send the job.
- Note: both Silhouette Studio and Silhouette Web will pause to heat your heat pen. This takes approximately three minutes.
The Silhouette machine will move the heat pen slowly over the foil, applying heat to transfer the foil onto the cardstock. A slow speed is required to ensure that the foil transfers. When the job is complete, carefully remove the foil transfer sheet from your cardstock.
Next, repeat this process but assign your lines to be cut:
Now repeat the cutting process again:
- Connect to your machine
- Choose Cardstock, Plain from the material list
- Note: it is recommended to always test cut settings with a scrap piece of card, to ensure they work with your particular cardstock.
- Choose the Cut action and your chosen blade
- Load your cardstock onto your cutting mat, matching the mat preview exactly
- Load the mat into your Silhouette cutting machine
- Tip: Be careful to load your mat against the guideline, or your cut lines may be in the incorrect position, relative to your foil design. For exact accuracy, consider using Print & Cut™. The CURIO 2 does not need the mat and media to be unloaded between jobs, and can therefore also provide more accurate cuts across jobs.
- Follow the instructions to send the job.
Step Three: Complete your card
Carefully unload your cardstock by turning your mat over and peeling the mat back from the paper to reduce bending. Fold the card in half along your score line, if used. Your foiled card is now ready to be gifted!
Tip: The optional extra ES mat reduces the need for adhesive, making it possible to remove cut cardstock with less bending.
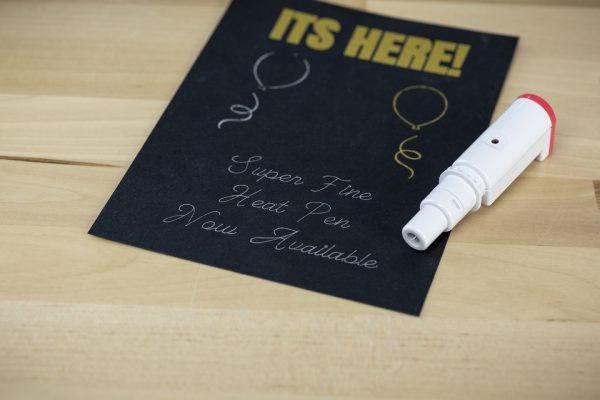 Introducing: Heat Pen Super-Fine
  Free Class - Unlock the Magic of the Cameo 5