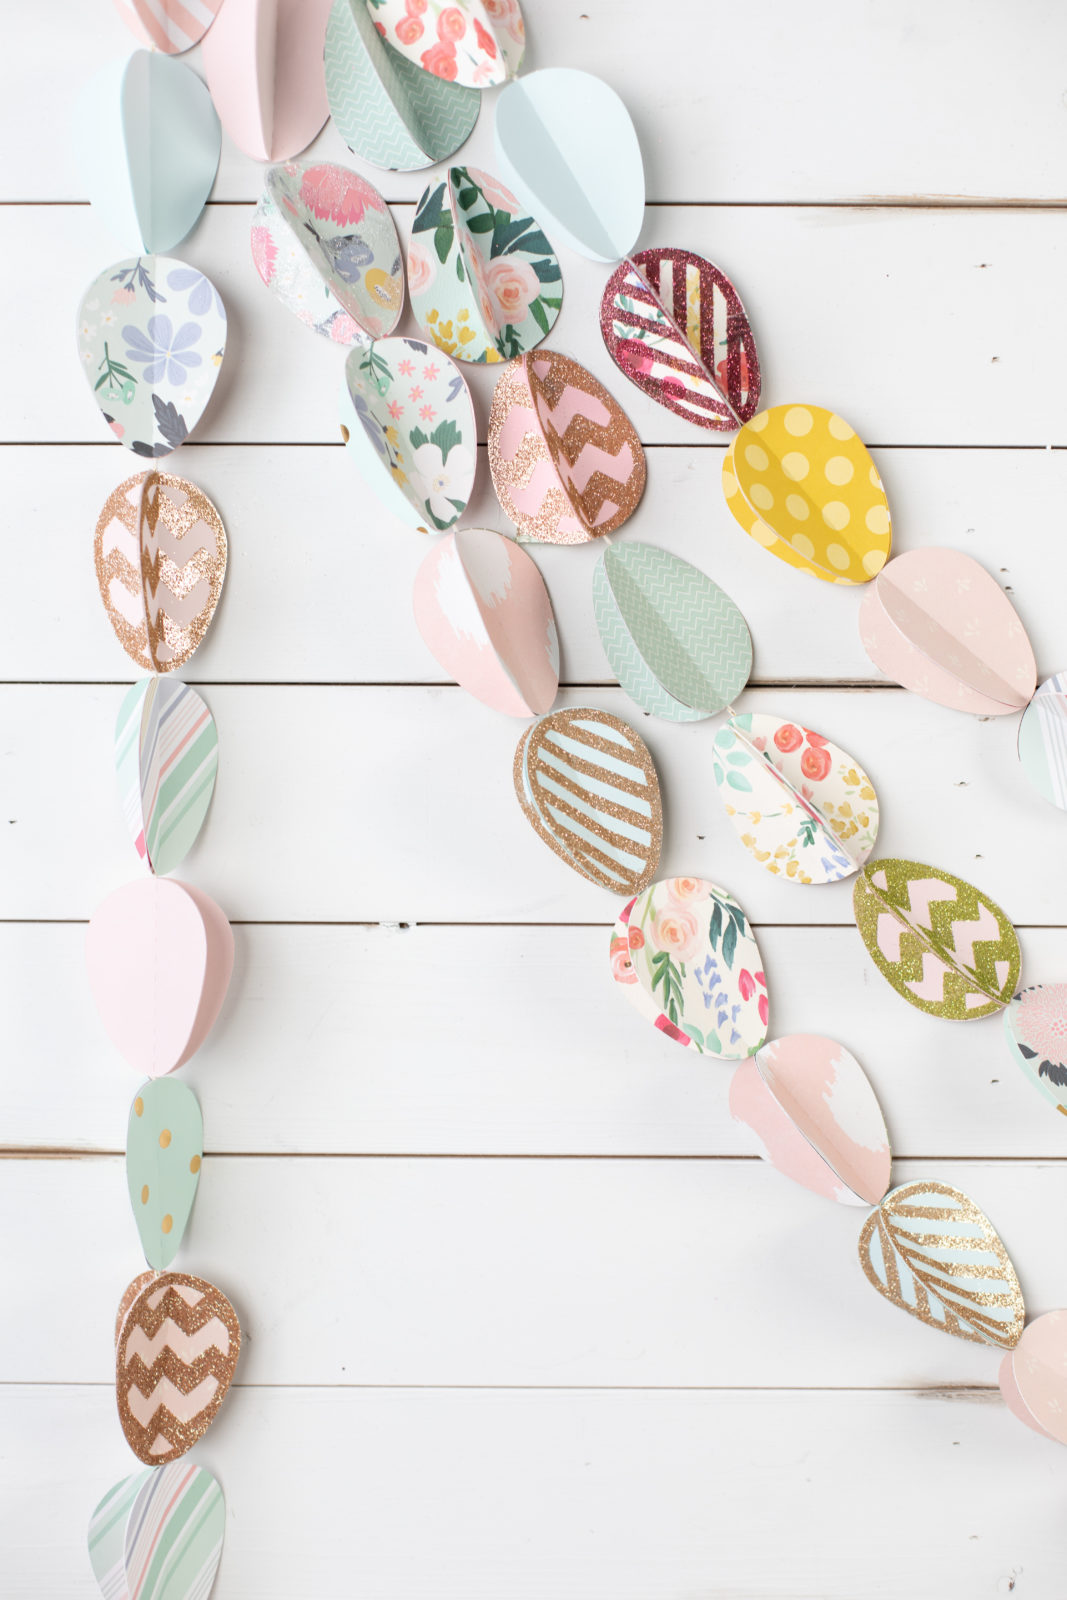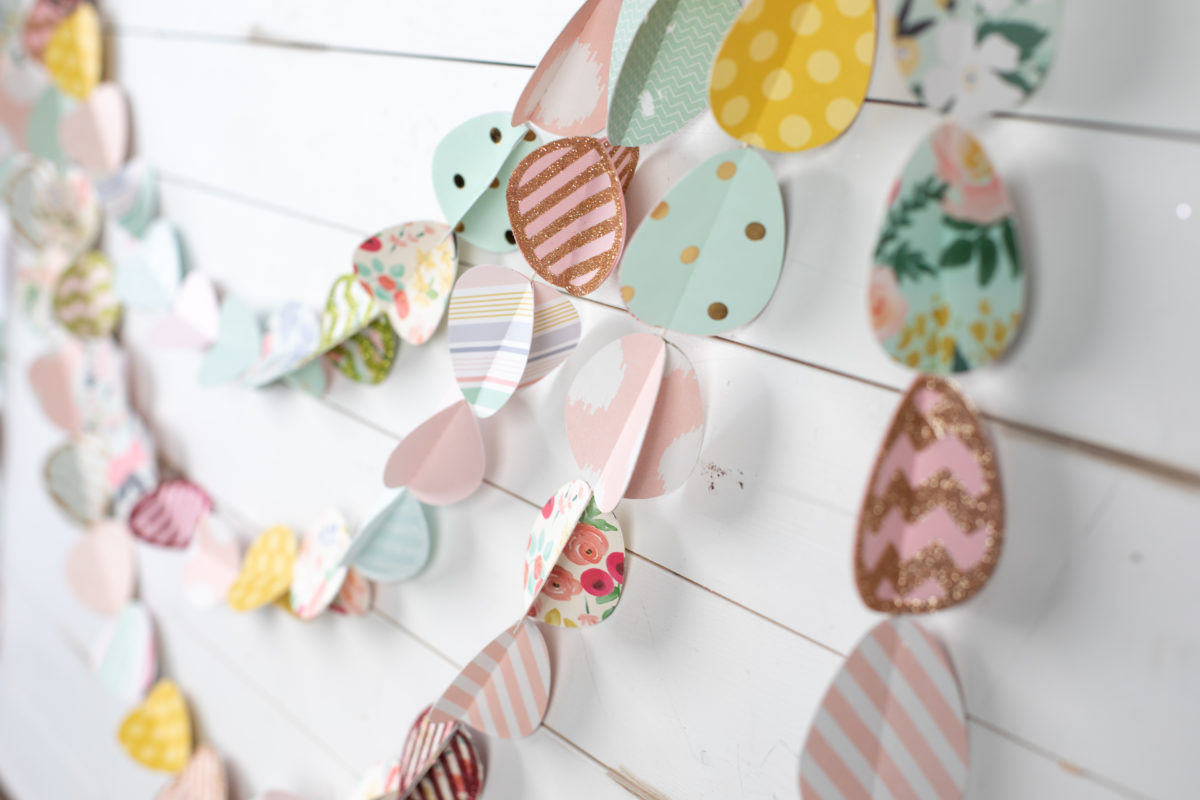
Who doesn’t need a little more glitter in their life? Today we are going to make a glitter egg garland using Silhouette’s Double-Sided Adhesive Starter Kit. You will have an egg garland with just the right amount of sparkle to welcome the Easter Bunny!
Supplies Needed:
- Silhouette CAMEO® or Silhouette Portrait®
- Silhouette Studio®
- Silhouette Cutting Mat
- Silhouette Cutting Blade
- Silhouette Double-Sided Adhesive Starter Kit
- Cardstock in various colors
- Glue stick
- Design ID #57623
- Design ID #57620
- Design ID #57782
Step One: Preparing the Design
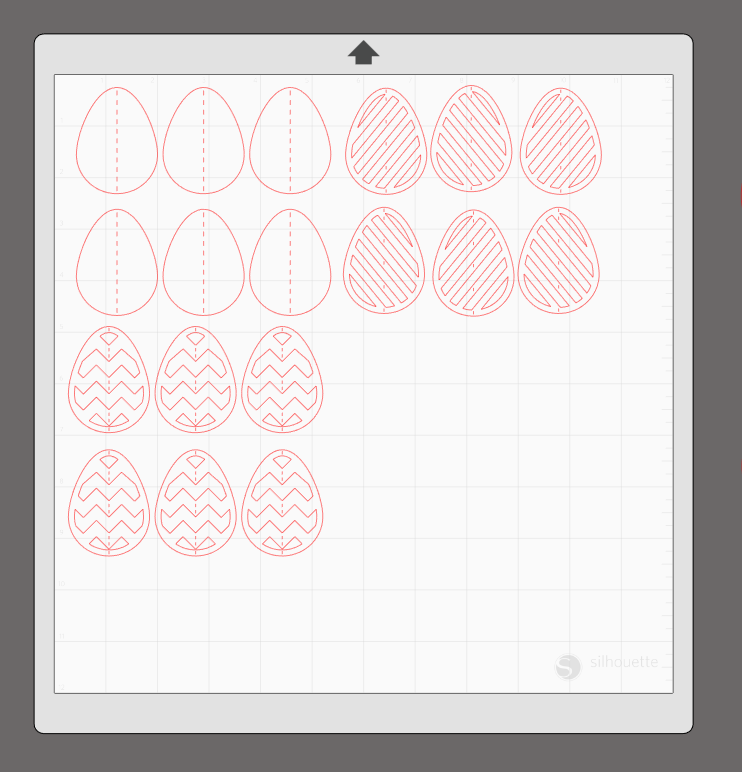
1. Open the egg designs (IDs #57623, 57620, 57782) in Silhouette Studio® and arrange them in on your cut field. We are going to be resizing the eggs to make them a little bigger and we want to make sure that every egg is the exact same size because they will be glued together.
2. Arrange all the designs in the cut field and then select them all. This can be done by selecting each shape and holding the Shift key.
3. When all the shapes are selected use one of the corner resize handles and drag out design until it is your desired size.
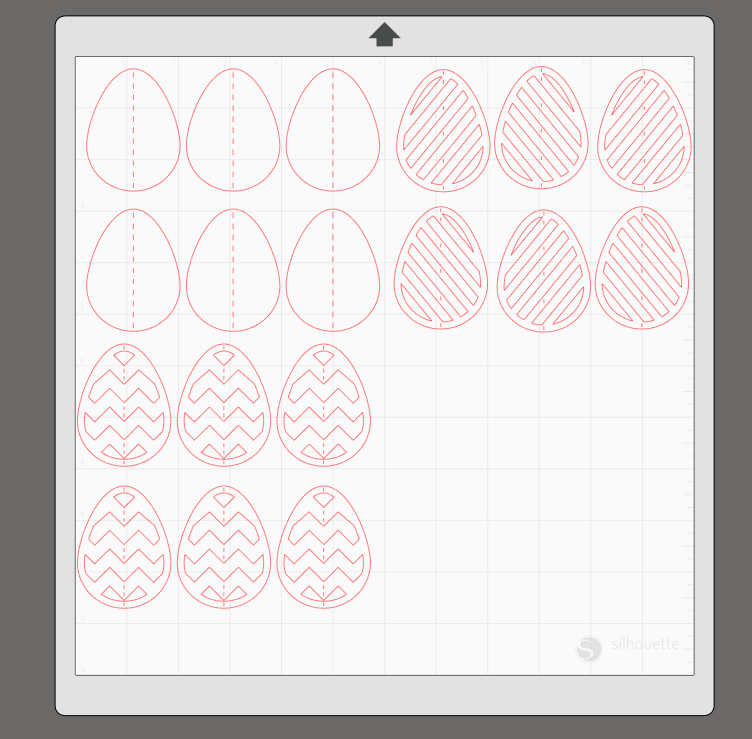
4. Now that the eggs are all uniformly enlarged, we are going to change the page style to 8.5 inches by x 11 inches in the Page Style panel.
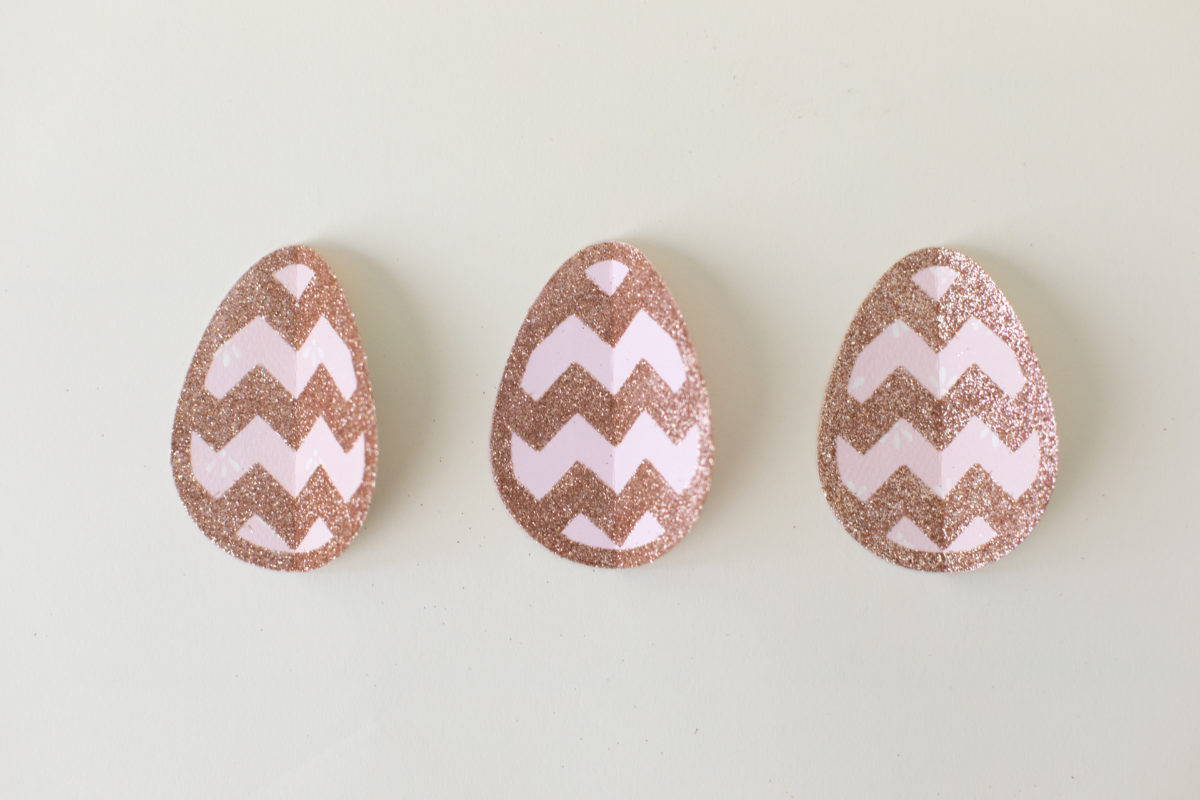
5. Arrange just the stripe and zigzag eggs into the parameters of the 8.5 by 11 page.
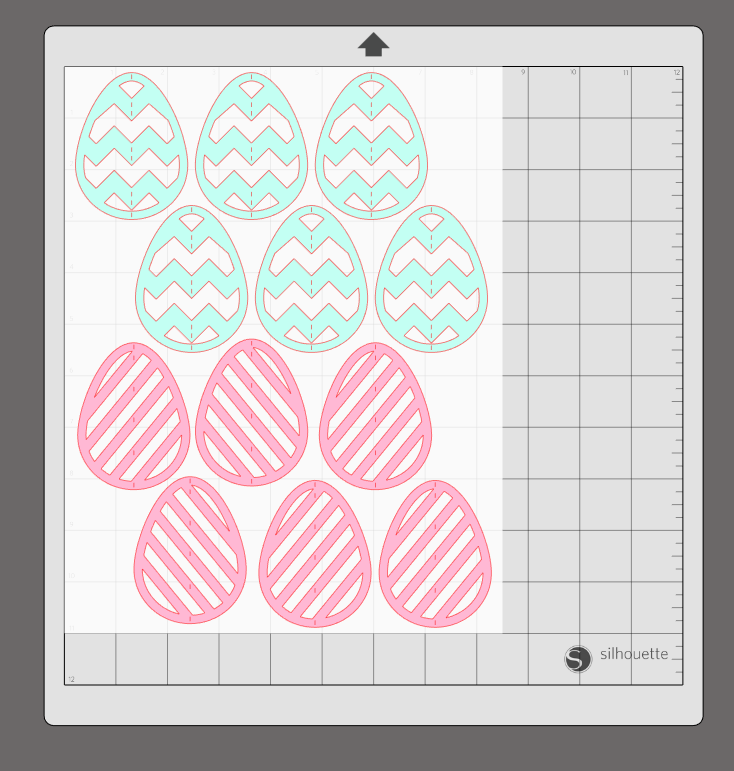
6. Place the double-sided adhesive onto your cutting mat, load the cutting mat into your Silhouette, and send the design to your machine.
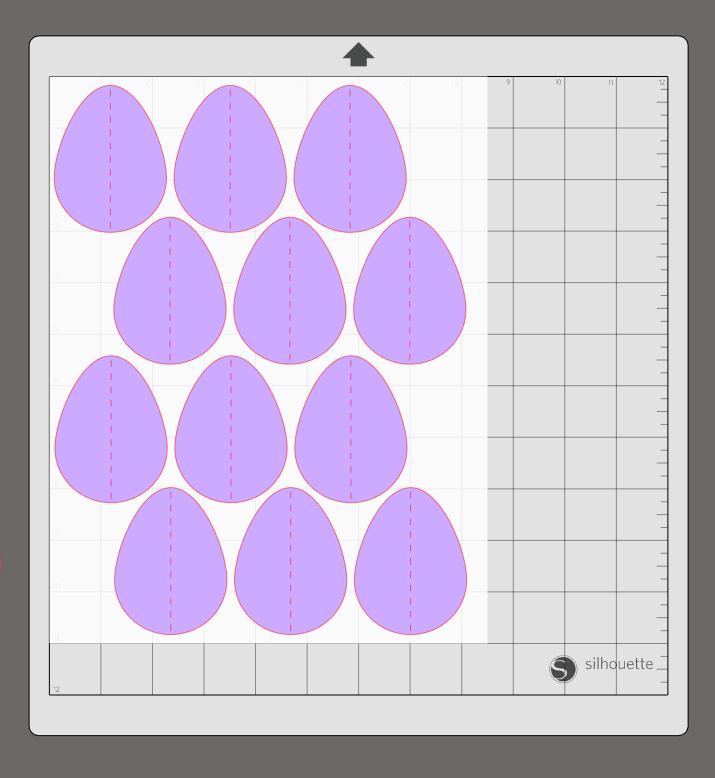
7. Now remove the striped egg designs and place the solid egg designs into the cut field.
8. Load your paper of choice onto the cutting mat, load the cutting mat into your Silhouette, and send the design to your machine.
Step Two: Apply Double-sided Adhesive and Glitter
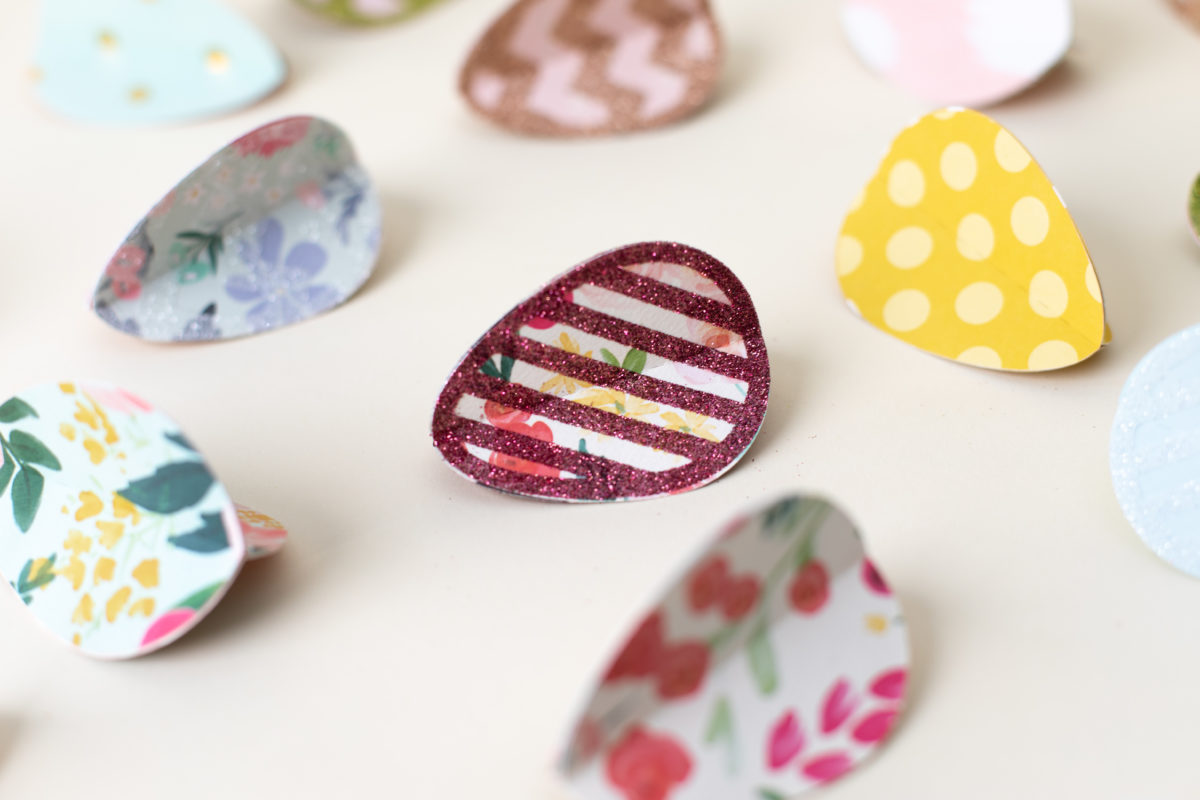
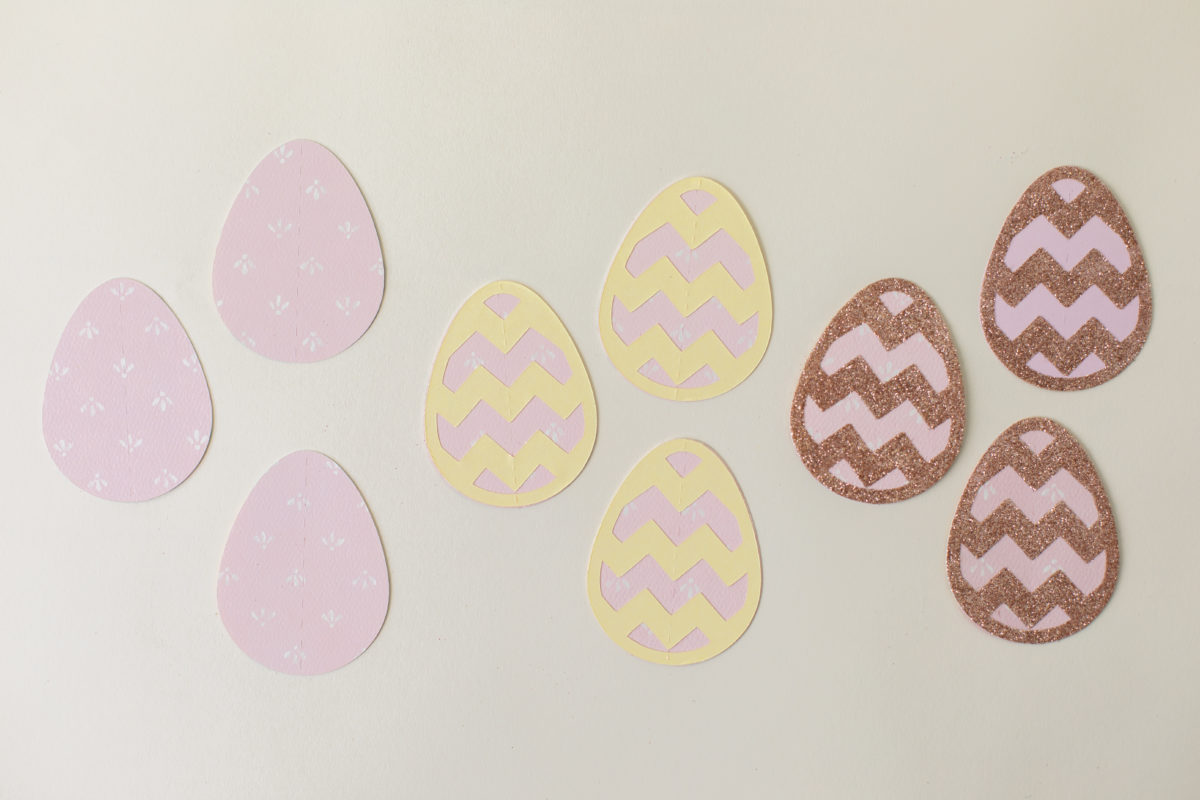
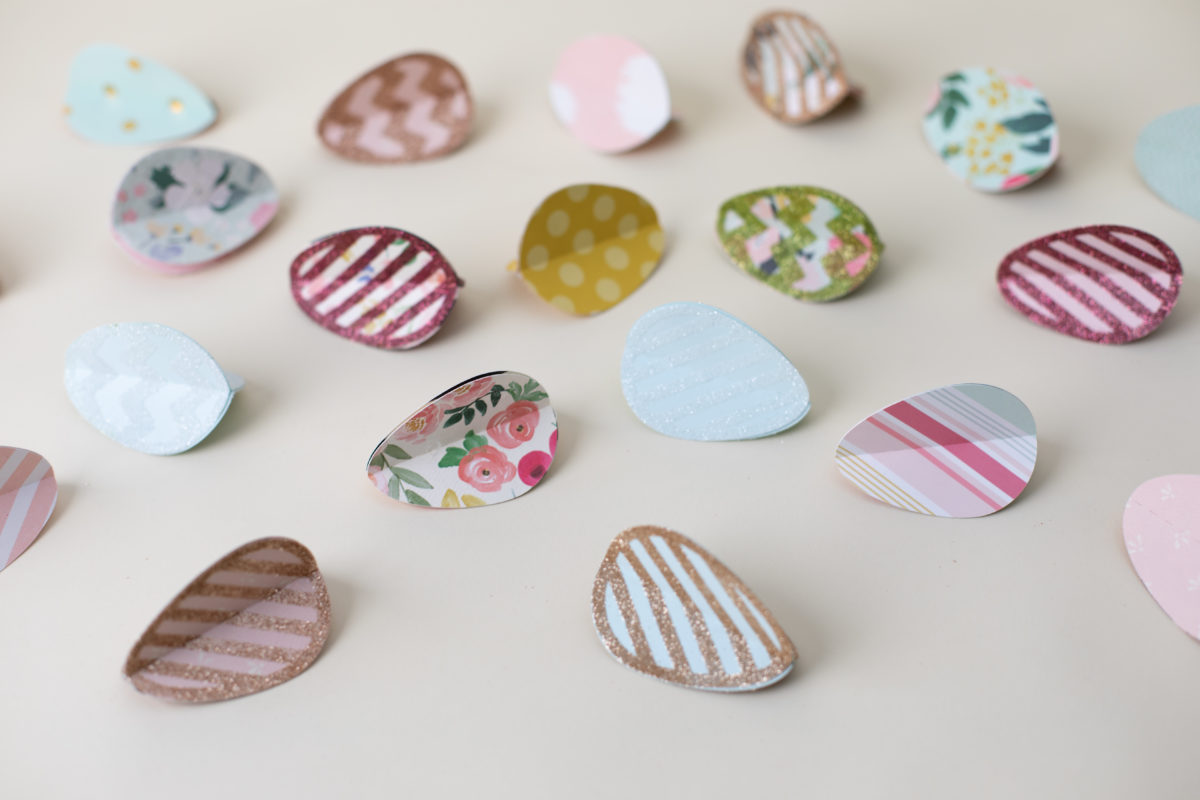
For each assembled egg we are going to need three egg shapes.
1. For more detailed instructions on double sided adhesive read this great post here.
2. Peel away the white backing from the adhesive and place it onto your egg.
3. Then peel away the yellow backing from the adhesive leaving only the clear sticky adhesive on your cardstock.
4. Pour the glitter over the adhesive, ensuring that all the adhesive is covered. And then tap or brush off the cardstock to remove the loose glitter.
Step Three: Assemble the Eggs
1. Take three egg pieces and fold them down the center crease line. Fold them so that the glitter is a valley fold.
2. Take two folded egg pieces and and glue two halves of the egg to each other. Wrong sides together, right sides out.

3. Apply adhesive to the one side of the combined eggs and adhere the remaining egg piece to create a 3D egg shape.
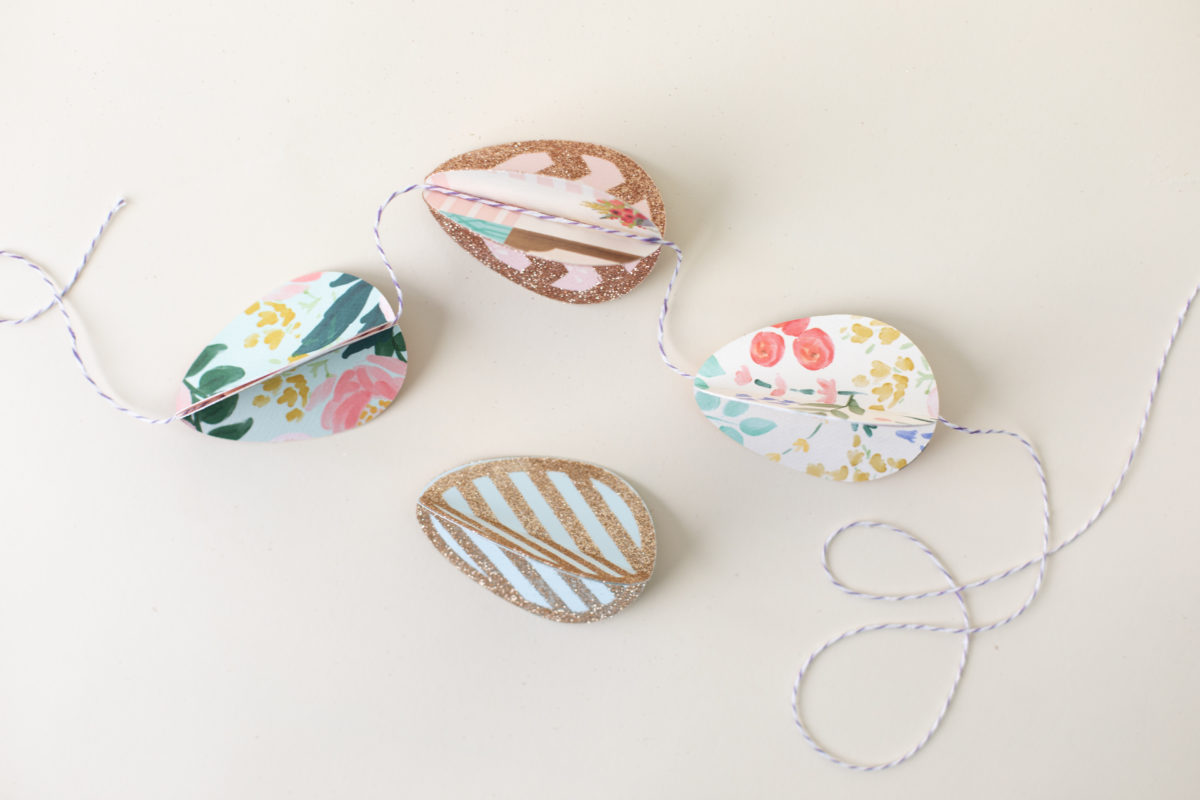
4. Leave two halves of the egg unglued (as seen below) So you can run your twin through it.
5. Once the twine has been run glue the last halves of the egg together so everything is attached.
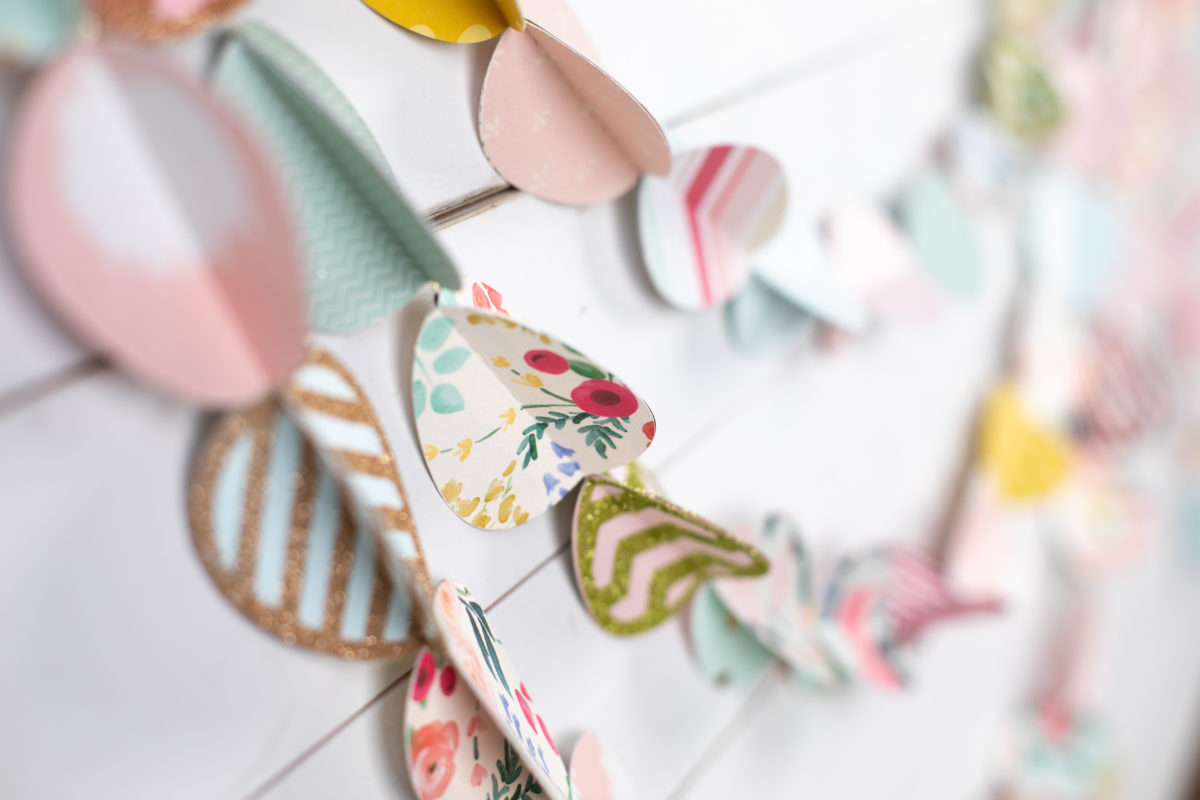
Now go this “egg”-stra special garland to your mantle, doorway, chair backs or windows. Hopefully you will have as much fun as we did creating this garland with our double sided adhesive paper. What other projects do you want to glitter?