
It’s graduation season, and that means you’ll probably be attending a few ceremonies or celebrations. From kindergarten to college, these sweet paper graduation cap boxes are simple enough to whip up in a few minutes, and you can fill them with anything from cash to chocolate coins!
Supplies Needed:
- Silhouette CAMEO®
- Silhouette Cutting Blade
- Silhouette Cutting Mat
- Cardstock in various colors—1 sheet of 12 x 12 cardstock will make two small boxes
- Glue stick
- Embroidery Floss
- Scissors
- Design ID #59418

Step One: Preparing the Design
1. Insert Design ID #59418 into Silhouette Studio®. Ungroup the design and delete the pieces for the paper tassel. We will be making our tassel out of embroidery floss.
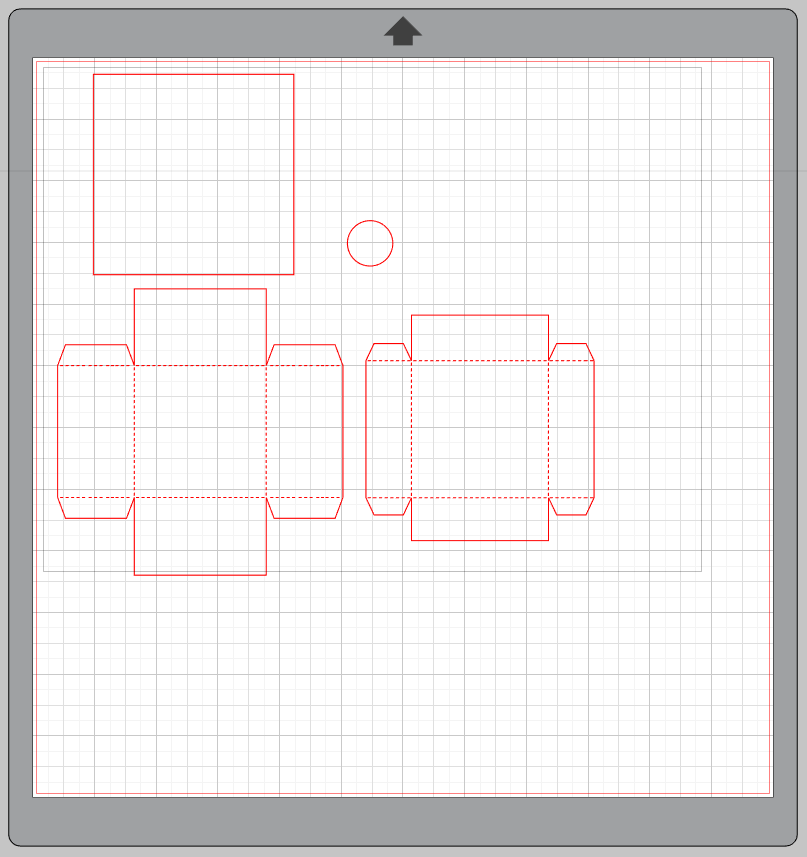
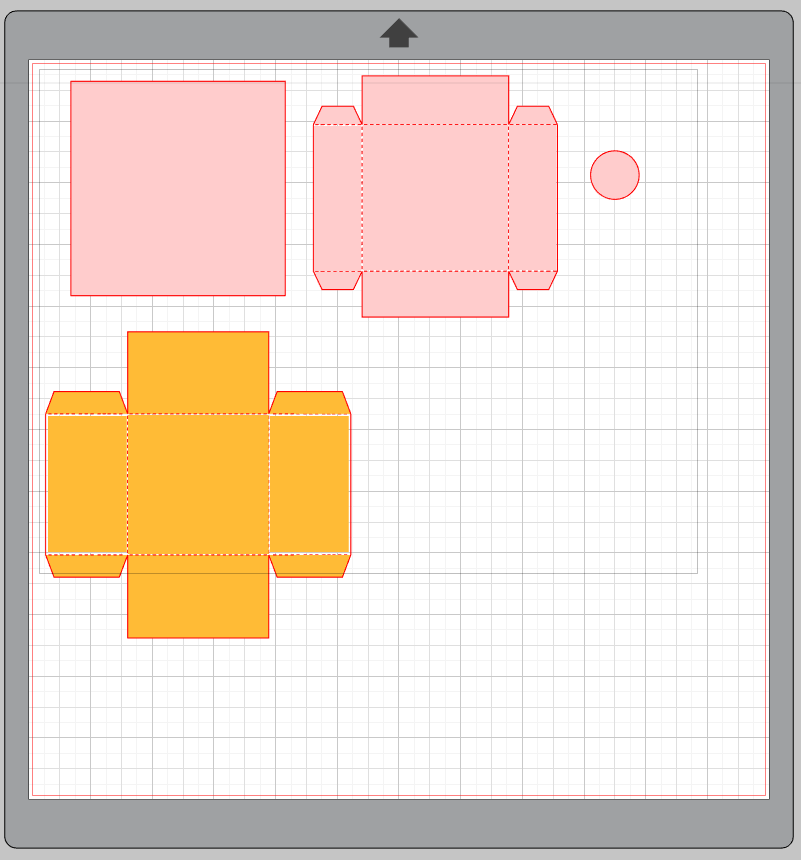
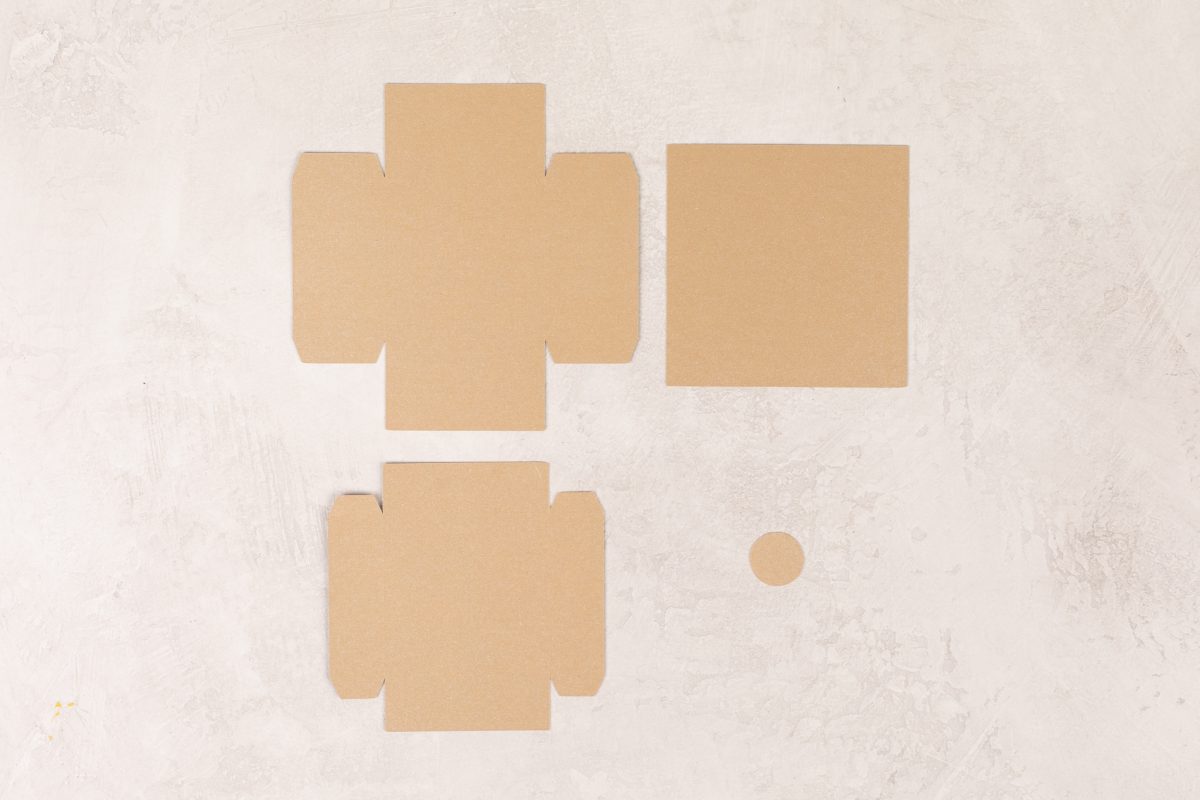
2. Resize your box pieces to your desired size. We made ours just slightly larger than the original design, with the box measuring about 2.5-inches wide. We color-blocked our boxes, making the lid and cap a different color from the base. Cut out your pieces on cardstock colors of your choice.
Step Two: Assembling Your Boxes
1. Fold the scored tabs of the boxes.
2. Apply glue to the tabs and fold the box top and bottom together.
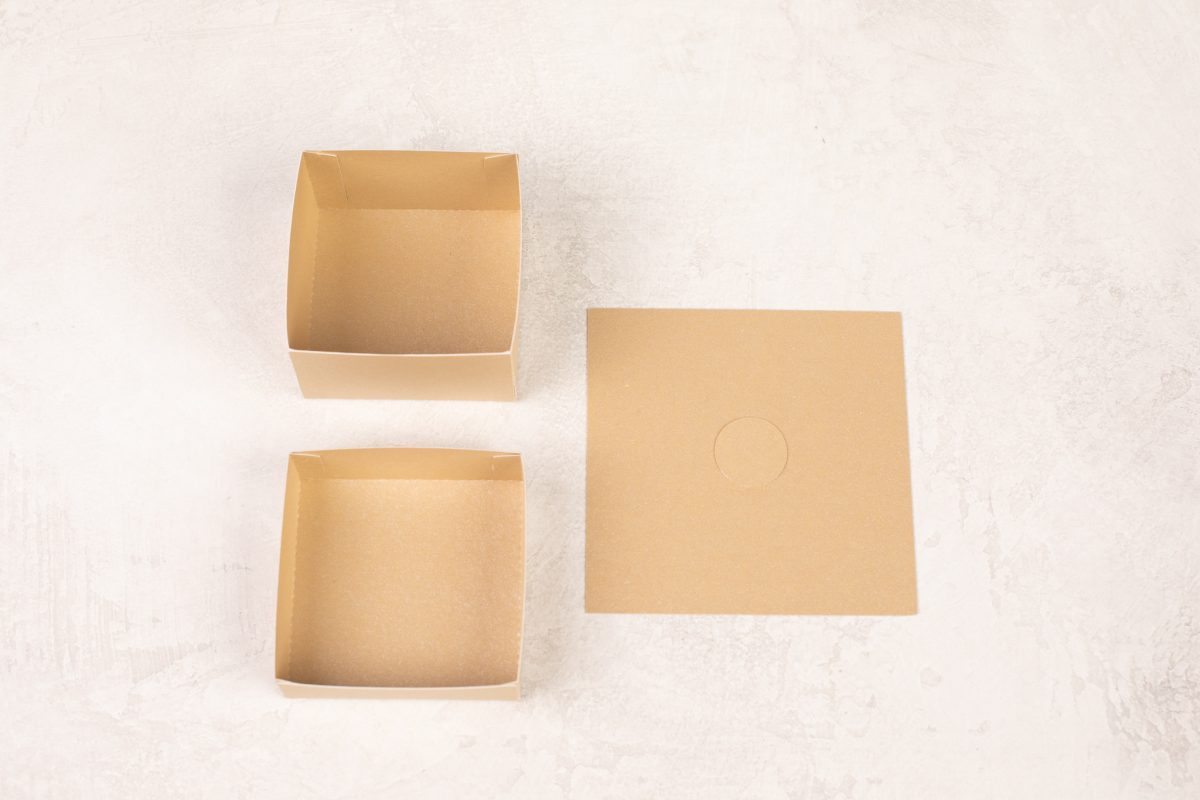
3. Apply glue to the top of the lid and place in the center of the square piece of paper to create the cap.
Step Three: Making the Tassel
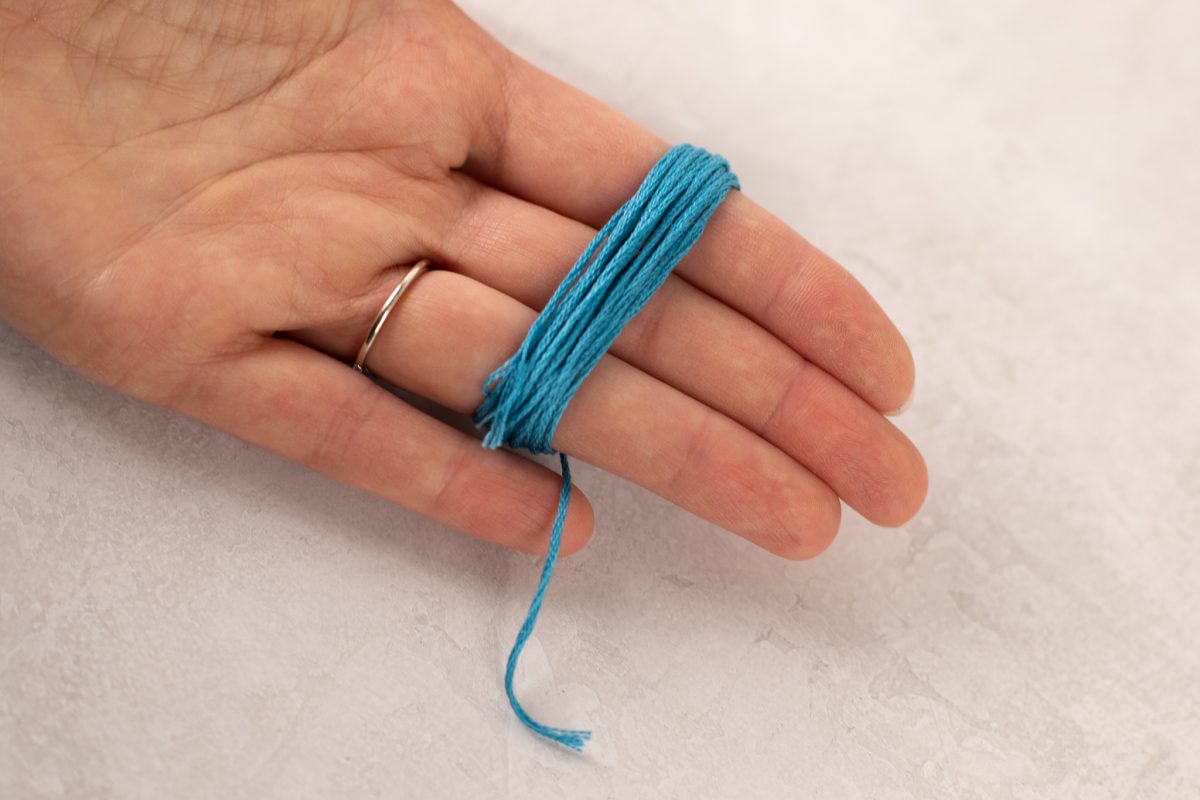
1. Take embroidery floss and wrap it around three fingers 20 times. Trim.
2. Remove from your fingers and take a 5-inch long piece of thread and thread it through the top of the loop of threads and tie a knot.
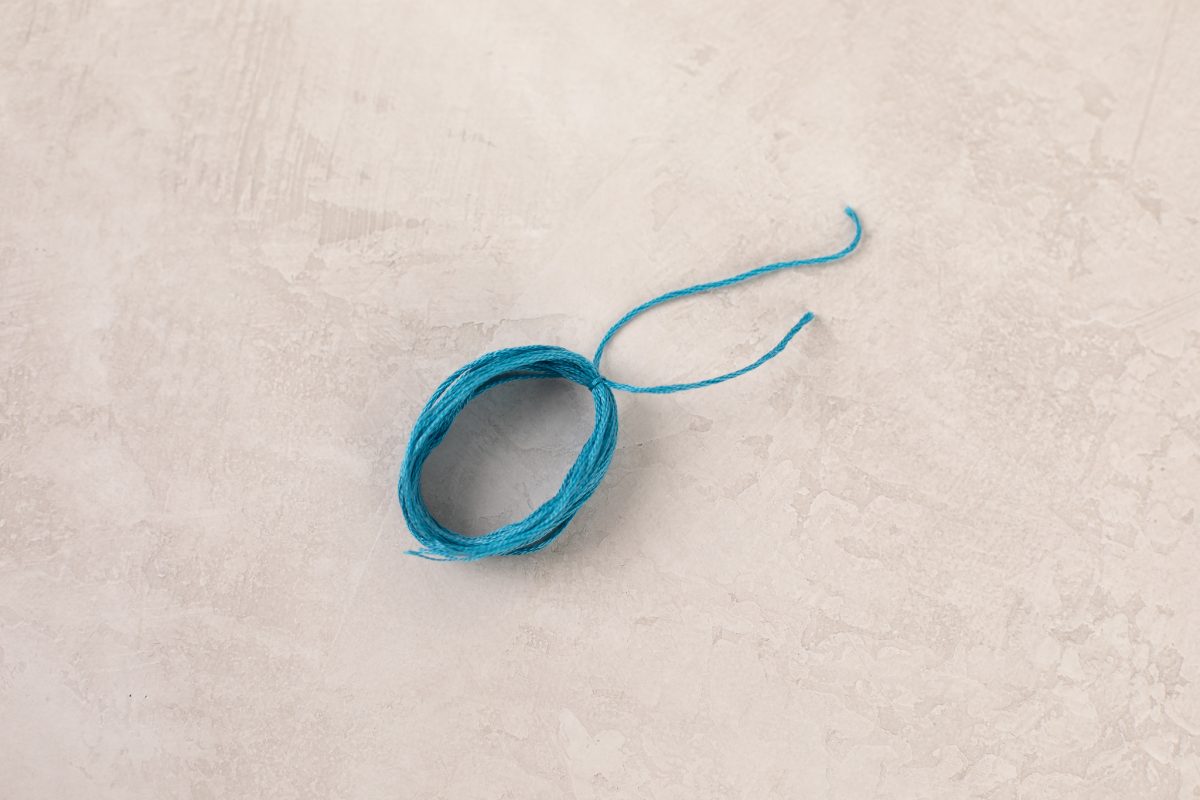
3. Then take another 5-inch thread and tie it around the your loop, about a 1/4-inch from the top. Wrap it a few times around and tie another knot and trim.

4. Glue the tassel in the center of your lid, and top with the paper circle.

5. Fill your box with a small gift and a congratulatory note, and you’re all set!

 Free Class - Custom Graduation Tumbler
  Graduation Yard Sign with the Cameo Pro