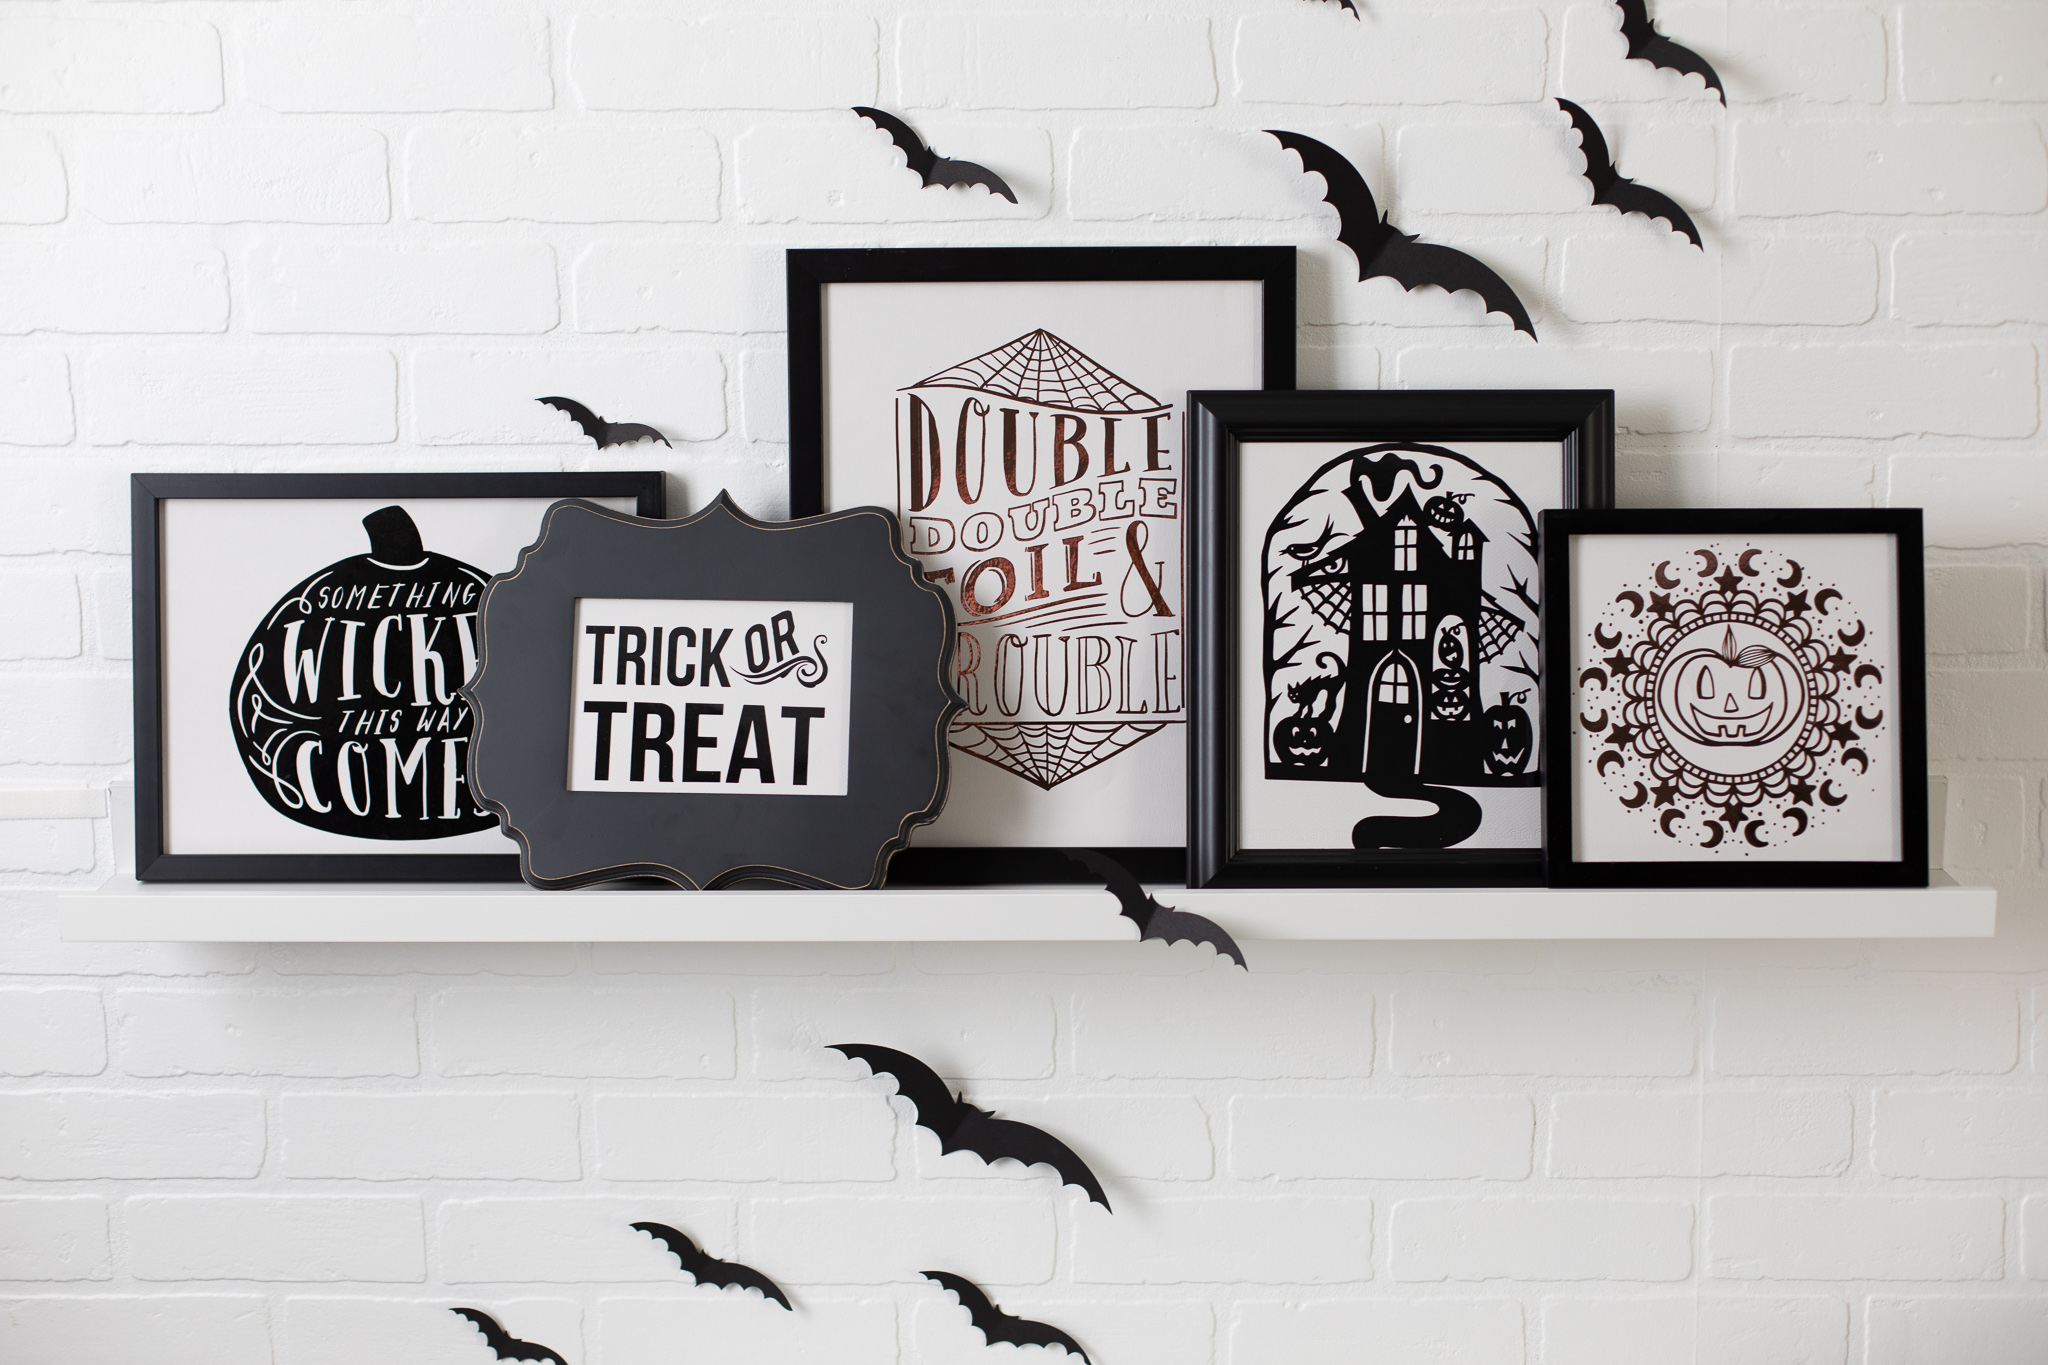
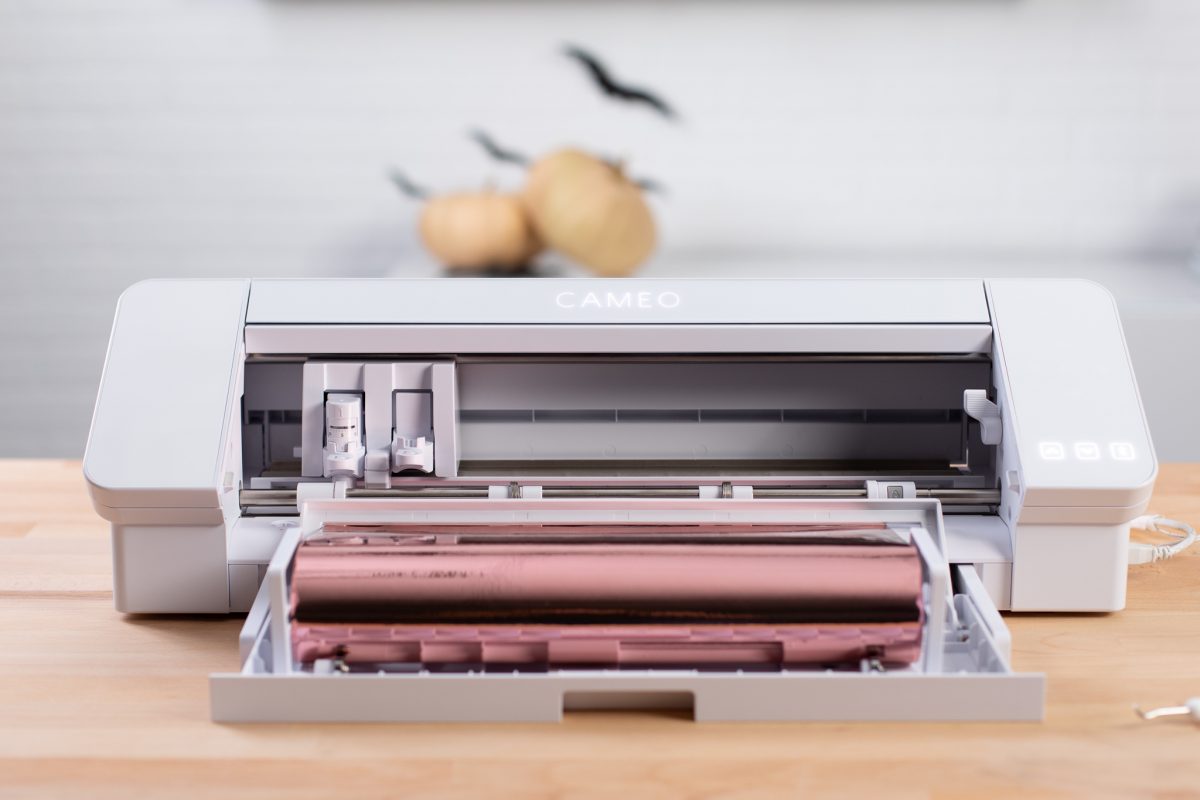
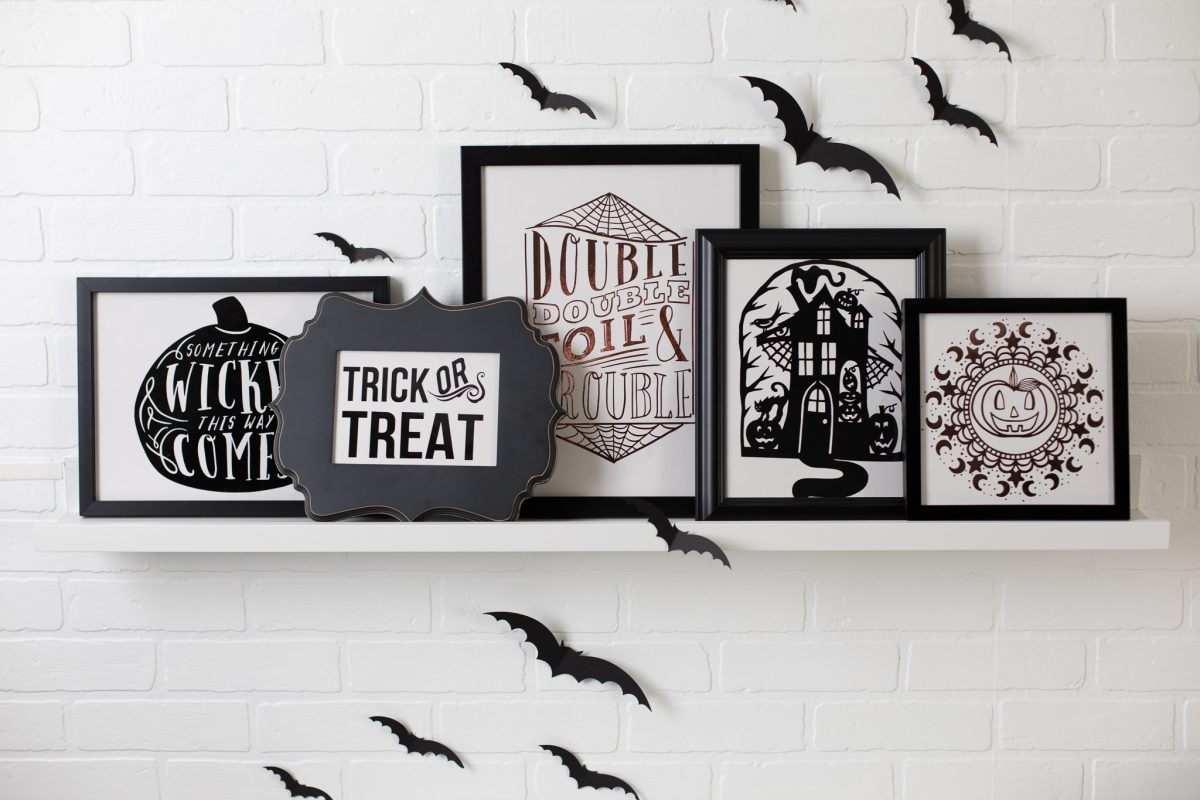
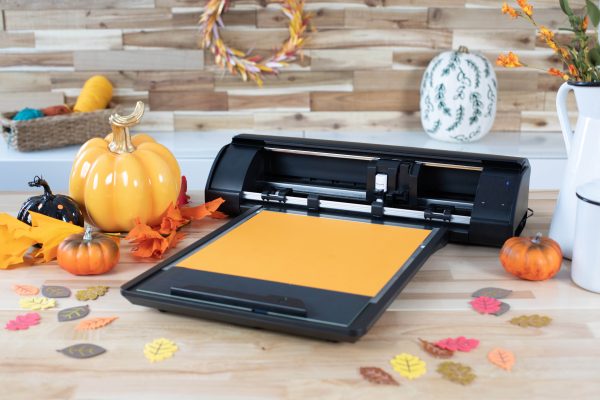
Only a few more weeks until Halloween! How do you decorate for the season? These vinyl signs are an easy way to add some spooky touches to your home without spending a lot of money! We’re using the new Cameo 4 built-in roll feeder and crosscutter, which make all these designs a breeze to cut out!
Supplies Needed:
- Silhouette Cameo® or Silhouette Portrait®
- Silhouette Studio®
- Silhouette Cutting Mat
- Silhouette Cutting Blade
- Silhouette Hook Tool
- Silhouette Scraper Tool
- Silhouette Metallic Vinyl – Black and Rose Gold
- Silhouette Transfer Tape
- Cardstock, cut to pieces sized for your frames
- Picture Frames
- Design IDs #65646 for Haunted House, #220968 for Jack-o’-lantern Mandala, #96415 for Wicked Pumpkin, #94376Double Double Toil and Trouble Lettering, #219468 for Trick or Treat Design, and #218331 for Bats
Step One: Formatting Your Designs
1. Insert your designs into Silhouette Studio® and size them as desired to fit your frames.
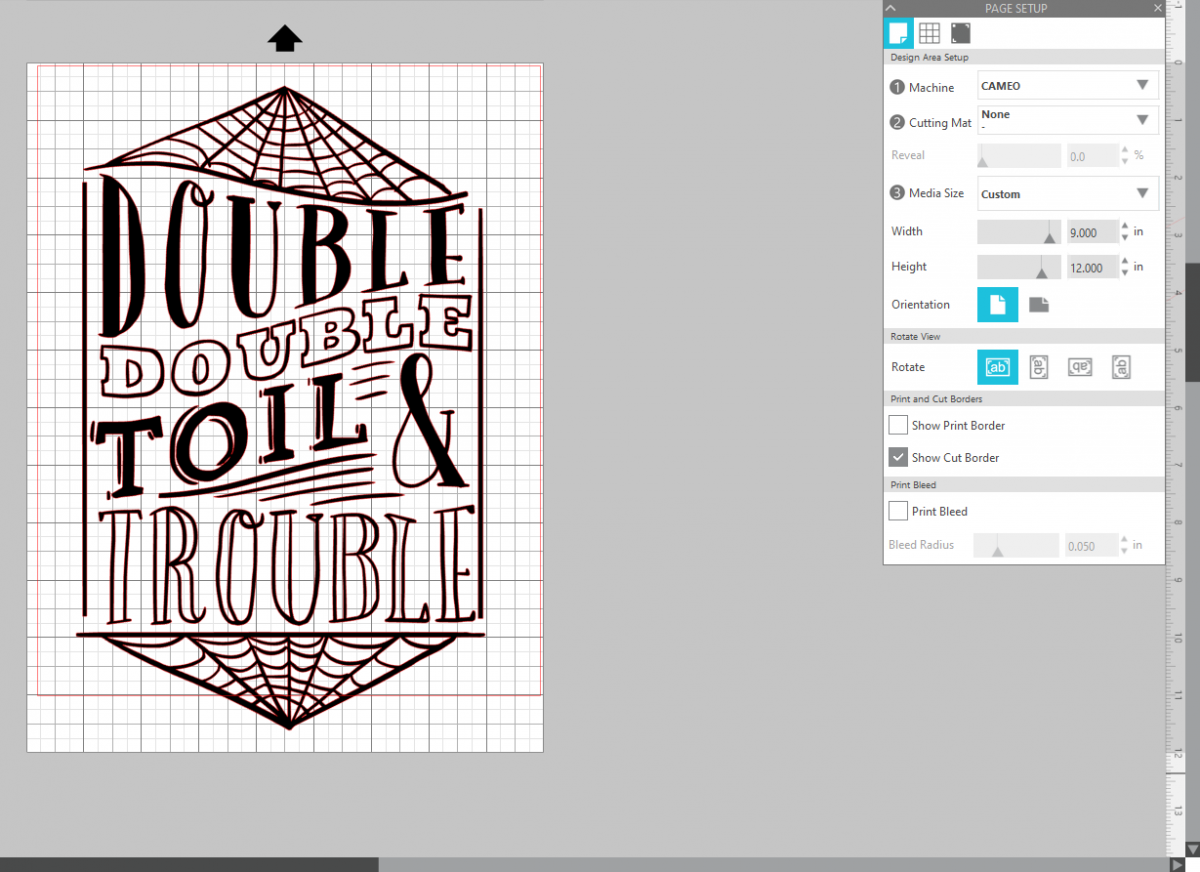
2. Load vinyl into your machine. We’re using the built-in roll feeder on the Cameo 4, so we selected “NONE” under the cutting mat option in Page Setup panel. You can also just place the vinyl on a cutting mat and do a regular cut.
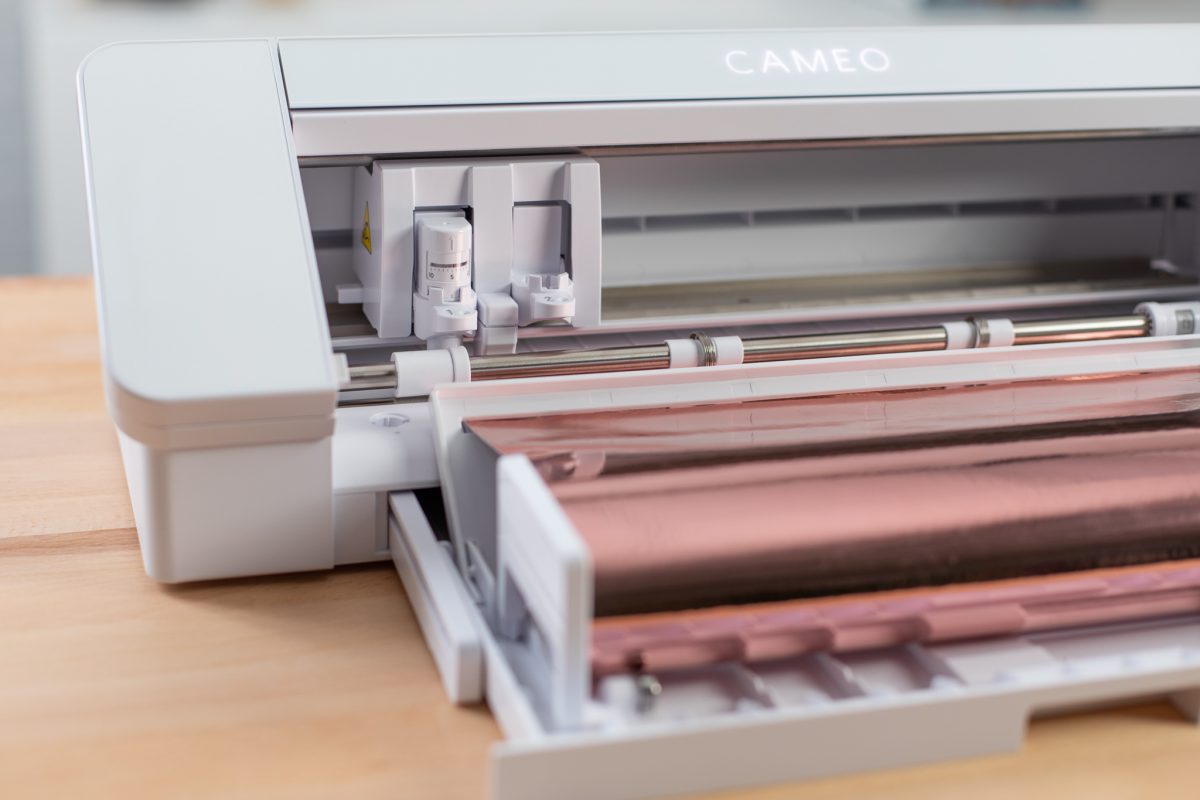
3. Make sure the appropriate cut settings are added in Silhouette Studio® so that your machine cuts correctly. We used “Vinyl, Metallic” as the material and the tool was the AutoBlade for Cameo 4.
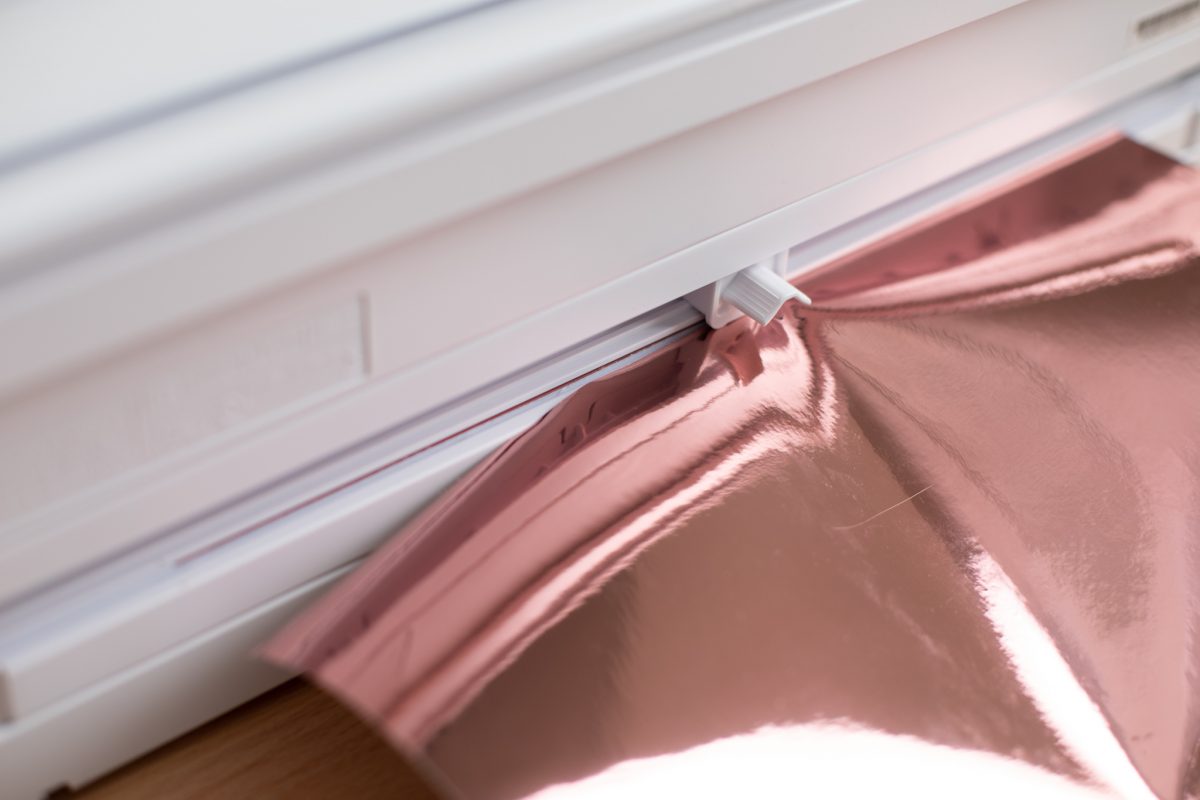
4. Using the crosscutter, remove your vinyl design from the roll with a clean cut.
5. Repeat these steps for your remaining designs.
Step Two: Assembling the Art
**If you’ve never used metallic vinyl before, check out this video for step-by-step photos!
1. Weed the negative space of your design.
2. Cut a piece of transfer tape to be the same size or slightly larger than your design. Place the transfer tape directly over your weeded vinyl and smooth it down with your scraper tool.
3. Remove the vinyl backing from the vinyl and transfer tape, and place the vinyl onto your piece of paper. Smooth the vinyl down with the scraper tool and peel away the transfer tape.
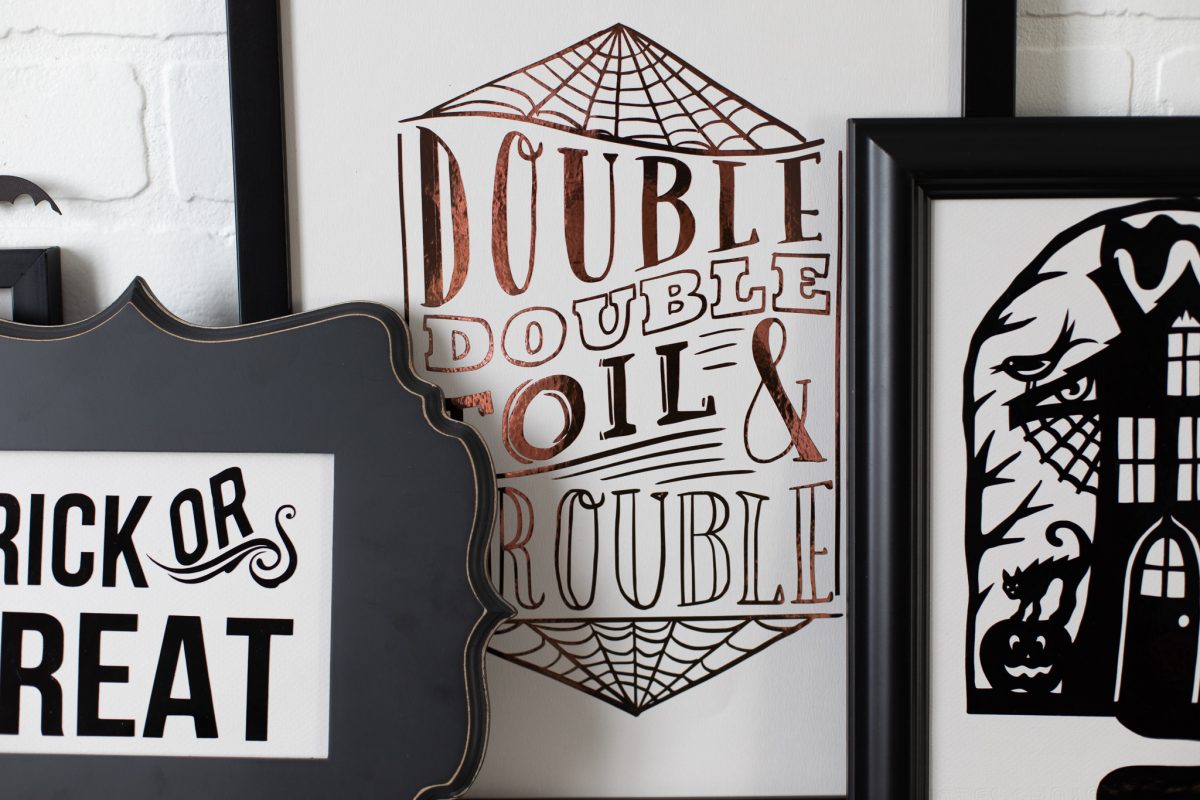
4. Place the paper into frames and arrange the frames for a spooky display! Add some bats or spiders to up the creepy vibes.
 Everything to Know About the Electrostatic Mat
  Quirky Mug