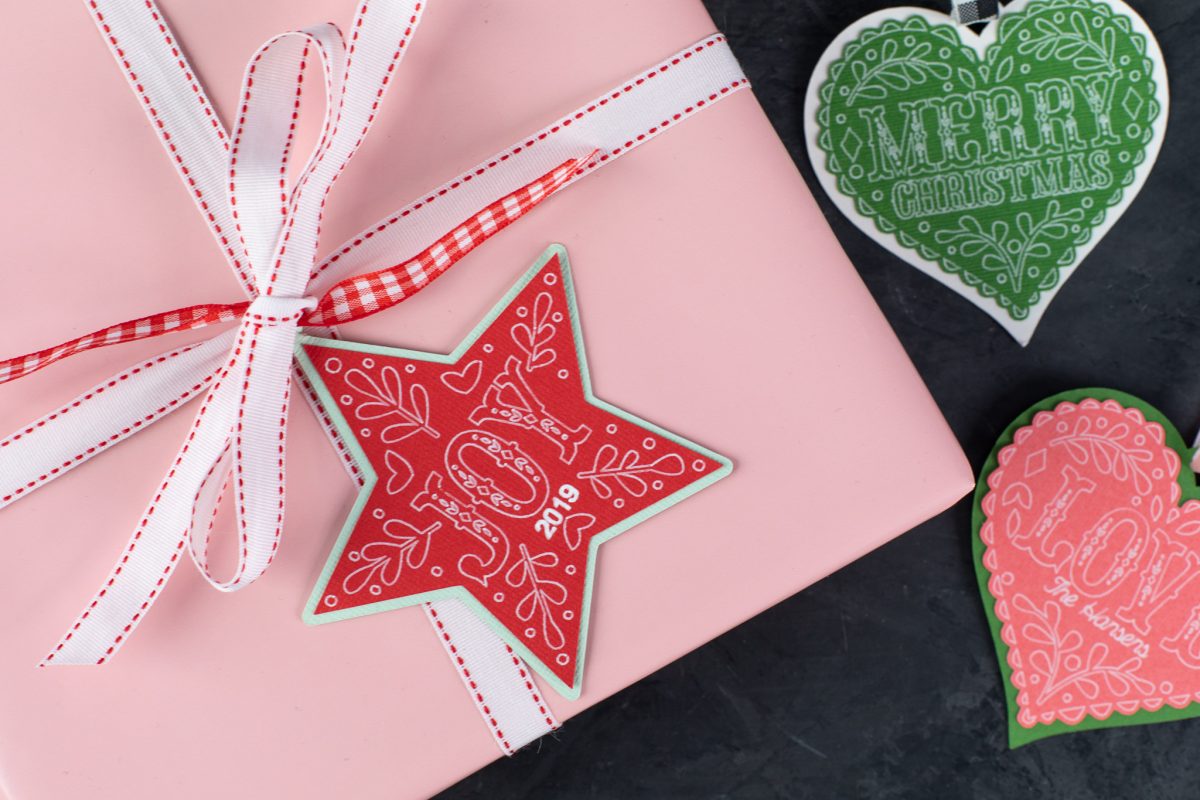
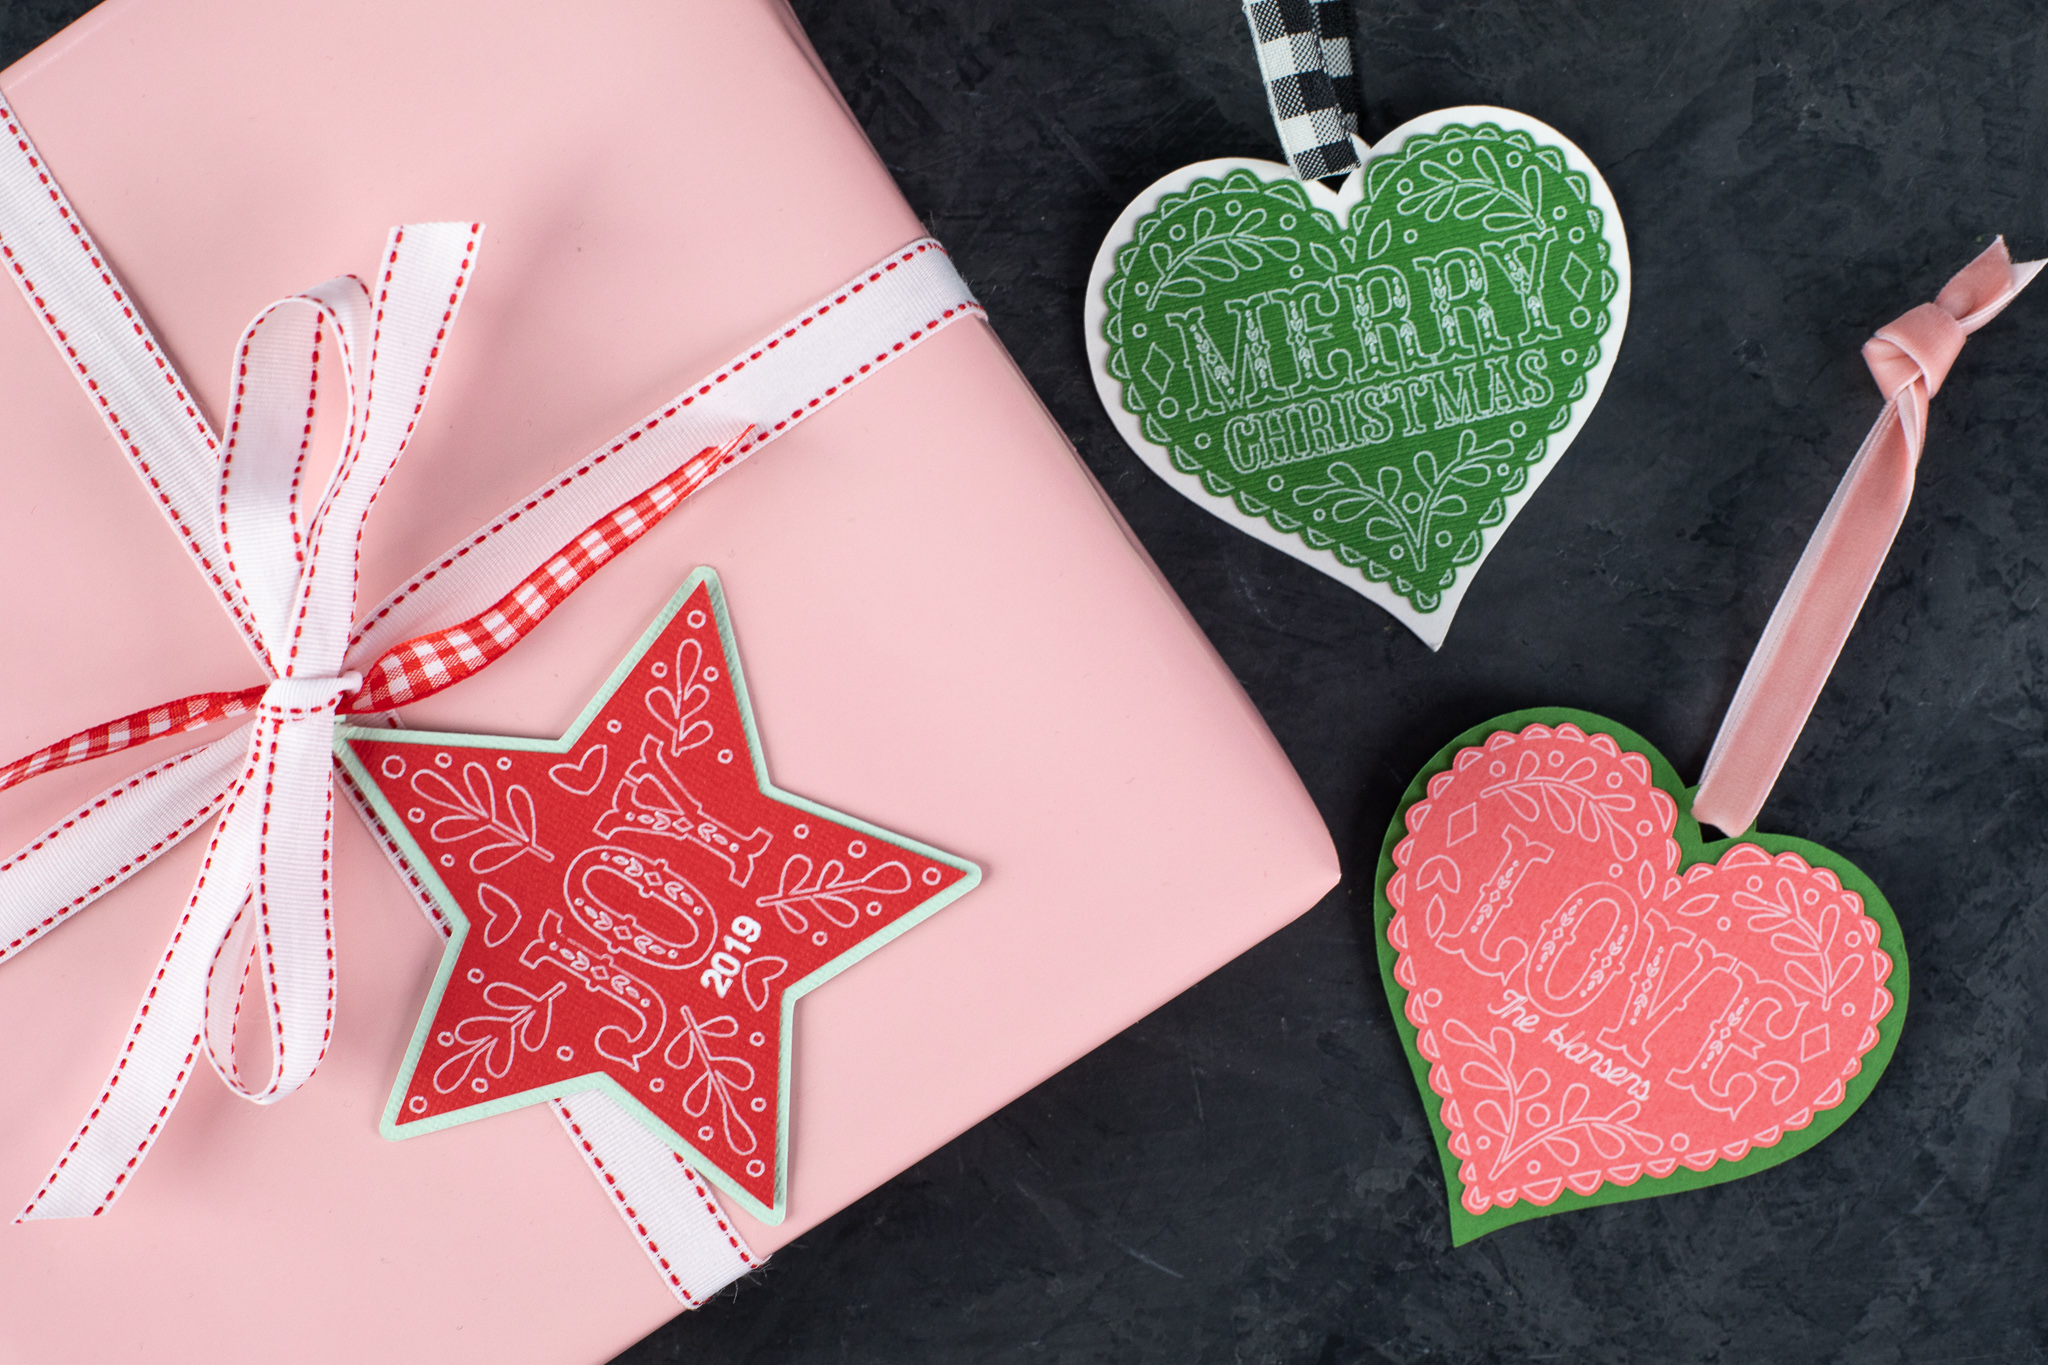
Tis’ the season for giving! Chances are you’re gearing up for lots of holiday gifts and presents, and what better way to add a personal but professional touch than with a homemade tag! These tags are a simple but super cute way to personalize a gift; we used the pen adapter and a white gel pen.
Supplies Needed:
- Silhouette Cameo®
- Silhouette Studio®
- Silhouette Cutting Mat
- Silhouette AutoBlade or Silhouette AutoBlade for Cameo 4
- Silhouette Pen Holder or Silhouette Pen Holder for Cameo 4
- White gel pen
- Cardstock in colors of your choice
- Ribbon
- Glue stick or adhesive
- Designs are all from SAS Creative. Here are the various ID#s for your reference: #225735 for Believe, #226026 for Family, #222753 for Wish, #222762 for Love, #226047 for Merry Christmas, #222756 for Hope, #222771 for Noel, #225738 for the Joy
Step One: Formatting the Design
1. Insert the “love” heart design into Silhouette Studio®.
2. Lock the dimensions of shape and adjust the size of the design to be 3.5 inches wide.
3. Right-click on your design and select ungroup. Drag the outer shape away from the inner design.
4. Then select all the inner design components, right-click, and select “Release-Compound Path.” Select the scalloped heart and drag it away.
If you’d like to customize your design, this is when you’ll do that!
5. To make a bit more space to add a year or a name below the main sentiment, click on certain design elements while pressing down the shift key to select multiple at a time, and toggle them down or over with your keyboard.
6. Use the text tool to write your desired phrase in the space. Change the font if desired.
7. Highlight all the inner components and right click again to select “group.”
8. Then drag the scalloped circle back to surround the inner design components and center using the align tools.
9. Place the inner design in the upper right-hand corner of your page and the outer design in the upper left-hand corner.
Step Two: Cut and Sketch the Design
Note: If you’re not using a Cameo 3 and instead using the Cameo 4 or a machine with a single tool carriage, you’ll need to complete the sketch and the cut in two different steps. This is because you’ll need to give yourself time to switch between a sketch pen and a cutting blade.
1. Click the Send panel. Adjust Tool Carriage 1 to be your cutting blade and set Material: “Cardstock, Textured – Heavy (80lb)”; Action: “Cut”; Tool: “AutoBlade.”
2. Select the outer heart and select “Cut” under Tool 1—The design should turn red.
3. Then select the scalloped heart surrounding the inner designs and select “Cut” under Tool 1—The scallop heart should turn red.
4. Adjust Tool 2 to be your sketch tool; Material: “Cardstock, Textured – Heavy (80lb)”; Action: “Sketch”; Tool: “Pen Holder.”
5. Select the inner heart and select “Sketch” under Tool 2—The design should turn blue.
6. Make sure you insert your pen holder with the pen inserted and your cutting blade into the corresponding carriages.
7. Then place one small piece of cardstock in the upper right-hand corner of your cutting mat and another piece of cardstock in a different color in the left-hand corner of the mat. Make sure you chose a color cardstock that the white pen will really pop on.
Note: Again, this process will be slightly different if you are not using a Cameo 3. To complete this process, do the following: Send the design to be sketched using the white gel pen and the pen holder only. Don’t remove the cutting mat from the machine. Replace the pen holder in your tool carriage with your cutting blade. Send the design through again, this time with the cut settings.
8. Once your pieces are cut and sketched, remove them from your mat, glue the two pieces together with adhesive, and thread with ribbon or twine!


 Free Class - Foiled Gift Tags with the Heat Pen
  Winter Branch Décor
Nasze Naturalne
September 3, 2025
Your authentic voice really shines through in everything you create and share
Naszenaturalne
September 2, 2025
Really love your style
Kelly Wayment
June 28, 2024
You can use it with vinyl as long as it is smooth and flat to allow the static charge to hold on to it. Rolled vinyl that wants to go back to its rolled shape will not necessarily work well, and it would need to be trimmed to fit the ES mat cutting area.
Kelly Wayment
June 28, 2024
Yes, you can use the heat pen while using the ES mat. 🙂
Yurii
March 2, 2024
Hello. May it be used with heat pen?
Thanks
Jerome
February 24, 2024
Hi, works this with the normal vinyl foils or only with printer papter etc?