One of the greatest benefits of being a Silhouette user is having access to the incredible Silhouette Studio software. We love cutting out amazing designs by our Silhouette designers, but have you ever considered creating your own design? It is not as hard as you may think! In this tutorial, we will be teaching you how to use some of the basic tools in Silhouette Studio to create your own party invitations. We have chosen to keep with a patriotic theme for the upcoming holiday, but the same principles apply for any party you may be hosting soon.
We will cover basic principles like creating a cut line, adding a design from your library, and adding text with font manipulation. That may sound like a lot! But by the end of this tutorial, you will be a pro. Say goodbye to paying for PDF invitations and say hello to your own creativity. Let’s get started!
Supplies List:
- Silhouette Portrait 3 or Silhouette Cameo 4 machine
- Silhouette Studio Basic Edition (This software is 100% free for all users.)
- Silhouette Vellum
- White Cardstock Paper
- Printer
- Crafting Brads
- Design ID #246739 (or design of choice)
Step 1: Creating the Invitation Shape
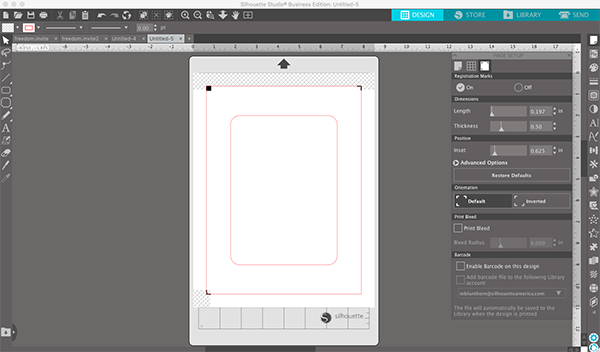
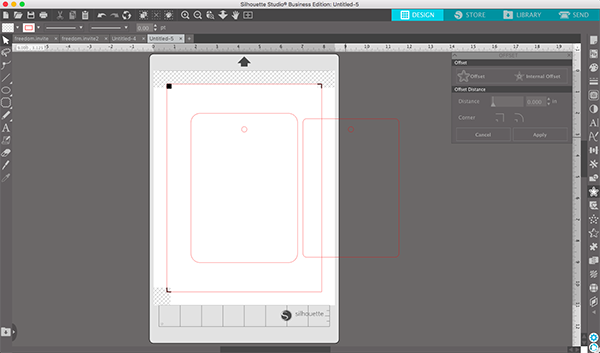
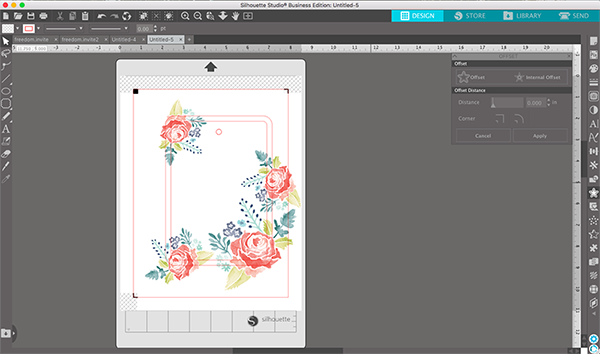
Once you have opened a new document in Silhouette Studio, make sure that you have the correct machine, mat size, and media size selected. Since you are most likely printing these invitations, it is best to select letter-sized paper for your media. Turn on your registration marks. After double checking these settings, you are ready to begin creating cut lines for the shape of your invitation. We chose to create a 5” X 7” rounded-corner rectangle. This is a fairly standard shape for an invitation. We did this by selecting the rounded rectangle shape tool on the left-side tool bar and adjusting the dimensions at the top of the page. Your page will look like the image below.
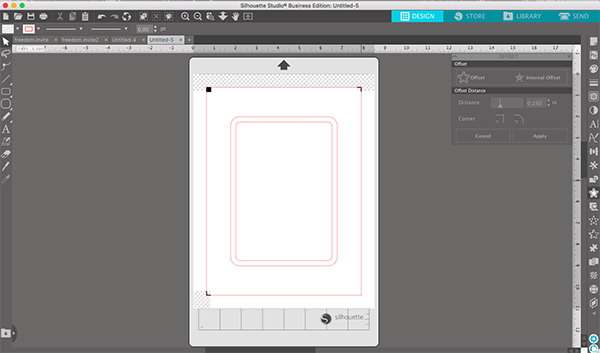
If you are creating a single-page invitation, you can move on to step 2. But if you want to step up your design game, you can add some other layered elements. We decided to create a vellum overlay to add some dimension and texture to our card. It looks so professional! To do this, you will want to create an internal offset. The offset tool can be found on the right side toolbar. It looks like a star with another star inside of it. Go ahead and select this tool. Once you select your shape, you can simply click the “internal offset” button. This will create a slightly smaller shape inside of your larger shape. We made a .25” offset, but feel free to change the dimension to your own liking. Leave the shape inside of the larger rectangle.
The last step of creating the outline for our card is adding a small hole along the top of each box. This is where we will insert the brad to hold the two pieces together. Using the ellipse shape tool, create a circle that is about 1/4” in diameter depending on the brads you are using. Go ahead and center that circle vertically in the rectangles. Copy and paste the circle once. You will need the opening in the same place on each of your pages. Select the first circle and the inside rectangle, right click, and group them together. Once this is completed, move the second circle to be directly over the first circle. Select the second circle and the outside rectangle and group them together. Now, you should have two rounded corner rectangles with a circle towards the top like the photo below.
Step 2: Add Your Design
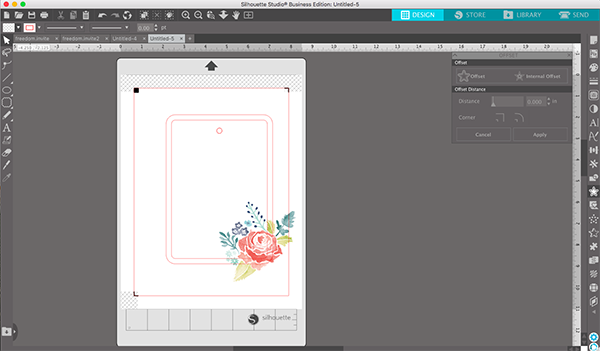
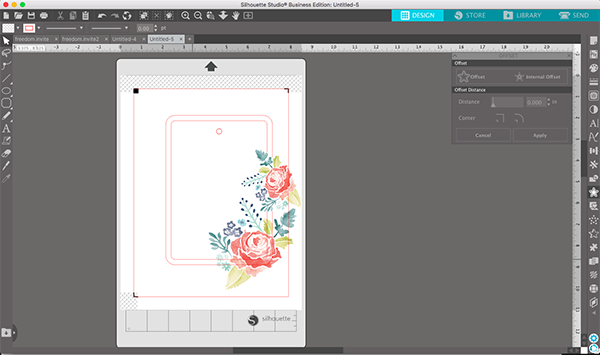
Go into the Library tab in your software. Once you locate the design you desire to use, double click on the icon. The design will automatically pull up into your current project. For our invitation, we deleted the cut line and made the design smaller. While our example looks like multiple flower arrangements, we only used the single design. By changing the size and angle, you can create the illusion of a bigger design. This is where your own creativity comes into the project. Play around with the sizes and elements of your designs and decide what you like best. We always recommend starting in the bottom right corner. From a design perspective, this is pleasing to the eye, and you generally wouldn’t put information down there anyway. See the series of images below to see how we built out our design. Don’t worry that the design goes beyond the invitation border. That is the point! The beauty is that the machine will cut off that excess, and you don’t need to worry about it.
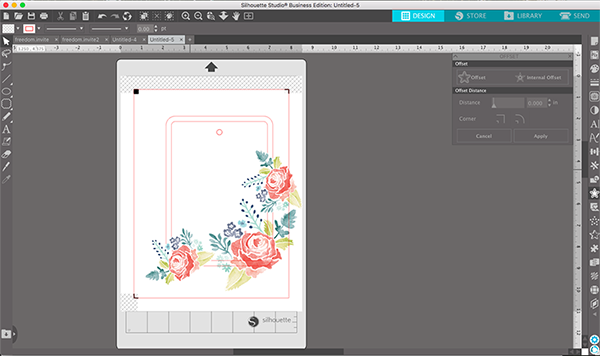
Make sure that your cut lines does not overlap with the registration black registration marks. This will make it impossible to use the Print & Cut feature. But if your designs fall outside the print border or the cut border like our flowers do, that is okay! Remember that your Silhouette machine will cut off the parts of the flowers not inside the invitation’s cut lines, so it’s okay if the designs don’t print all the way to the edges of your cardstock. After arranging your flowers how you like them, select all four flowers and the outside rectangle and group them together.
Step 3: Adding Your Text
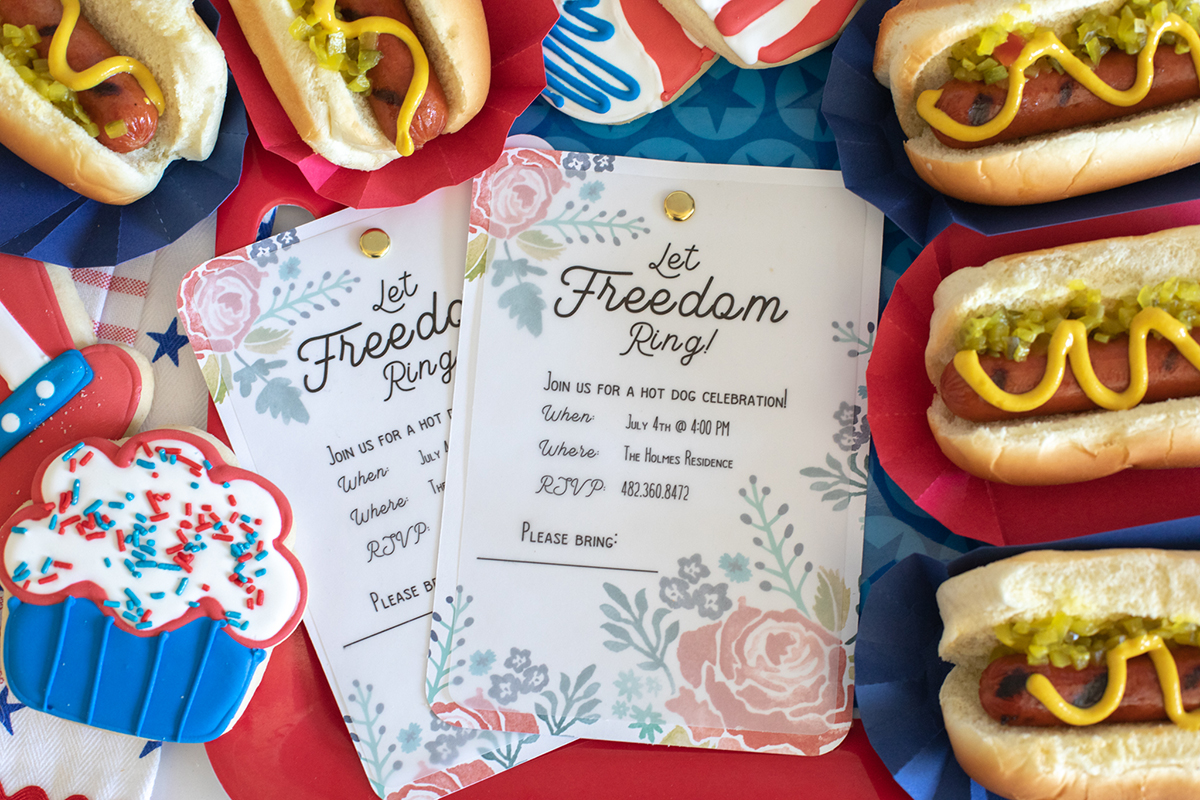
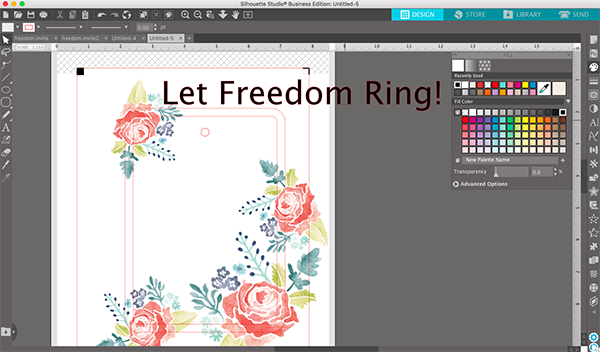
When we are adding text for invitations, we always enjoy putting some sort of title or phrase at the top. For the patriotic party, we put the phrase “Let Freedom Ring!” Click on the text tool from the left side tool bar. Once you have the tool selected, begin typing your phrase. The text will be in a default font and will not have any color. Select your text and then use the color palette tool on the right side tool bar to make the words your color of choice. We like using black because the contrasting color is simple, bold, and easy to read.
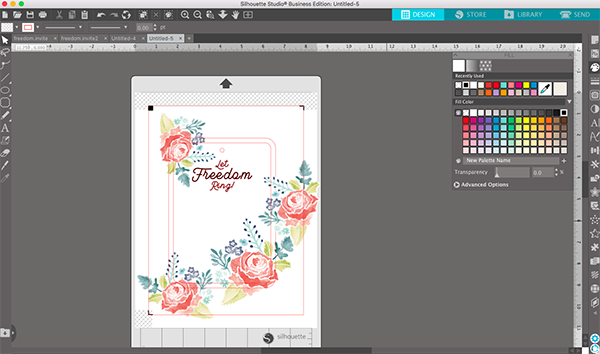
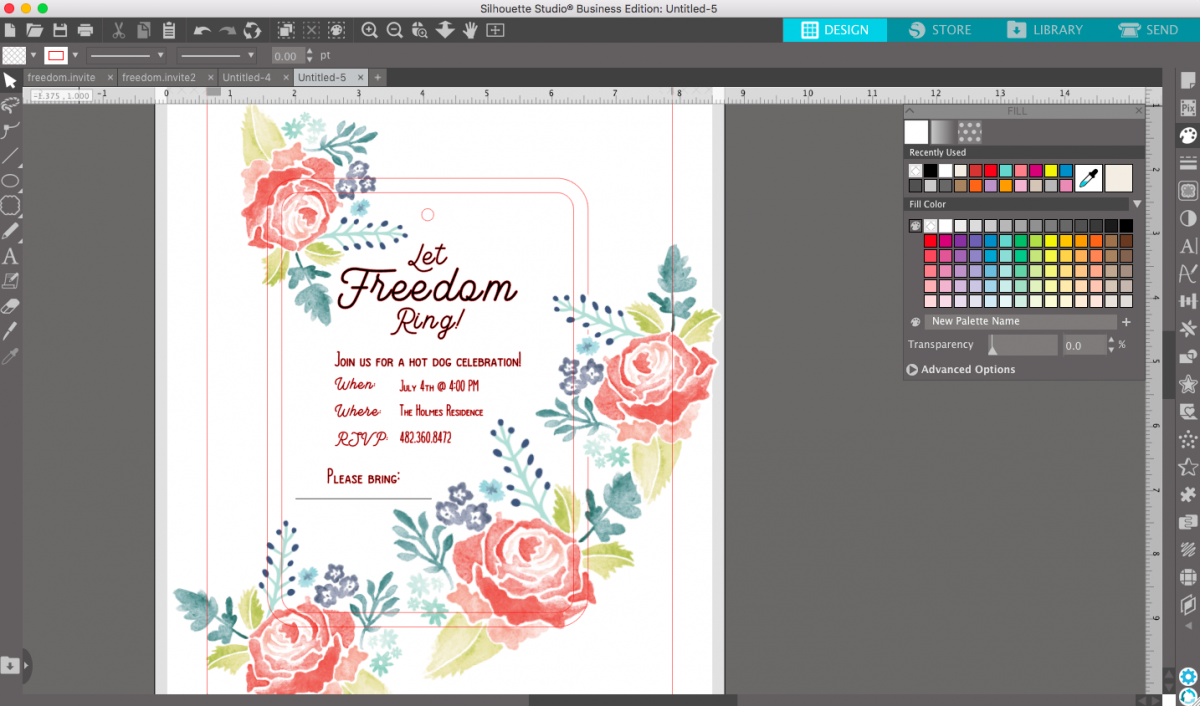
Once you have changed the color, it is time to change the font and the size. We love the Vontage font that we downloaded from the Silhouette Design Store! We played around with the sizing and positioning of the phrase at the top. After that, we followed the same process for all of the invitation information. We included where the party is being held, when the party will take place, and a phone number to RSVP. We also included a line at the bottom with room for us to handwrite food assignments to our various friends and family members. While this may seem intimidating to design, you can just type out each line individually and then align them. With the way we designed the card, we didn’t want the text to over lap with the flowers. The flowers will be printed on the back piece of cardstock, while the words will be printed on the vellum.
Step 4: Creating Another Document
At this point, we need to create another document. When it comes to Print & Cut, you cannot move the file in between printing and cutting. For this reason, we recommend creating a second document with one of the pages. This makes it so you don’t have to worry about your cut being off even if you aren’t going to cut it as soon as it comes out of the printer. To do this, create a new document and click on the large rectangle or one of the flowers. They should all be grouped together. Copy this item and delete it from this document. Open the other document, turn on the registration marks and paste it into that document. You will now have two separate items to print and then cut.
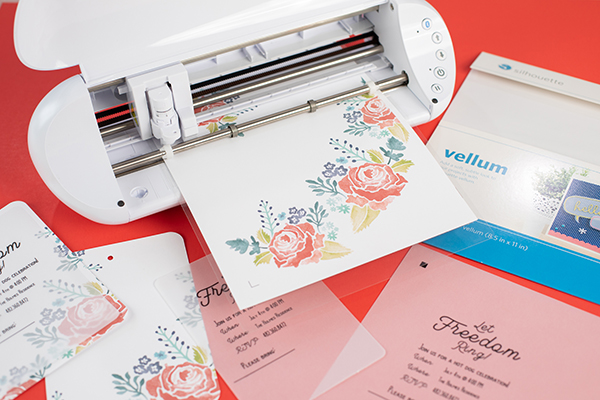
Step 5: Print
Load a sheet of vellum into your printer and print the document that has all the text and party information. This piece is going to over lay on the white cardstock, which has the flowers. When the vellum comes out of the printer, take special care to not smear the ink. Let it sit for a few minutes to dry. After this, load some white cardstock into the printer and send the flowers page to print. Remember, you won’t see any cut lines on the pages!
Step 6: Cut
Now it’s time to cut! Simple load each piece on the cutting mat and make sure to line your pages up straight. Make sure you have the correct document open and the correct materials selected. At this point, you can send the design to cut. If it doesn’t cut all the way through the first time, send it again. We didn’t have any issues using the default settings for the vellum or the cardstock. Once you finish one of the cuts, repeat the process with the other file. Your cut pieces should look like the image below.
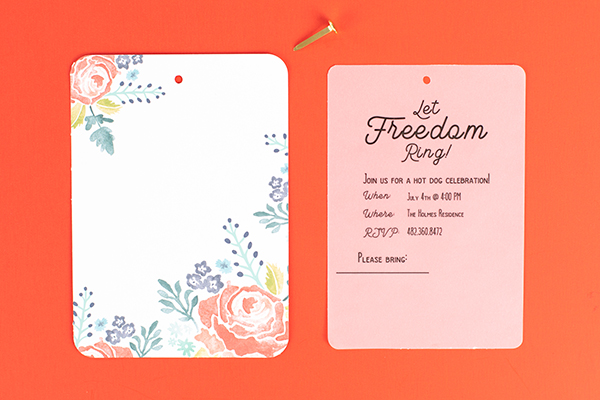
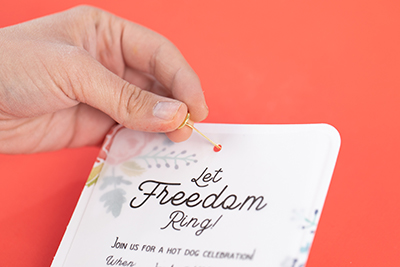
Step 7: Assemble
Assembling these invitations is quick and simple. All you need to do is stick the brad through both holes and fasten it in the back. While it is extremely simple, the final product is so impressive and looks like it looks lots of time! Those are the best kinds of projects, aren’t they?
Once you’ve finished the invitations, you can pop them into an envelope or hand deliver them to your neighborhood. We hope you’ve enjoyed this tutorial on using Silhouette Studio to design your own invitations. Happy crafting!
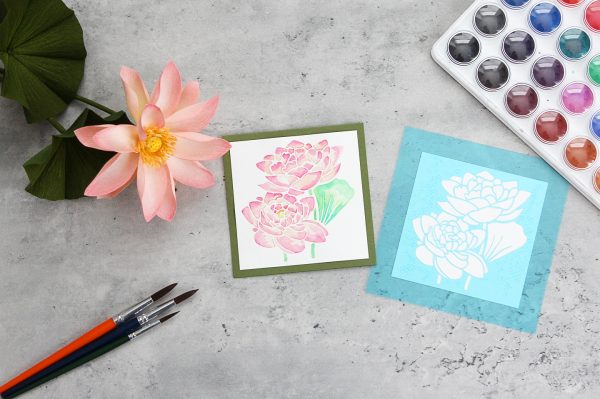 Free Class - Stenciled Lotus Card
 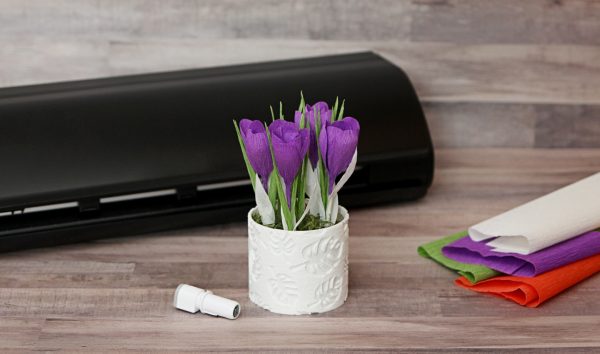 Free Class - Crepe Paper Crocuses
Nasze Naturalne
September 3, 2025
Your authentic voice really shines through in everything you create and share
Naszenaturalne
September 2, 2025
Really love your style
Kelly Wayment
June 28, 2024
You can use it with vinyl as long as it is smooth and flat to allow the static charge to hold on to it. Rolled vinyl that wants to go back to its rolled shape will not necessarily work well, and it would need to be trimmed to fit the ES mat cutting area.
Kelly Wayment
June 28, 2024
Yes, you can use the heat pen while using the ES mat. 🙂
Yurii
March 2, 2024
Hello. May it be used with heat pen?
Thanks
Jerome
February 24, 2024
Hi, works this with the normal vinyl foils or only with printer papter etc?