
When the Curio was released and I heard it was going to be able to etch, my mind was blown! The fact that I can now create art on a new canvas continues to amaze me with each new project.
Today I am going to share just how easy it is to create a piece of metal home decor for you to marvel over!
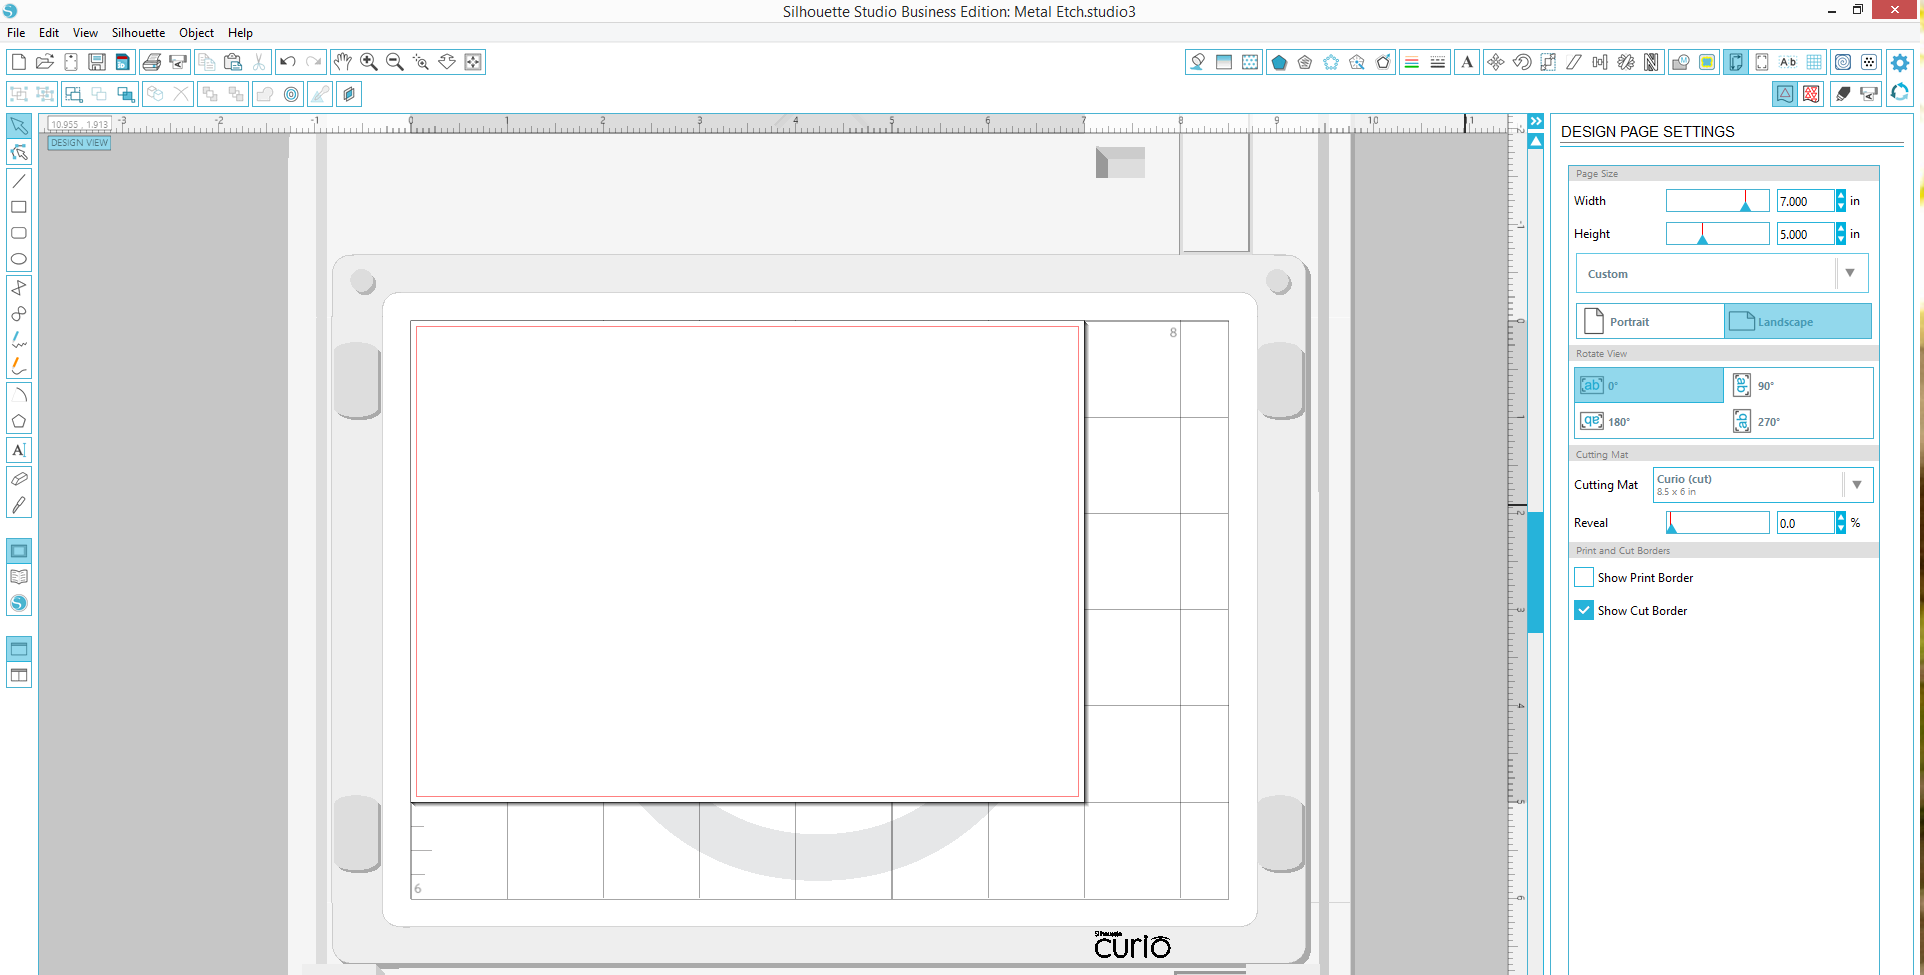
STEP ONE: Set Design Page Settings for Curio
Start by opening a new file in Silhouette Studio®. In the Design Page Setting you can adjust your page size as well as the base size you plan to use. For this project I am using the smaller Curio base. When I adjust my Cutting Mat to Curio (cut or emboss) size 8.5 in. x 6 in., Silhouette Studio® will automatically show the Curio base with your media on top.
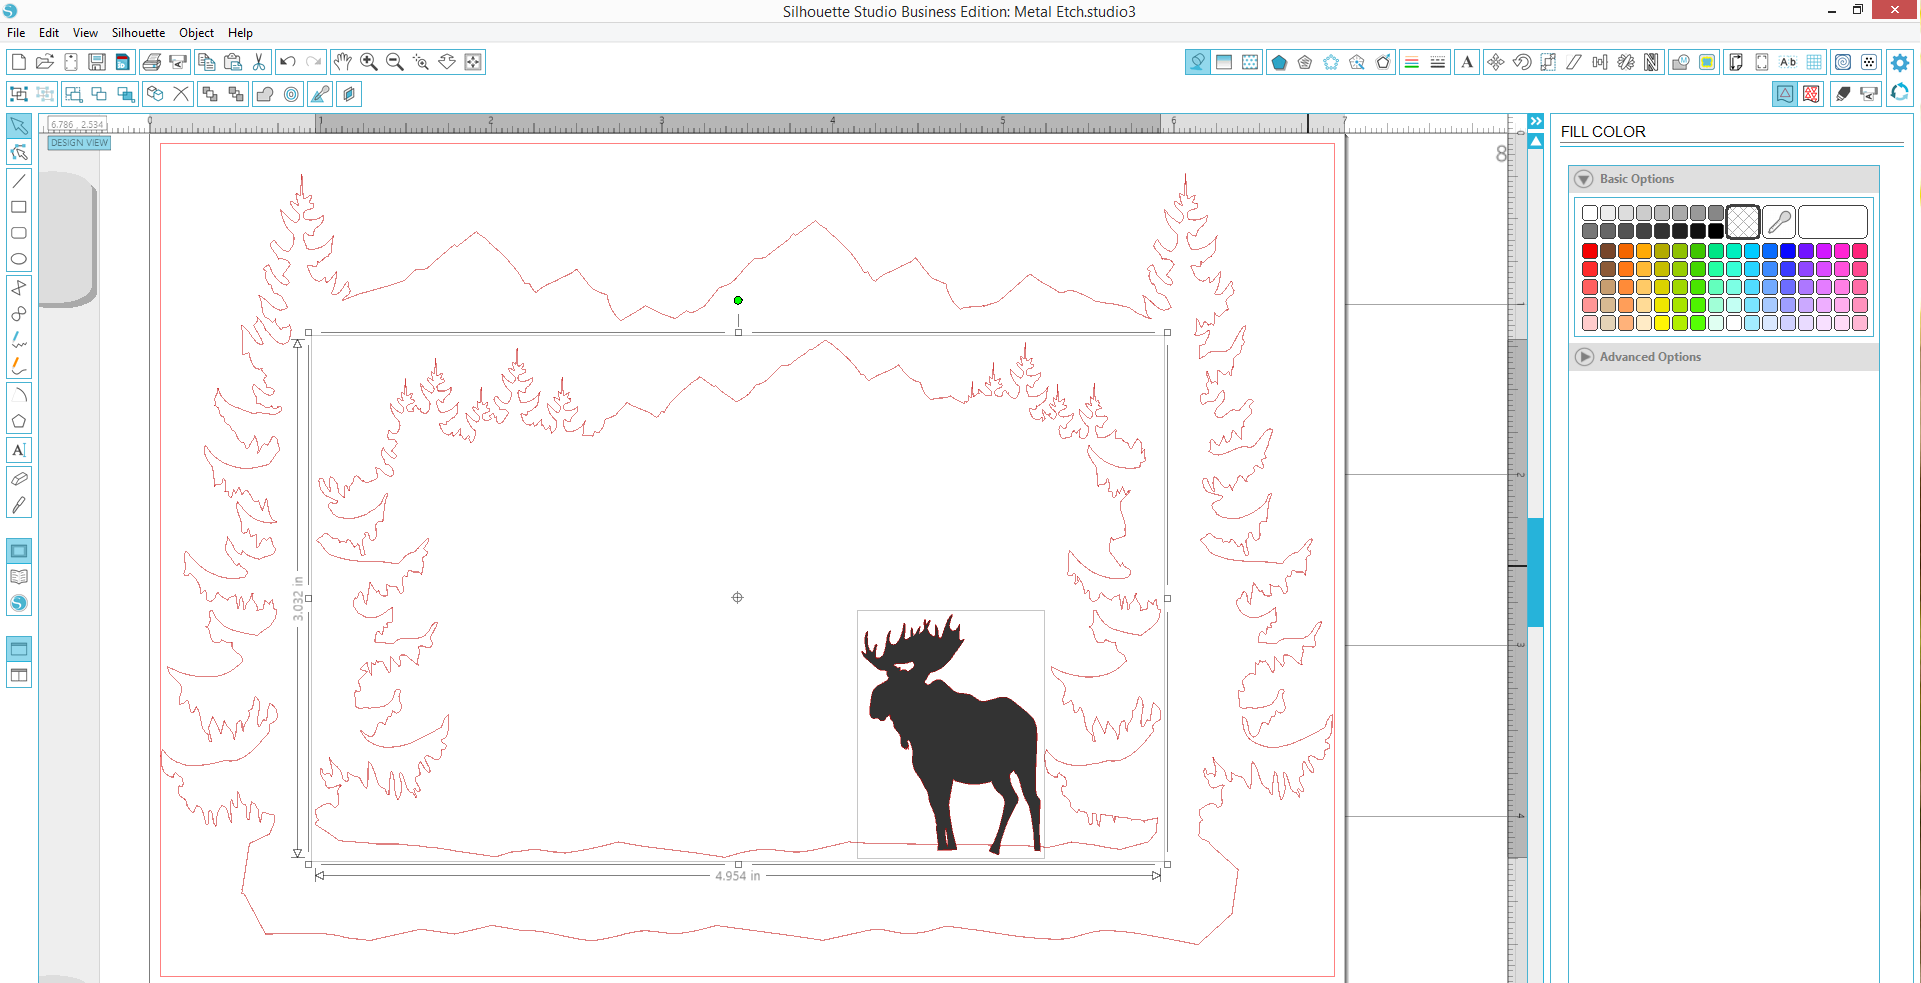
I had a hard time choosing which shape I wanted to etch since all 85,000 designs (and counting!) were calling my name in the Silhouette Design Store. I decided since it is still snowy in Utah, a cabin themed project would be appropriate. I did a search for cabin related shapes and found this adorable moose frame. Then I added text and chose a font that was calling my name.
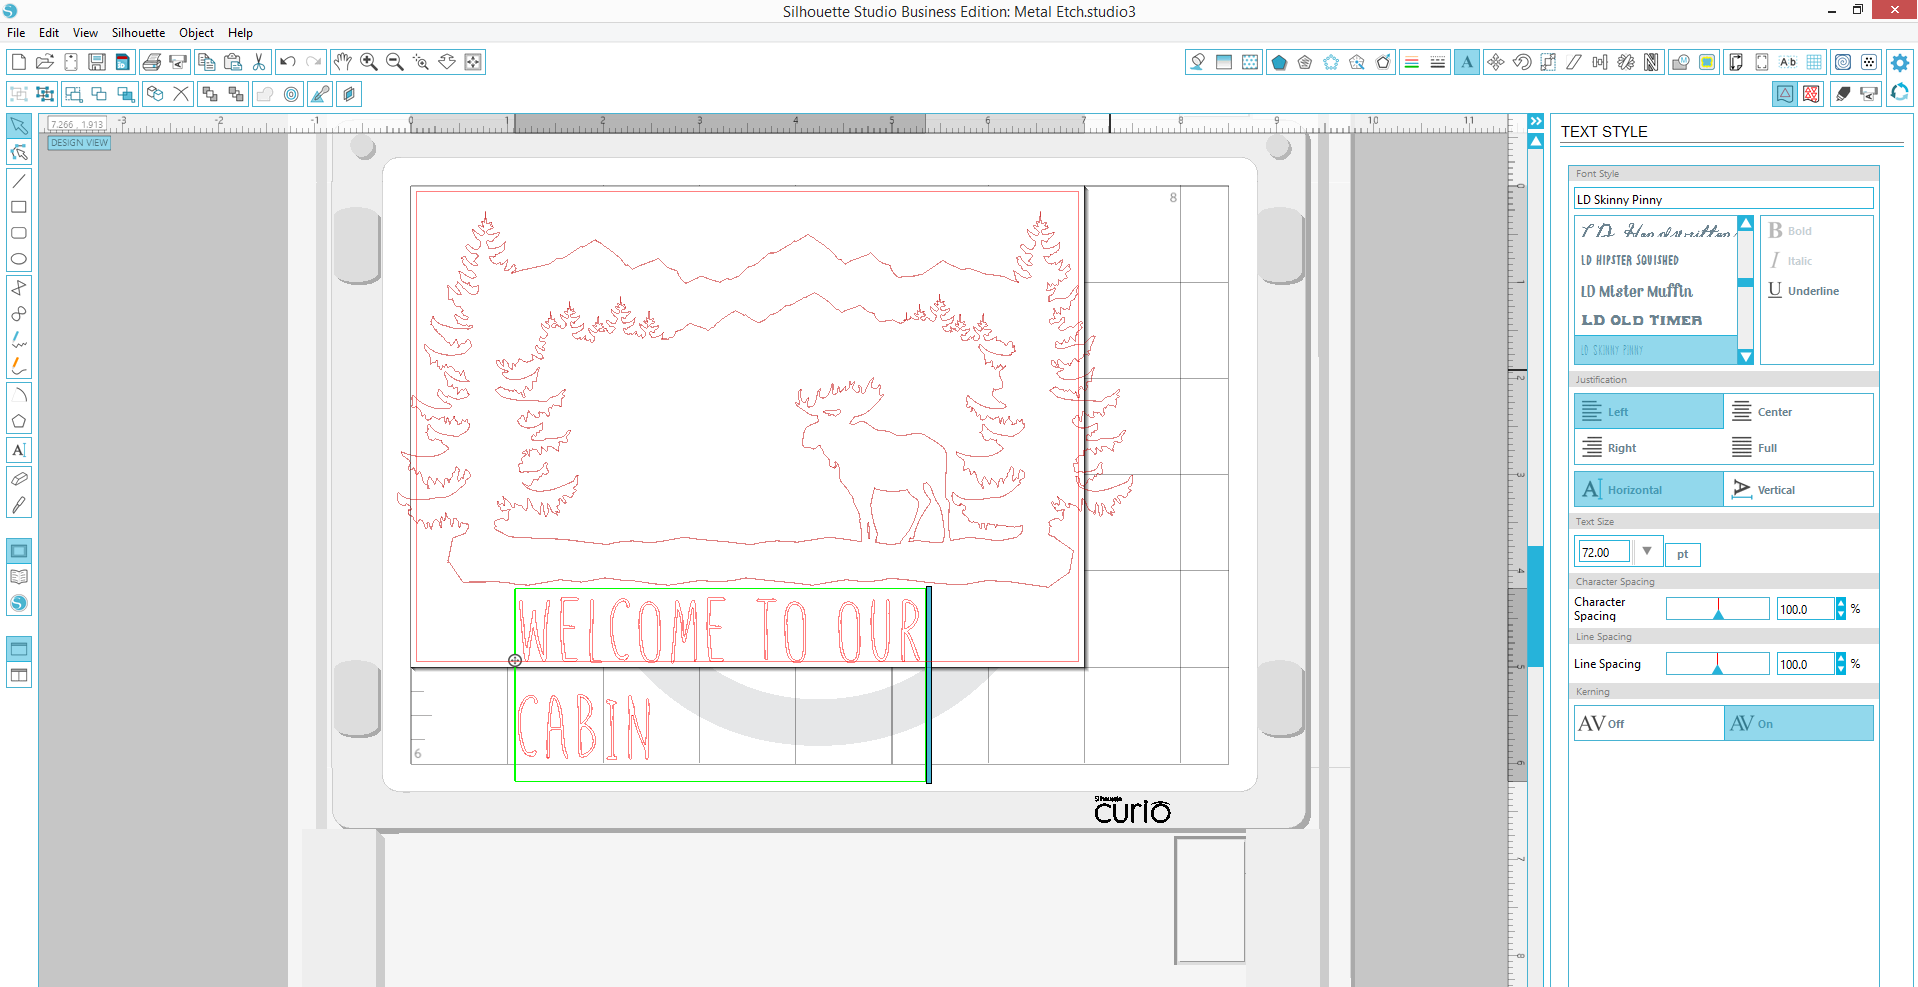
STEP TWO: Adjust your design
When I went to adjust the font to fit in my frame, I didn’t like how big my moose was in comparison to my trees. Since Silhouette Studio® can do anything, I used the eraser tool and separate my moose from his snowy patch.
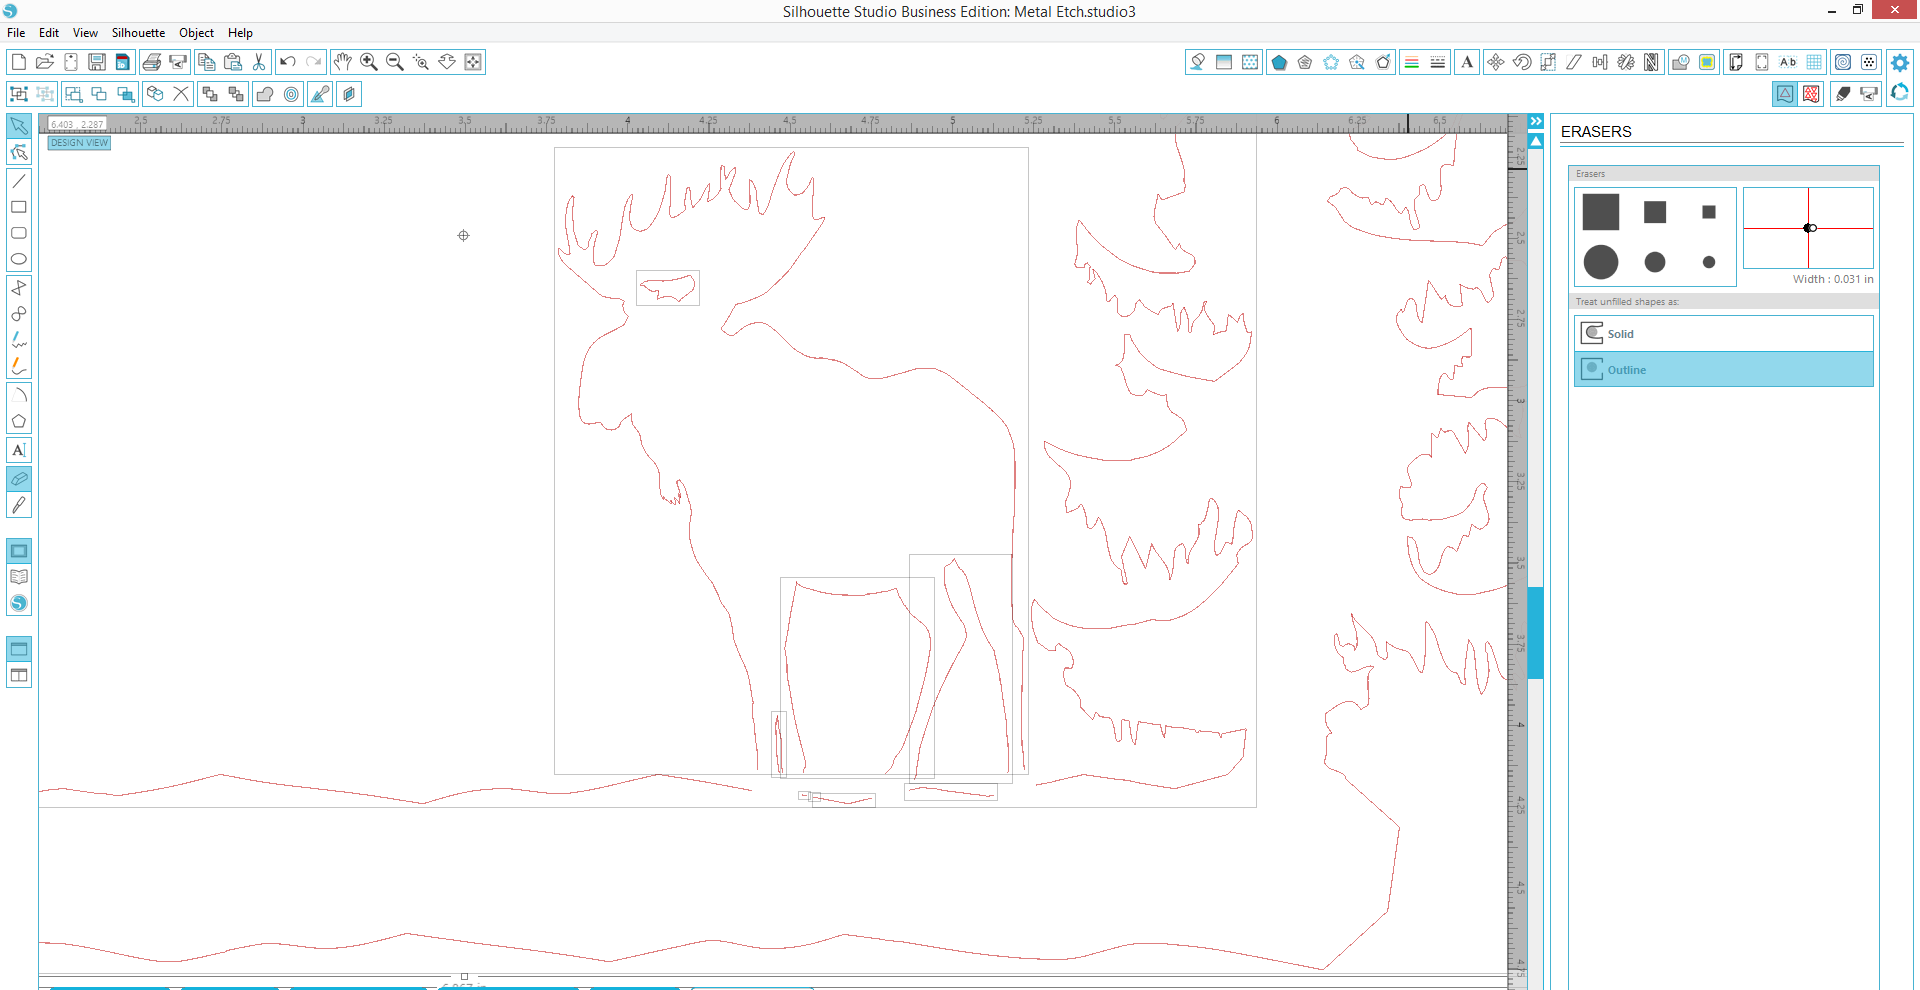
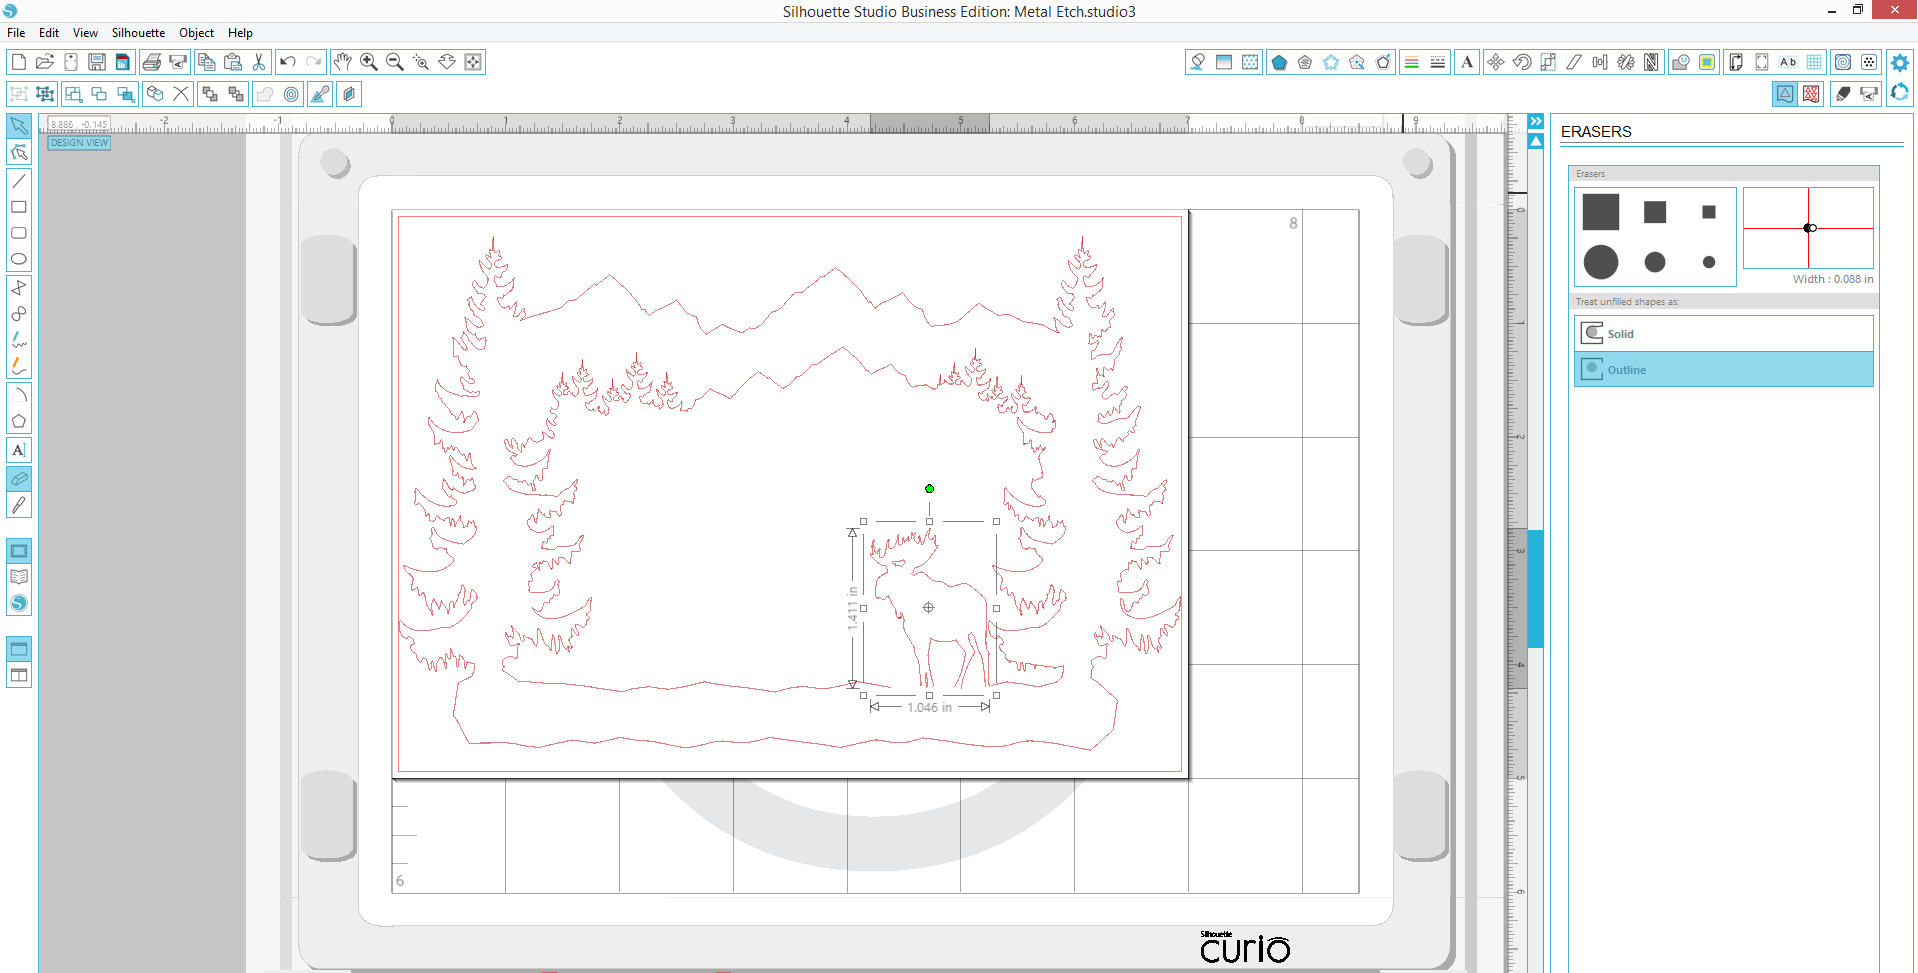
I highlighted all of the parts of the moose, right clicked, and grouped them together. Then I could easily change my large moose to a little baby moose.
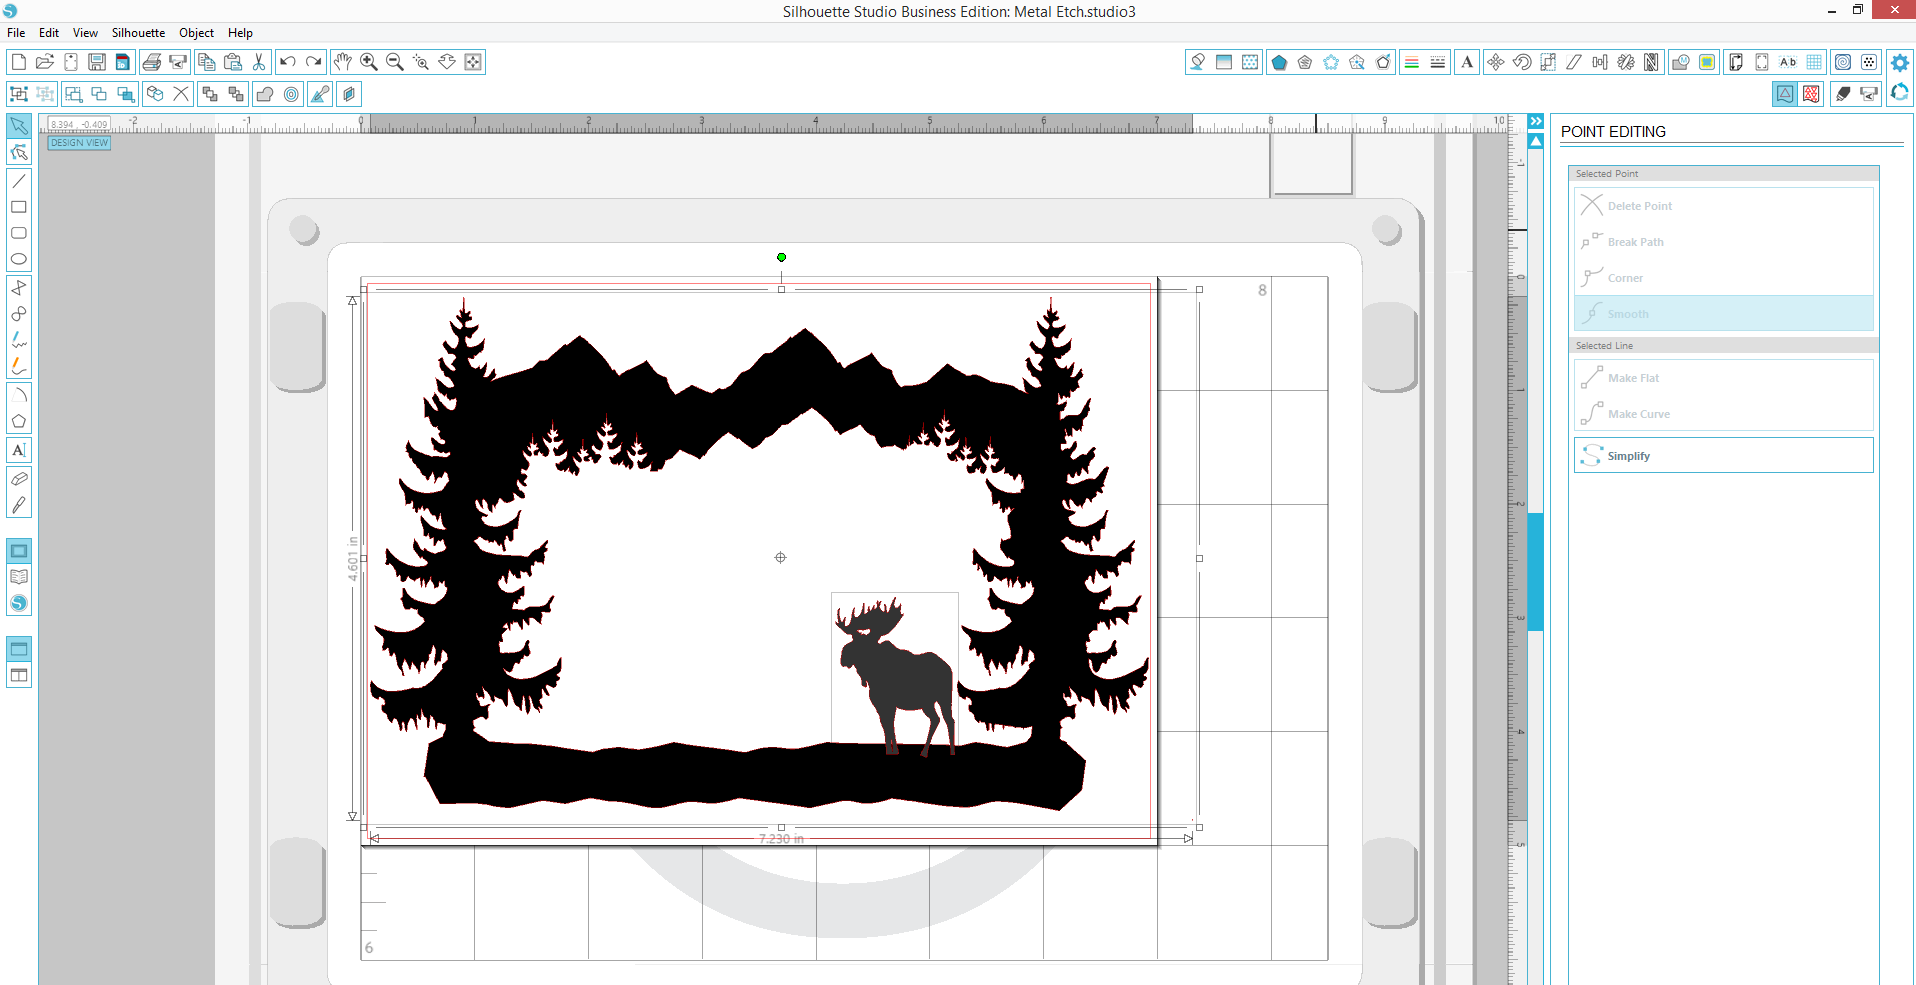
STEP THREE: Create a closed shape
So the eraser tool separated our moose from the frame, but that meant that my moose was now an open shape. Open shapes can’t be filled with color and you have to be able to fill a shape with color when you’re etching with Curio. So, I had to close the shape.
Now, this next step sounds difficult, but trust me when I say it’s not hard at all. We’re going to use the Edit points tool and you will be a professional point editor in no time. And just so you know, I was always afraid of editing points on a design. Now I don’t think a day goes by where I don’t delete an extra point that I don’t think fits just the way I want it to.
To do this, select the point on your shape using the edit points tool that you want to edit. Then it’s just a game of connect the dots to close your shape.
See? In the image above, there is now a line that connects all of the points underneath the moose. Now he has ground to stand on!
After you close your frame, don’t forget to connect the dots on your moose. Use the edit points tool and use the same process you used to close the frame. Easy, right? Told you that you would be a pro.
STEP FOUR: Weld your shapes
As you can see, I now have two shapes–my frame and a moose. Because I don’t want my moose to be separate from the frame, I need to weld them together.
In order to do that, I highlighted both shapes and chose the Weld option.

If your weld button isn’t under your editing toolbar, it will be at the bottom of your screen.
You can also navigate to this tool by choosing “Object > Modify > Weld.” When the shapes are welded together, they create one shape (see below–the moose goes from gray to black).

STEP FOUR: Use Curio’s exclusive effects in Silhouette Studio®
To activate the embossing and stippling tools, you’ll need to plug in your Curio and power it on. Remember that these tools can be used ONLY with the Silhouette Curio™. If you disconnect Curio, you will have access to those tools until you plug in another machine. The tools will deactivate if the software recognizes that a CAMEO has been plugged in because the CAMEO doesn’t have the capability to perform these features.
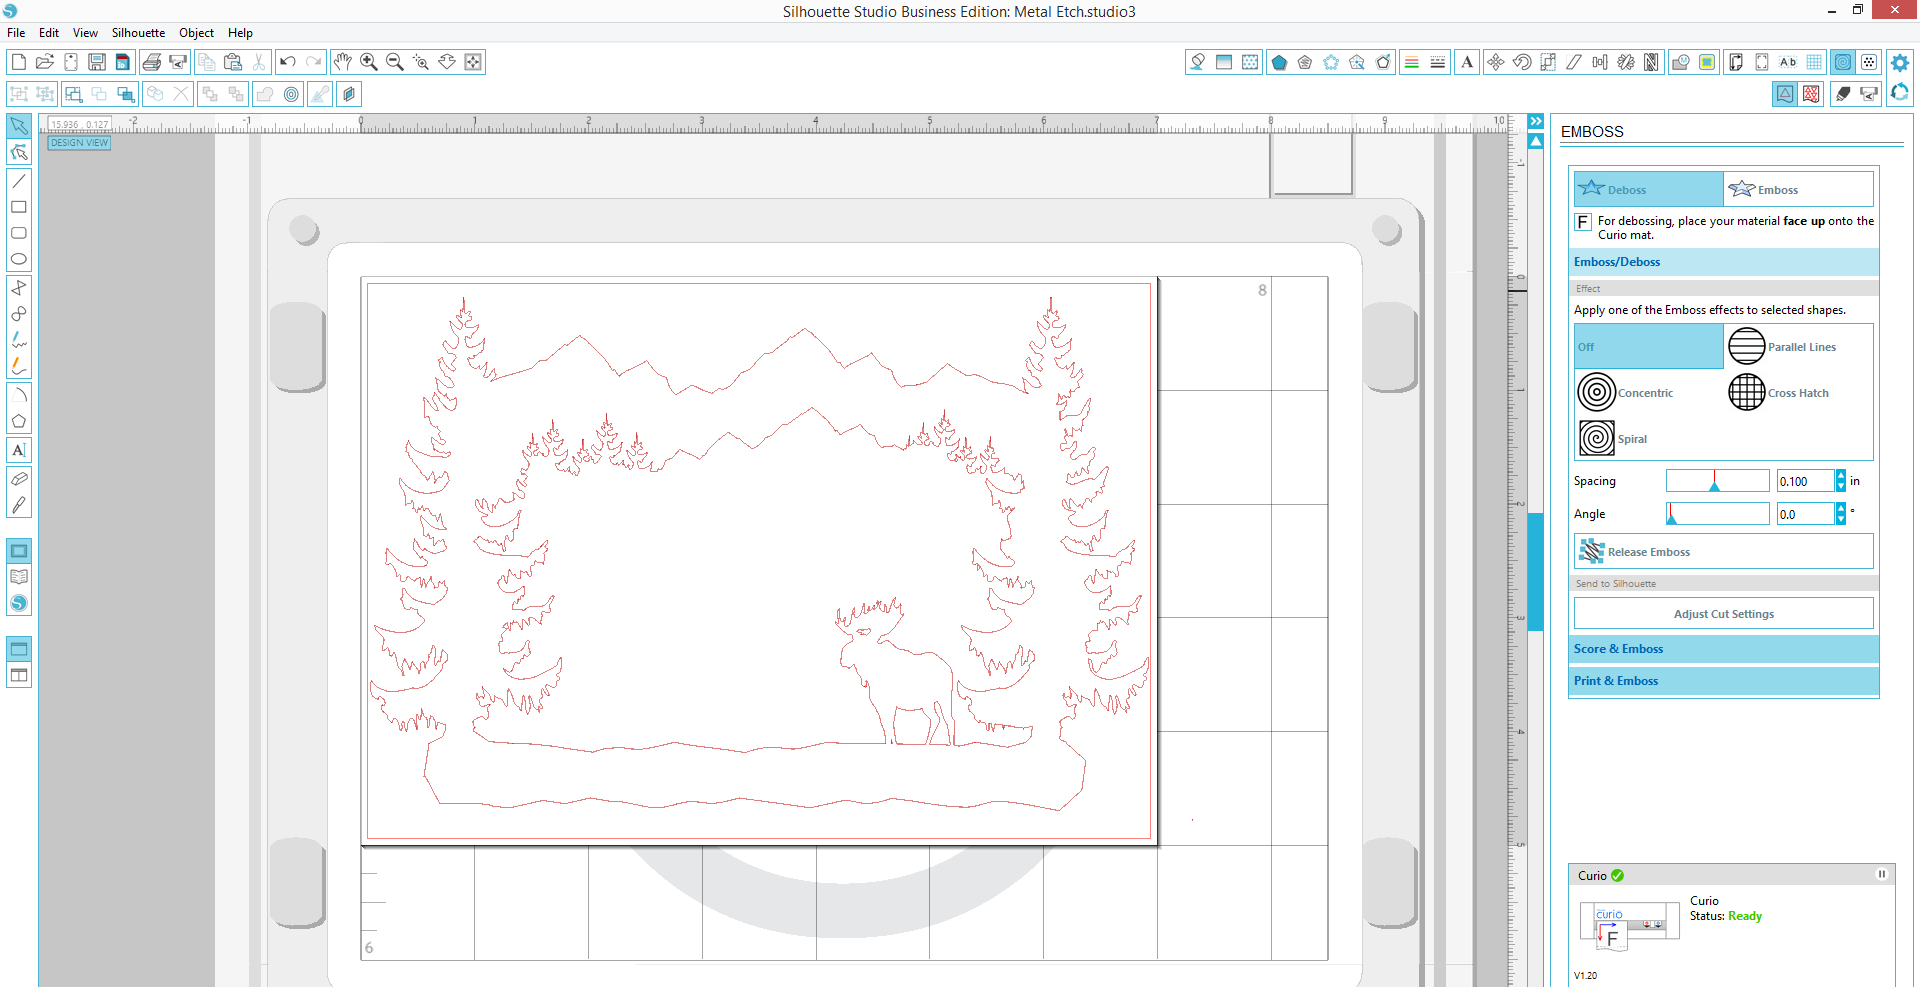
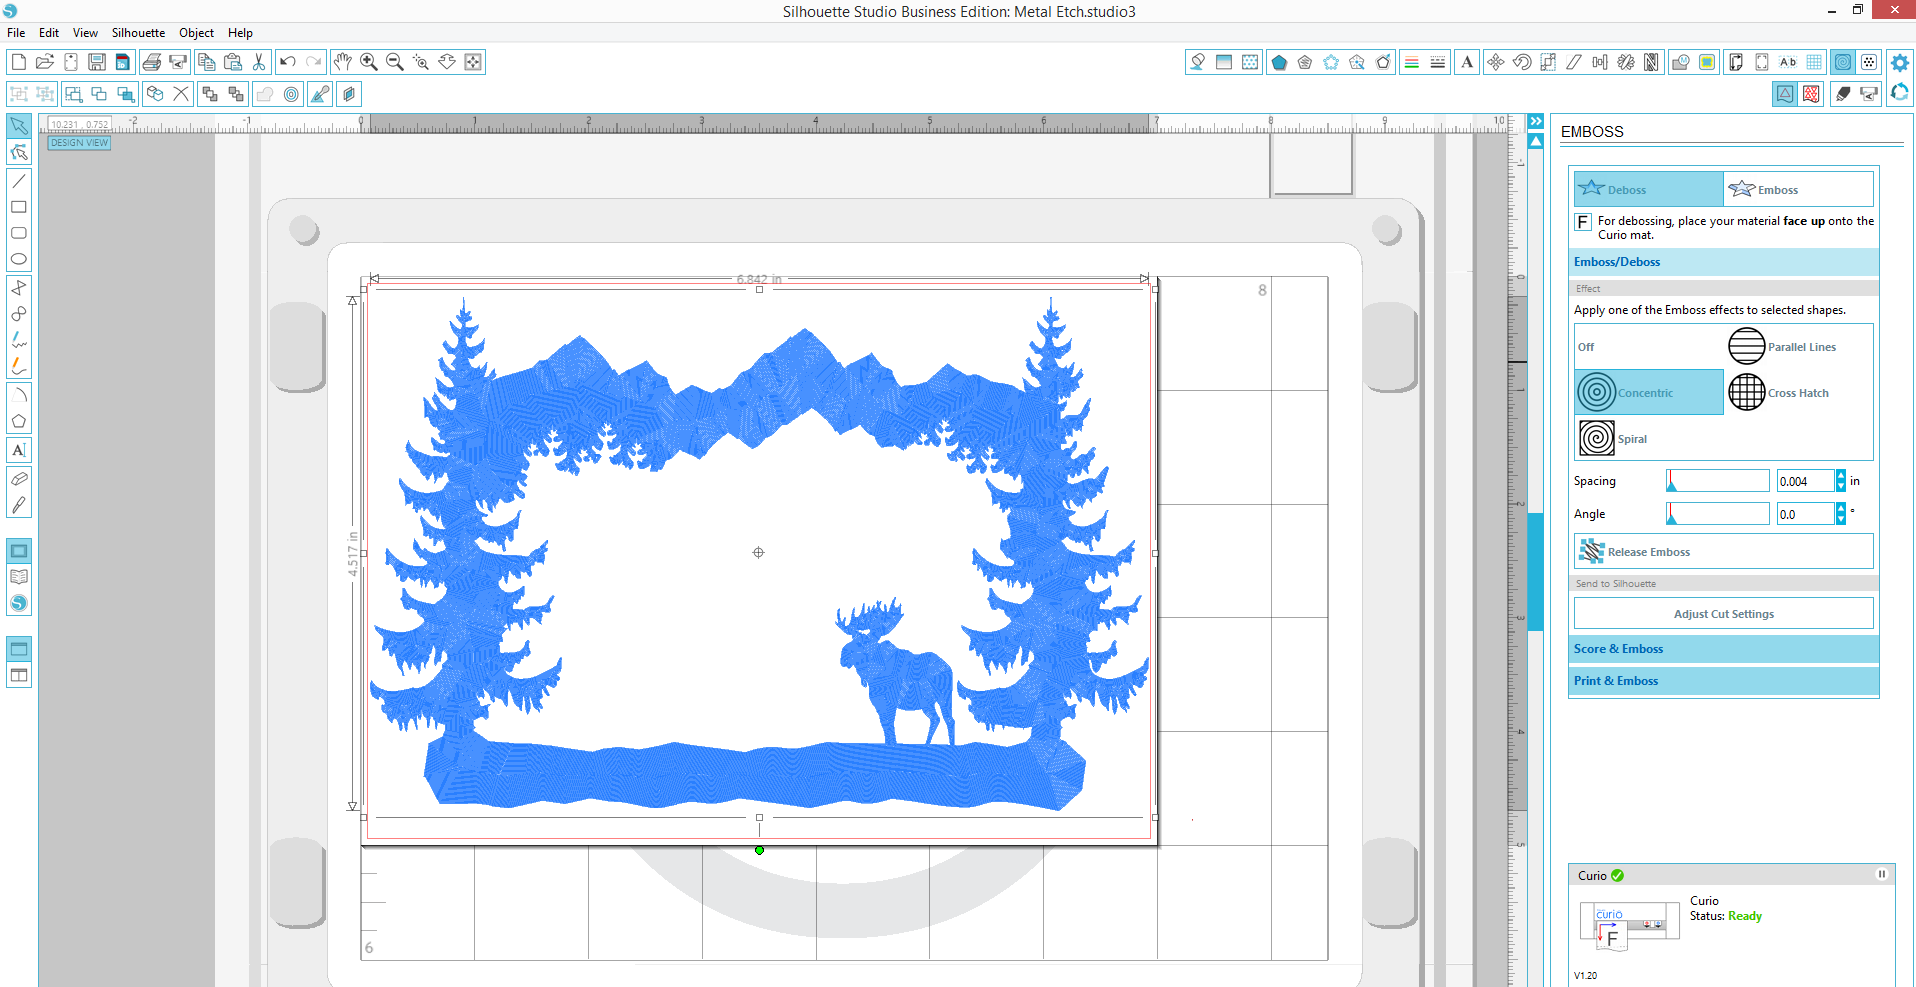
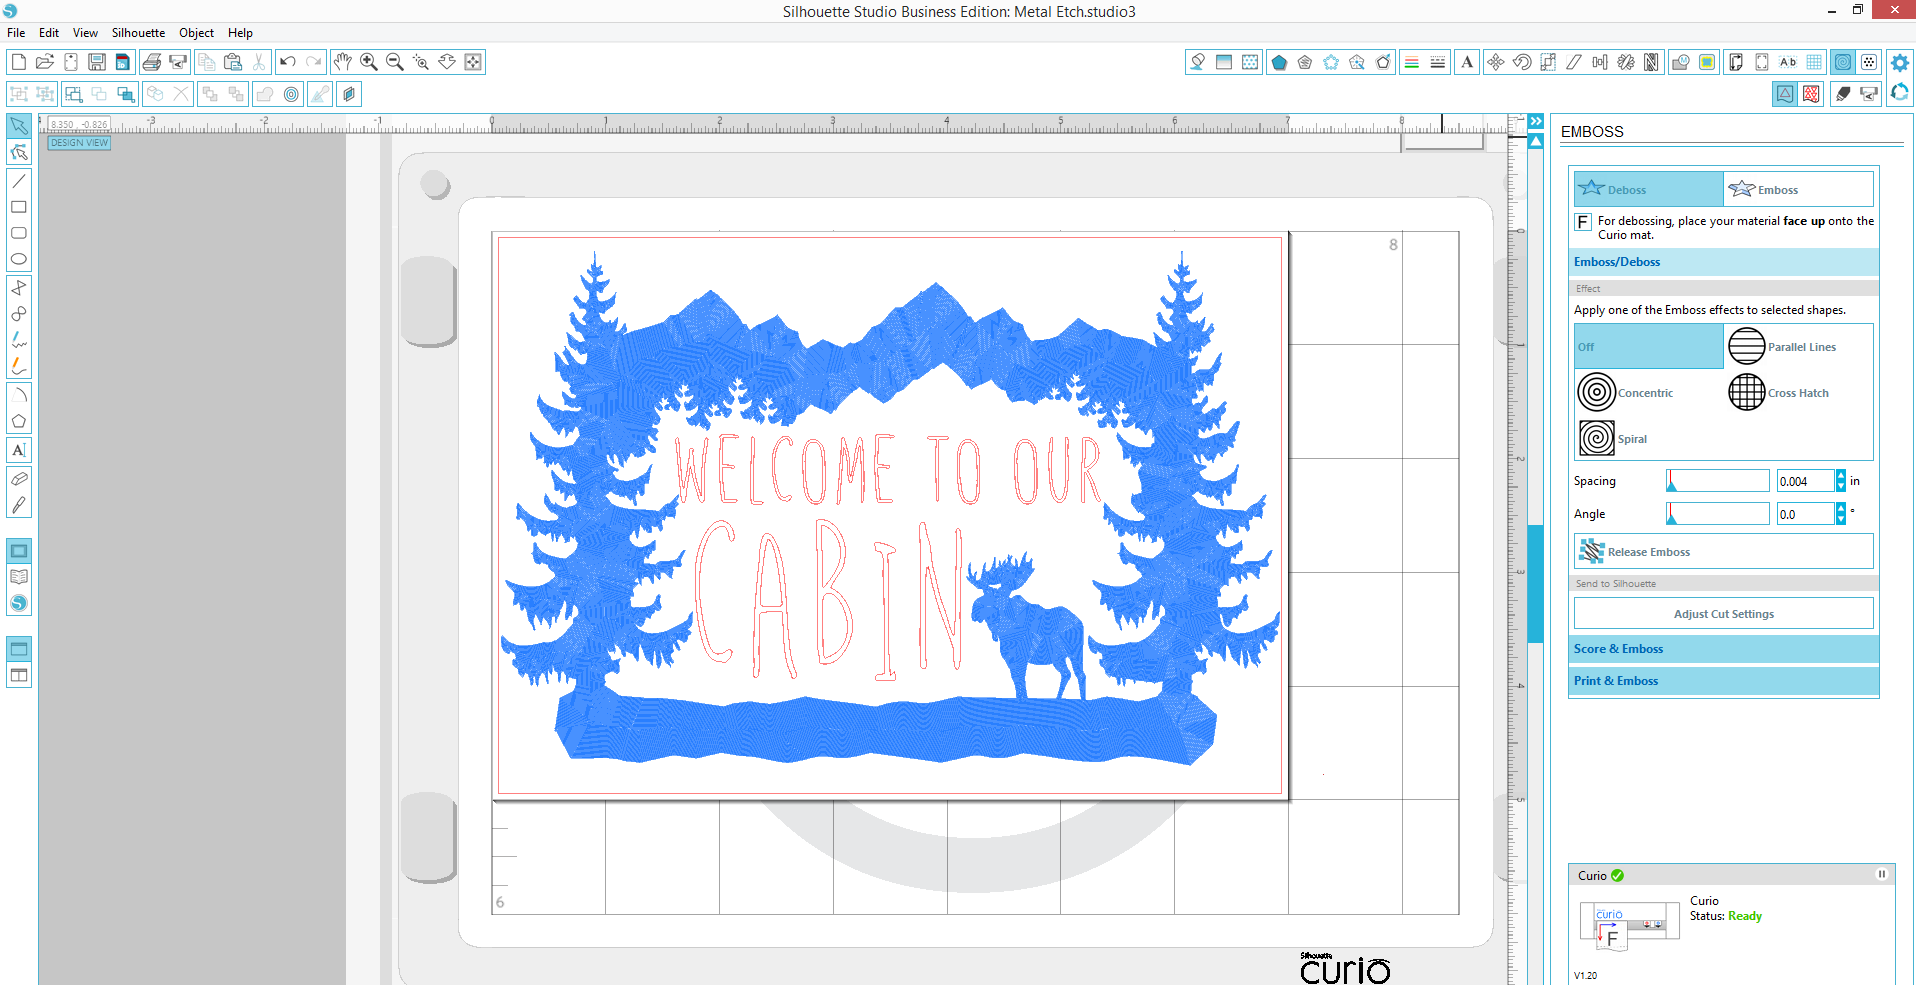
With your Curio connected, open the Emboss window and select your shape. Choose the pattern you want to fill your shape with. If you want your etching to be filled in (like the final project photo at the beginning of this post) you’ll need to fill your shape with a pattern from the Emboss panel located to the right of your screen. It is VERY IMPORTANT that you remember to fill your shape. If you don’t fill your shape Curio will etch the cut lines only, giving you an outline instead of a filled in design.
I chose the Concentric emboss effect with a spacing of 0.004 inches.
STEP FIVE: Make your final edits
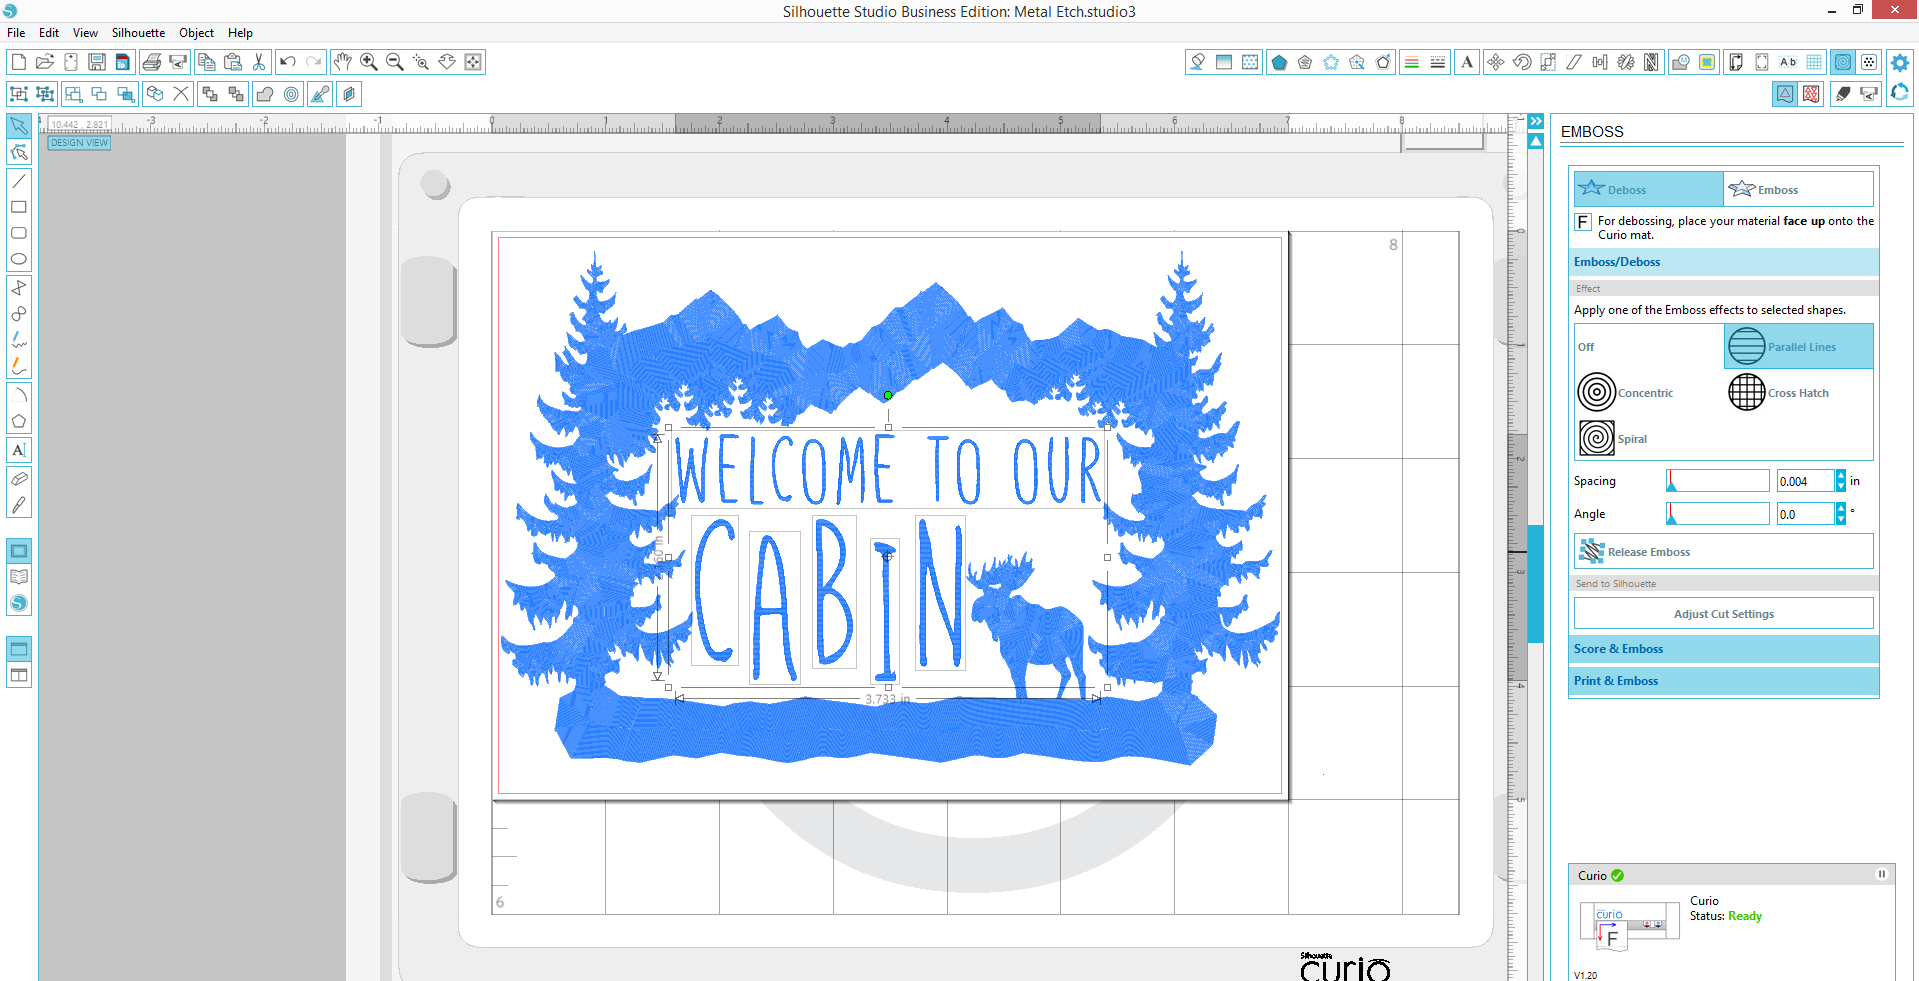
I then arranged my text so that it fit exactly where I wanted it. I did this by ungrouping the letters (Right Click > “Ungroup” for PC; CTRL + Click for Mac®). This turns the text into shapes, which allows you to manipulate them separately. I then moved them to fit into my frame.
DON’T FORGET to fill your letters as well, unless you want only the outline.
STEP SIX: Send to Curio
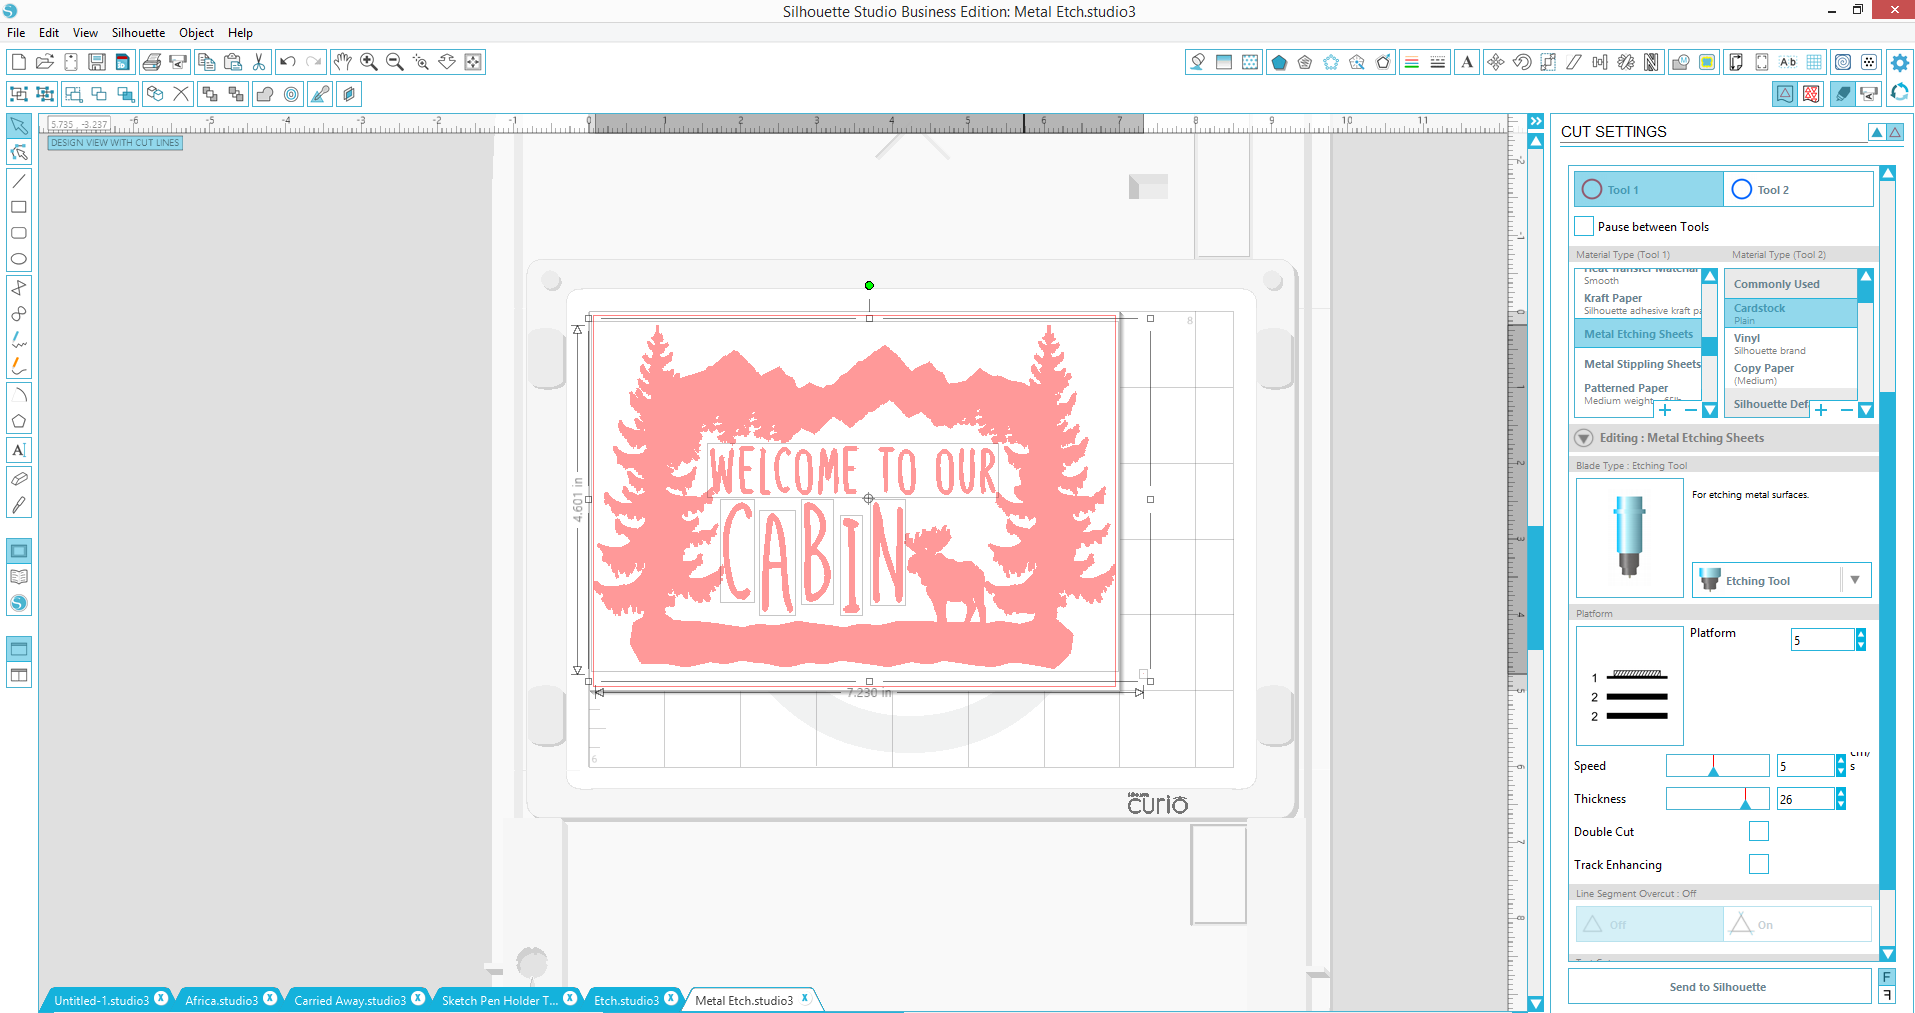
Once your design is arranged how you like it, navigate to your cut settings and choose your material type as “Metal Etching Sheets.” When you click on the material, Silhouette Studio® will show you which tool to use and the number of platforms you will need.
I use the embossing mat when I create a metal etch because the vacuum seal technology really holds on to the metal during the etching process.
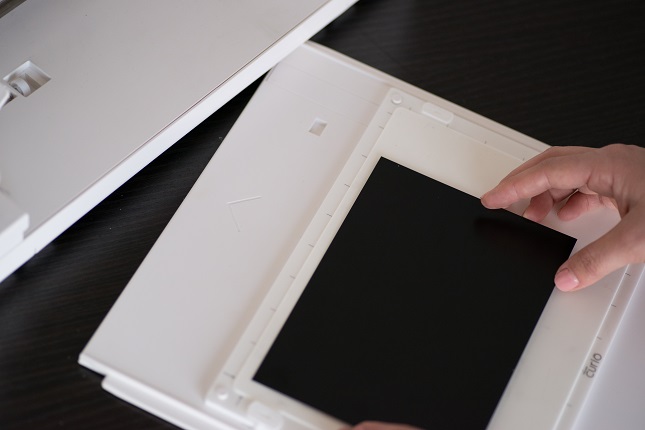
Load your base and platforms into the Curio ensure the notch is loaded past the edge of the machine and click the load button on the side of the machine. If you have questions on how to set up your Curio, watch this helpful video!
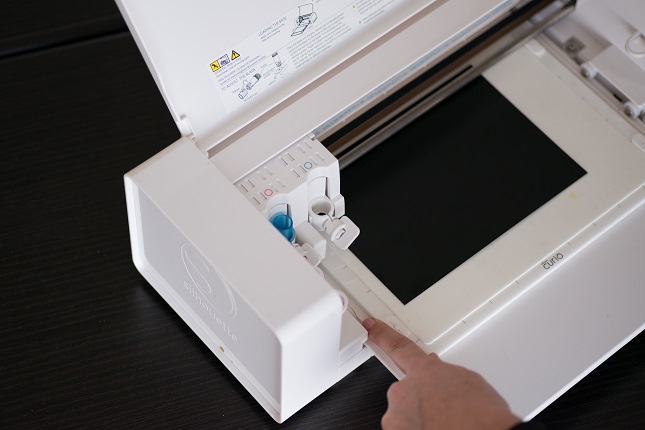
Click “Send to Silhouette” and your design will begin to be etched on your media.
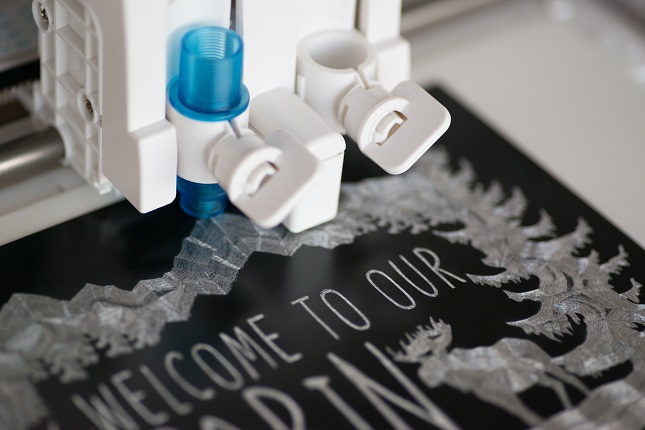
Once your etch is complete, you can unload your base and check the etch job. If you notice any areas that aren’t etched to your liking, you can reload your material and recut your job.
The base technology allows you to unload and reload your material as many times as you need to while still getting a clear, precise cut each time. I like to rotate my etch tool by a quarter or half turn so that the blade really carves though all areas of the metal.
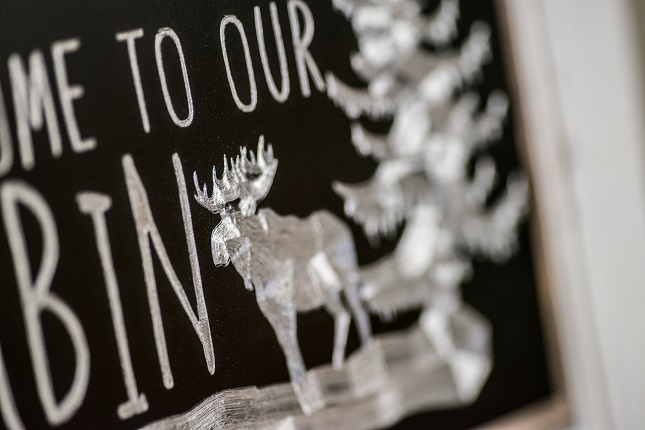
Add a cute frame and display your custom etch for everyone to enjoy!

Happy etching! What should we etch next?
Nasze Naturalne
September 3, 2025
Your authentic voice really shines through in everything you create and share
Naszenaturalne
September 2, 2025
Really love your style
Kelly Wayment
June 28, 2024
You can use it with vinyl as long as it is smooth and flat to allow the static charge to hold on to it. Rolled vinyl that wants to go back to its rolled shape will not necessarily work well, and it would need to be trimmed to fit the ES mat cutting area.
Kelly Wayment
June 28, 2024
Yes, you can use the heat pen while using the ES mat. 🙂
Yurii
March 2, 2024
Hello. May it be used with heat pen?
Thanks
Jerome
February 24, 2024
Hi, works this with the normal vinyl foils or only with printer papter etc?