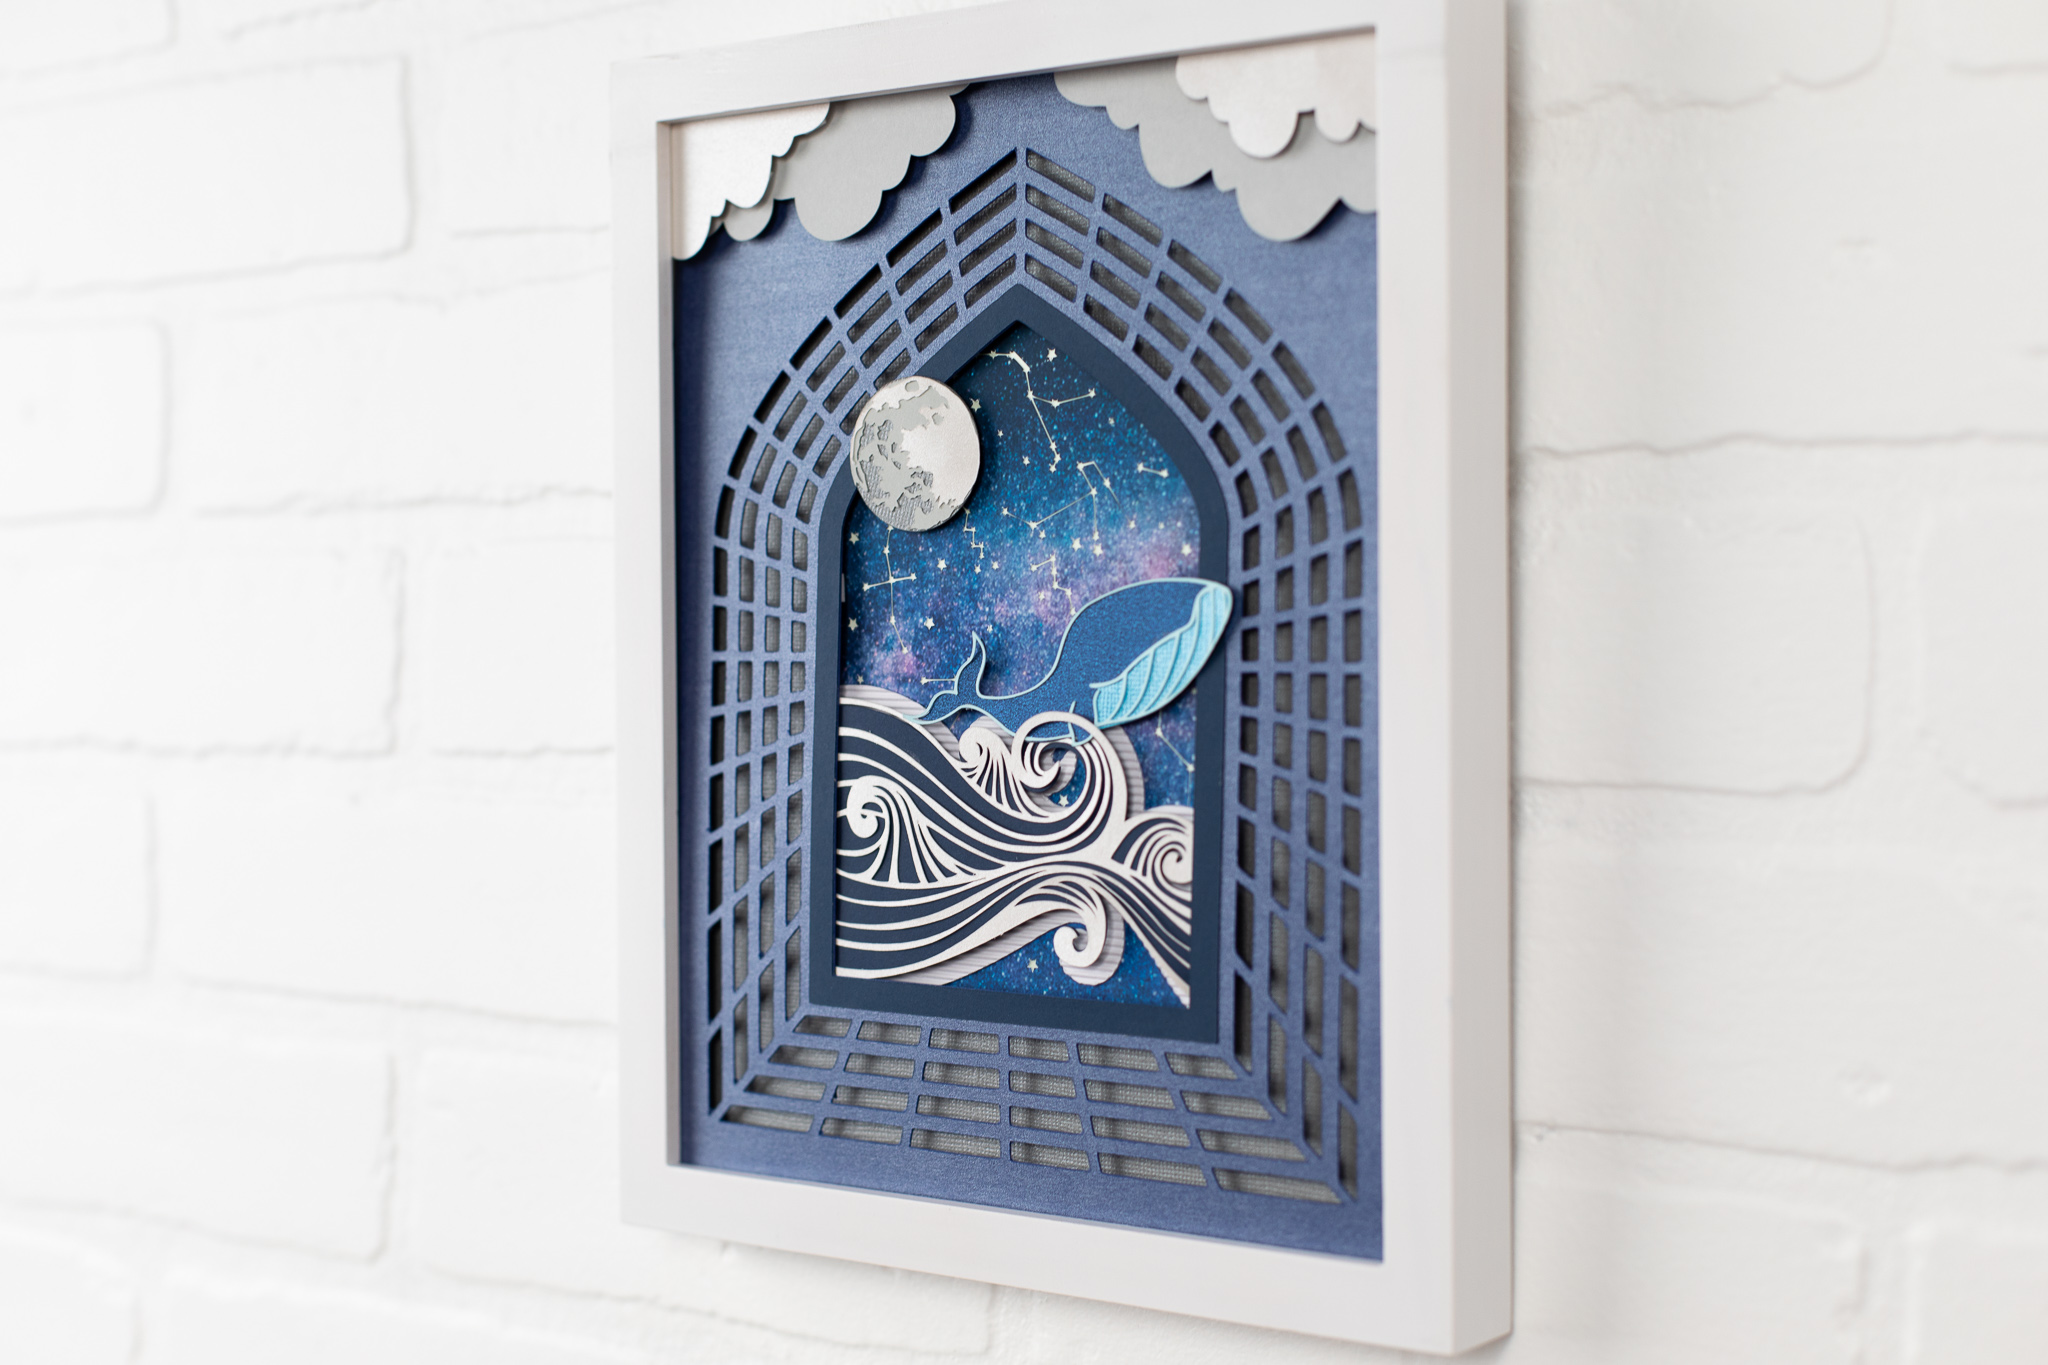
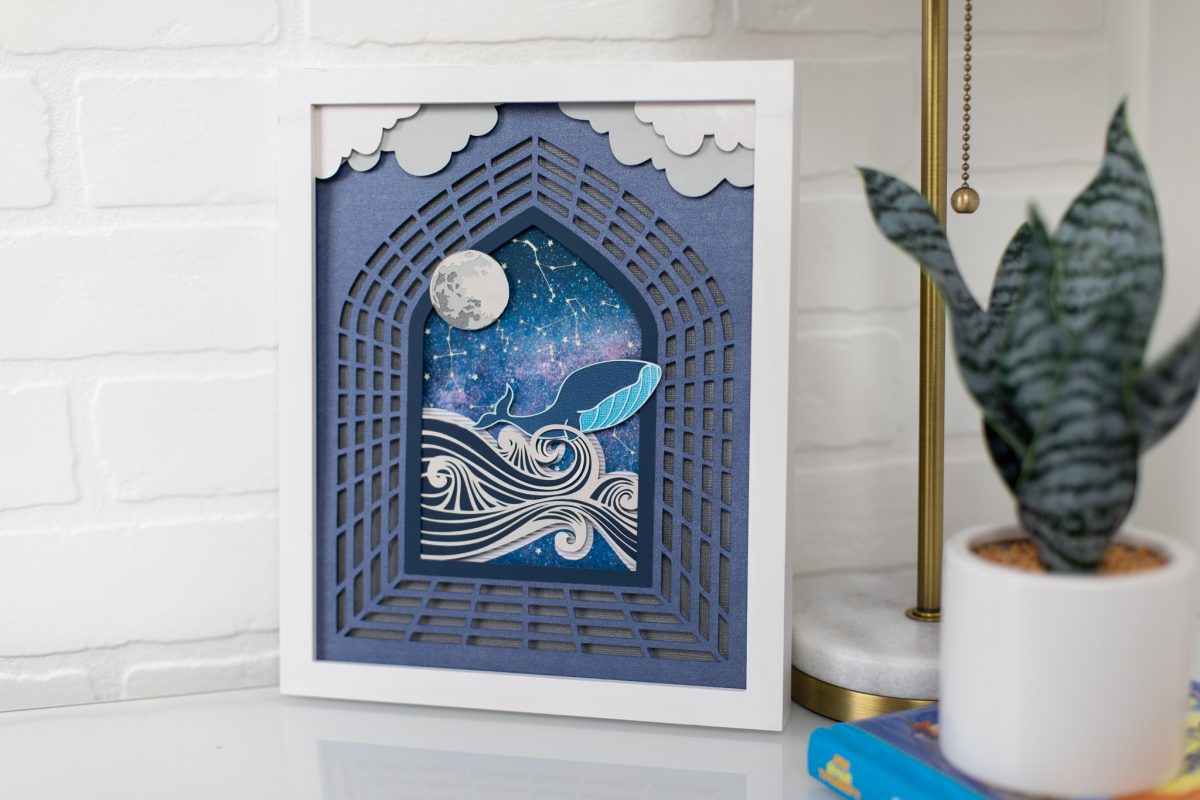
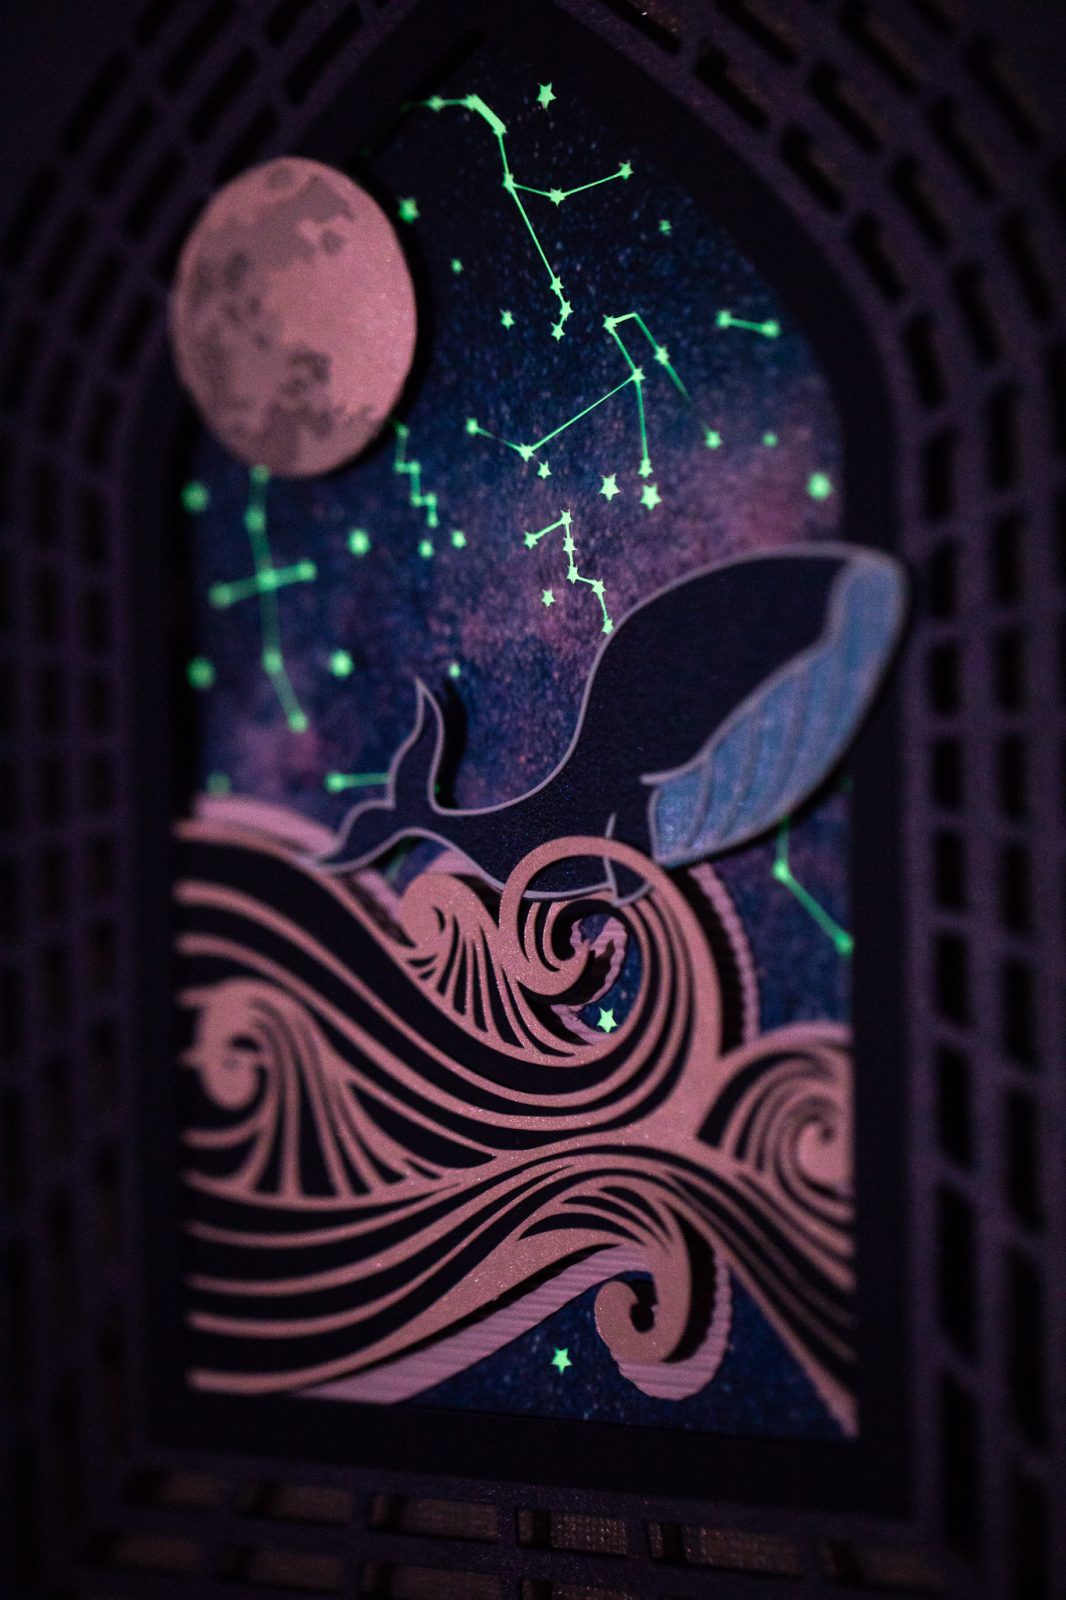
Oh boy, do we have one “whale” of a project for you! We love using our machines to make some fun paper craft art. Today we are showing you how to make a layered piece of art that includes a little surprise. Hint: It glows in the dark! (Oops, gave it away!)
Supplies Needed:
- Silhouette CAMEO® or Silhouette Portrait®
- Silhouette Studio®
- Silhouette Cutting Mat
- Silhouette Cutting Blade
- Printer
- Silhouette Vinyl – Printable
- Silhouette Glow in the Dark Sticker Paper
- Silhouette Corrugated Paper
- Galaxy Image (we found ours here)
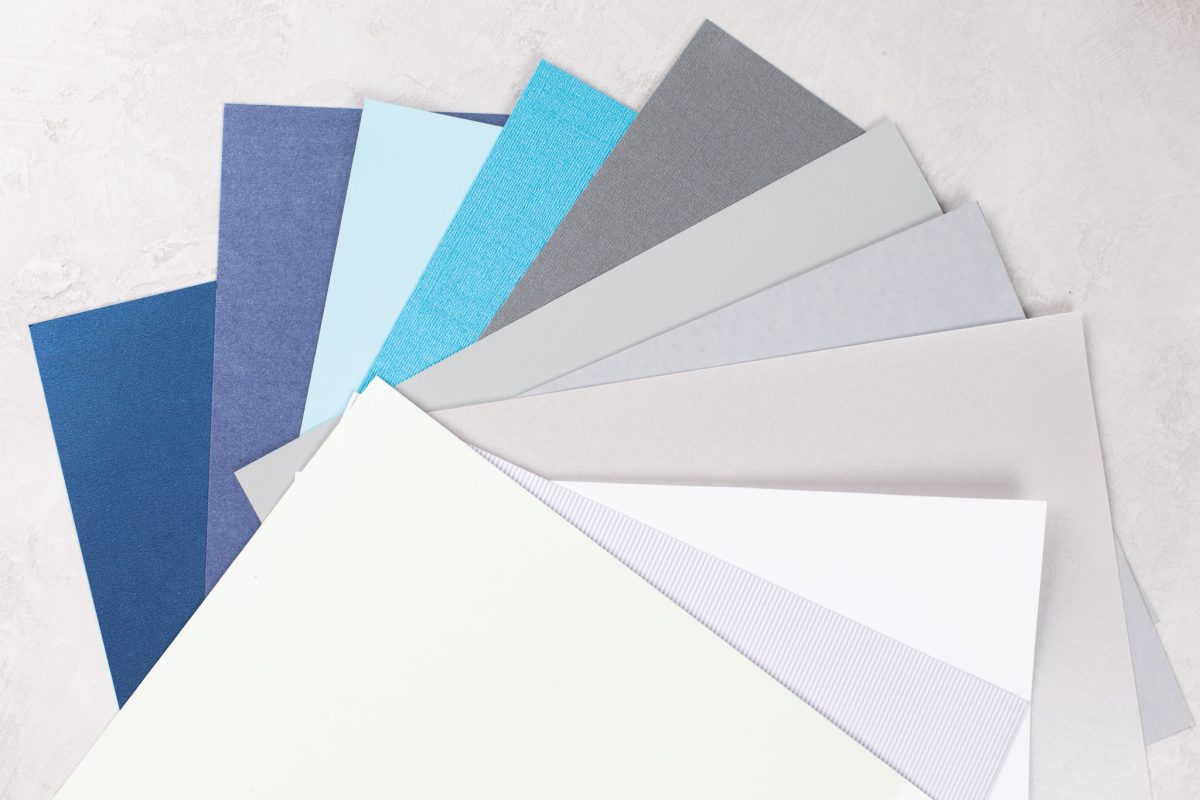
- Cardstock of varying colors of your choice
- Foam adhesive squares
- Adhesive Tape
- Design IDs #297109, 60482, 41787, 19372, 11802, 56469
Step One: Create the Constellation Design
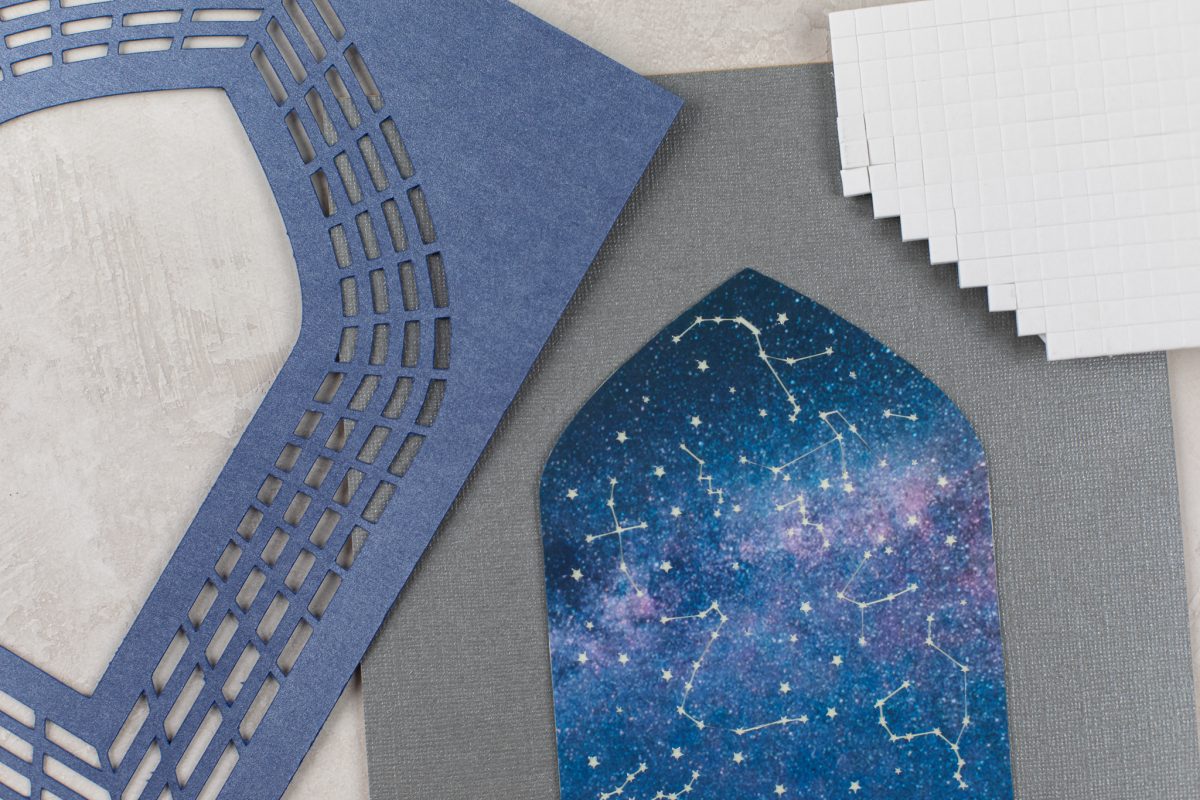
1. Open the Trellis design (ID #41787) in Silhouette Studio®.
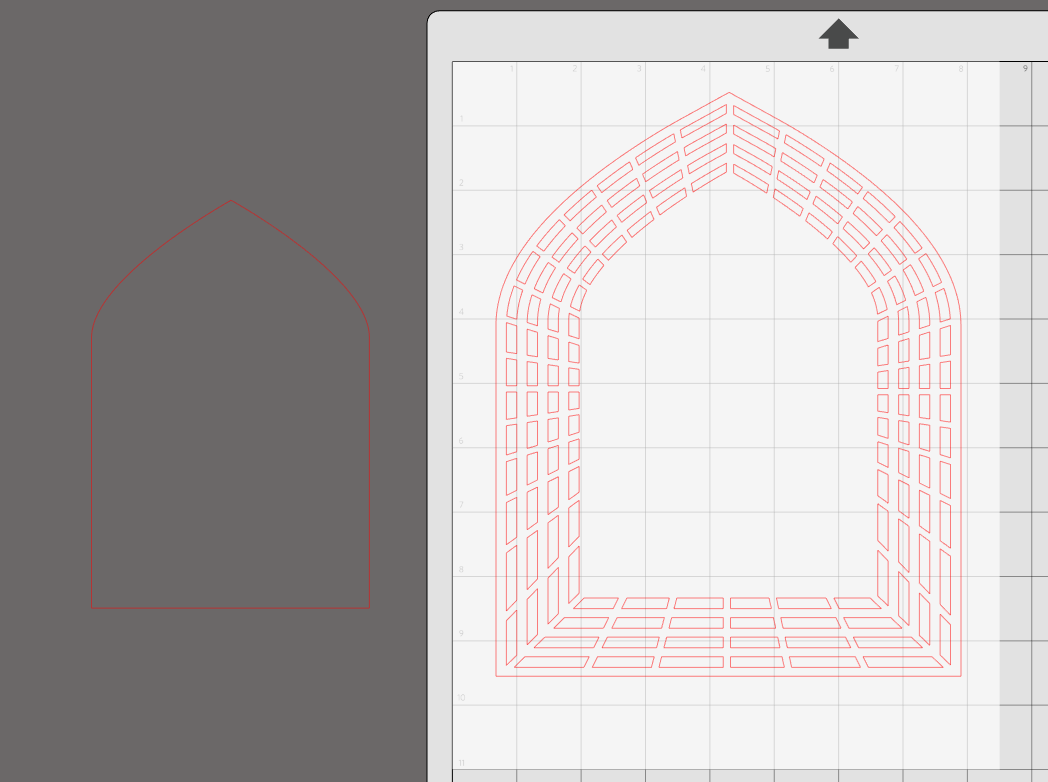
2. Scale to size. We wanted our finished piece to fit in an 8-by-10-inch frame. We made our trellis approximately 7 inches by 9 inches.
3. Select the trellis and choose Release Compound Path from the Object menu.
4. Select the inner arch line and remove it from the rest of the piece. Delete everything else. Move the inner line back into the design field.
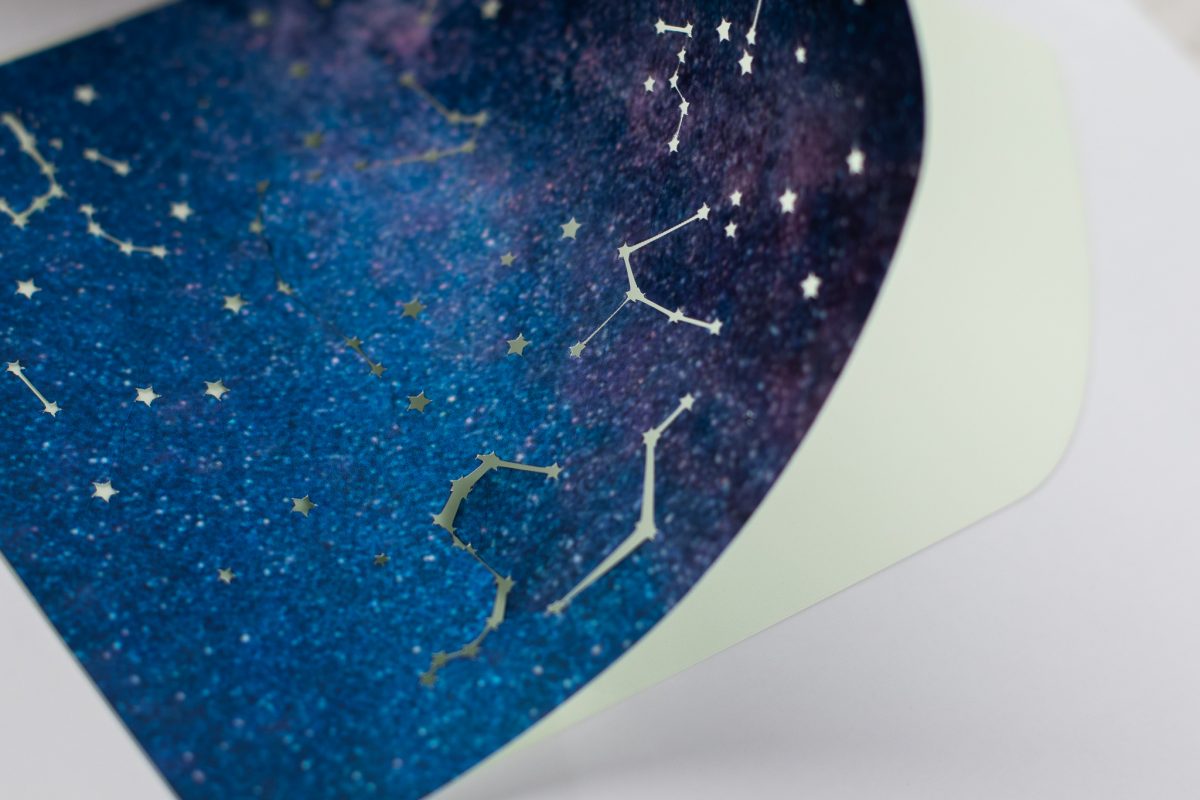
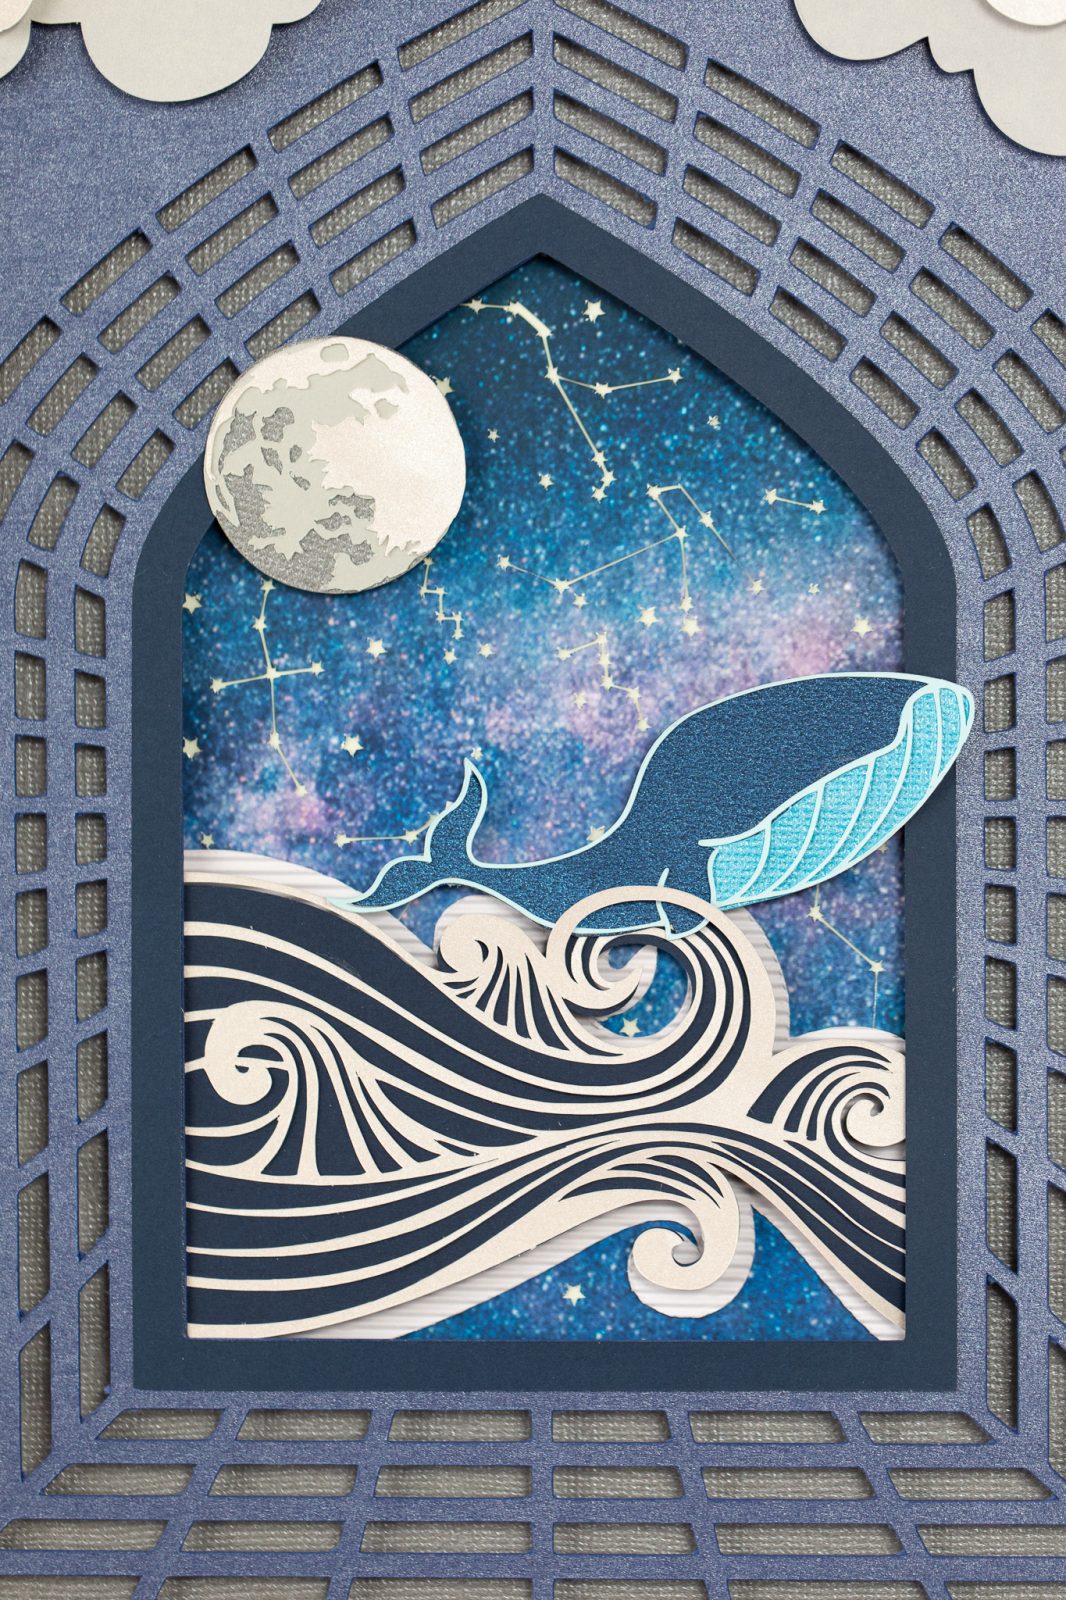
(We cut this arch out in Silhouette’s Glow in the Dark sticker paper.)
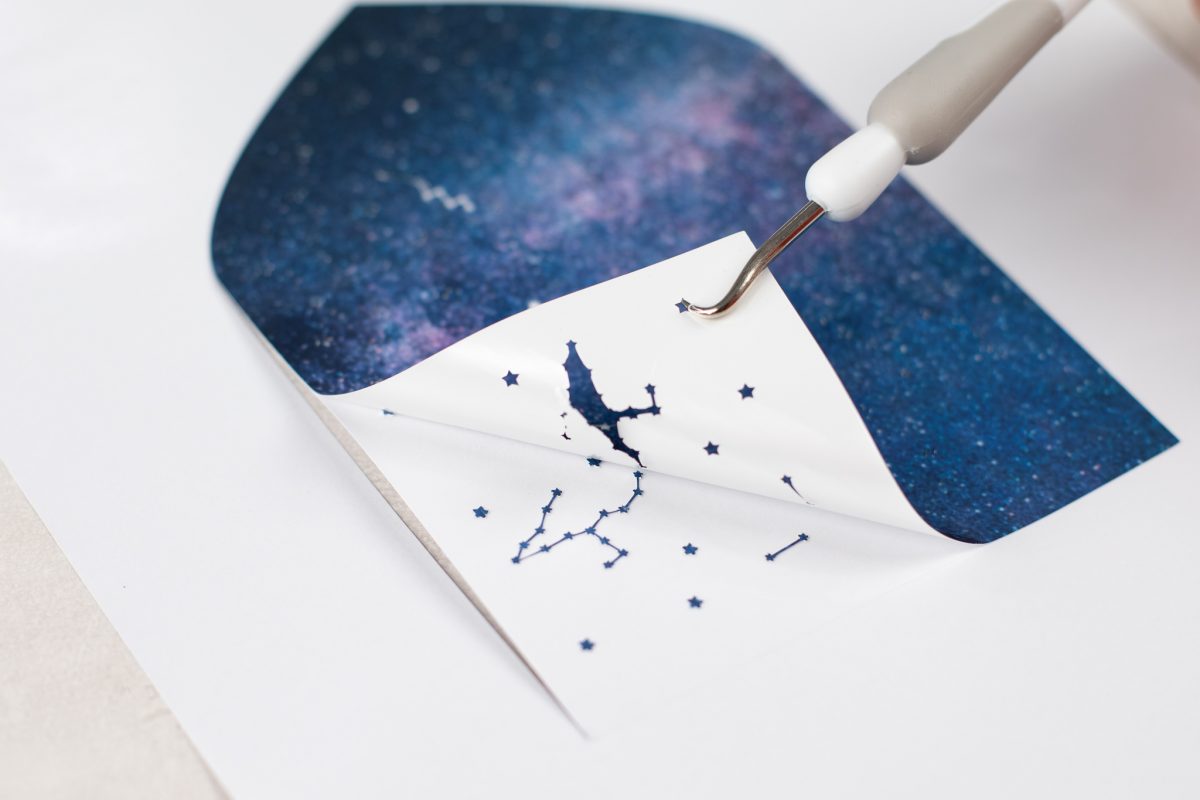
5. Now take your galaxy image—you can simply drag and drop it inside the trellis line.
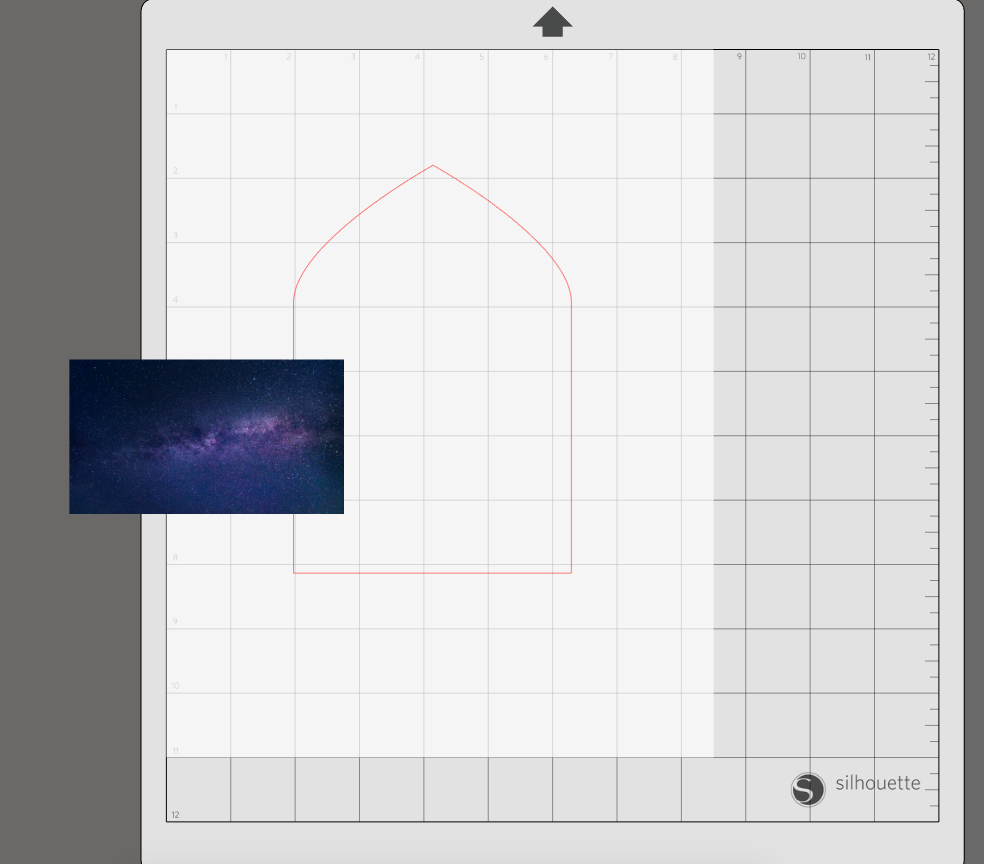
6. Open up your Fill tool – Fill Pattern – Advanced Options – Scale and adjust to desired size (we did 120%). You can use the pan feature to move the image within the lines.
7. Open the constellation design (ID #56469)
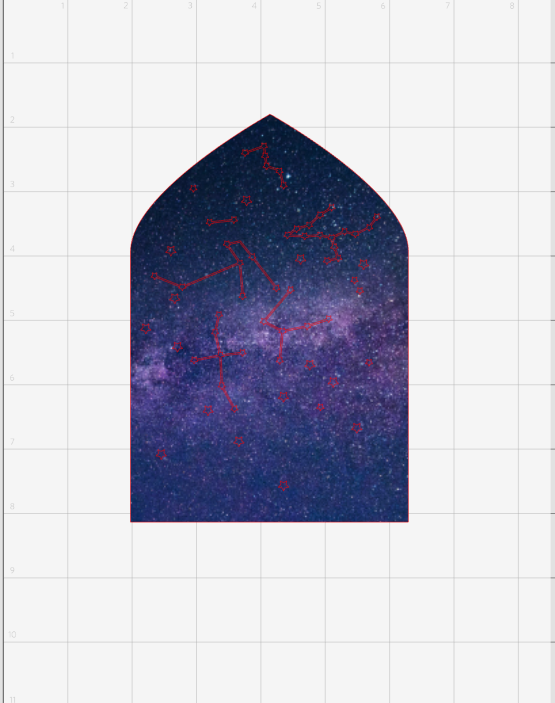
8. Ungroup the design and start layering the stars and constellations over the galaxy image. Make sure you chose the designs that aren’t fully enclosed. We will be using the Subtract tool and don’t want to have large holes.
9. When all your stars and constellations are layered on the design select all on the page. And open the Modify Object Tool and select Subtract.

10. Turn on the print and cut feature under the Page Setup tool and send to your printer. We used Silhouette’s Printable vinyl.
Step Two: Create the Paper Pieces
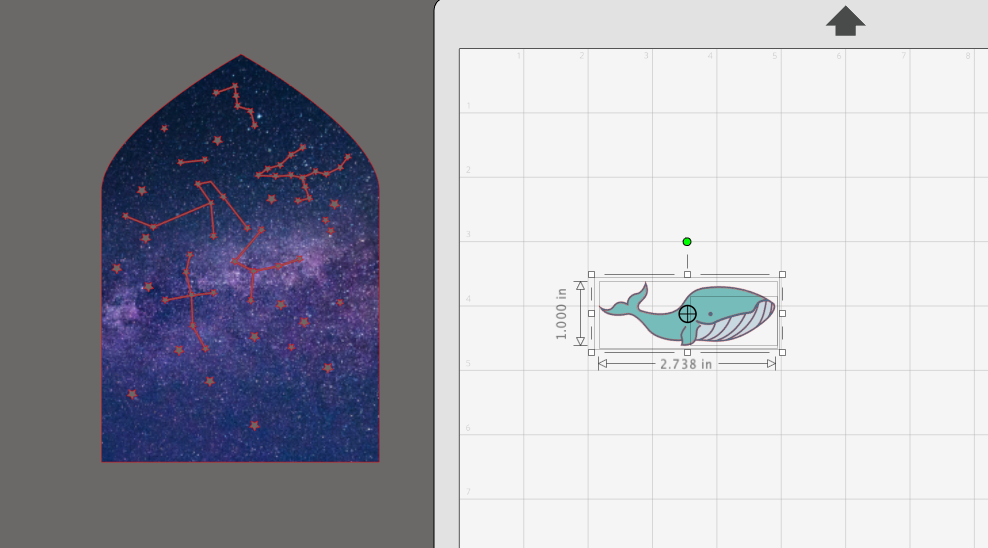
1. Open the Whale Design (ID #297109) and layer the pieces together, but do not group them yet. This is just so you can scale all parts to size equally.
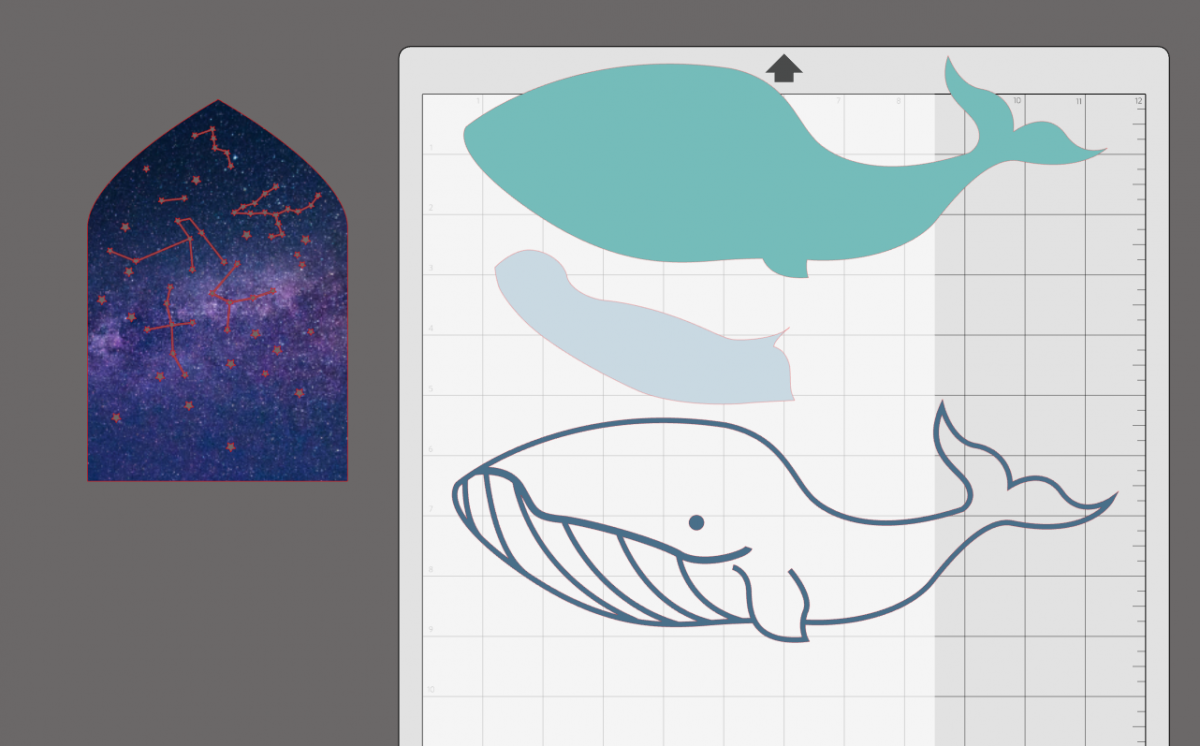
2. Separate the pieces and cut in cardstock of your choice. We did all three pieces in a different color.
3. Repeat the steps with the waves (ID #19372) and moon (ID #11802). The whale waves and moon are all pieced and glued together according to their original design.
4. Draw a square 8-by-10-inch square in the design field. Send this to your machine in your base color of cardstock.

5. Reopen the Trellis Design (ID #41787) that we sized in the first step. Now we are going to release the compound path again and delete the outer line.
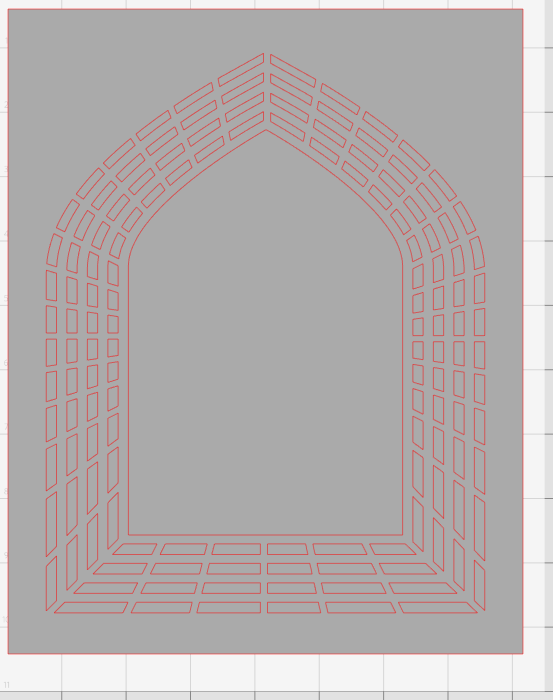
6. Send this to your machine and cut in the cardstock color of your choice.
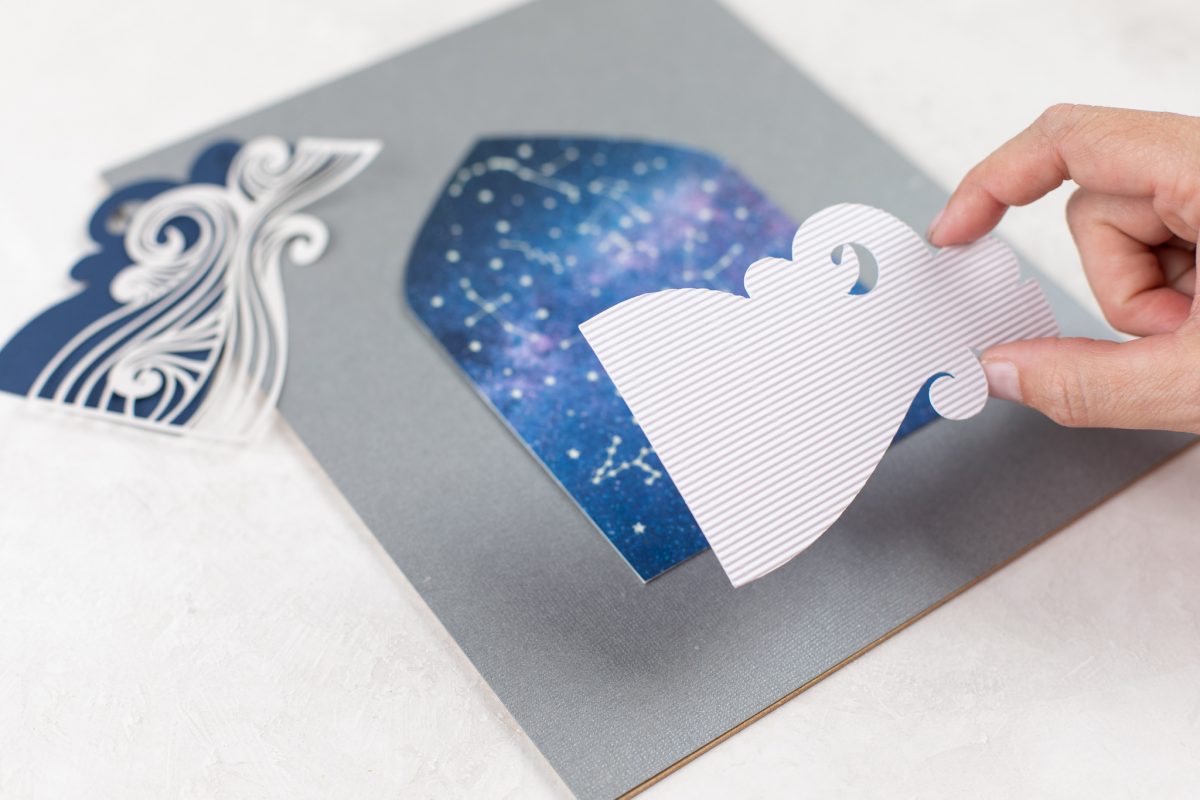
Step Three: Assemble the Individual Designs
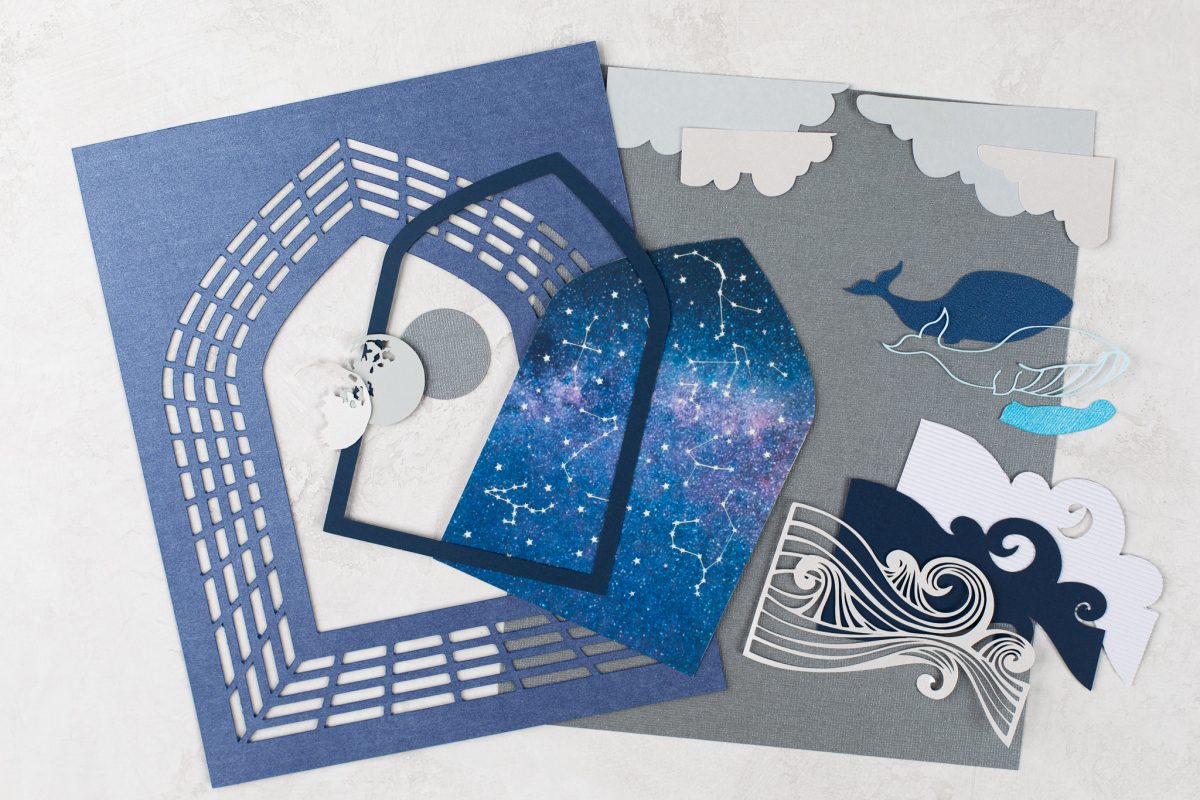
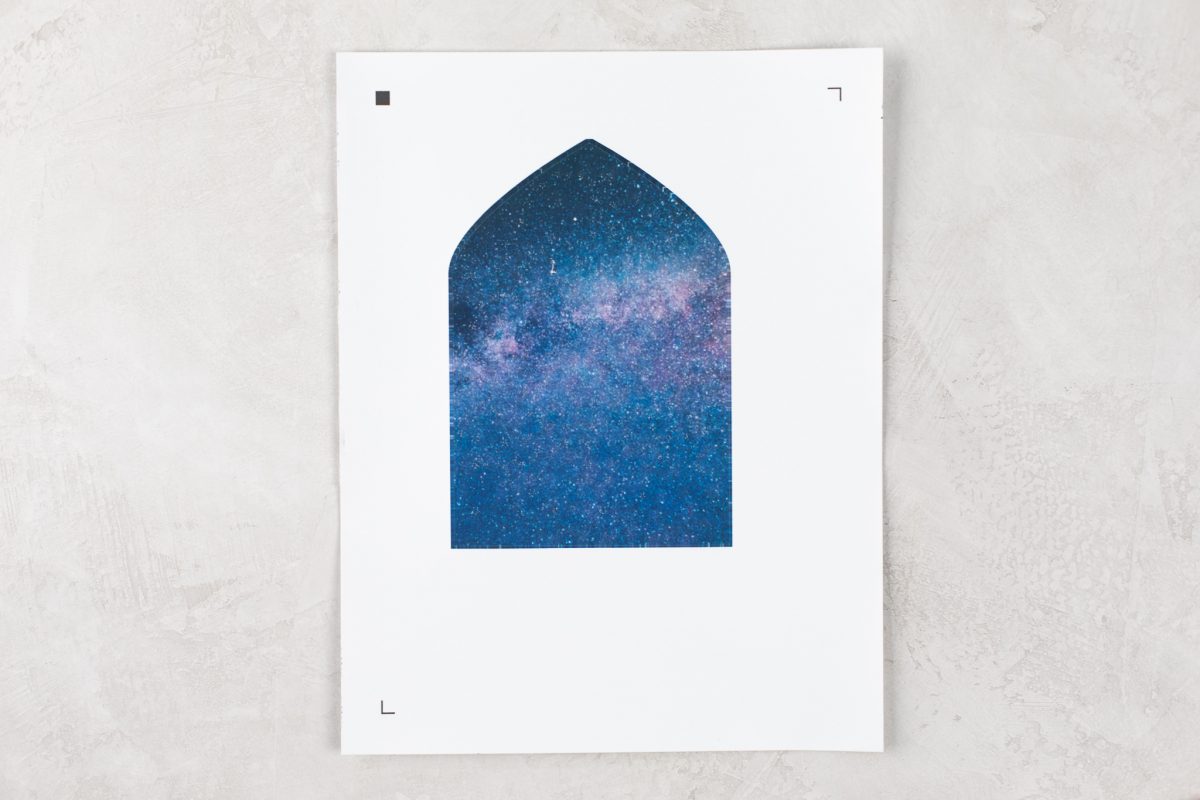
1. Take the printable vinyl and remove it from its backing and place onto your cut out glow in the dark piece. Set aside.
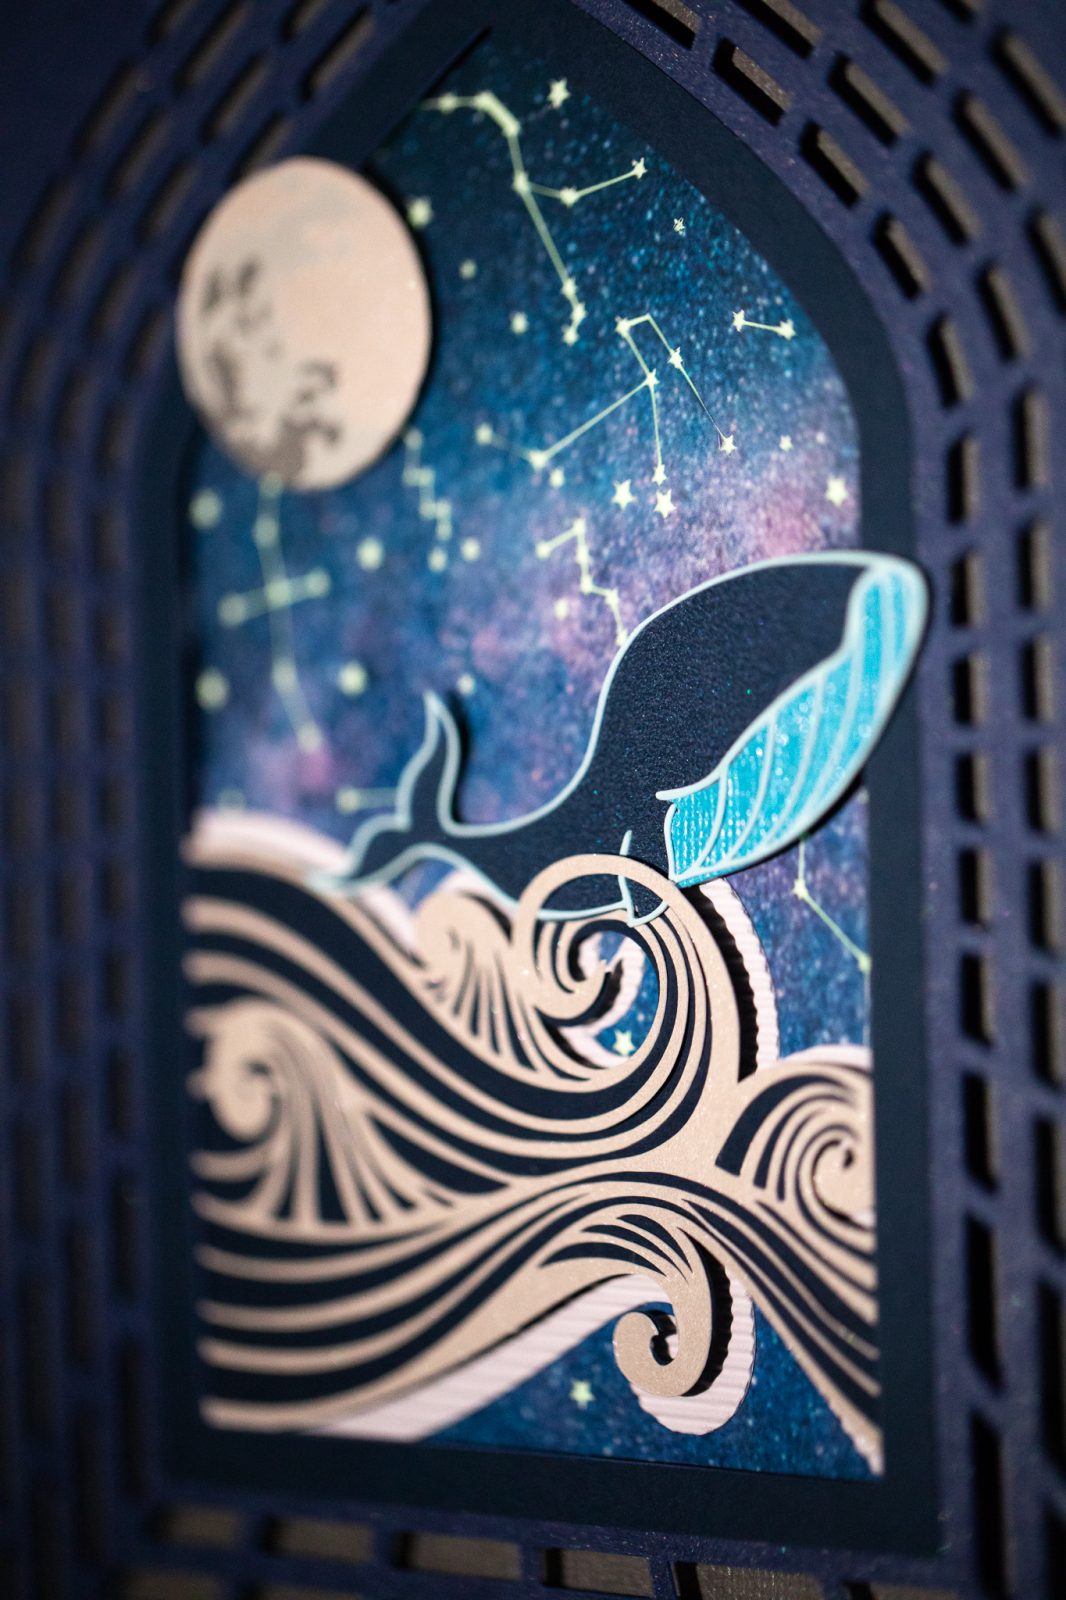
2. The whale, waves, and moon can all be glued together according to their original design. Set aside.
3. Glue the layered galaxy/glow in the dark piece onto the 8 by 10 background color. Make sure you test and make sure you know they exact location it needs to be when you layer the very outer trellis piece.
4. Now place foam squares on the back of the wave design and adhere to the galaxy section.

5. Then place foam stickers on your large trellis piece and adhere to the backdrop. Repeat these steps with the clouds, moon and whale. We even layered the whale into the waves for more depth and interest.
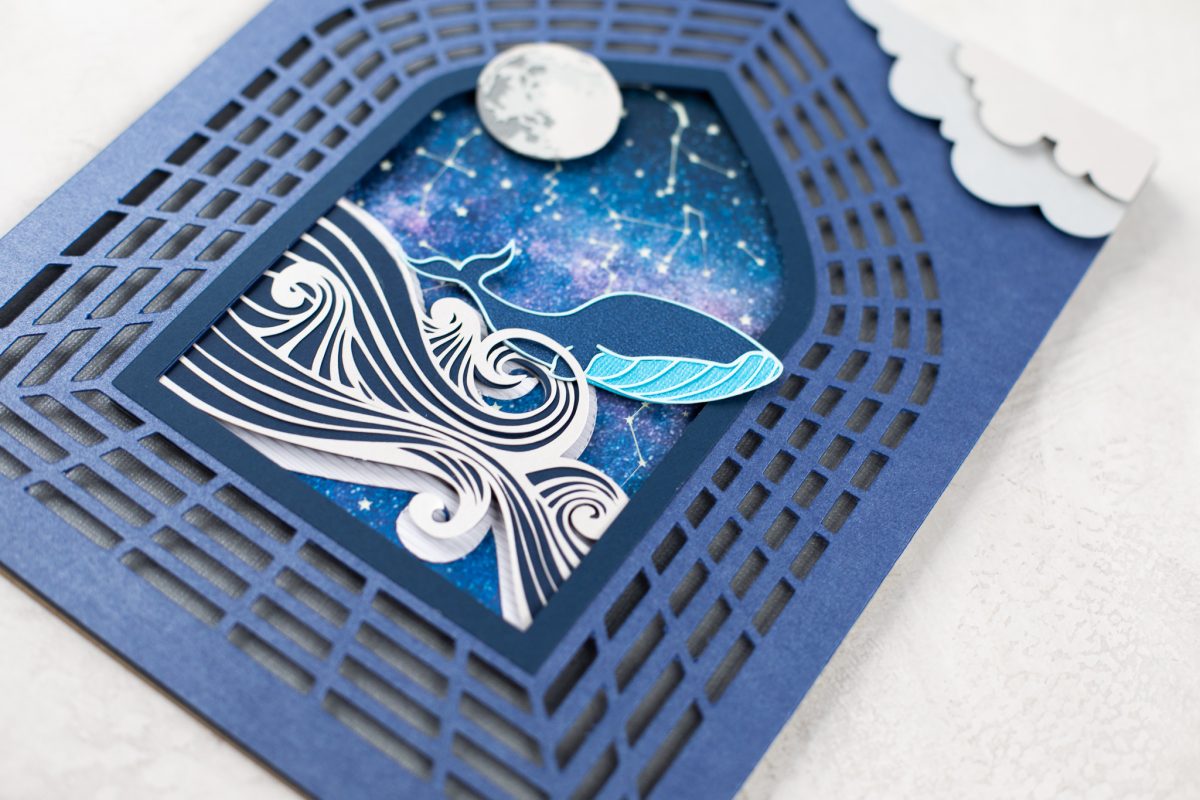
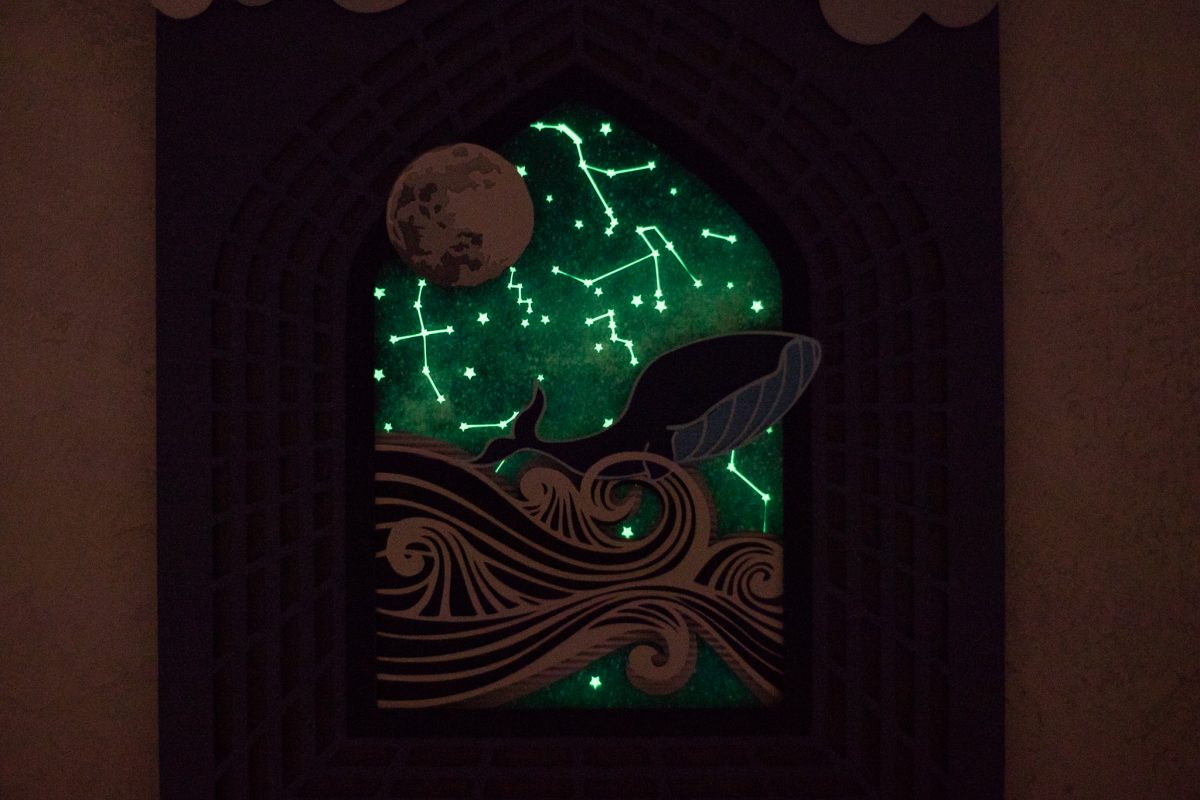
Now put in a frame, turn the lights on or off and enjoy! How fun is that glow in the dark sticker paper? Have fun with it and customize with different colors, shapes and designs. What will you paper craft?
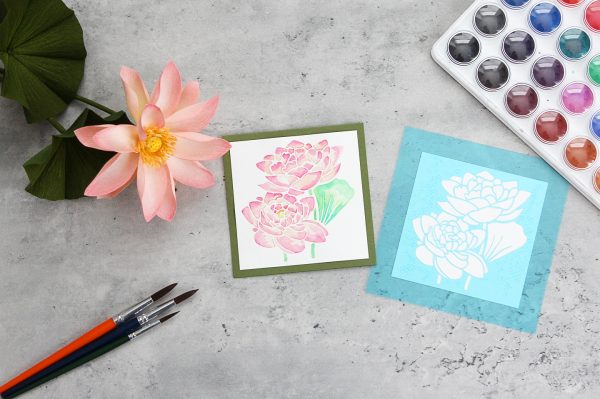 Free Class - Stenciled Lotus Card
 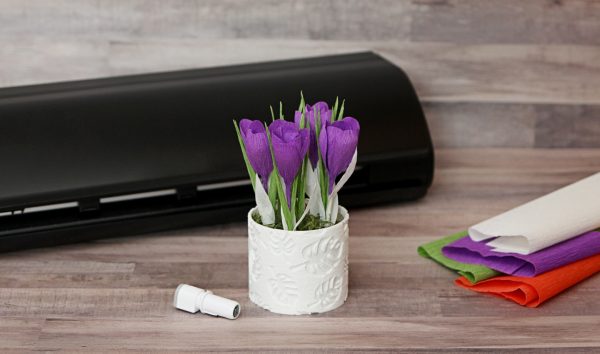 Free Class - Crepe Paper Crocuses
Nasze Naturalne
September 3, 2025
Your authentic voice really shines through in everything you create and share
Naszenaturalne
September 2, 2025
Really love your style
Kelly Wayment
June 28, 2024
You can use it with vinyl as long as it is smooth and flat to allow the static charge to hold on to it. Rolled vinyl that wants to go back to its rolled shape will not necessarily work well, and it would need to be trimmed to fit the ES mat cutting area.
Kelly Wayment
June 28, 2024
Yes, you can use the heat pen while using the ES mat. 🙂
Yurii
March 2, 2024
Hello. May it be used with heat pen?
Thanks
Jerome
February 24, 2024
Hi, works this with the normal vinyl foils or only with printer papter etc?