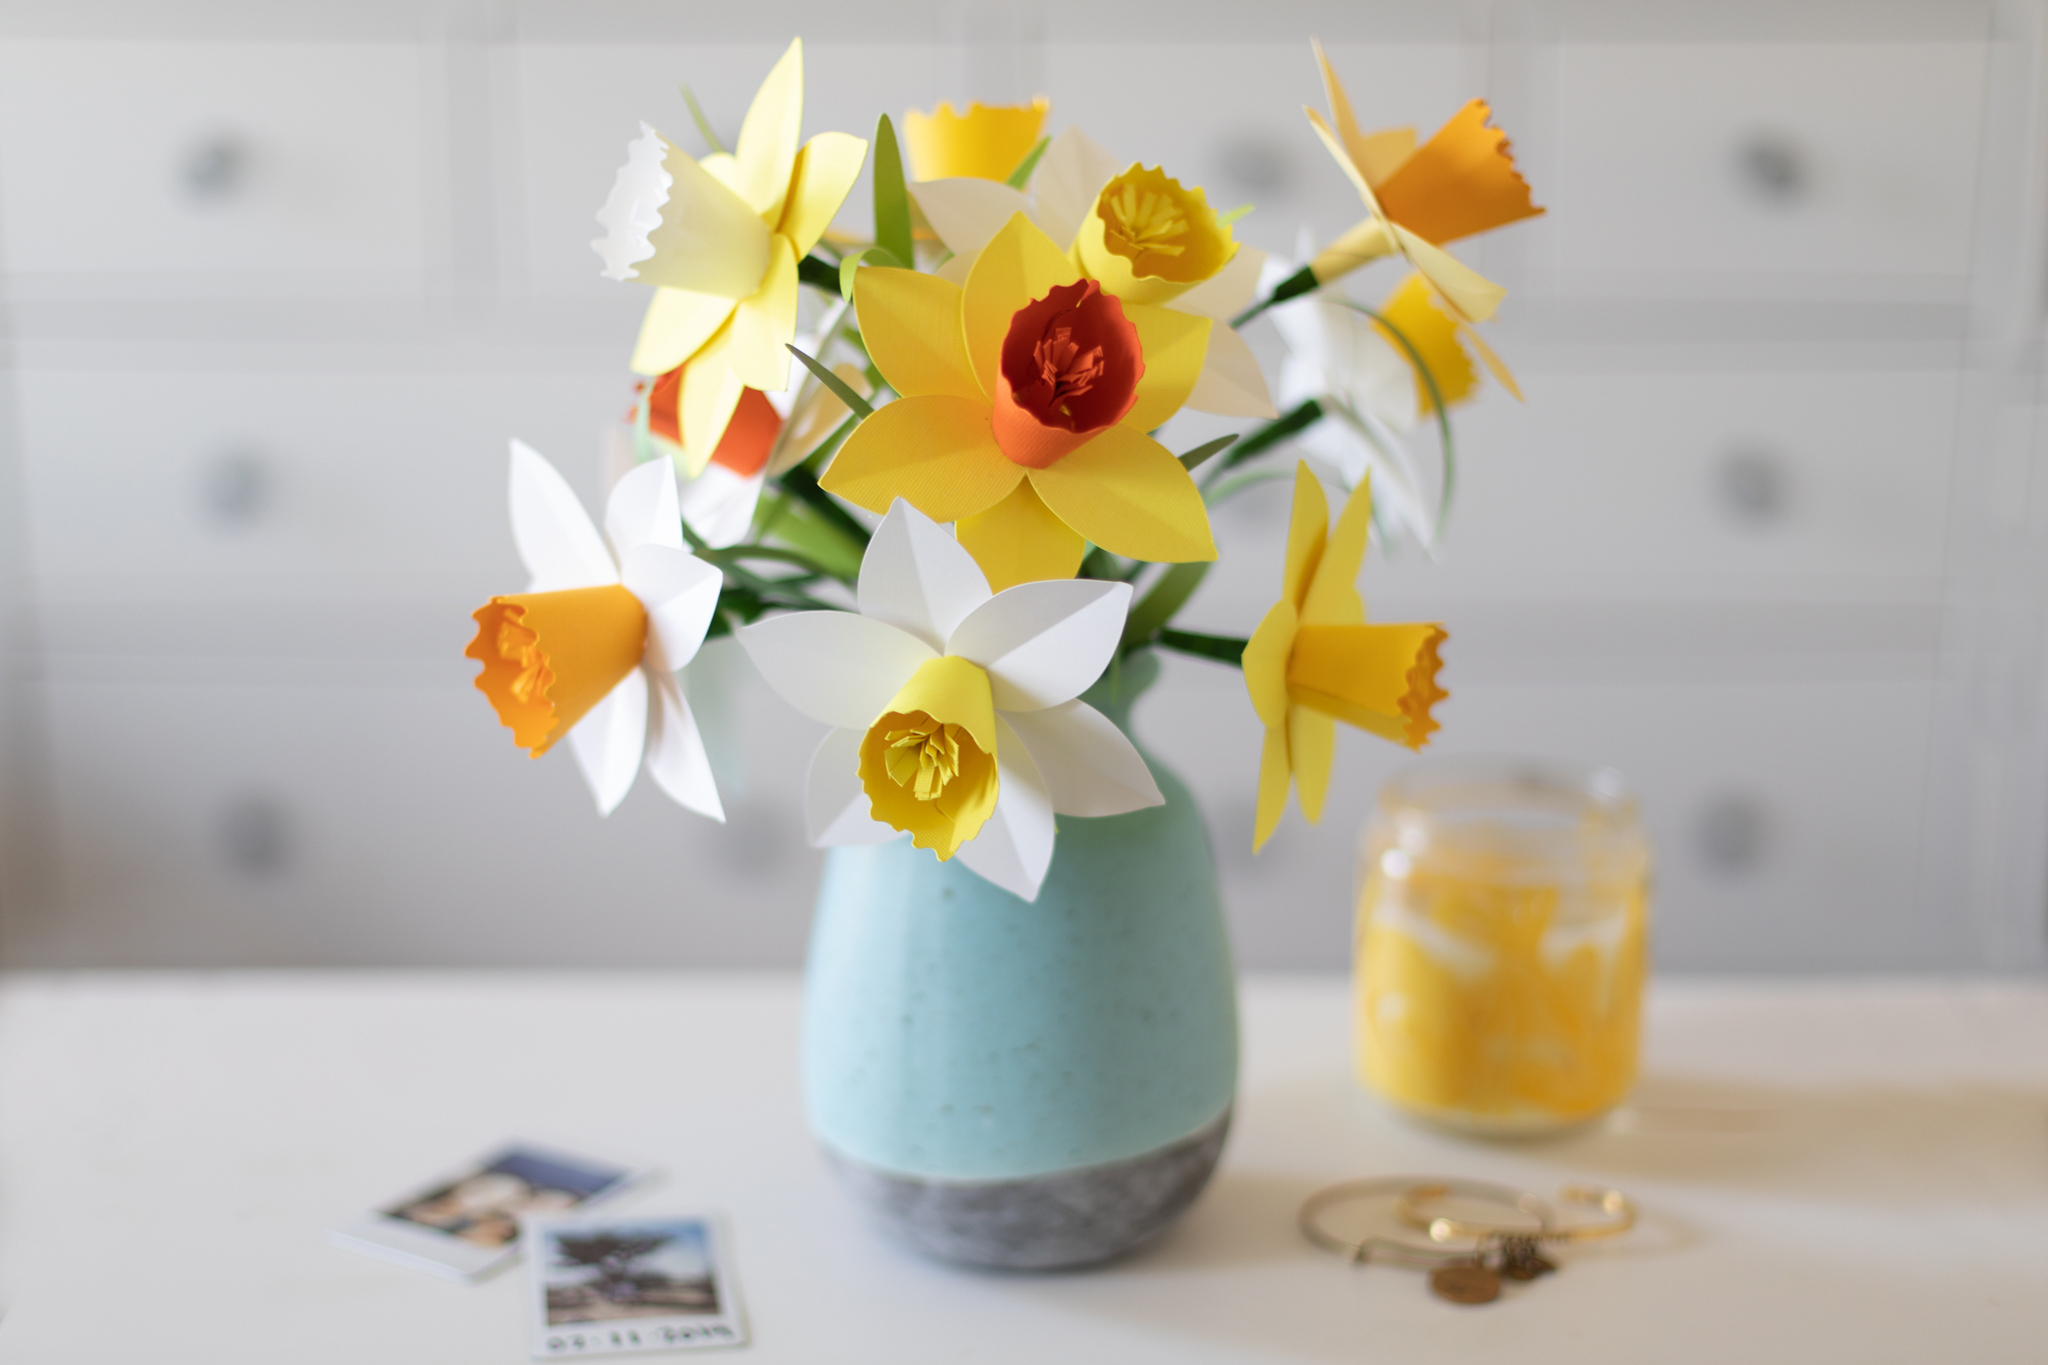
If you’ve poked your head outside lately, chances are you’ve been seeing signs of spring! Buds on the leaves, longer days, and happy daffodils waving in the wind! If you want to bring a touch of the outdoors inside, these 3D paper daffodils are a fun project to try.
Supplies Needed:
- Silhouette Cameo® or Silhouette Portrait®
- Silhouette Studio®
- Silhouette Cutting Mat, optional
- Silhouette Cutting Blade
- Cardstock in white, yellow, orange, and green
- Floral Wires
- Green floral tape
- Hot Glue Gun
- Scissors
- Design ID #40988 for 3D Daffodil
Step One: Formatting the Design
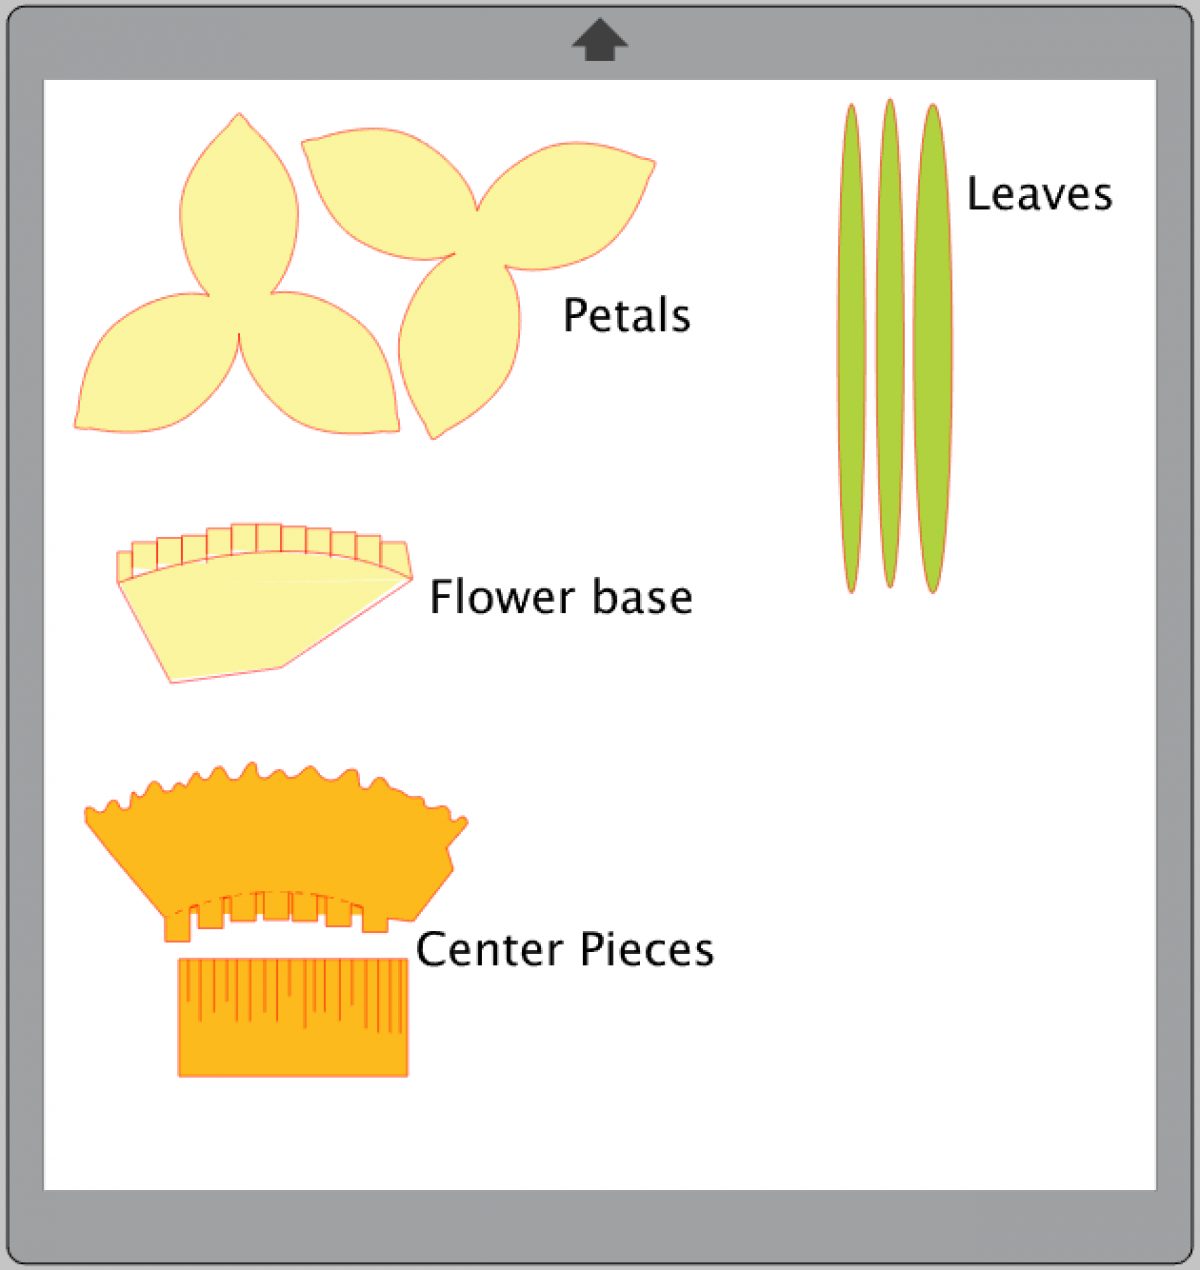
1. Insert the design into Silhouette Studio®. The file comes with all you need to create one daffodil, but you can duplicate the design to make more!

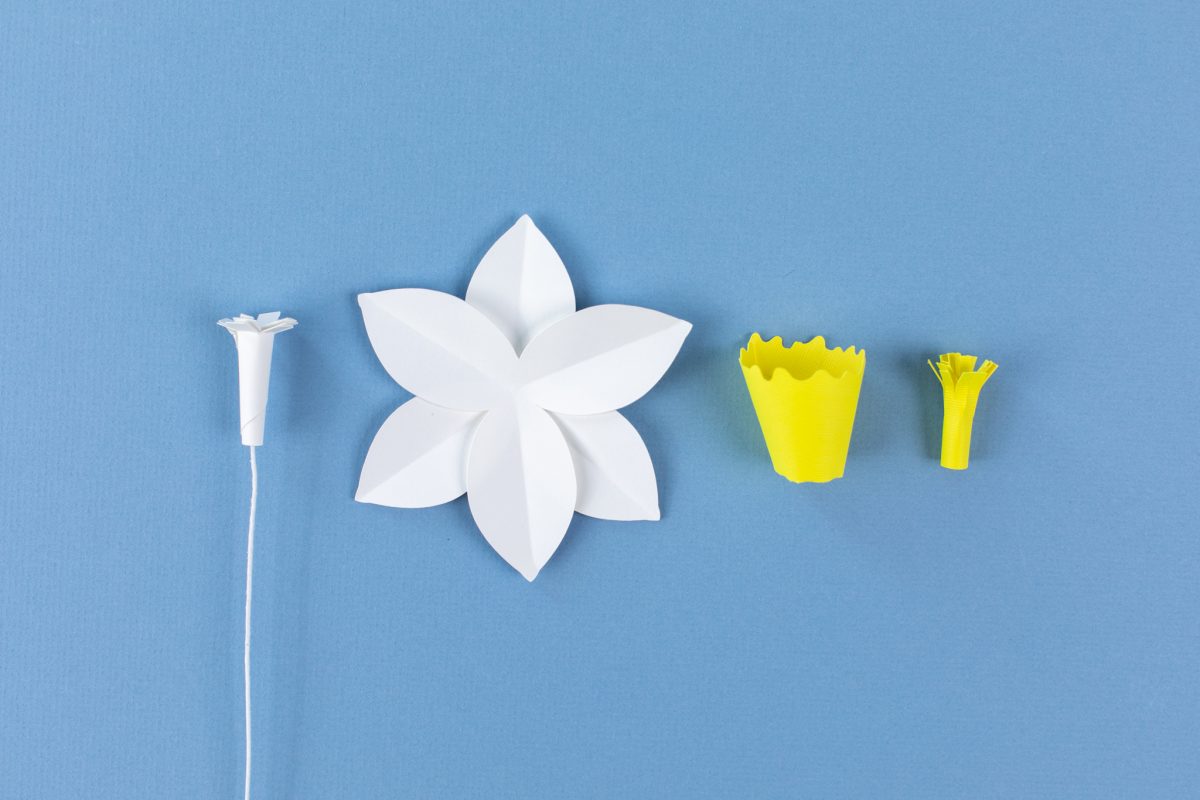
2. In the screenshot below, we’ve identified the elements of the flower. Decide what paper colors you’d like to use for each component of the flower and cut each element out of the appropriate color using your Silhouette cutting machine and the correct settings for your paper.
Step Two: Assembling the Flower

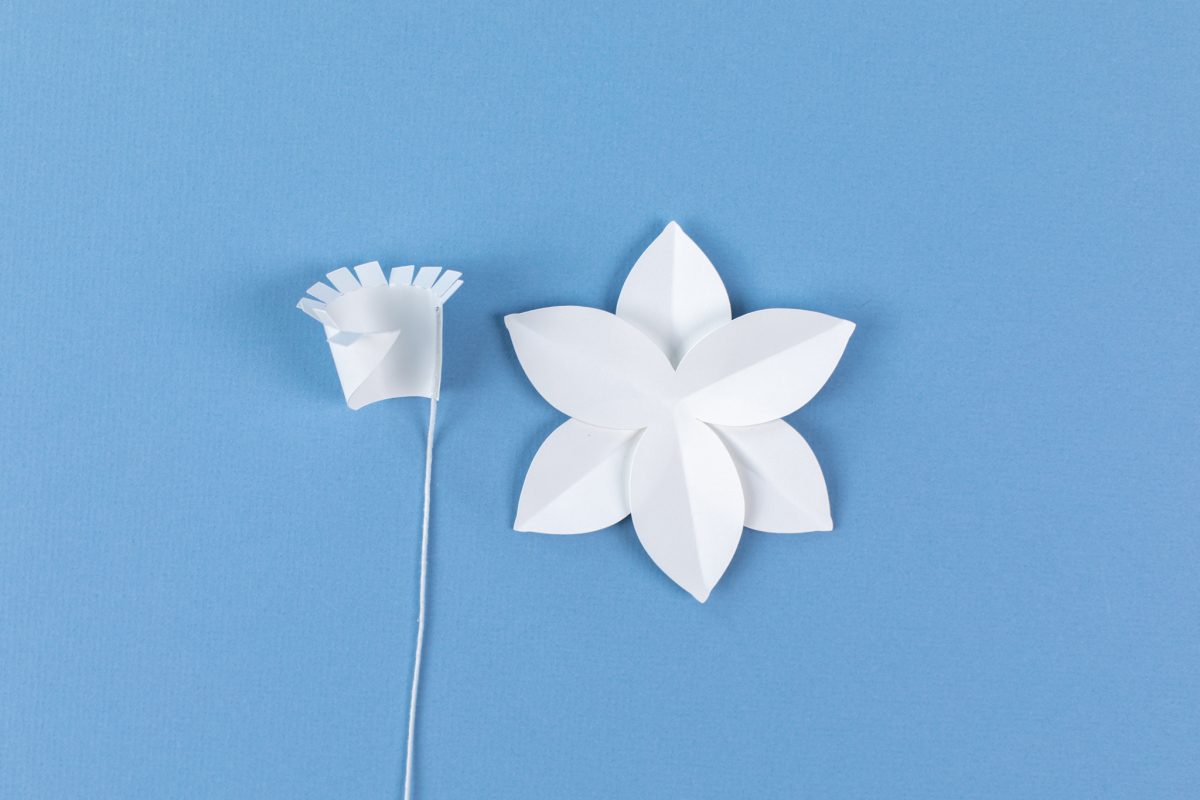
1. Once all your flower pieces are cut, start by folding each petal piece in half by scoring a line down the middle and giving them a gentle fold. Do this for both 3-petal pieces.
2. Layer the petals and glue them together with a dot of glue in the center.
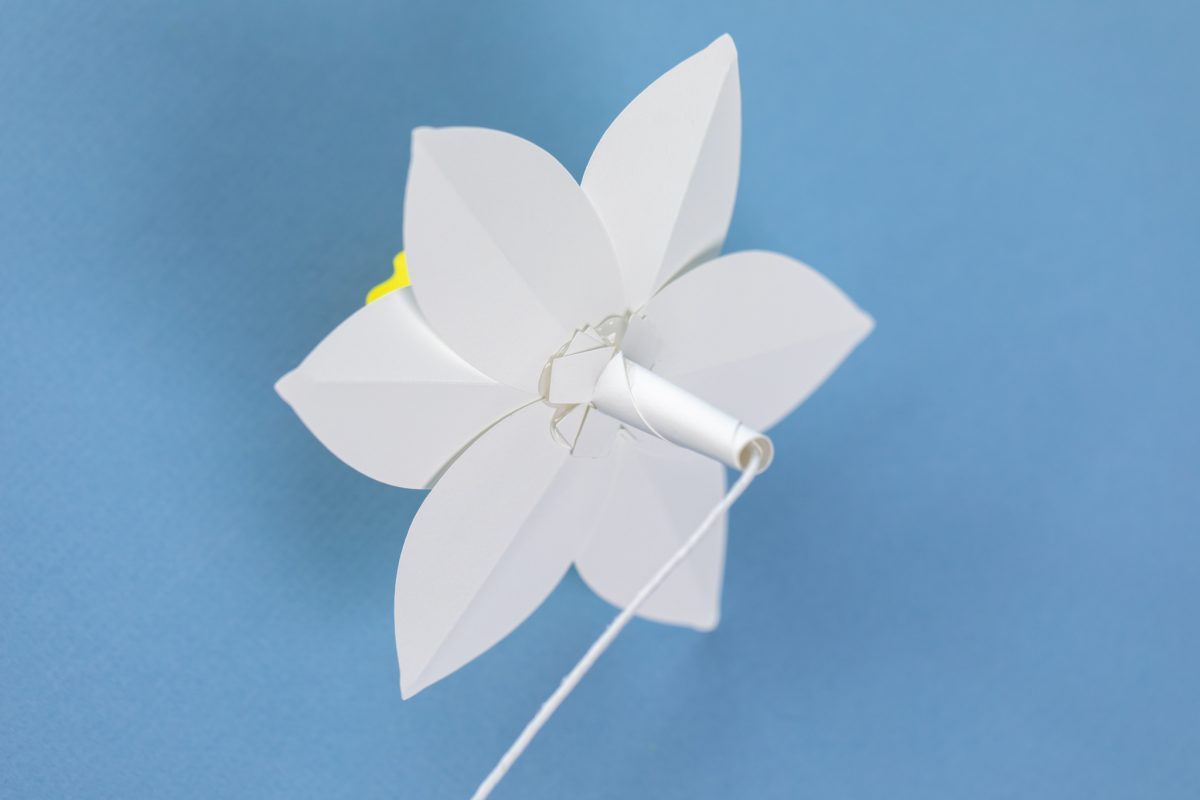
3. To prepare the stem of your flower, take a piece of floral wire and glue the tip to the edge of the floral base piece.
4. Then wrap the piece tightly to form a coil, tightest at the bottom and expanding slightly at the top. Fold out the tabs.
5. Apply glue to the tabs and then secure the coil to the base of your flower.
6. For the center of the daffodil, create a cup shape by gluing the tab of the ruffle-edged piece to the other end.
7. Then take the fringed piece and roll tightly into a coil and secure with glue.
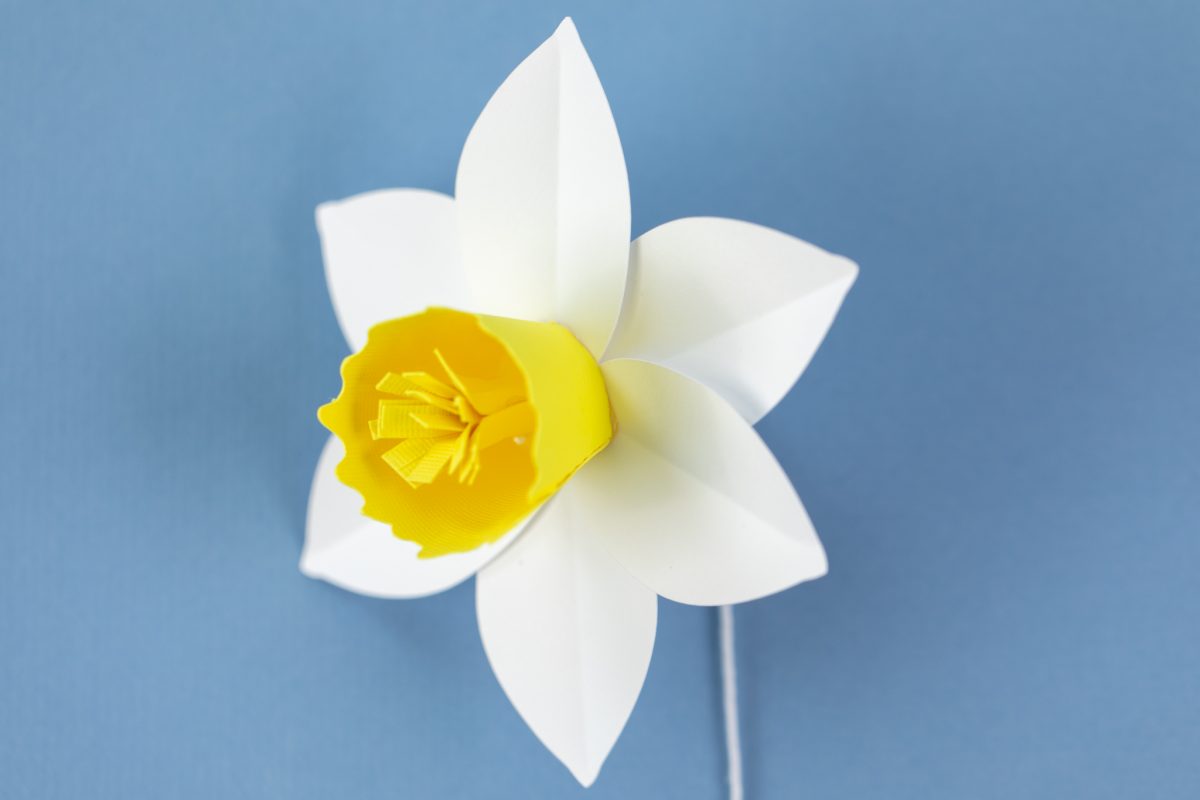
8. Fold in the tabs along the bottom toward the center of the cup and glue to the center of your petal pieces. Fluff out the top pieces and glue into the middle of the cup.
9. Wrap the stem with floral tape, adding leaves as you go.

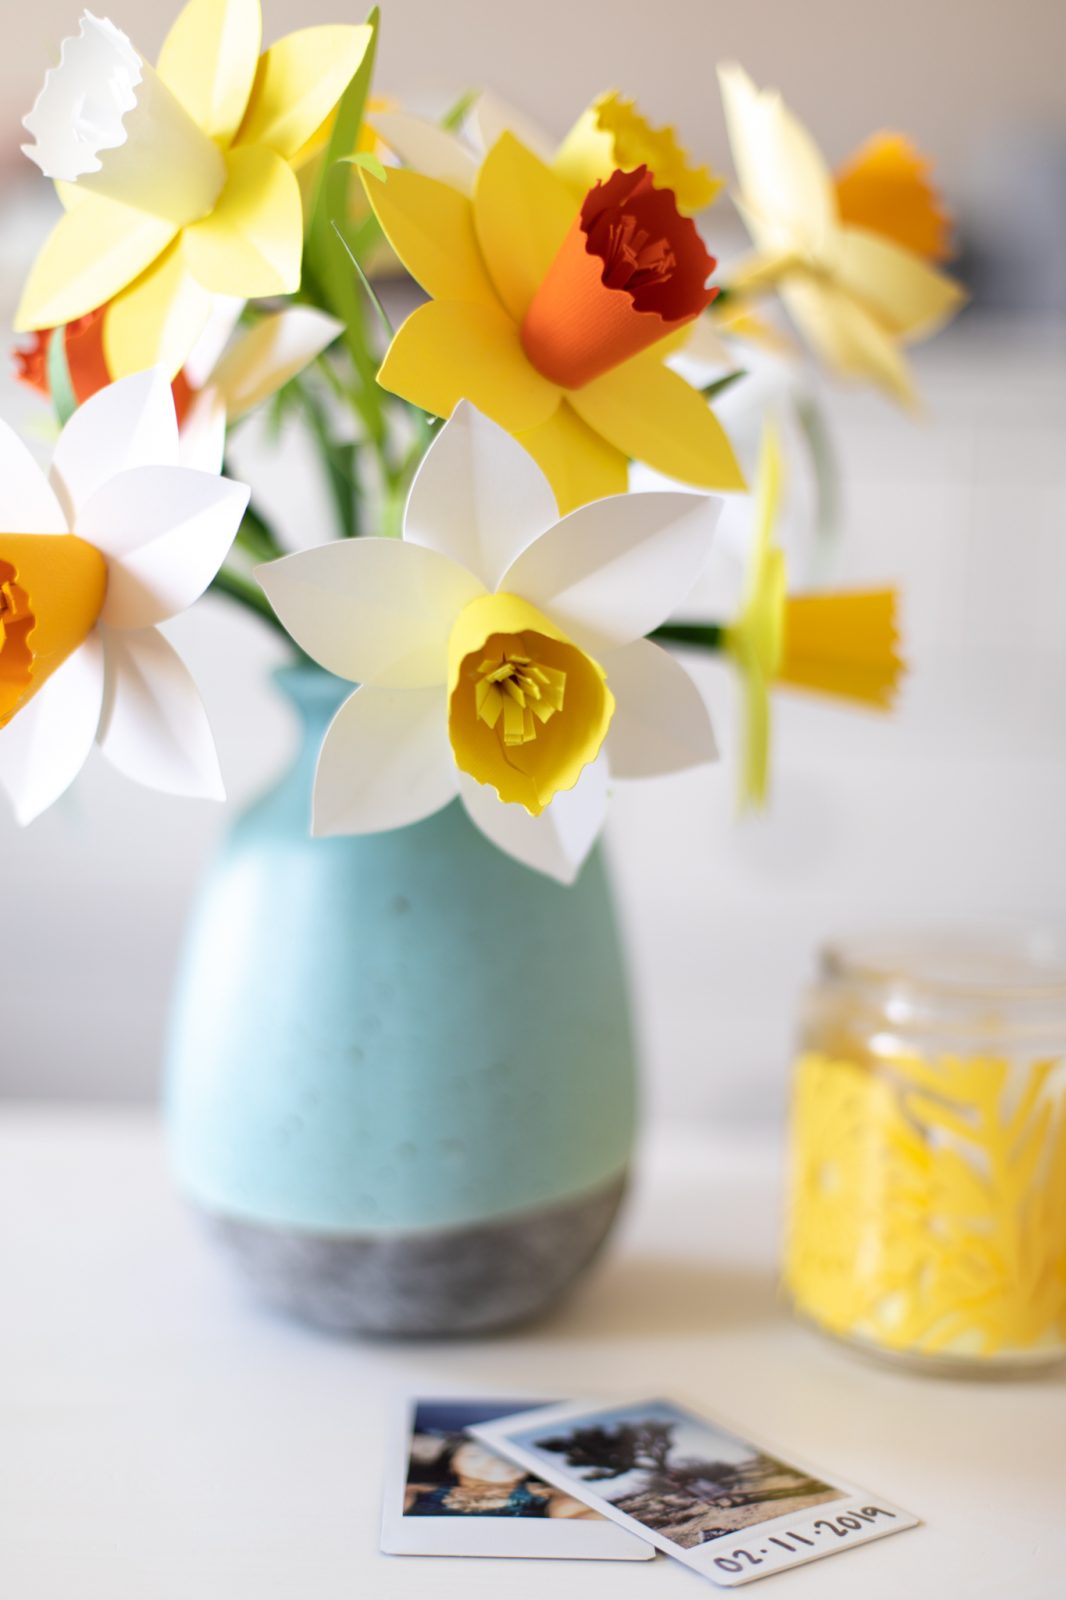
11. Repeat the process to make a full bouquet of daffodils and arrange them in a vase! An instant dose of spring!
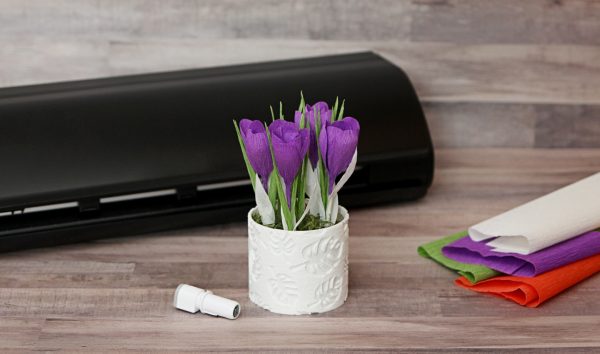 Free Class - Crepe Paper Crocuses
  Free Class - Shaker Card with the ES Mat
Naszenaturalne
September 2, 2025
Really love your style
Kelly Wayment
June 28, 2024
You can use it with vinyl as long as it is smooth and flat to allow the static charge to hold on to it. Rolled vinyl that wants to go back to its rolled shape will not necessarily work well, and it would need to be trimmed to fit the ES mat cutting area.
Kelly Wayment
June 28, 2024
Yes, you can use the heat pen while using the ES mat. 🙂
Yurii
March 2, 2024
Hello. May it be used with heat pen?
Thanks
Jerome
February 24, 2024
Hi, works this with the normal vinyl foils or only with printer papter etc?
Kelly Wayment
February 16, 2024
Once you’ve pushed the mat up against the rollers, just press the “Load” arrow button (bottom right on the display). Does a regular sticky mat load into the machine for you?