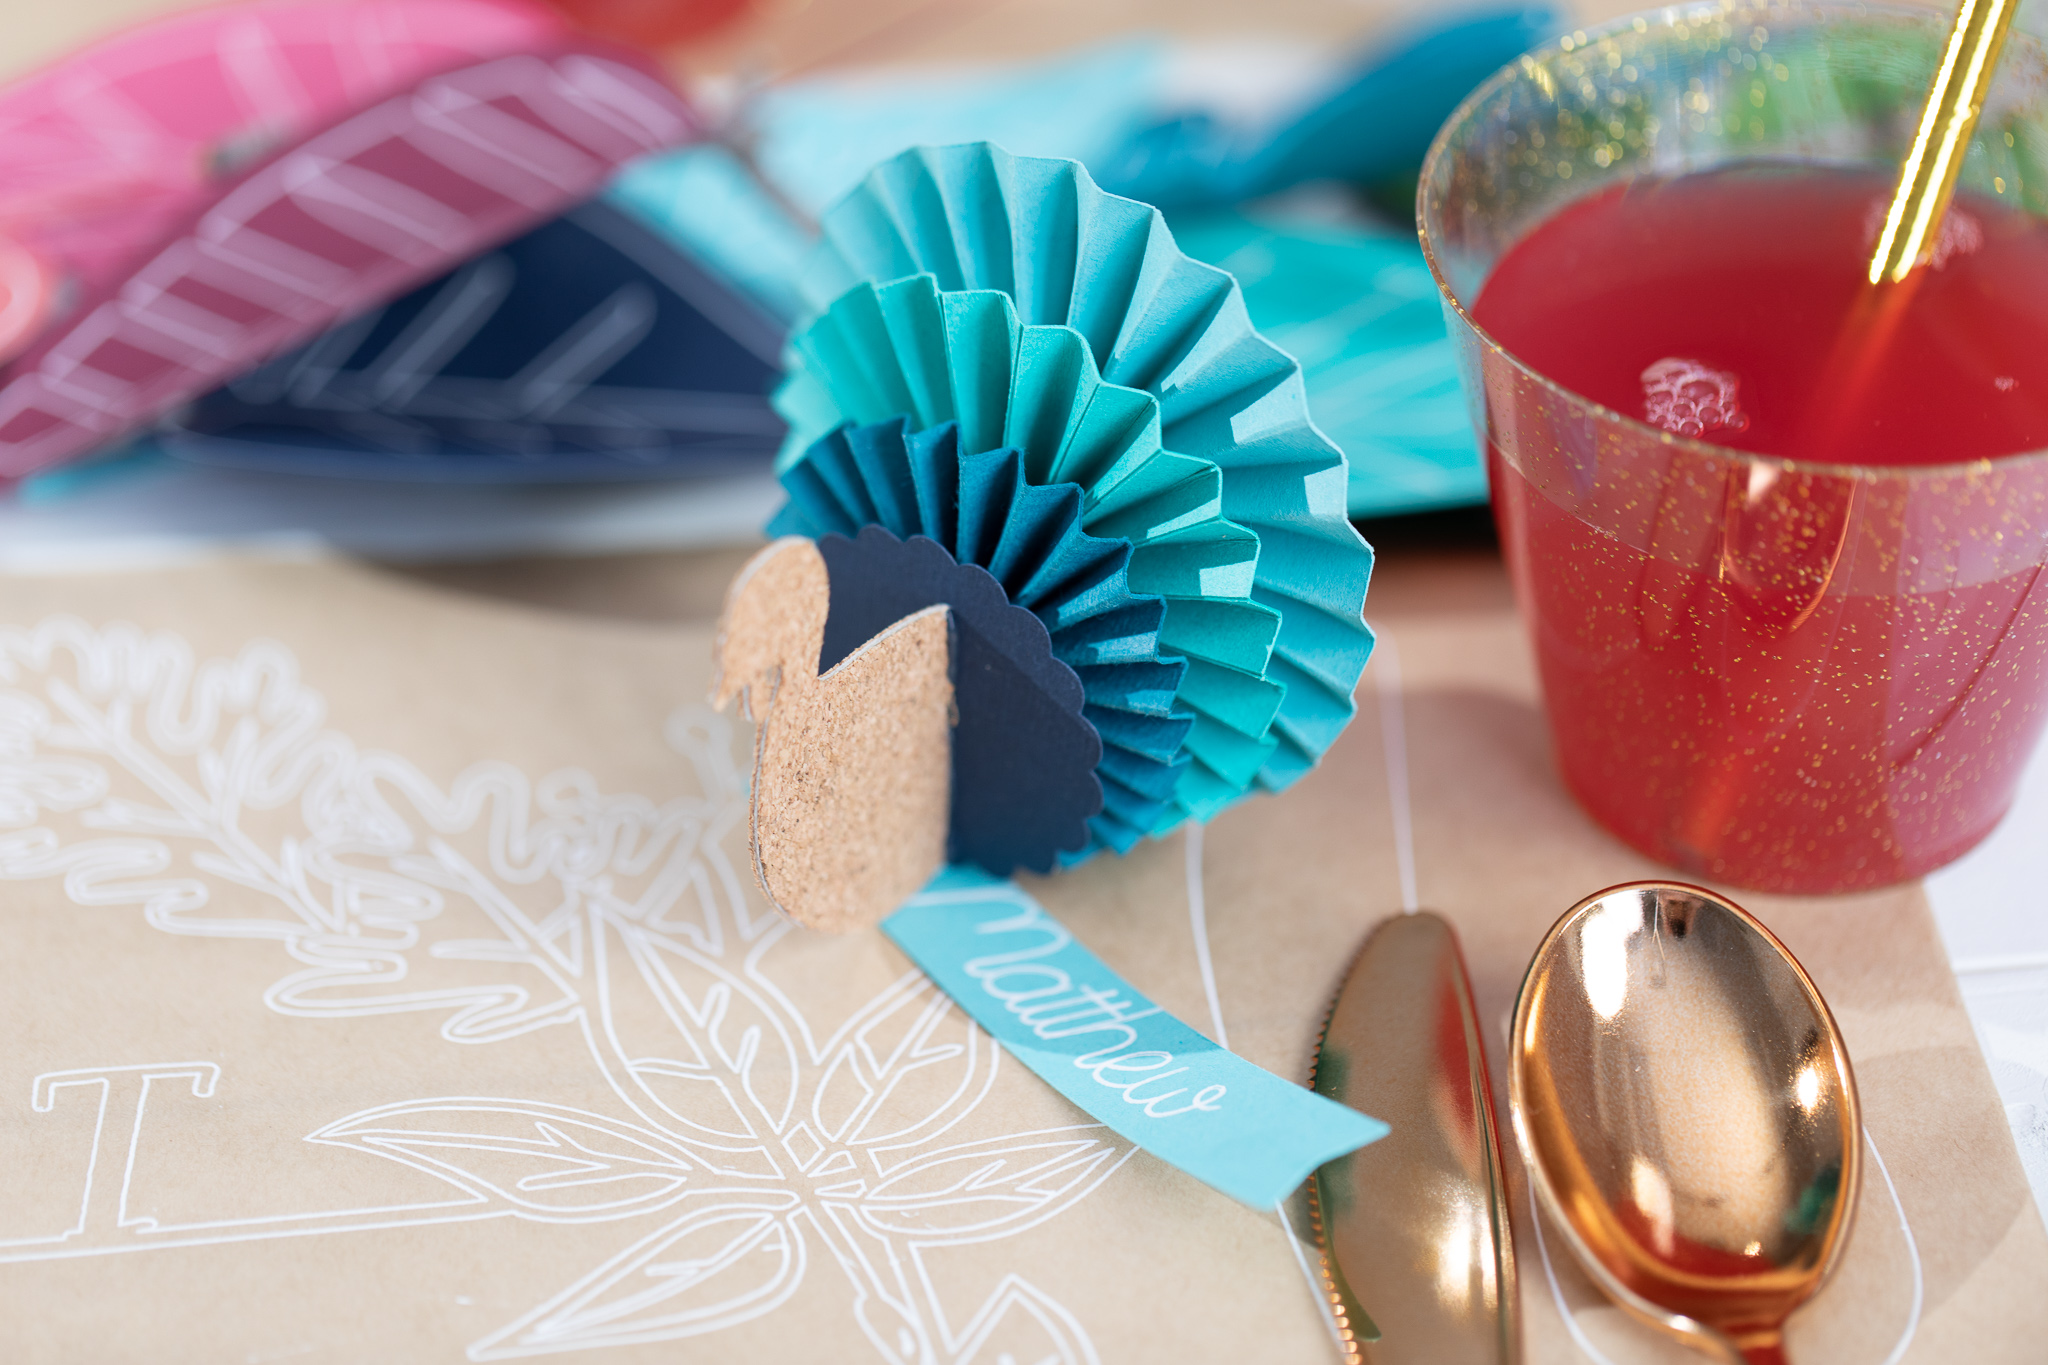
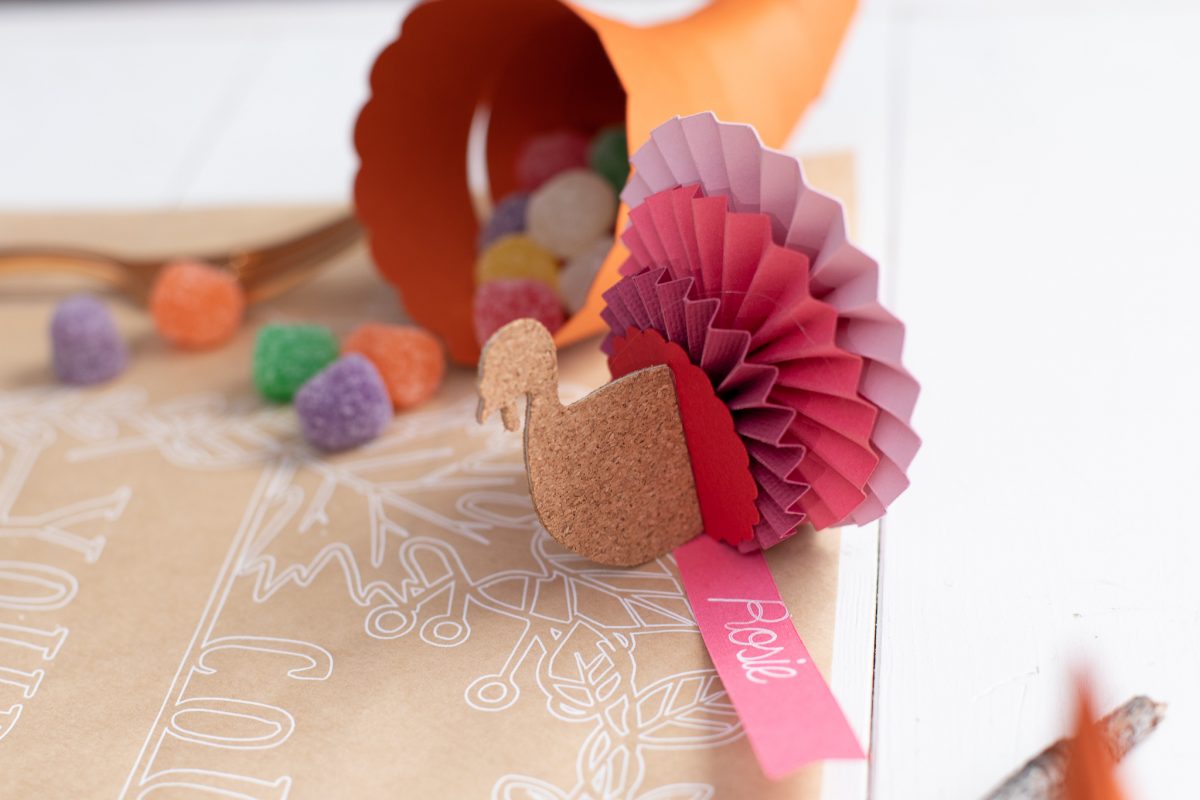
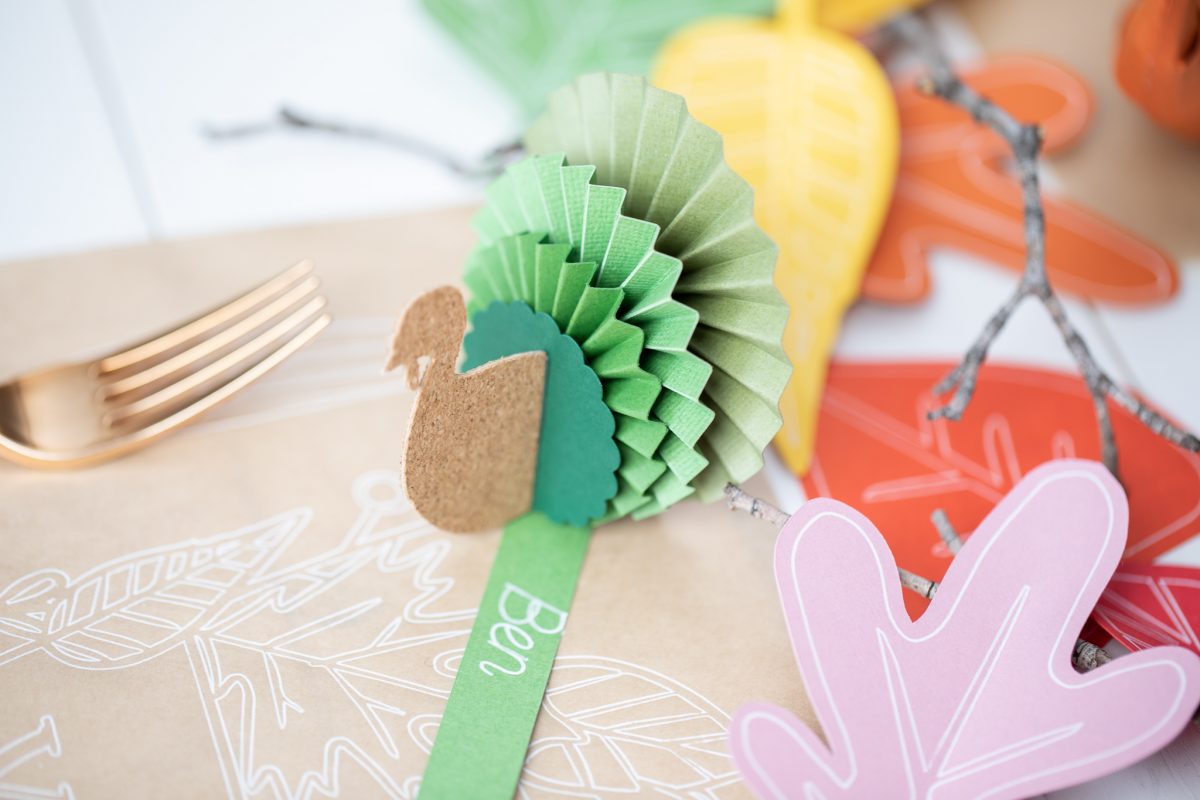
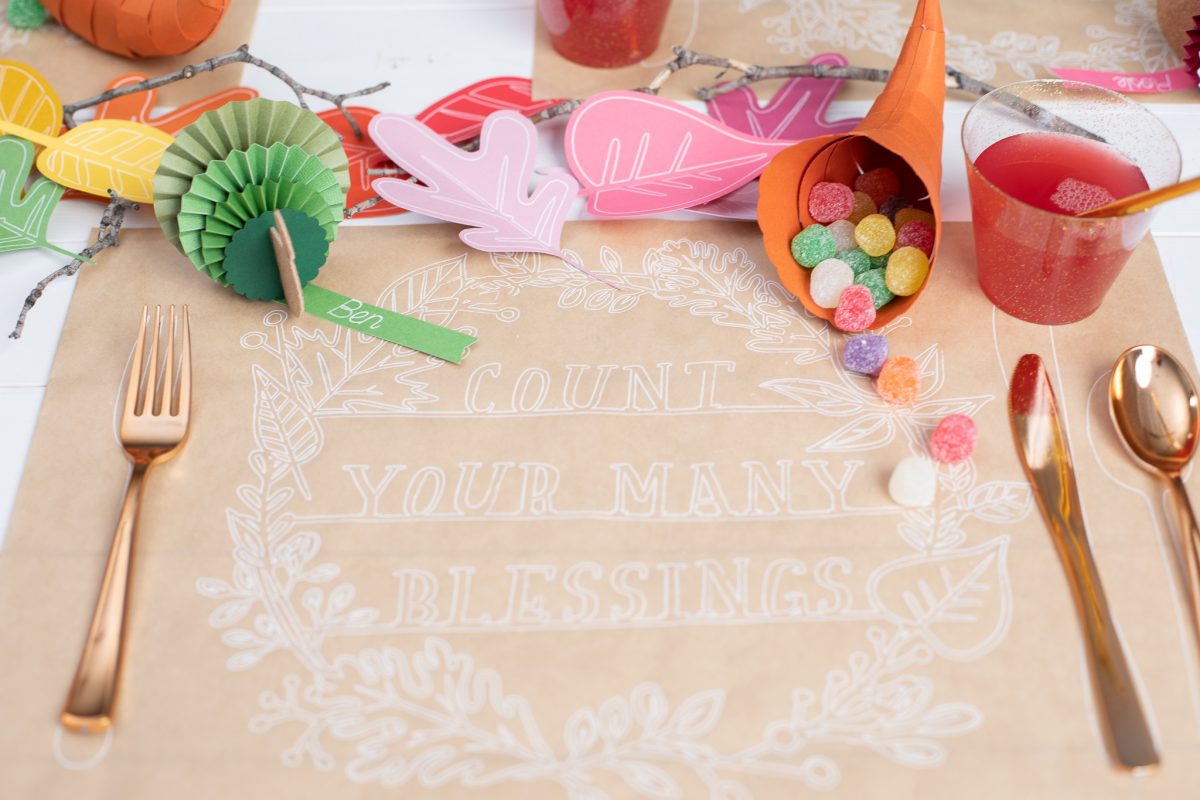
These colorful turkeys make the sweetest place settings for your Thanksgiving feast! When you’re celebrating a holiday that’s all about food, you need to make sure your tablescape is just as impressive! These turkeys are simple and a great way to add some color to your table.
Supplies Needed:
- Silhouette Cameo® or Silhouette Portrait®
- Silhouette Studio®
- Silhouette Cutting Mat
- Silhouette AutoBlade or Silhouette AutoBlade for Cameo 4
- Chipboard
- Cork Sheets
- Cardstock in various colors
- Hot Glue Gun
- Design ID #4011 and #26982
The sketched placemat tutorial is HERE. Cornucopia treat tutorial coming next week, so stay tuned!
Step One: Formatting the Medallions
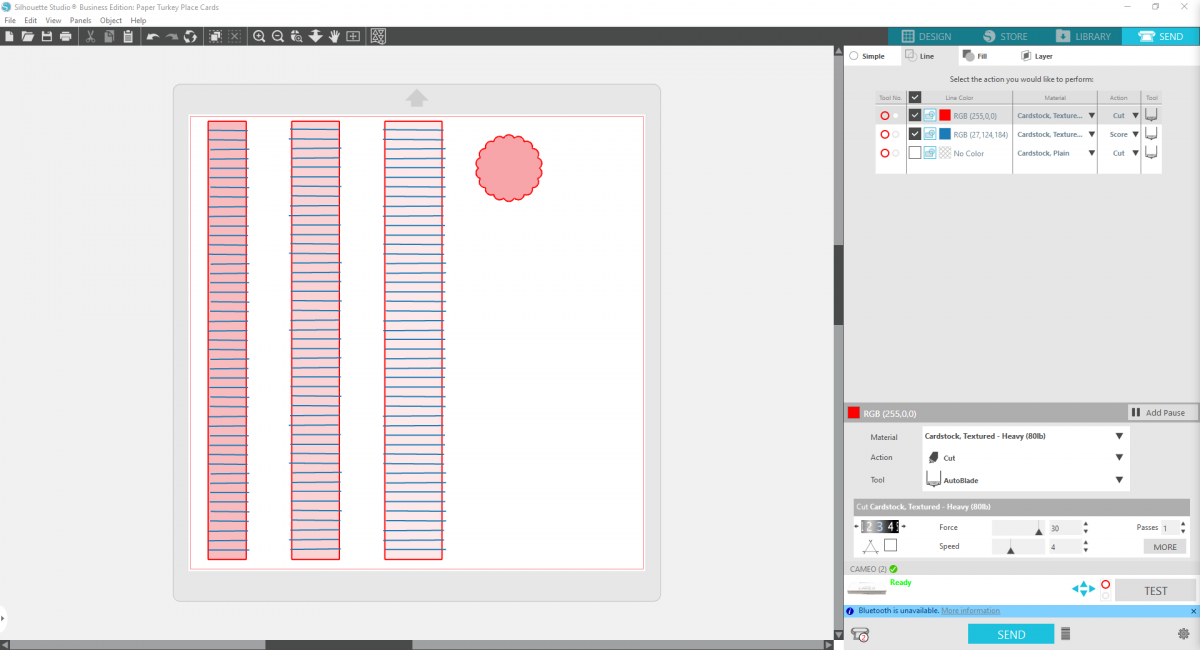
1. To make the medallion shapes, create 3 rectangles that measure 11.5 inches, but make each rectangle a different width: 1 inch, 1.25 inches, and 1.5 inches wide.
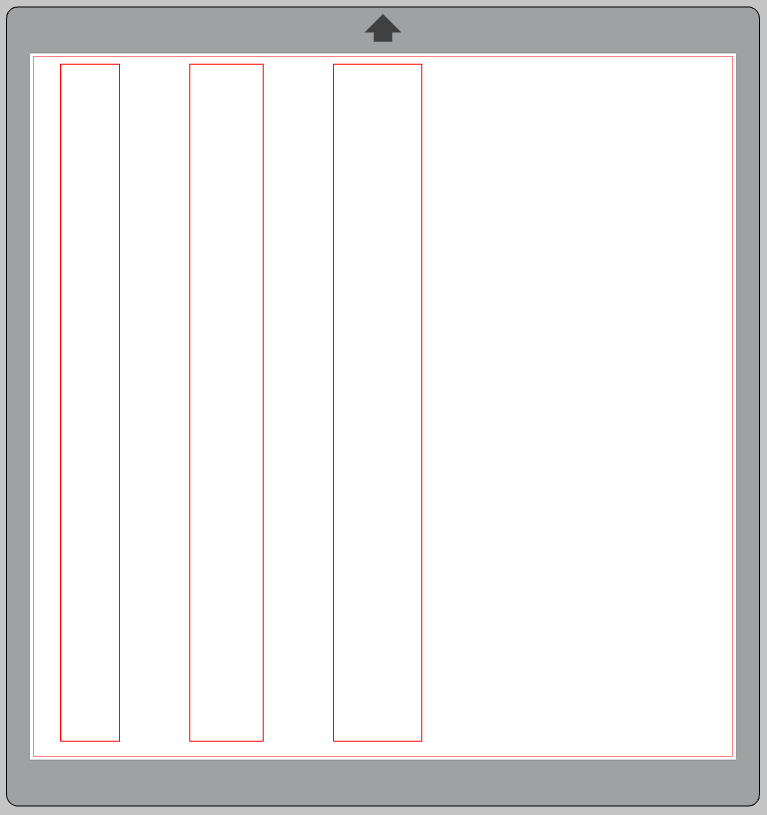
2. Now create repeating lines that are .25 inches apart down the rectangle. These will be your score lines, so they can extend slightly beyond the rectangle edges. Make these lines a different color than your rectangle border.

3. Change each rectangle to be a different shade to help you remember to cut them out in different colors.
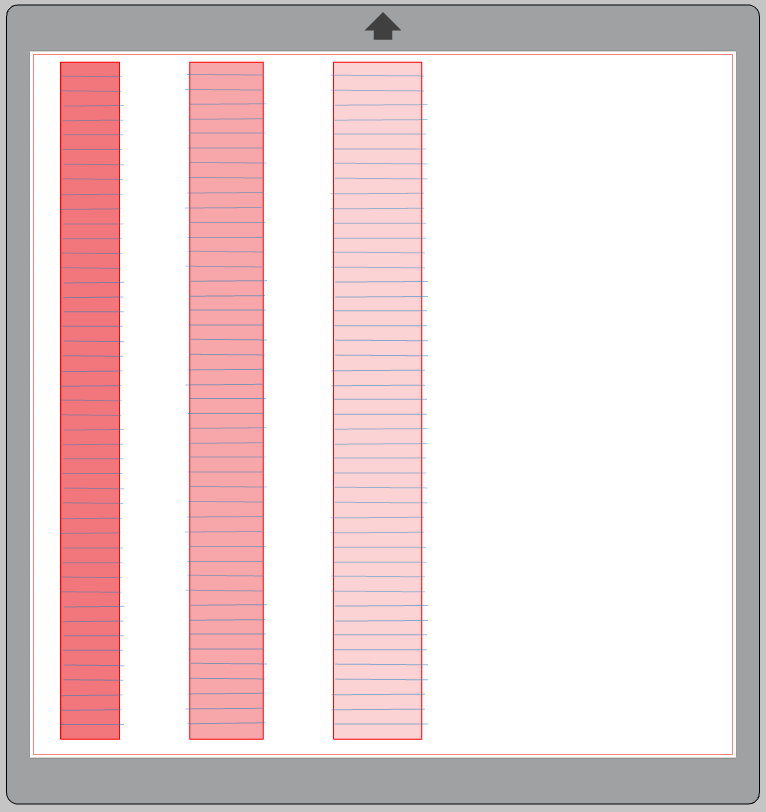
4. Insert the scallop circle design into Silhouette Studio® and delete all the circles except the smallest scalloped circle. Adjust the size of that circle to 1.75 inches tall. Change this shape to the darkest shade.
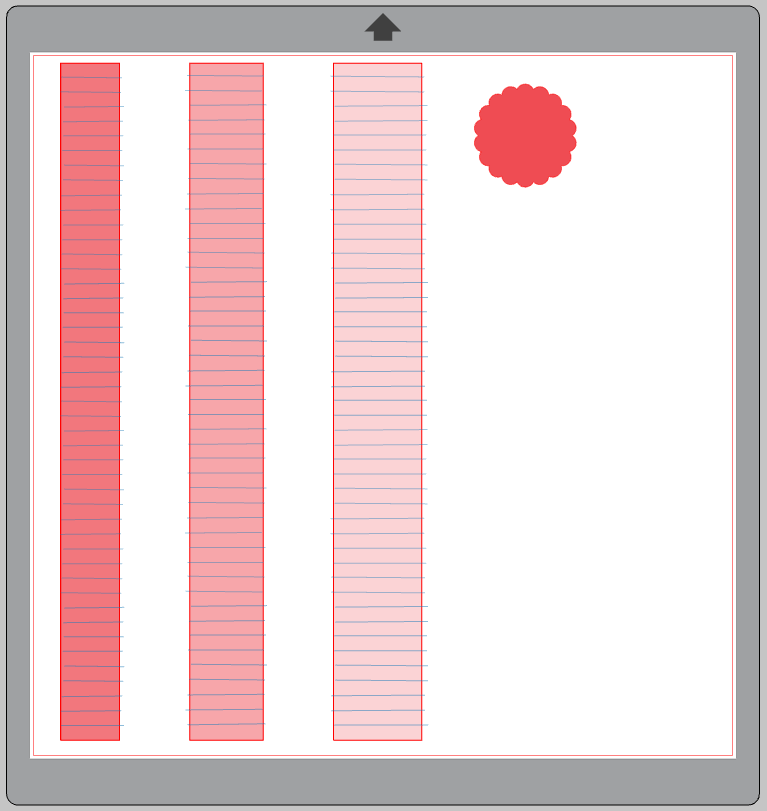
5. Now open your SEND panel and click the “Line” view. For the red lines or the rectangles and scalloped circle, set the action to Cut. But for the blue lines, or the repeating horizontal lines, set the action to Score. The score setting will adjust the blade to not cut all the way through, but to create perfect score lines to make your folds.
6. Now cut out your pieces on the corresponding colors of cardstock!
7. Accordian fold your scored strips of cardstock. Glue the two ends together, and then glue the center together to form a medallion.
8. Layer the medallions on top of one another, largest to smallest, aligning them on the bottom. Glue the scalloped circle to the top.
Step Two: Formatting the Turkeys
1. Insert the turkey design into Silhouette Studio®. Ungroup the design a separate the wings and the feet from the body of the turkey.
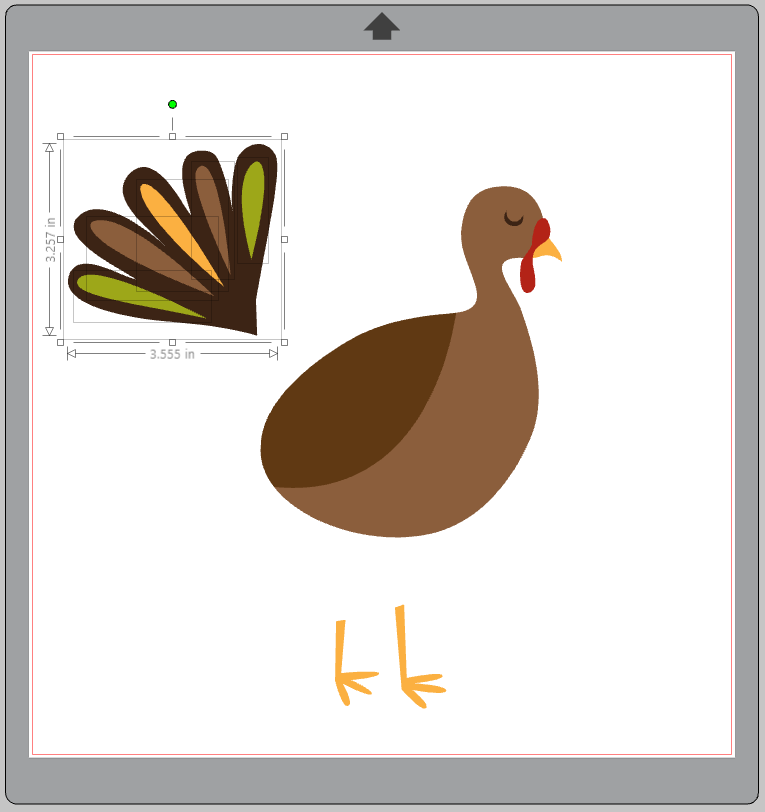
2. Delete those extra pieces and then select the remaining pieces of the turkey body, right-click, and select “Weld” so you just have the turkey body silhouette.
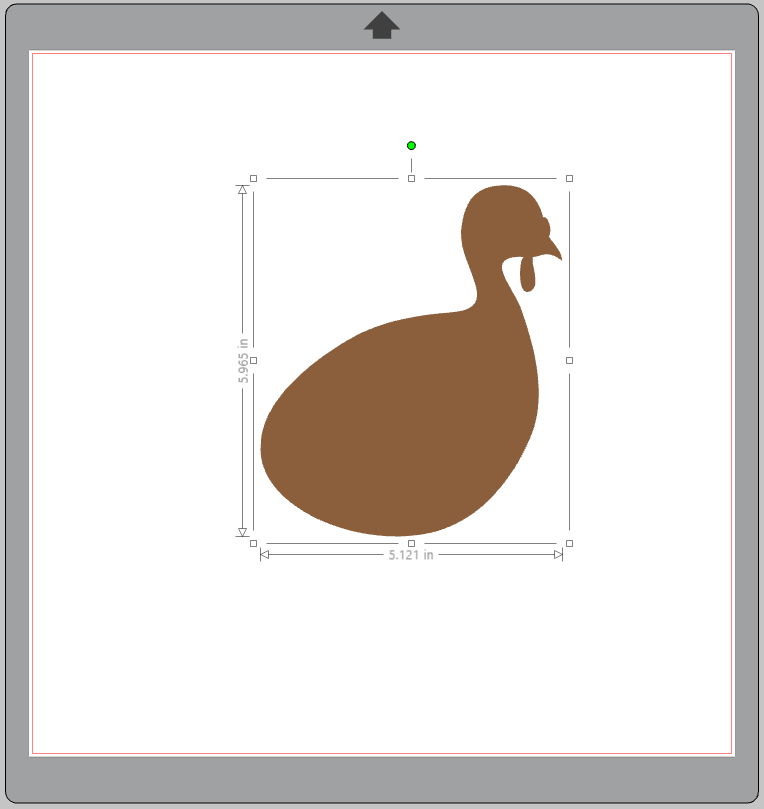
3. Adjust the size of the turkey to about 2.5 inches tall. Duplicate the turkey and flip one horizontally so there are two, mirror-image turkeys.
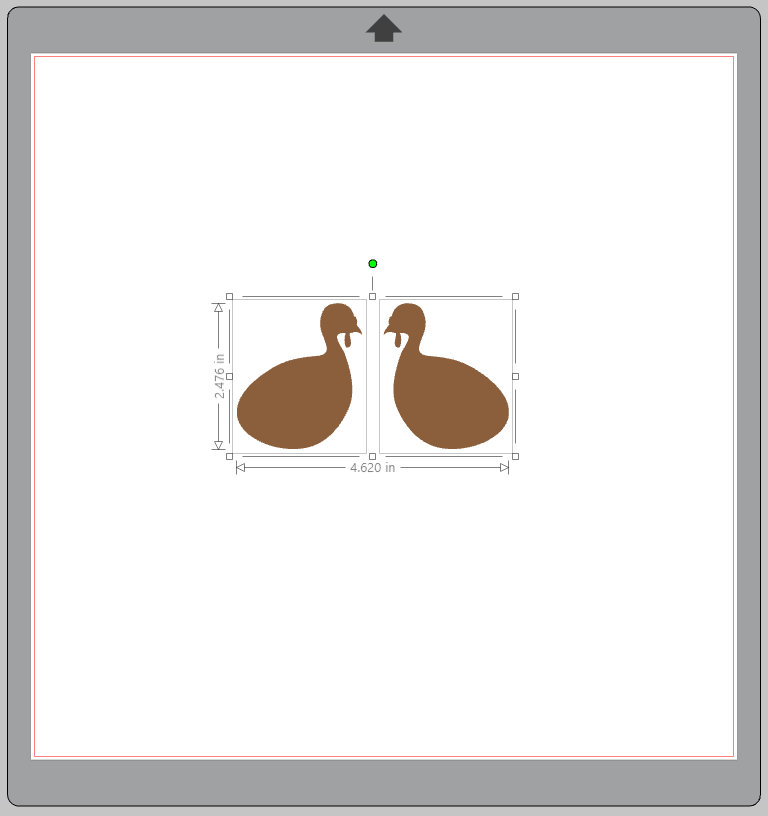
4. You’ll cut these two mirror-image turkeys from the Silhouette Cork Sheets and then an additional turkey from chipboard, to be sandwiched in the middle. Cut with the appropriate cut settings on your machine.
5. Once cut, sandwich the chipboard turkey body in between the two cork turkey bodies. Cut off the backside of the turkey so you have a flat line to glue to your paper medallion “feathers.”
6. Add a name tag to the turkey to use as name tags!
 Free Class - Shaker Card with the ES Mat
  Free Class - Foiled Gift Tags with the Heat Pen