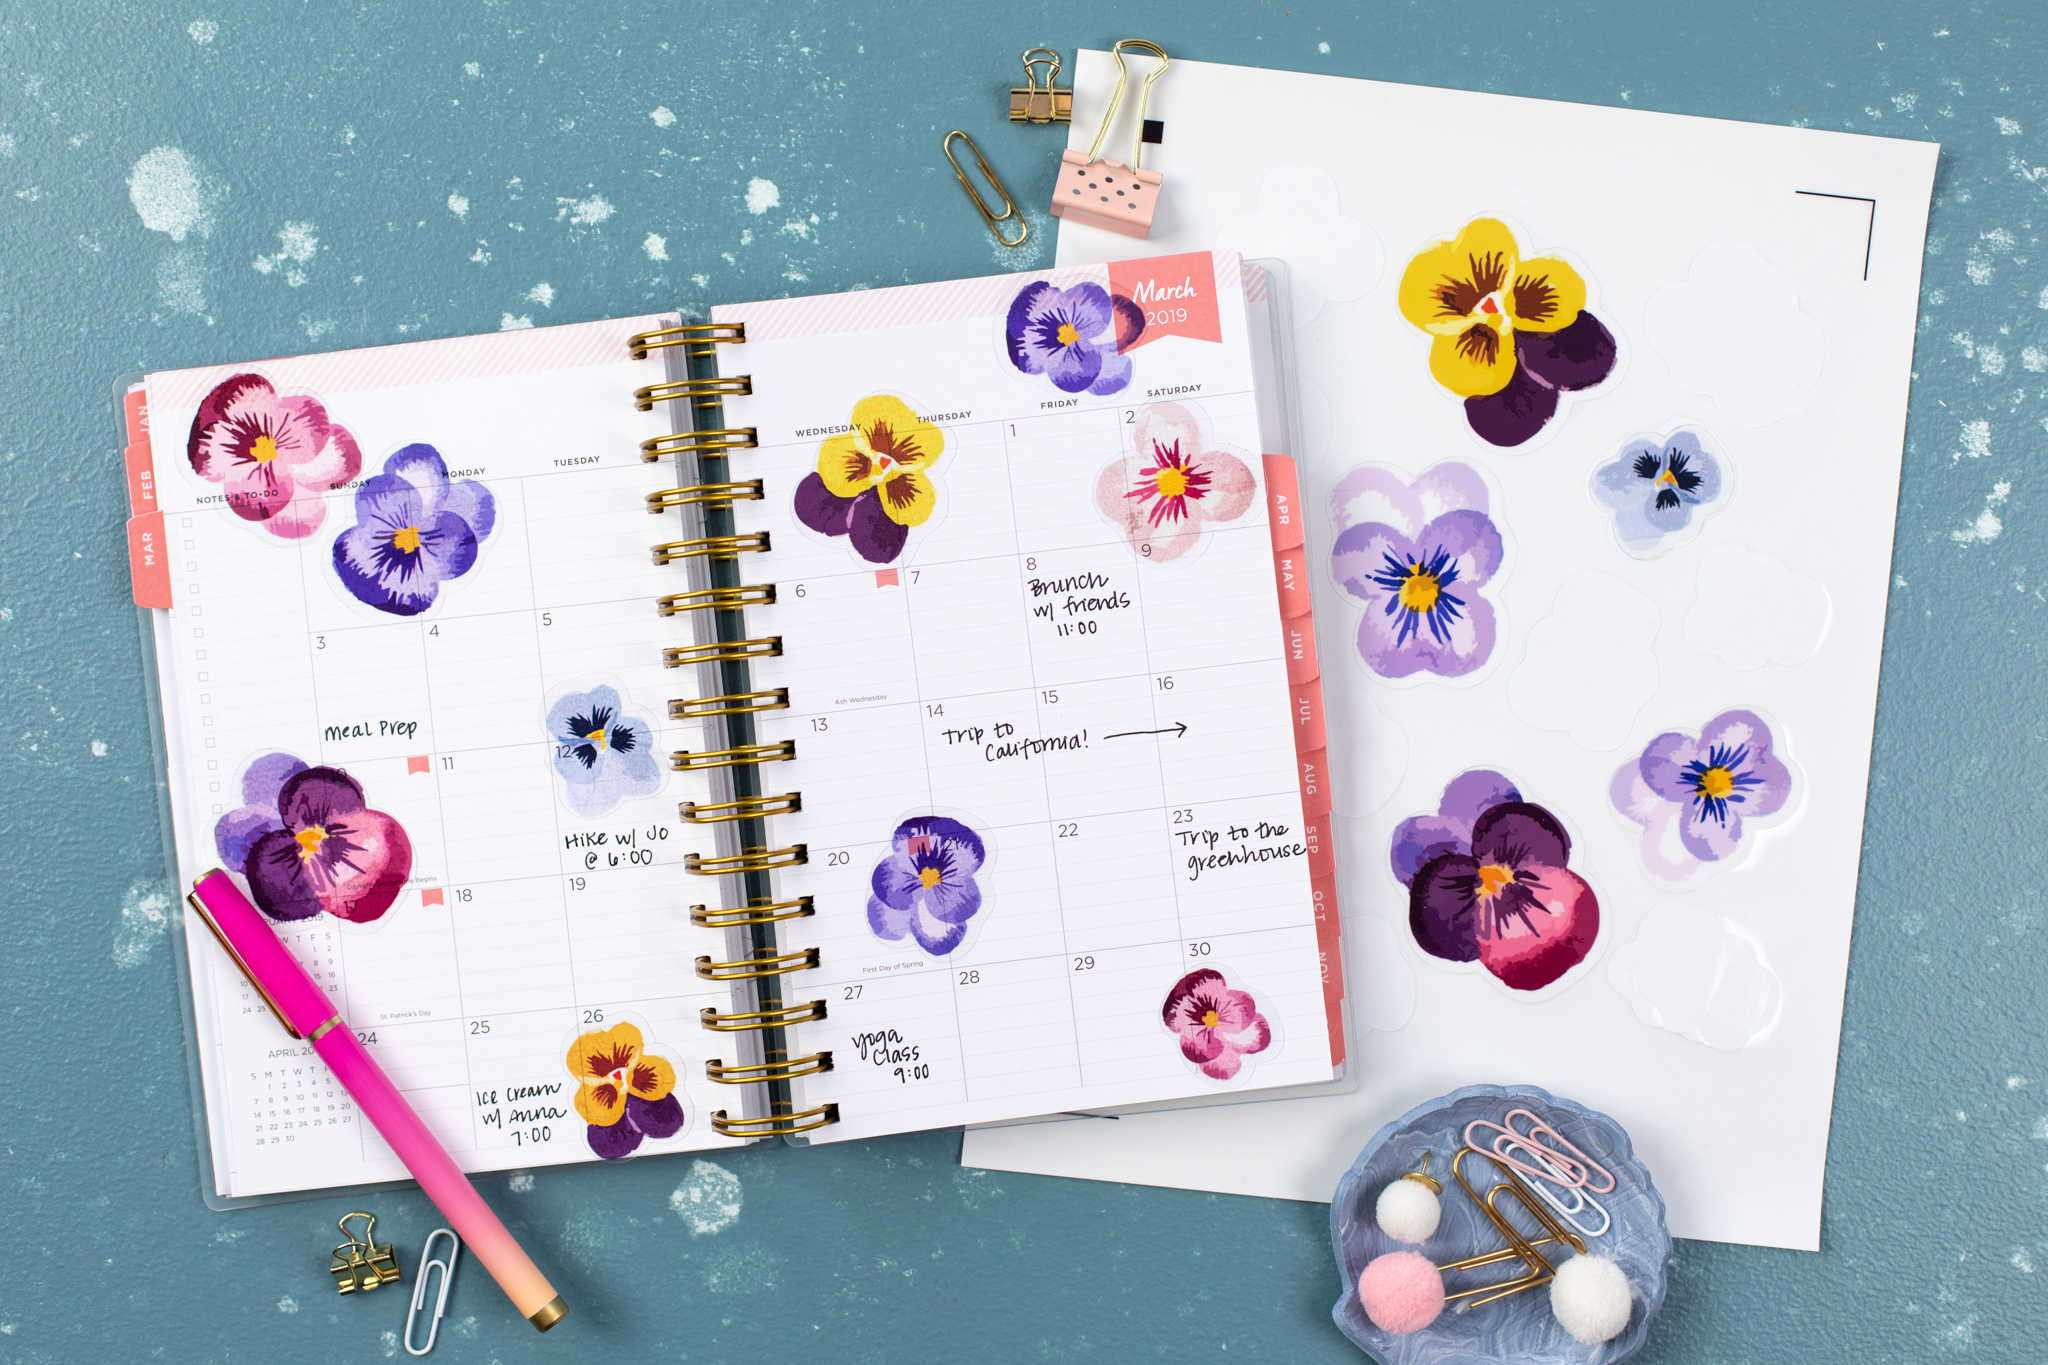
We’re itching for spring over here and trying to infuse every project with it! We fell in love with these watercolor pansies designed by Sophie Gallo. Printed on clear sticker paper and then cut with your machine, they’re the perfect addition to cards, planners, or home decor!
Supplies Needed:
- Silhouette Cameo® or Silhouette Portrait®
- Silhouette Studio®
- Silhouette Cutting Mat, optional
- Silhouette Cutting Blade
- Clear Sticker Sheets
- Design ID #115467
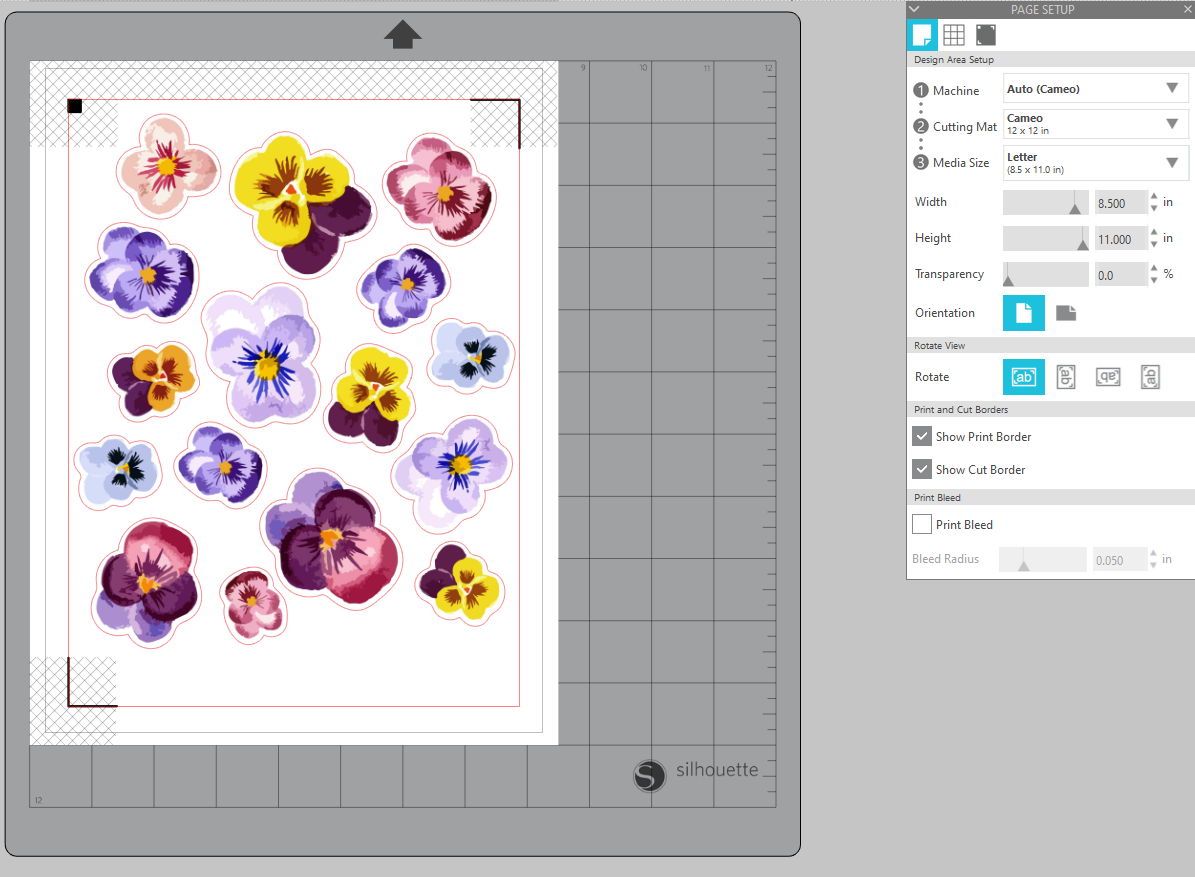
Step One: Formatting Your Design
1. To set up your page for a Print & Cut project, set the material size to Letter (8.5 by 11 inches), turn on the Print & Cut borders, make sure your orientation is set to Portrait, and turn on the registration marks.
2. Insert your design and adjust the design to ensure that all of the elements are within the boundaries we just set up so that they don’t interfere with the registration marks. Remember that you can rotate the design to fit better on the page.
3. Load your clear sticker paper into your printer, ensuring that it will print on the glossy side of your paper. Use print preview to make sure everything looks correct, and print the design!
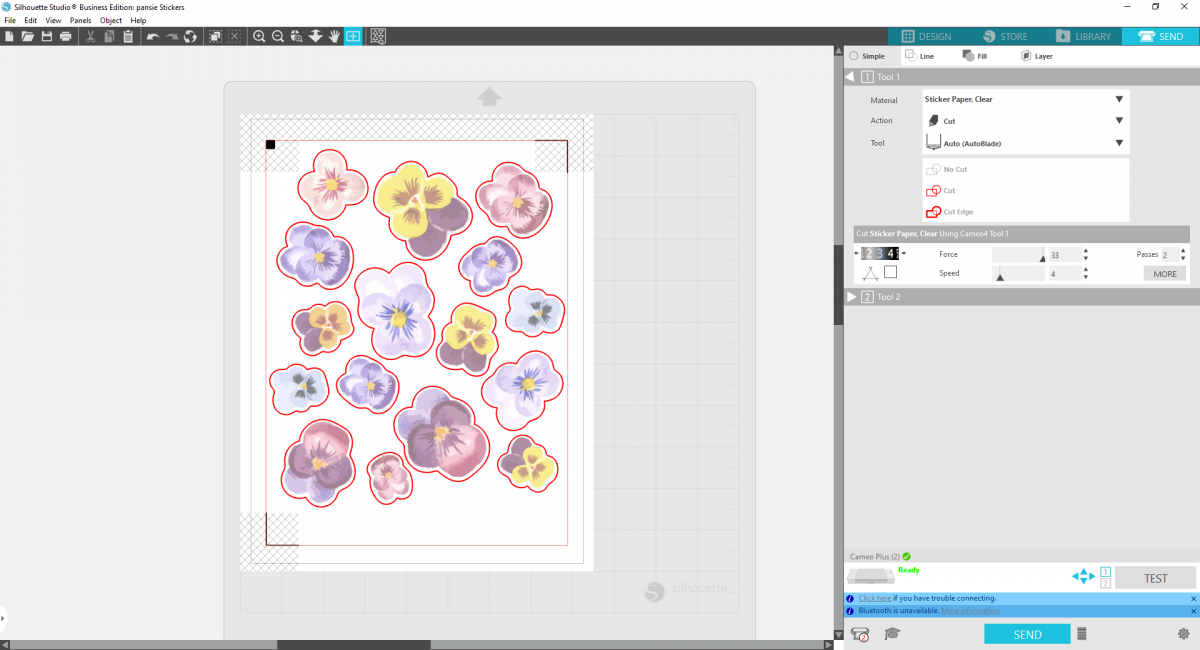
Step Two: Cut Out Stickers
1. Then load into your cutting machine and set your cut settings appropriately to cut your flowers!
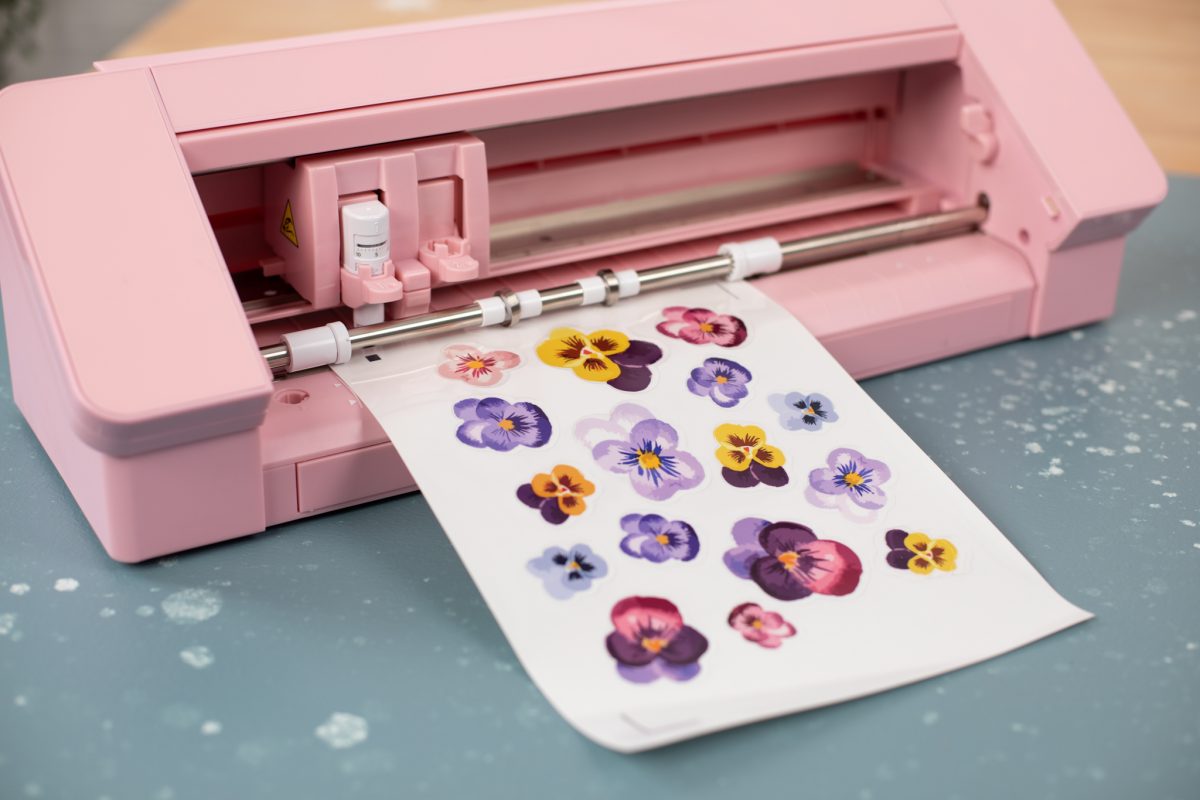
2. Peel off the stickers and apply them to whatever you’d like! The great thing about clear stickers is that you can see through them a bit so they’re perfect for adorning your planner!
 Design Store - Over 300,000 Designs to Bring Your Creative Vision to Life
 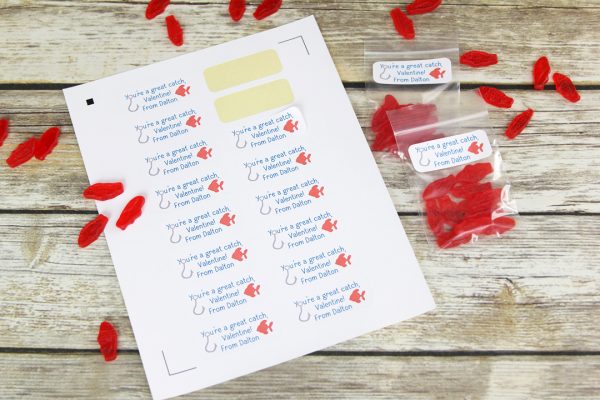 Fish Valentines to Share
Nasze Naturalne
September 3, 2025
Your authentic voice really shines through in everything you create and share
Naszenaturalne
September 2, 2025
Really love your style
Kelly Wayment
June 28, 2024
You can use it with vinyl as long as it is smooth and flat to allow the static charge to hold on to it. Rolled vinyl that wants to go back to its rolled shape will not necessarily work well, and it would need to be trimmed to fit the ES mat cutting area.
Kelly Wayment
June 28, 2024
Yes, you can use the heat pen while using the ES mat. 🙂
Yurii
March 2, 2024
Hello. May it be used with heat pen?
Thanks
Jerome
February 24, 2024
Hi, works this with the normal vinyl foils or only with printer papter etc?